How to Draw a Realistic Skull: Easy Step-by-Step Guide
Master the structure of the human skull with this approachable, step-by-step tutorial designed for young artists and beginners. You will need a pencil, an eraser, and a sheet of paper to complete this study. By focusing on geometric shapes and symmetry, you'll build the foundational skills needed for realistic portraiture.
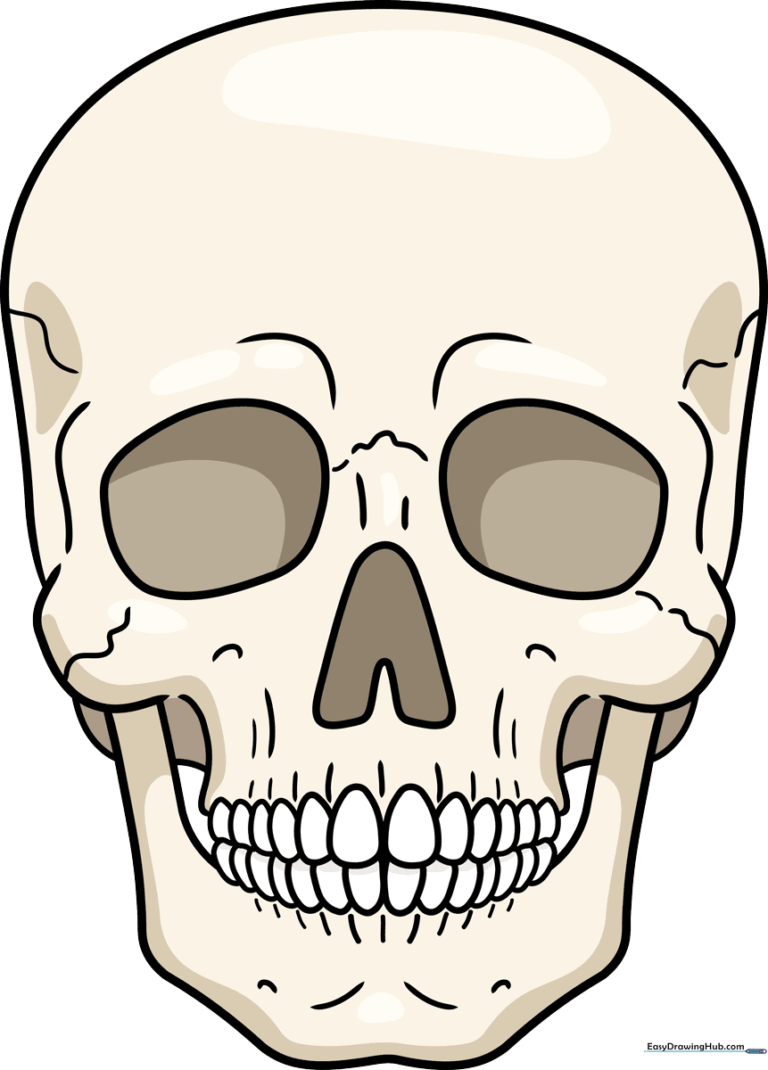
🎯 Final Result
Step-by-Step Instructions
Step 1: Establishing the Eye Sockets
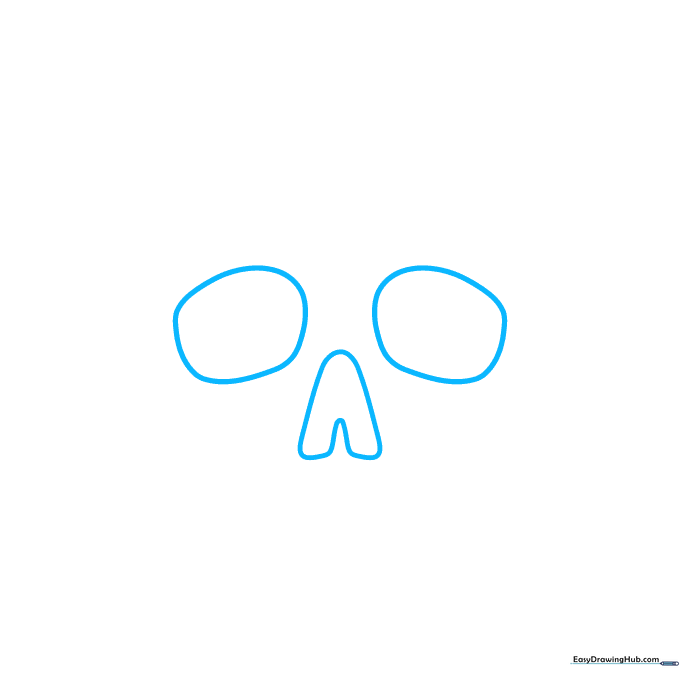
Draw two uneven ovals to represent the eye sockets. Place an upside-down V with a rounded bottom between them for the nasal cavity, then add a smaller V beneath it. Connect these with horizontal lines. Teacher's Tip: Keep these lines very faint; they are just your map for the face.
Step 2: Adding Depth to the Orbits
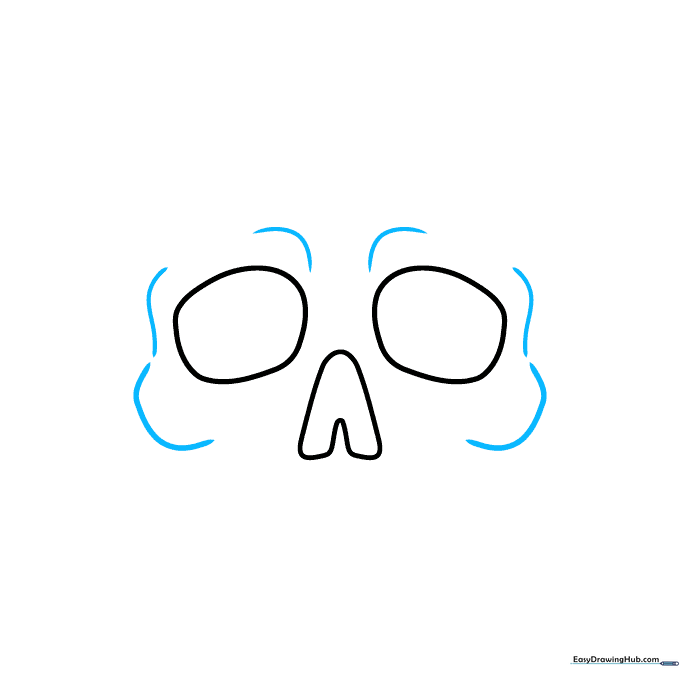
Draw uneven curves around the perimeter of the eye sockets. This creates the illusion of the bony rim. Teacher's Tip: Think of these as the 'frames' of the eyes; making them slightly irregular makes the skull look more natural and less like a machine.
Step 3: Mapping the Teeth
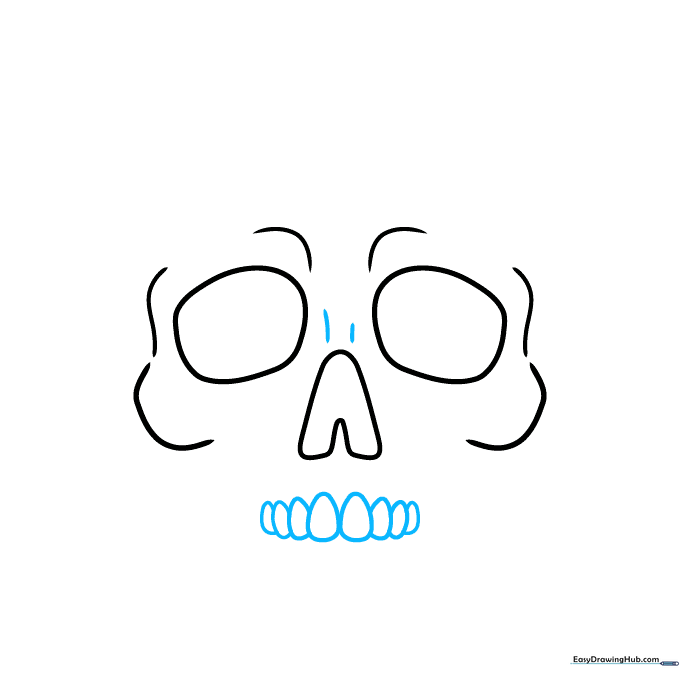
Sketch two small dashes between the eye sockets. Below the nose, draw rounded teardrop shapes to represent the upper teeth. Teacher's Tip: Let the teeth overlap slightly; this adds a sense of volume and prevents them from looking like a flat row of fence posts.
Step 4: Defining the Jawline
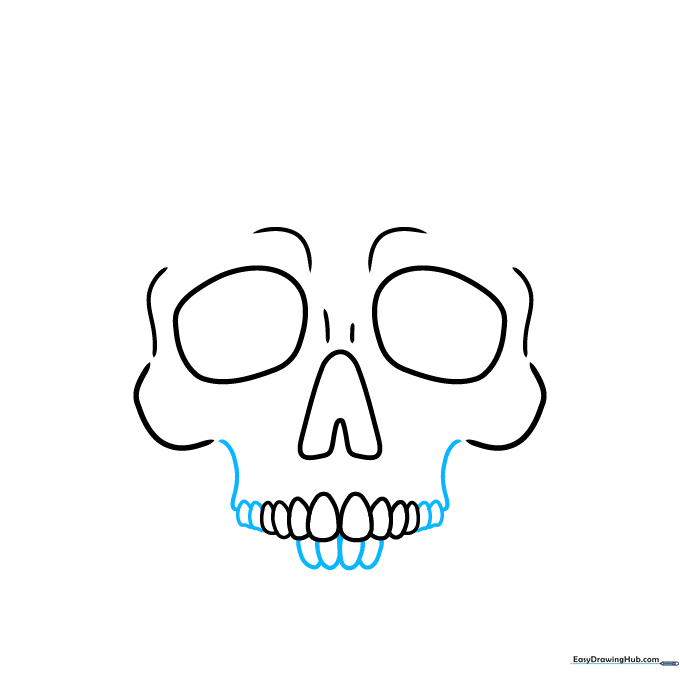
Sketch loops underneath to form the bottom row of teeth. Draw sweeping curves on either side of the teeth to outline the cheekbones. Teacher's Tip: Keep your pencil strokes fluid here to capture the curve of the jaw.
Step 5: Completing the Dental Arch
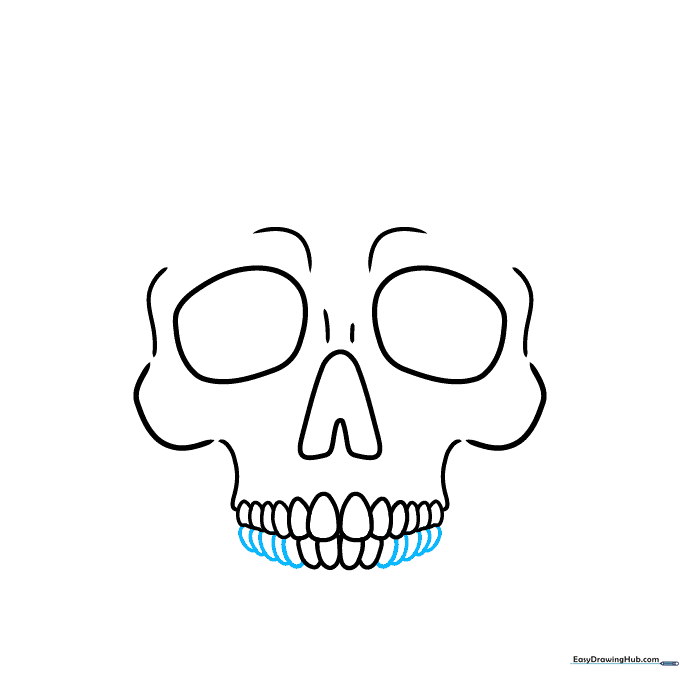
Continue adding teardrop shapes for the remaining bottom teeth. Teacher's Tip: Teeth aren't perfectly uniform. Vary the size of your shapes slightly to make the skull look more authentic.
Step 6: The Cranial Dome
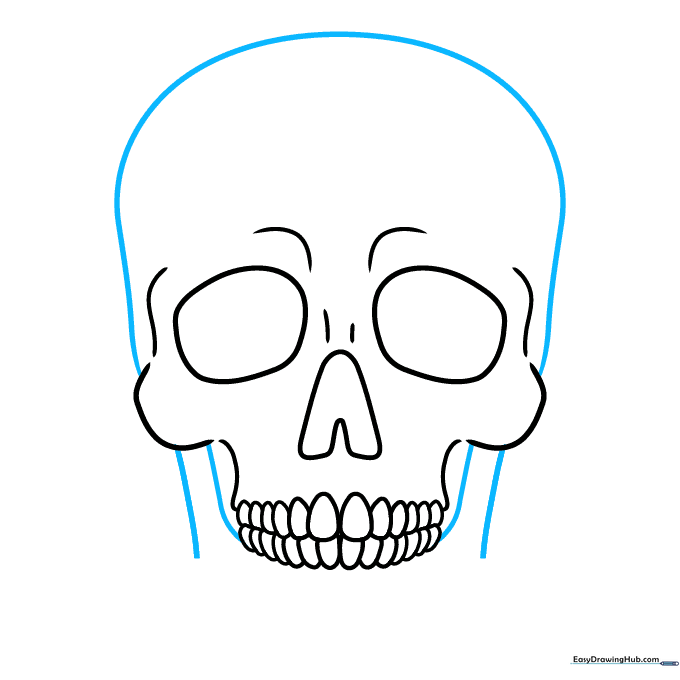
Draw a large, smooth dome for the top of the skull. Add lines on either side of the teeth to connect the jaw to the cranium. Teacher's Tip: Use your whole arm to draw this large curve for a smoother, more confident line.
Step 7: Shaping the Jawbone
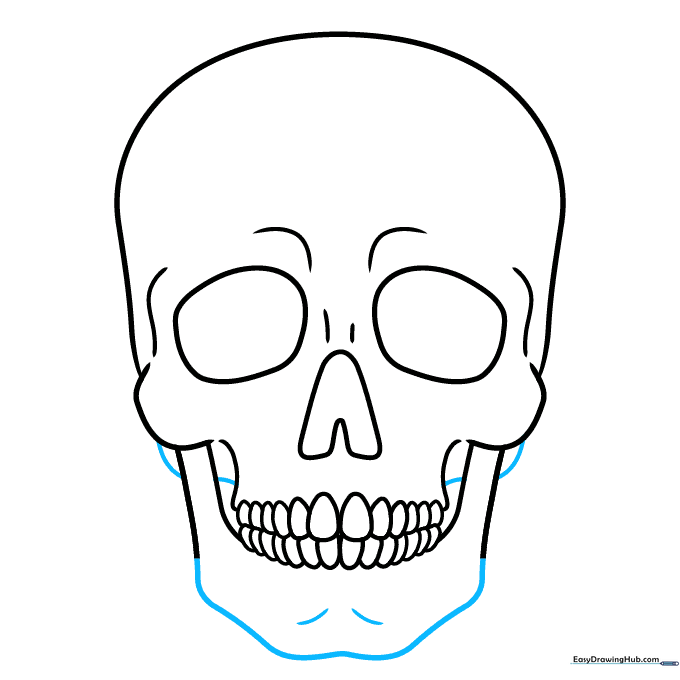
Sketch a loose W-shape under the teeth for the jawbone. Add two dashes above this line and connect them to the rest of the structure. Teacher's Tip: This is where the jaw hinges, so make sure the connection points look sturdy.
Step 8: Adding Texture and Detail
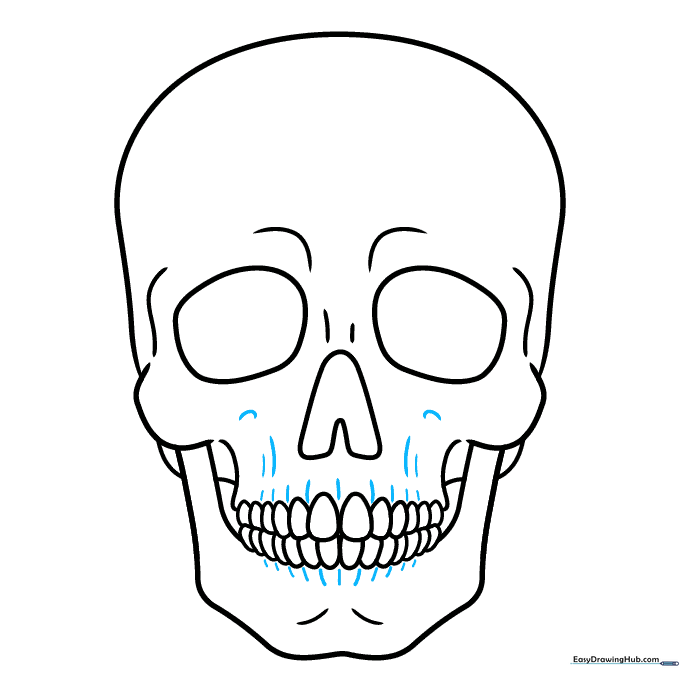
Add small dashes around the teeth and nose area. Teacher's Tip: These small marks represent the natural texture of bone. Don't overdo it—a few well-placed marks are better than too many.
Step 9: Adding Age and Character
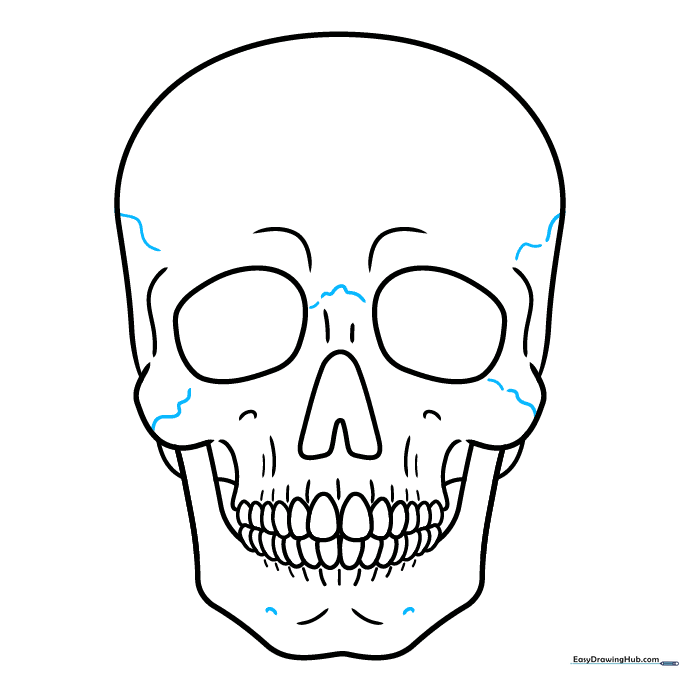
Draw light, squiggly lines across the face to simulate cracks. Teacher's Tip: These lines should follow the contours of the skull to maintain the 3D shape.
Step 10: Final Linework and Coloring
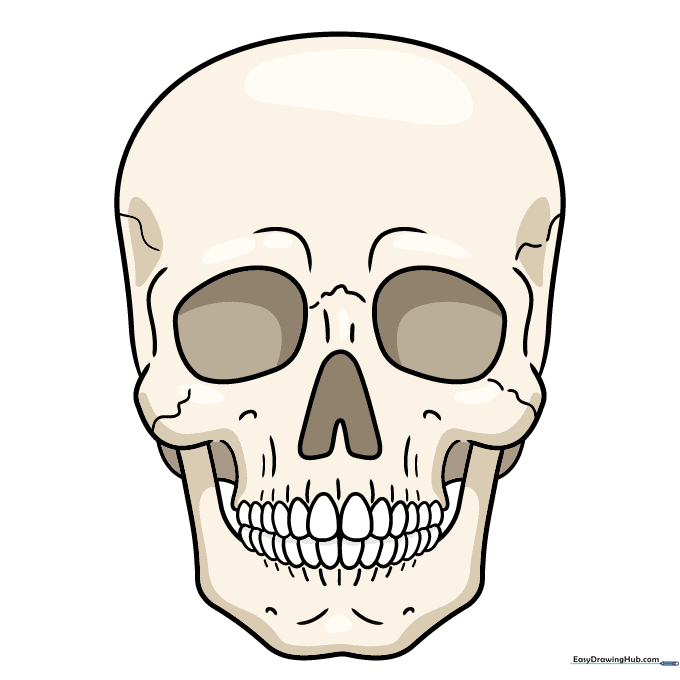
Outline your drawing with a black pen. Color the skull using off-white or cream tones, leaving the teeth bright white. Teacher's Tip: Use a darker shade of grey or brown inside the eye sockets to create depth. Aged bone is rarely pure white!
More Tutorials


