How to Draw a Realistic Eye: Easy Step-by-Step Guide
Ready to bring your portraits to life? This tutorial is designed for budding artists ages 8+ to learn the anatomy of a realistic eye using just a pencil and paper. By focusing on simple shapes and shading techniques, you'll build the confidence to draw expressive features in no time.
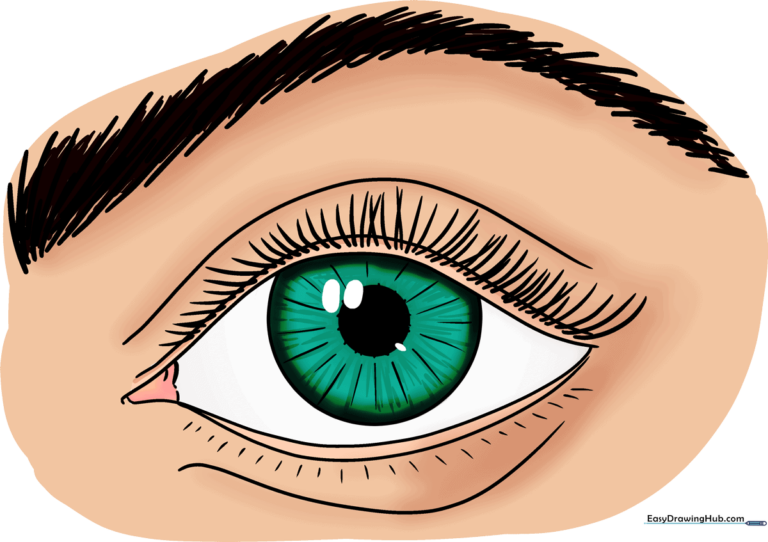
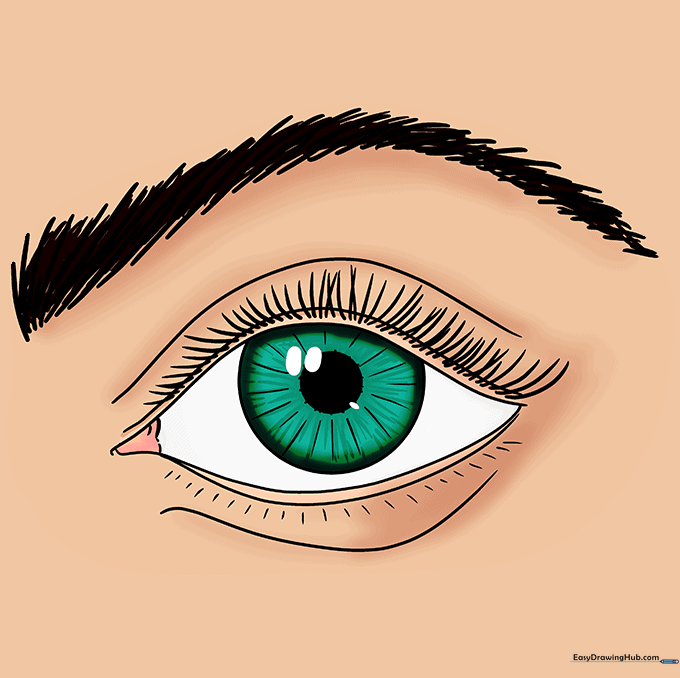
🎯 Final Result
Step-by-Step Instructions
Step 1: Establishing the Iris and Pupil

Draw a small circle inside a larger one to represent the pupil and iris. Teacher's Tip: Keep your pencil pressure very light here; you want these guidelines to be barely visible so they don't show through your final shading.
Step 2: Shaping the Upper Eyelid
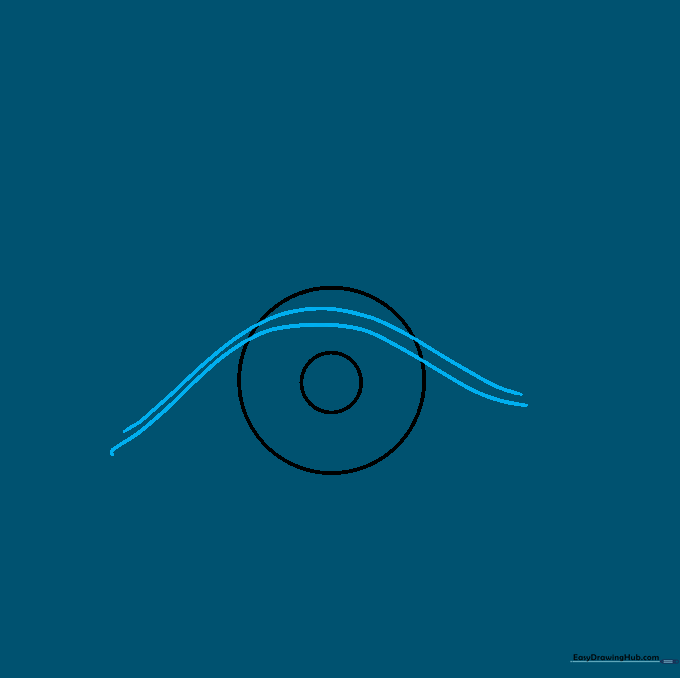
Add two curved, parallel lines arching over the top of your iris circle. Teacher's Tip: Think of these as the 'hood' of the eye; a gentle curve makes the eye look relaxed rather than surprised.
Step 3: Defining the Lower Lid

Draw two curved lines below the iris that meet at the corners. Teacher's Tip: Ensure these lines taper off to meet the upper lid, creating a natural almond shape.
Step 4: Adding Skin Contours
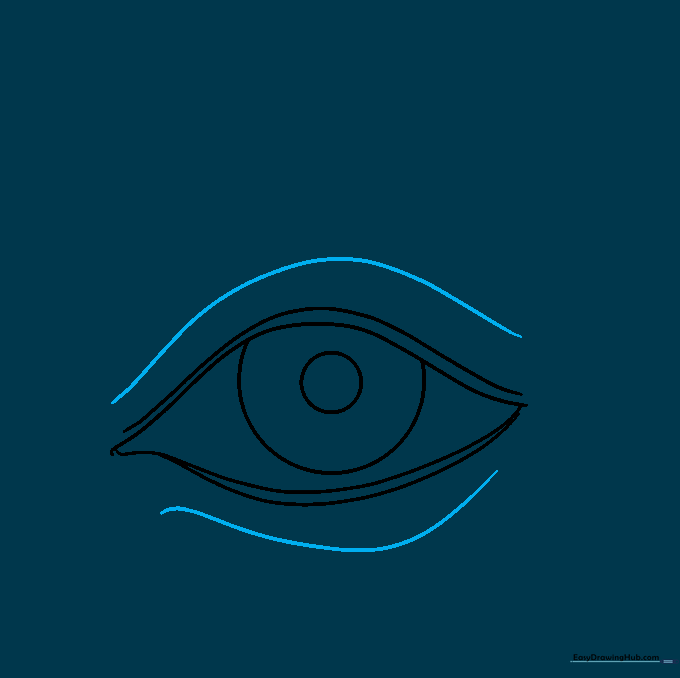
Sketch a long, soft curve above and below the eye to represent the skin folds. Teacher's Tip: Keep these lines very faint—they represent the soft tissue around the eye socket.
Step 5: Detailing the Iris
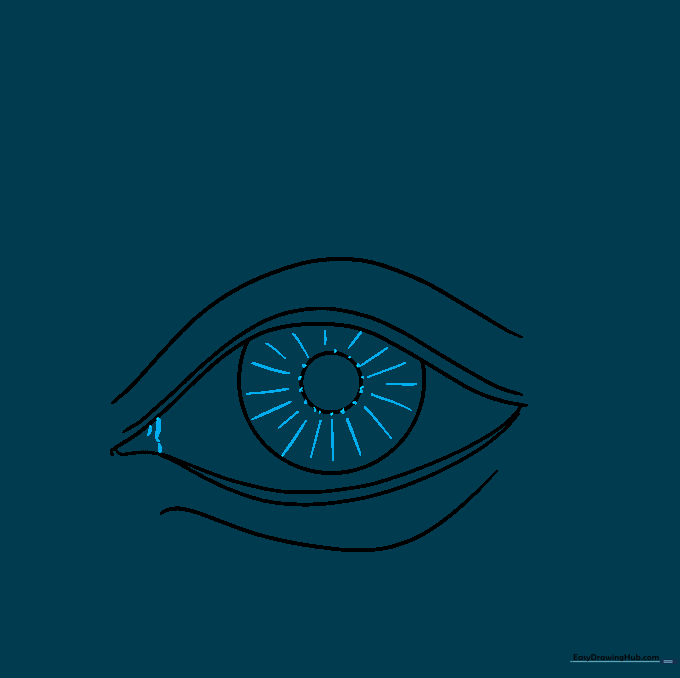
Add small details to the inner corner and create a starburst pattern of lines inside the iris. Teacher's Tip: Vary the length of your lines to make the iris look more organic and realistic.
Step 6: Drawing Eyelashes
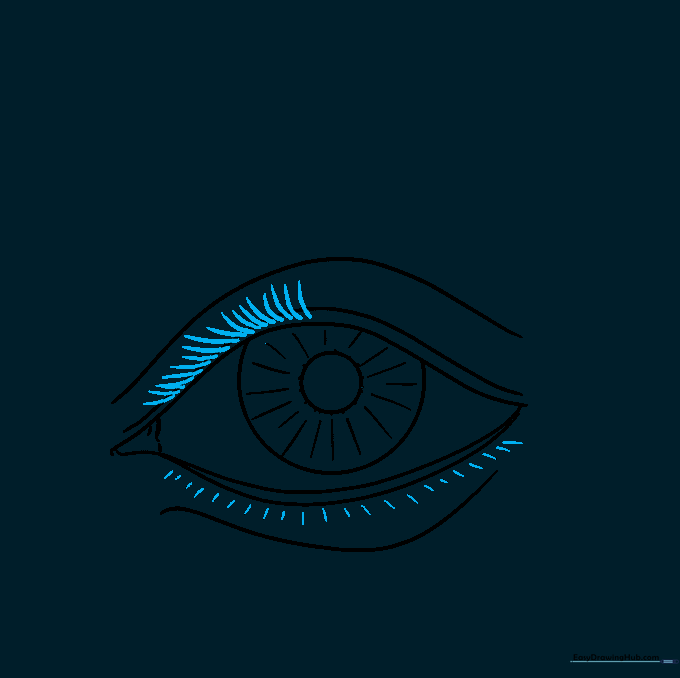
Add thick, curved strokes along the upper and lower lids. Teacher's Tip: Eyelashes aren't perfectly straight; flick your wrist upward to create a natural, tapered point.
Step 7: Filling in the Lashes
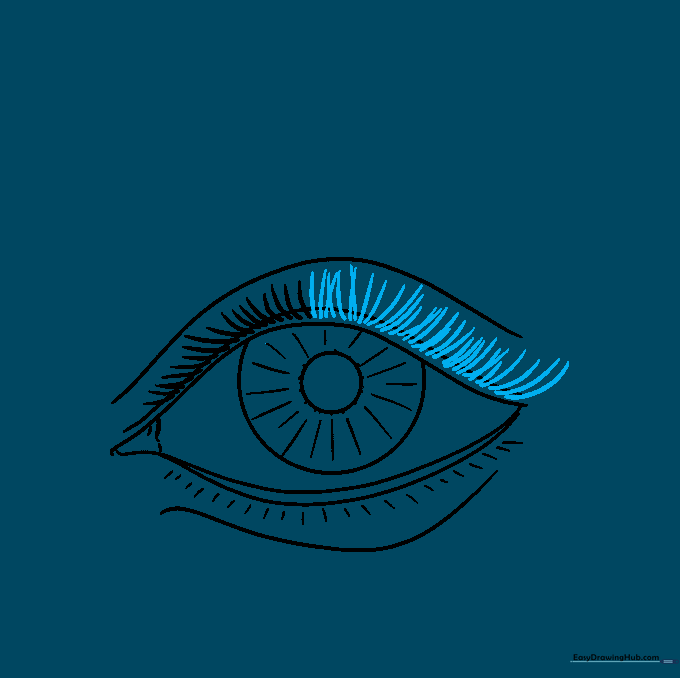
Continue adding lashes until the upper lid looks full. Teacher's Tip: Overlap a few lashes to create depth and avoid the 'spidery' look.
Step 8: Sketching the Eyebrow
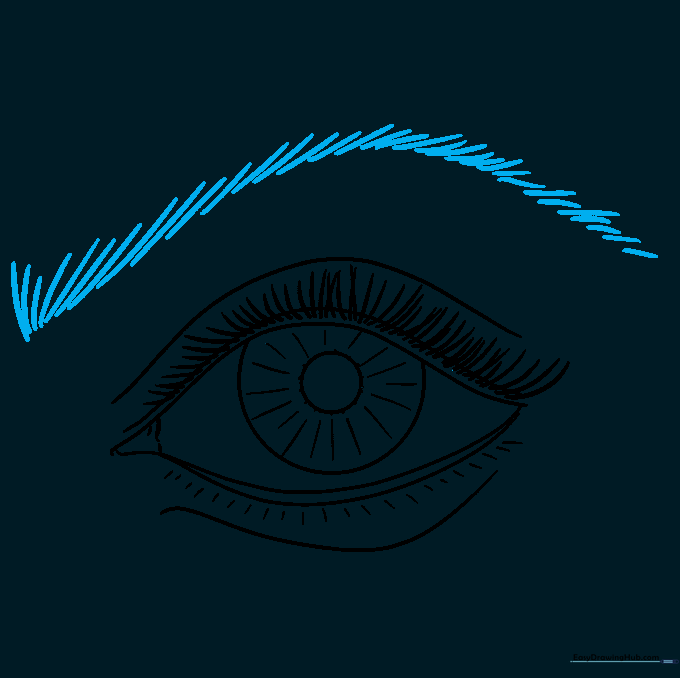
Draw the eyebrow shape using thick, overlapping curved lines. Teacher's Tip: Think of the eyebrow as a collection of individual hairs—don't just draw a solid block.
Step 9: Refining the Eyebrow
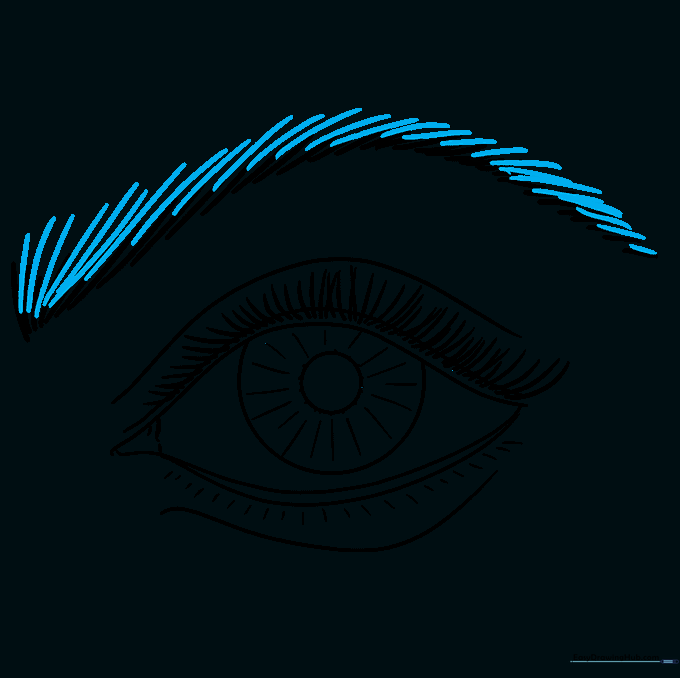
Add a second layer of short strokes to thicken the eyebrow. Teacher's Tip: Vary the direction of your strokes to mimic the way brow hair naturally grows.
Step 10: Adding Color
Bring your drawing to life with color. Teacher's Tip: Use light pressure for the iris to create a gradient, and leave a small white spot in the pupil to act as a 'highlight'—this makes the eye look shiny and alive!
More Tutorials


