How to Draw a Realistic Elephant Head: Easy 9-Step Guide
Ready to capture the majesty of an elephant? This tutorial is designed for young artists and beginners to learn the proportions of an elephant's face using simple shapes. Grab your pencil, an eraser, and a piece of paper to start building your safari masterpiece today.
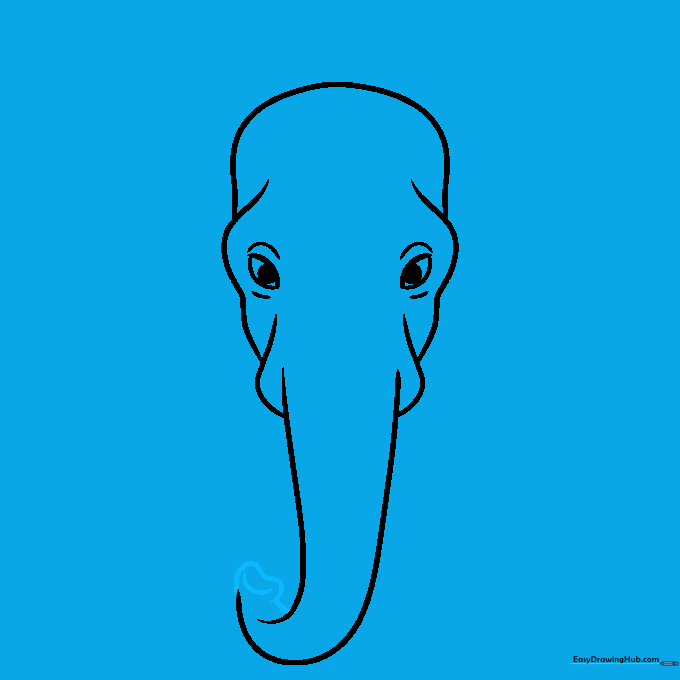
🎯 Final Result

Step-by-Step Instructions
Step 1: Sketching the Eyes

Start by sketching two almond-shaped eyes using gentle, curved lines. Add a small circle inside each for the pupil and a soft arch above for the eyelid. Teacher's Tip: Keep your pencil pressure light so you can easily adjust the symmetry later.
Step 2: Defining the Eye Sockets

Contour below each eye with a soft curve, then draw the sides of the face. Focus on the bulge of the eye sockets to give the face depth. Tip: Think of these as two mirrored parentheses framing the eyes.
Step 3: Establishing the Head and Tusk Base
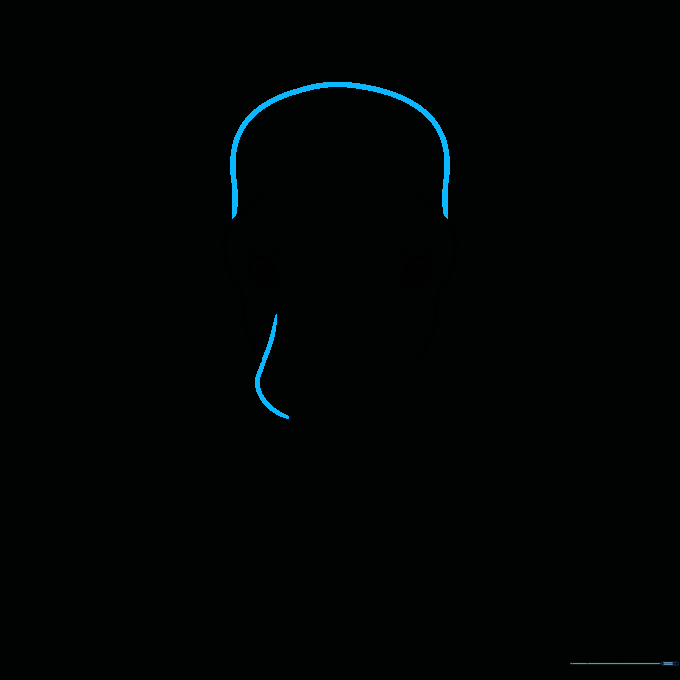
Draw a long, sweeping curve from brow to brow to enclose the top of the head. Below one eye, add a small curve that overlaps the face; this is the starting point for your tusk. Tip: Overlapping lines are the secret to making a drawing look 3D!
Step 4: Forming the Trunk

Extend two long, graceful curves downward to create the trunk. They should taper slightly as they go. Add a small line near the face to define the second tusk. Tip: Keep your wrist loose to get those long, smooth curves.
Step 5: Detailing the Trunk Tip
Add a small 'C' shaped line at the end of the trunk to create the opening. Use tiny, delicate curved lines to suggest the finger-like tip of the trunk. Tip: Elephants use this tip to grab food, so make it look flexible!
Step 6: Drawing the Tusks and Ear Bases

Refine the tusks by doubling back your lines to create a pointed shape. Then, extend two long lines from the top of the head to begin the large, iconic ears. Tip: Don't worry about perfection; elephant ears are naturally irregular and wavy.
Step 7: Shaping the Ears
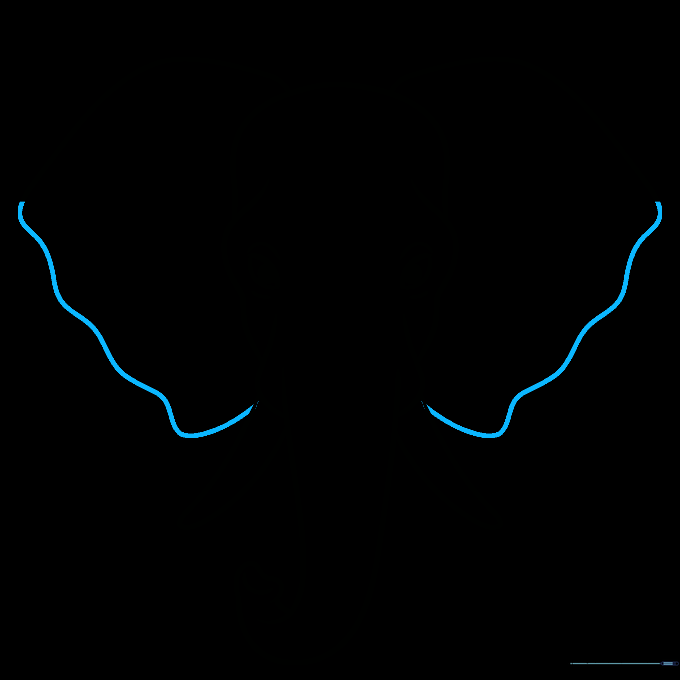
Use wavy, irregular lines to close the bottom of the ears. This gives them that classic, fan-like appearance. Tip: Try to make the lines look a bit 'floppy' rather than perfectly straight.
Step 8: Adding Ear Texture
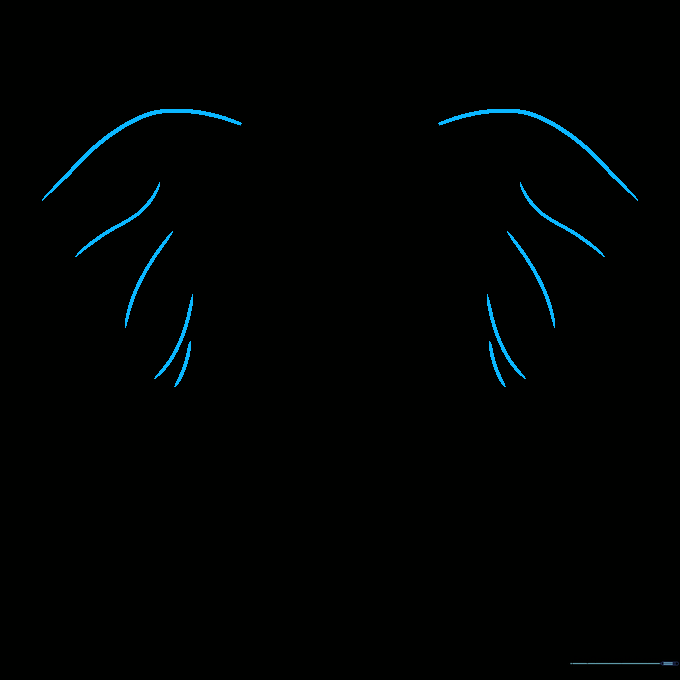
Add a few curved lines inside the ears to represent the folds and wrinkles of the skin. This adds a sense of realism. Tip: Less is more—just a few lines will suggest the texture without cluttering the drawing.
Step 9: Final Texturing

Finish your drawing by adding horizontal curved lines along the trunk to show its segmented, wrinkly skin. Now you're ready to add color! Tip: Use a grey or brownish-grey pencil to bring your elephant to life.
Step 10: Bringing it to Life with Color

Time to color! Use various shades of grey, and don't be afraid to add a little brown for a dusty, realistic look. Tip: Use a darker grey for the shadows under the ears and trunk to make the head pop off the page.
More Tutorials


