How to Draw a Realistic Dragon: Easy 10-Step Guide
Ready to bring a legendary creature to life? This tutorial is perfect for young artists and beginners looking to master dragon anatomy. Grab a pencil, an eraser, and a piece of paper to start building your own mythical beast, focusing on muscular structure and wing detail.
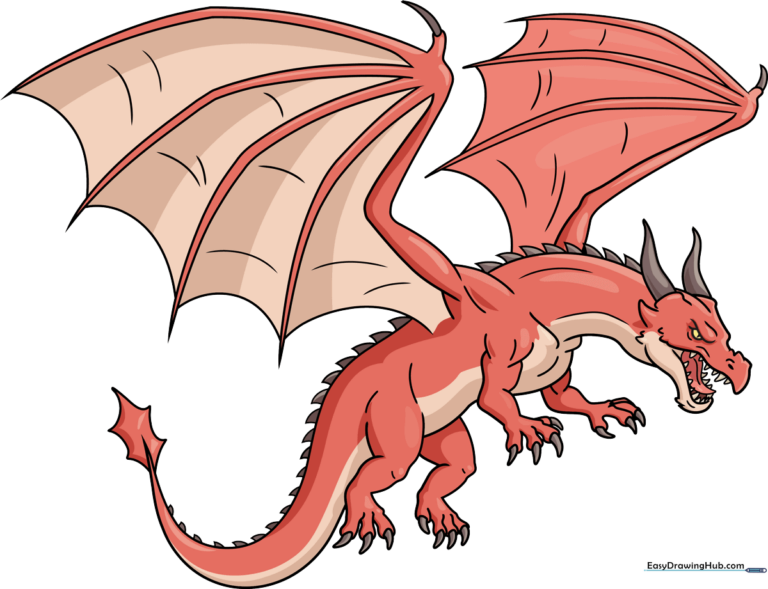
🎯 Final Result
Step-by-Step Instructions
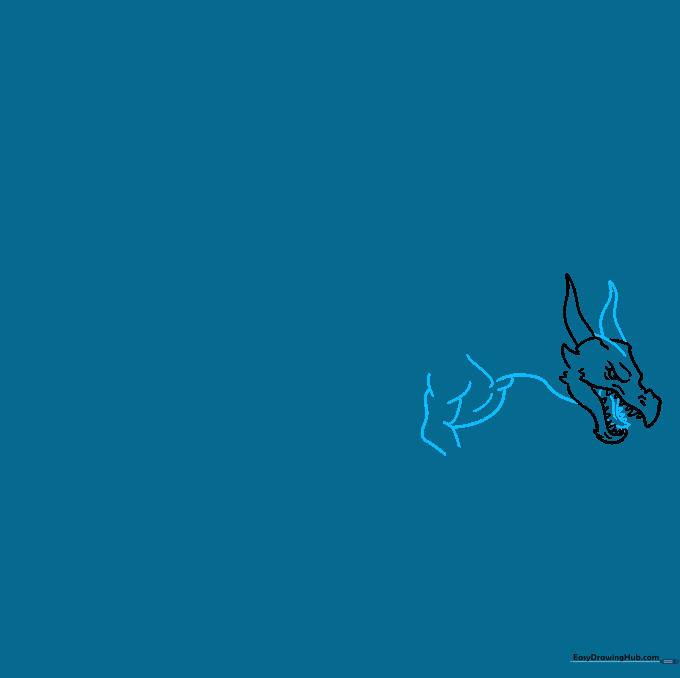
Step 1: Sketching the Dragon's Profile

Begin by sketching the dragon's face. Use light, curved lines to outline the upper and lower jaws. Tip: Focus on the 'U' shapes for the nose; keep these soft so they look organic rather than robotic.
Step 2: Defining the Jaw and Horns

Extend the jawline with a long, sweeping curve. Add small 'V' shapes along the chin to suggest scales. Tip: When drawing the horn base, imagine it growing out of the skull like a tree branch.
Step 3: Adding Tongue and Neck Structure
Draw a curved tongue resting inside the mouth. Now, start the neck by drawing two parallel lines that curve downward. Tip: Use overlapping lines to make the neck look muscular and strong.
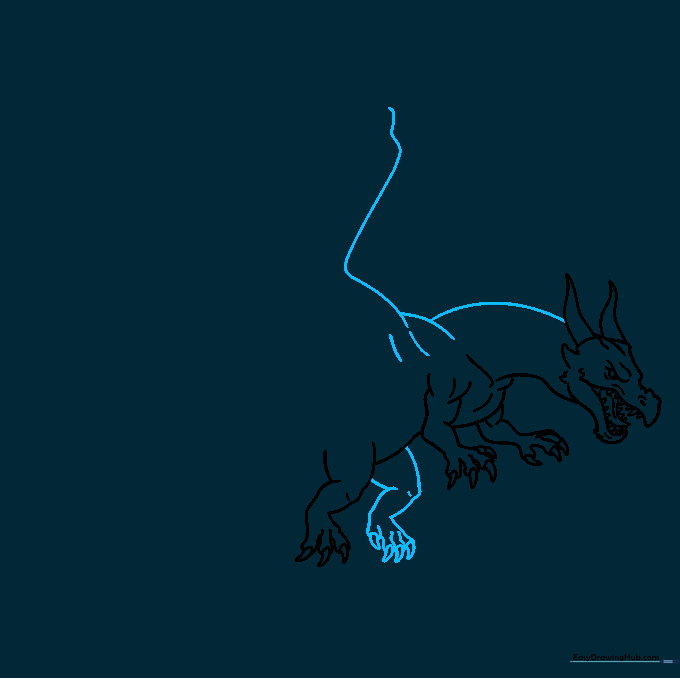
Step 4: Sketching the Claws and Belly
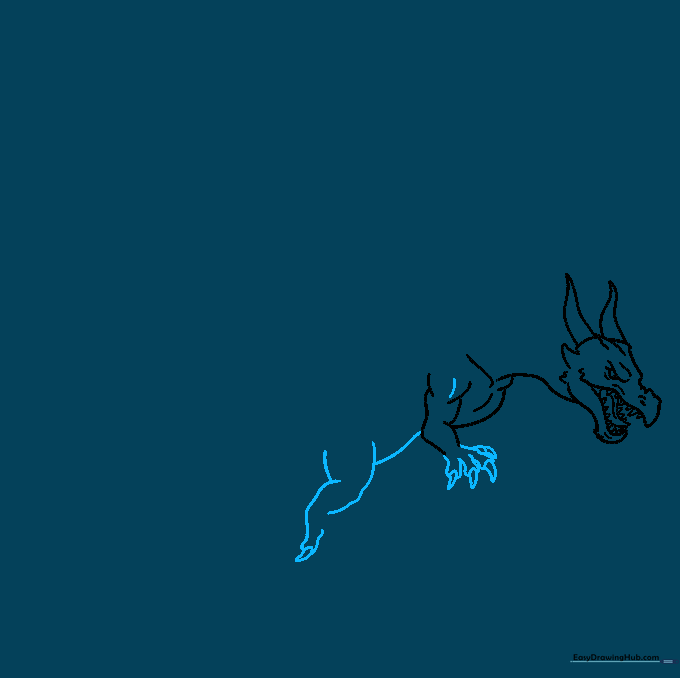
Draw the front claws using curved, triangular shapes. Connect these to the body with a smooth line for the belly. Tip: Keep your claw shapes sharp to give the dragon a fierce, realistic look.
Step 5: Defining Forearm and Rear Leg
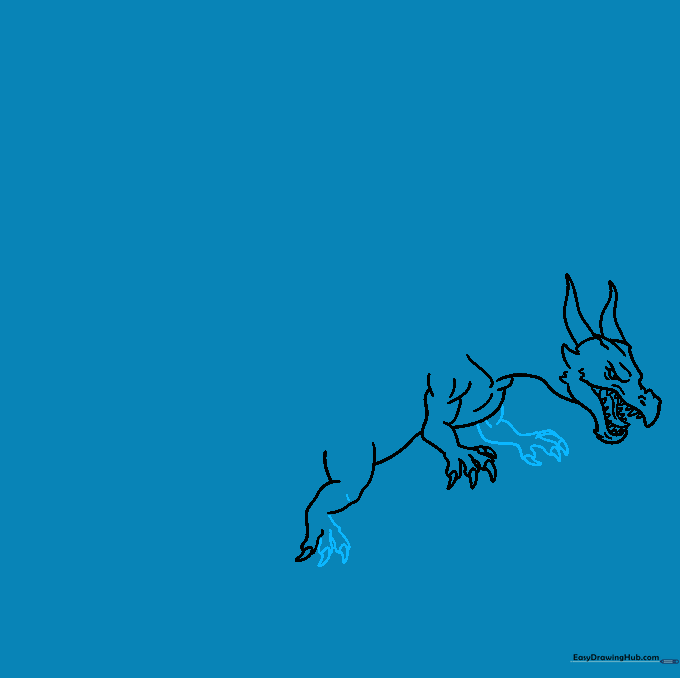
Add detail to the forearm muscles using overlapping curves. Complete the rear leg with three distinct toes. Tip: Use 'C' shaped curves for the toes to show the weight of the dragon's foot.
Step 6: Building the Wing Base
Draw a long, sweeping curve from the shoulder to start the wing. Add more muscle definition to the shoulder area. Tip: Think of the wing as an extension of the arm—keep the lines fluid.
Step 7: Wing Membrane and Tail
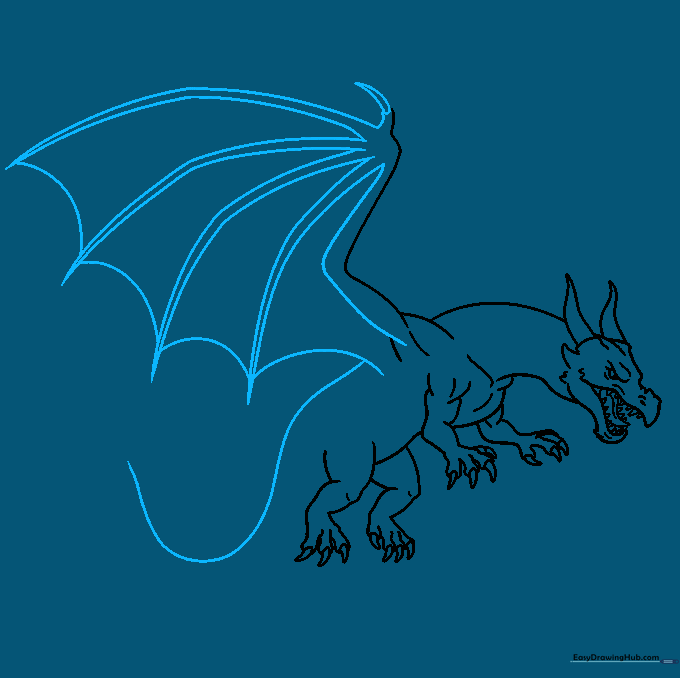
Draw the wing 'fingers' radiating from the joint. Connect them with curved lines to create the membrane. Extend the tail with a long, tapering curve. Tip: The membrane should look slightly stretched, like a bat's wing.
Step 8: Adding Spikes and Tail Detail
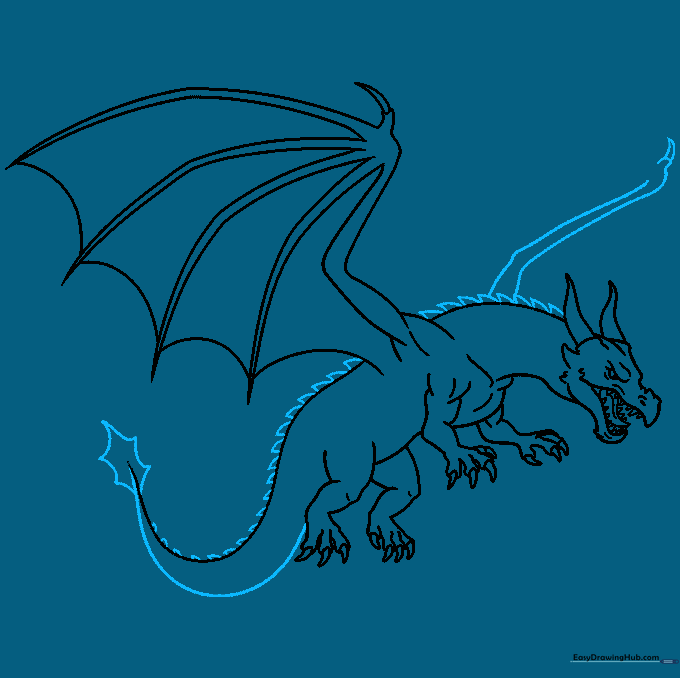
Add small triangles along the back for spikes. Give the tail a leaf-shaped tip. Draw the far wing peeking out from behind the neck. Tip: Vary the size of the spikes to make them look more natural.
Step 9: Finalizing Details
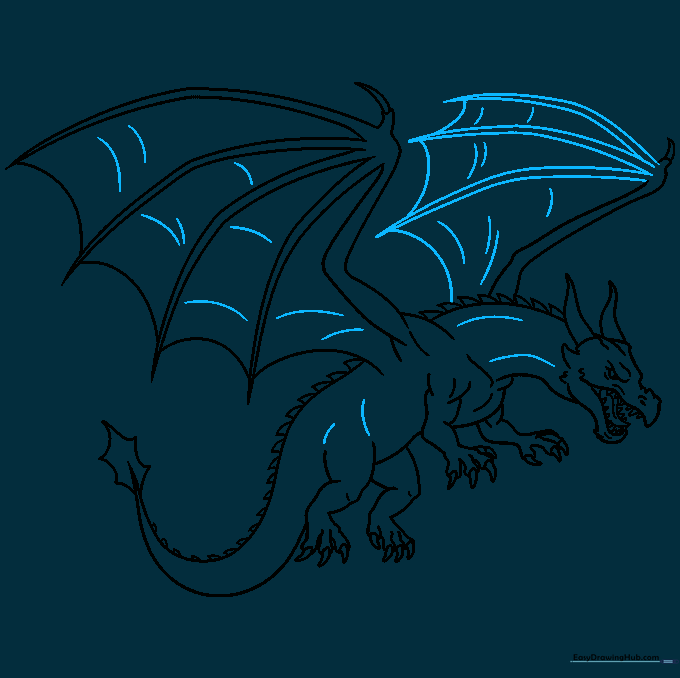
Complete the wings by adding texture lines to the membrane. Add subtle curves to the body to suggest muscle tone. Tip: Use short, quick strokes to create the look of scales.
Step 10: Bringing Your Dragon to Life with Color
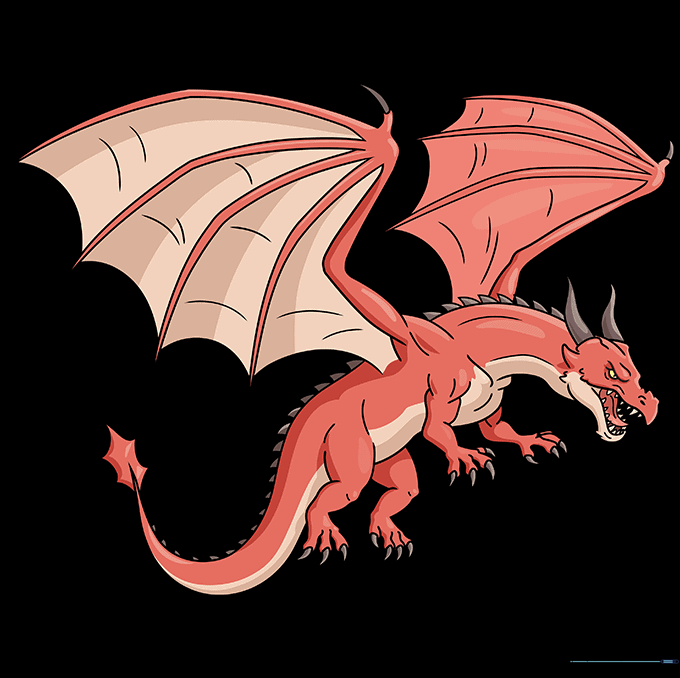
Time to color! Use vibrant reds or deep greens to make your dragon pop. Tip: Use darker shades near the joints and under the wings to create a 3D effect through shading.
More Tutorials


