How to Draw a Raspberry: Easy 9-Step Art Guide
Ready to draw some delicious fruit? This tutorial is perfect for young artists ages 5 and up, using just a pencil, paper, and an eraser. Follow these simple steps to master the unique, bumpy texture of a raspberry while building your confidence in sketching organic shapes.
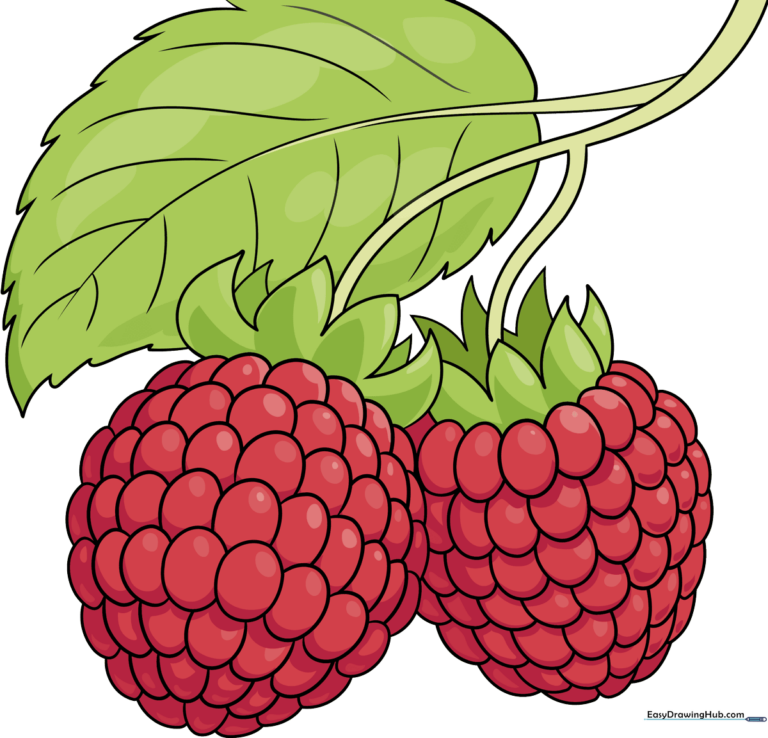
🎯 Final Result
Step-by-Step Instructions
Step 1: Sketching the Top Sepals
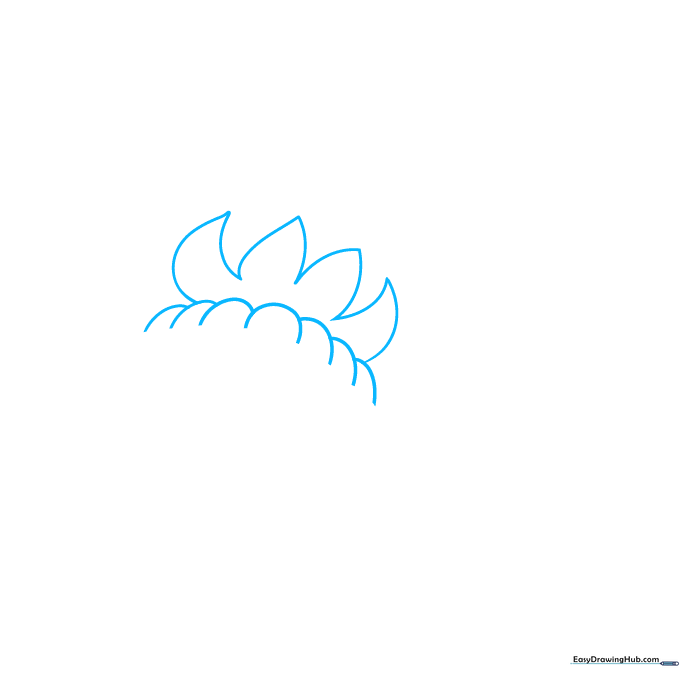
Start by drawing a series of overlapping curved lines to form the top of the berry. Then, add the leafy sepals on top using two curved lines that meet at a sharp point. Tip: Keep your pencil pressure light so you can easily adjust the shape if needed.
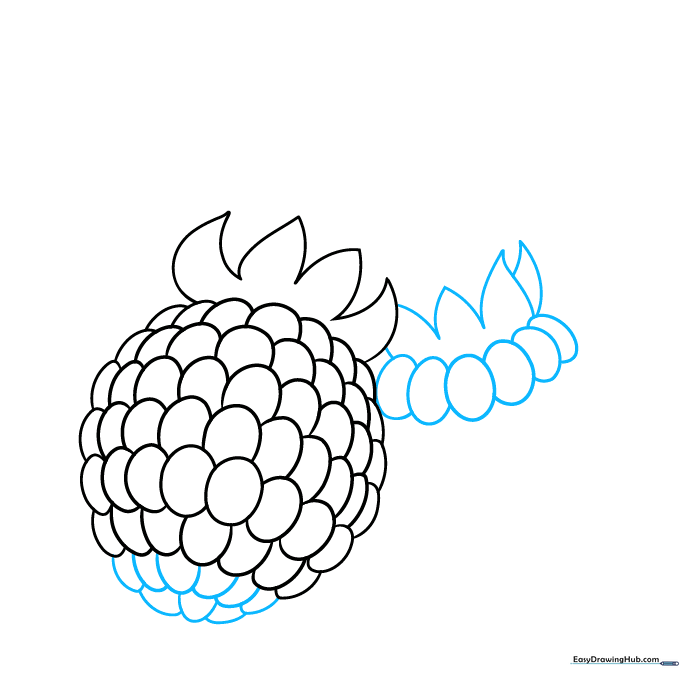
Step 2: Adding the First Texture Row
Draw three more rows of overlapping curved lines beneath the top. These are your drupelets! Tip: Imagine you are drawing tiny, squished circles—this helps create that signature bumpy raspberry texture.
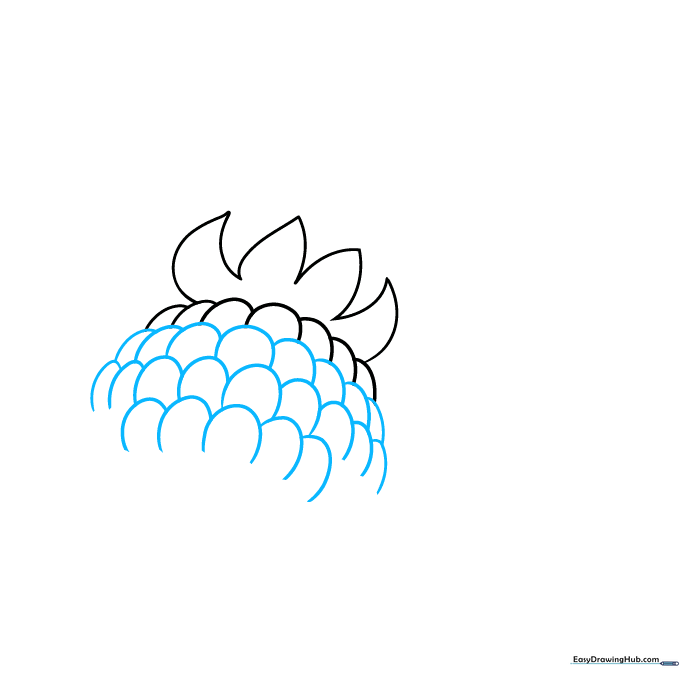
Step 3: Expanding the Berry Shape
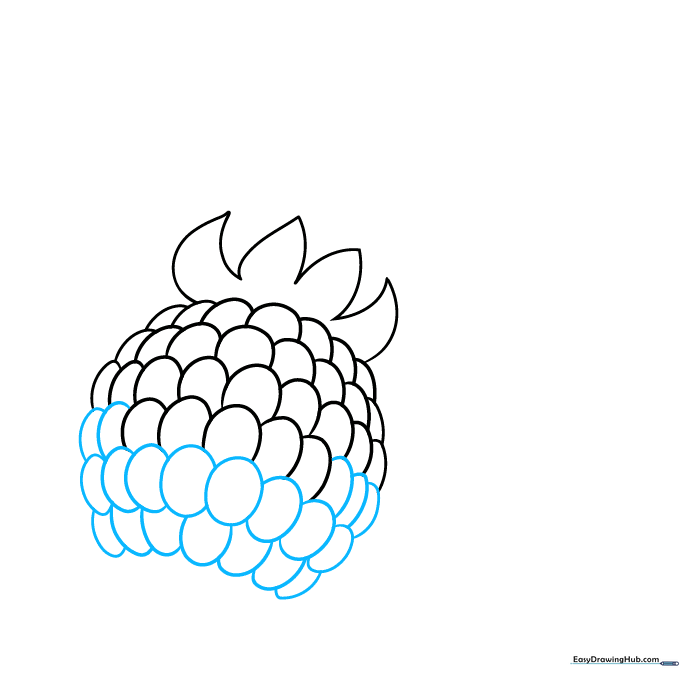
Complete the current row with a full oval in the center and partial ovals on the sides. Then, start a new row of curved lines facing downward. Tip: Varying the size of these ovals makes the fruit look more three-dimensional.
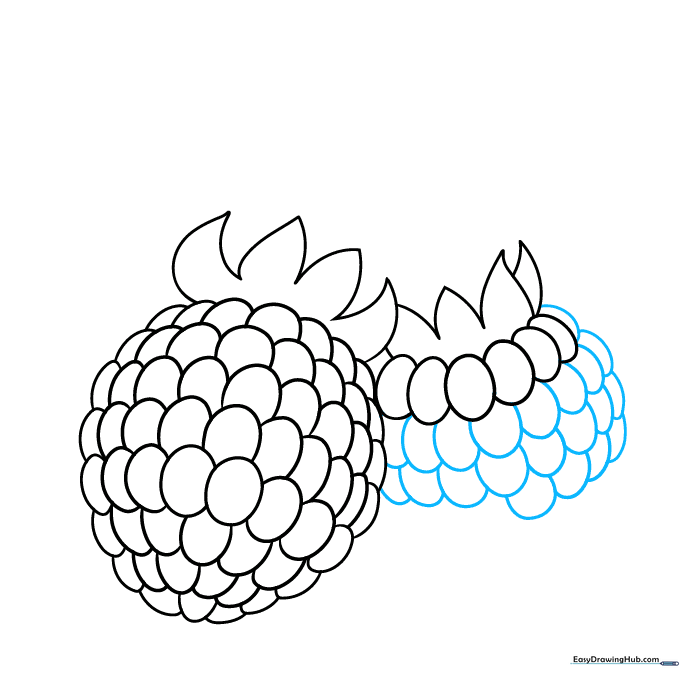
Step 4: Starting the Second Raspberry
Finish the first berry by adding smaller rows at the bottom to create an oval shape. Now, start your second raspberry next to it by drawing a new set of drupelets and sepals. Tip: Drawing two berries of different sizes adds visual interest to your composition.
Step 5: Building the Second Berry
Continue adding rows of overlapping curved lines to the second raspberry. Tip: Keep your lines fluid; don't press too hard, as these lines will be the foundation for your final coloring.
Step 6: Tapering the Shape
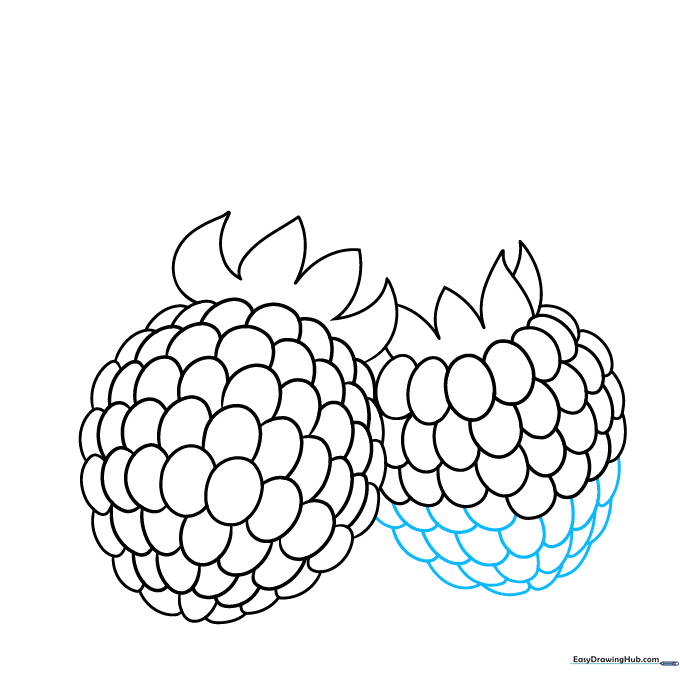
Continue the pattern, using fewer drupelets in each row as you move toward the bottom to give the berry a natural, tapered oval shape. Tip: If the berry looks too pointy, just round off the bottom with one final curved line.
Step 7: Adding the Stem
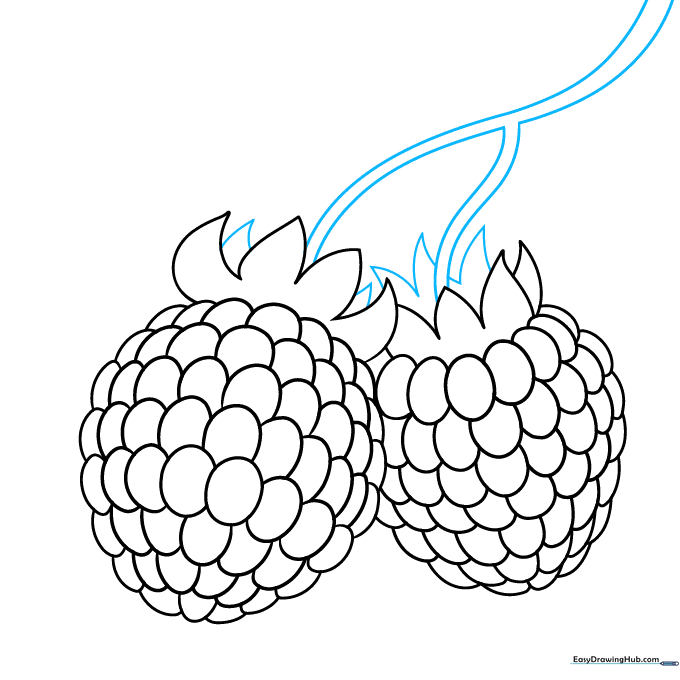
Draw two parallel curved lines above the berries to form a stem, creating a shape like a lowercase 'y'. Add a few more sepals around the base of the stem. Tip: The stem connects the fruit to the plant, so make it look sturdy!
Step 8: Sketching the Leaf
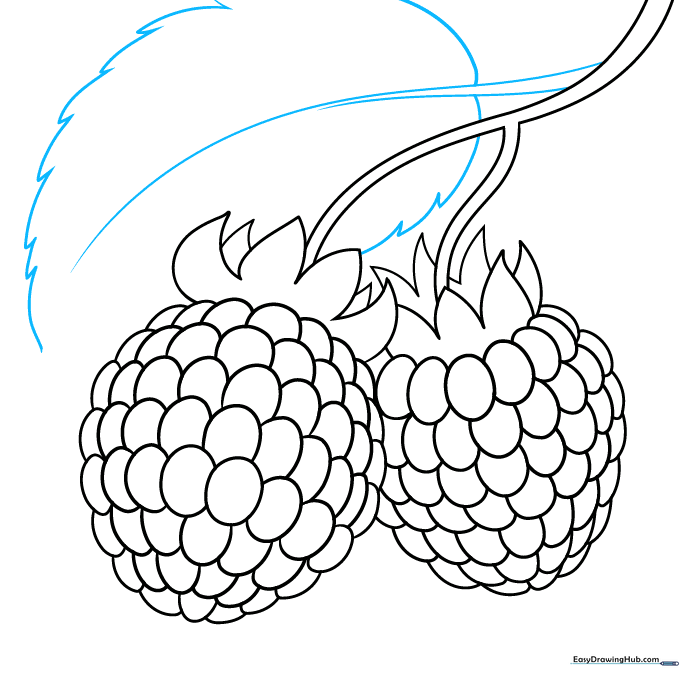
Extend two long curved lines from the stem to create the leaf's main vein. Use jagged, overlapping lines to create the serrated edges of the leaf. Tip: Serrated edges are just a series of small 'V' shapes connected together.
Step 9: Final Details
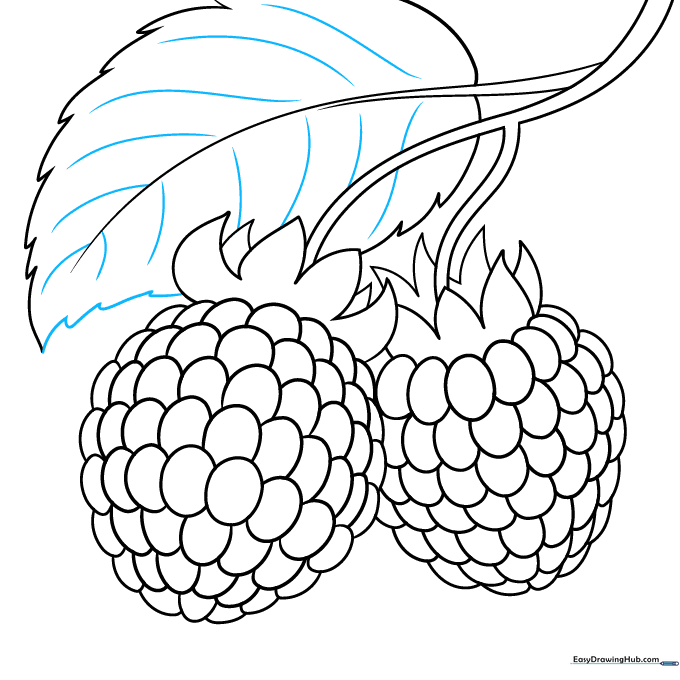
Finish the leaf by adding veins with light, curved lines. Review your outline and erase any stray marks. Tip: Now is the time to darken your final lines with a pen or a darker pencil before you start coloring.
Step 10: Bringing It to Life with Color
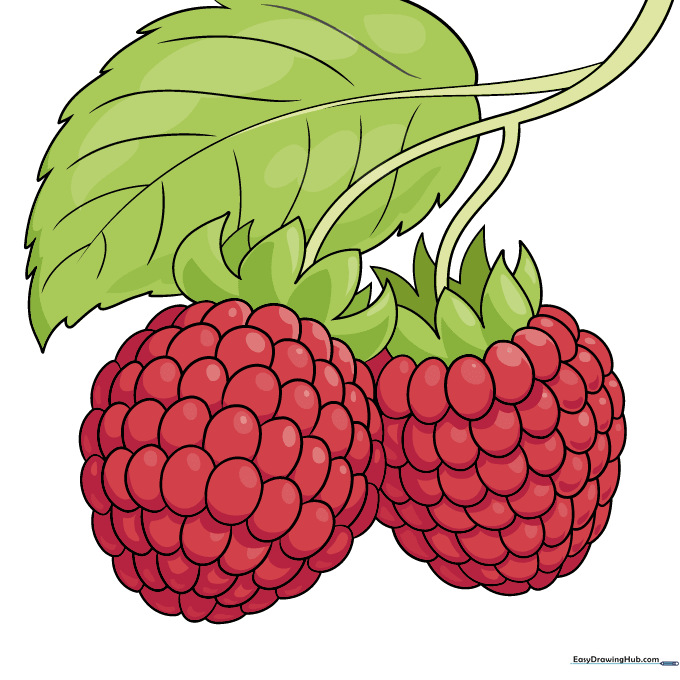
Time to color! Use a vibrant red for the berries and a bright green for the leaves. Tip: Leave a tiny white spot on each drupelet to act as a 'highlight'—this makes the fruit look juicy and fresh!
More Tutorials


