How to Draw a Rabbit: Easy 10-Step Guide for Kids
This step-by-step guide is designed for young artists ages 5 and up to build confidence through drawing. You will only need a pencil, an eraser, and a piece of paper to bring this fluffy friend to life. Follow along to master basic shapes and simple fur textures.
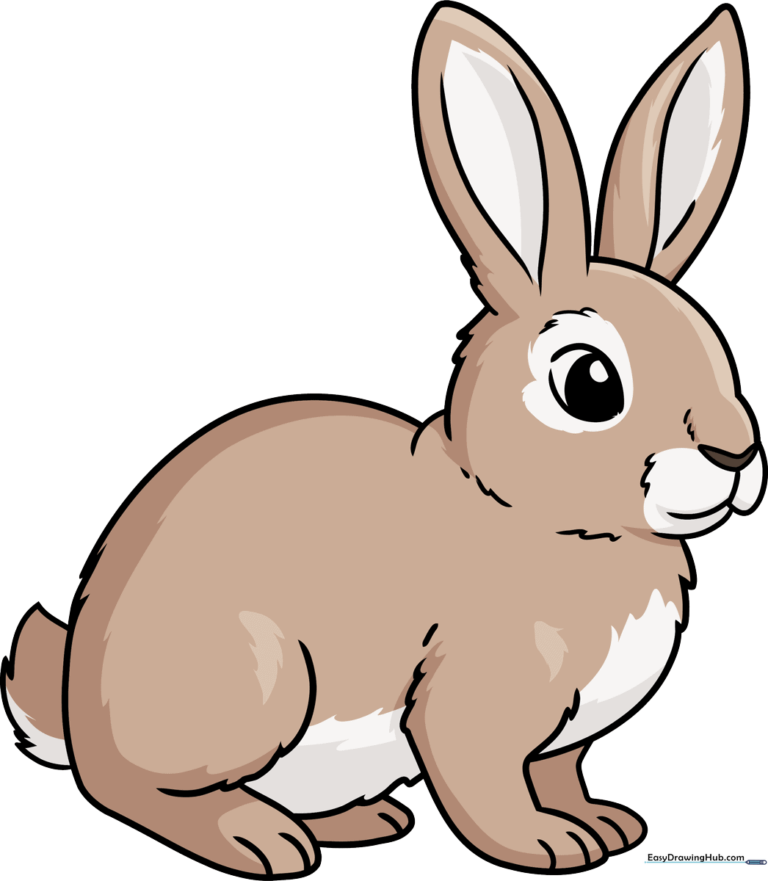
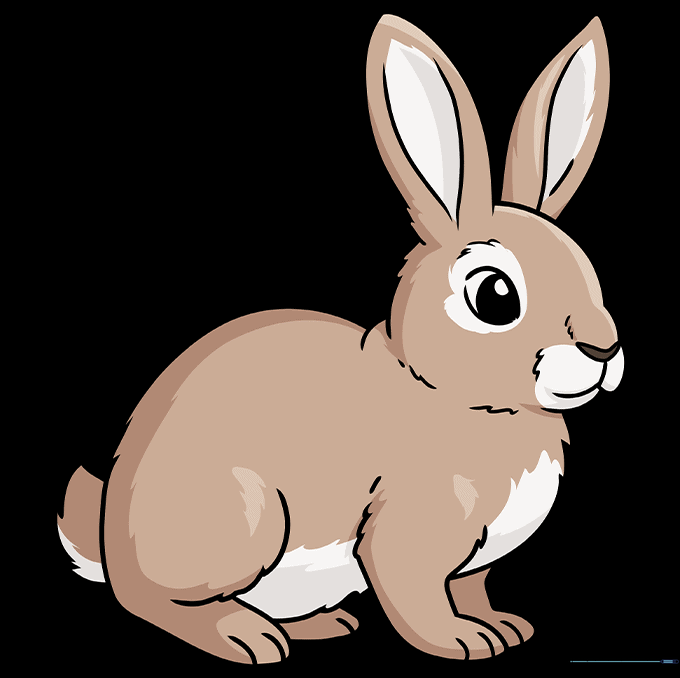
🎯 Final Result
Step-by-Step Instructions
Step 1: Sketching the Face and Eyes

Start by drawing two large, round eyes with a slight point at the corners. Inside each, add a curved line and shade the pupil. Add a small boomerang shape for the nose. Teacher's Tip: Keep your pencil pressure light so you can easily adjust the placement of the eyes before committing to the final lines.
Step 2: Adding the First Ear and Mouth
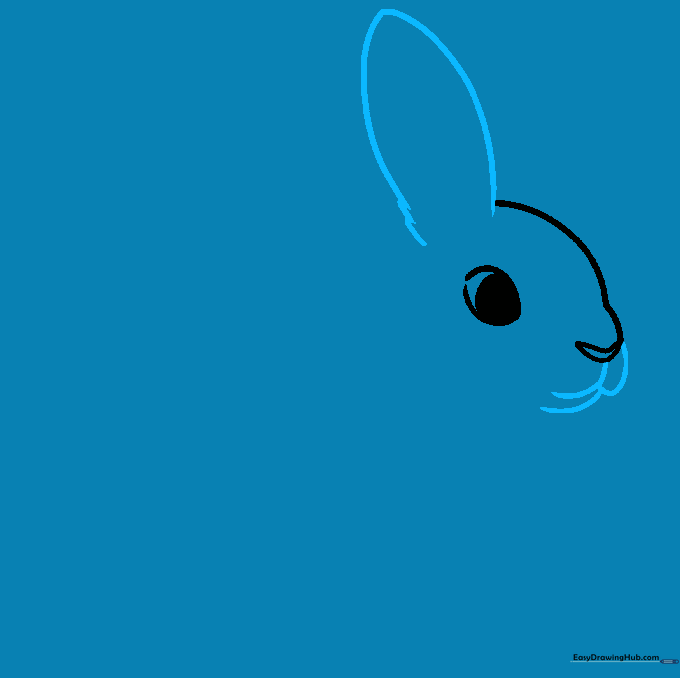
Draw one long ear using two curved lines that meet at a point. Use short, jagged strokes at the base to suggest soft fur. Below the nose, draw a rounded 'W' for the mouth and a curved line for the jaw. Teacher's Tip: Use quick, flicking motions with your pencil to make the fur look natural and fluffy.
Step 3: Drawing the Second Ear
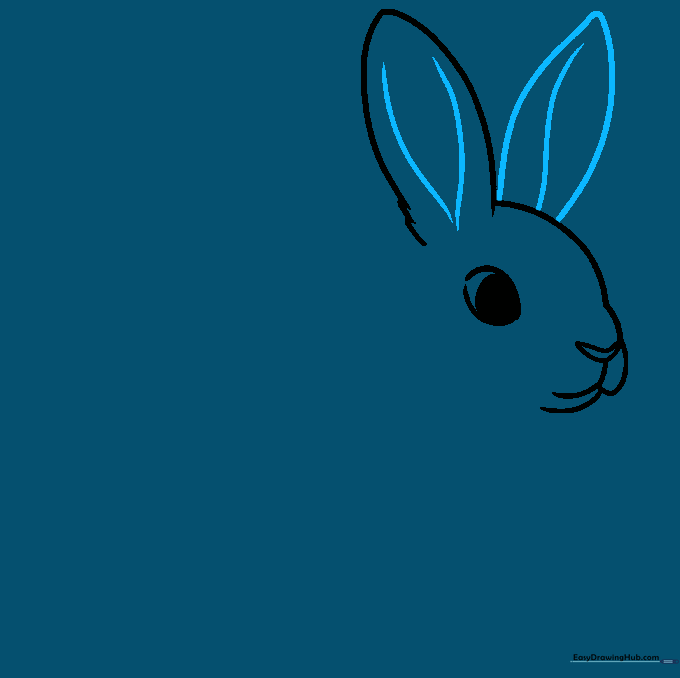
Mirror the first ear on the other side of the head. Add a curved line inside each ear to show depth. Teacher's Tip: Don't worry about making the ears perfectly symmetrical; real rabbits have ears that move and tilt in different directions!
Step 4: Shaping the Face and Shoulders
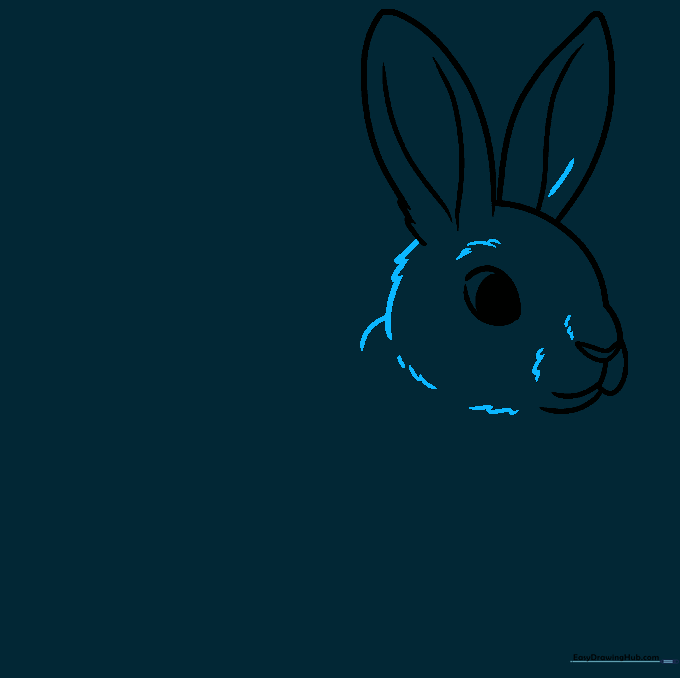
Use jagged, overlapping lines to outline the side of the face and shoulder. This creates a soft, furry look. Add small contours above the eyes. Teacher's Tip: Imagine you are drawing tiny 'V' shapes connected together to create that fuzzy texture.
Step 5: Defining the Chest
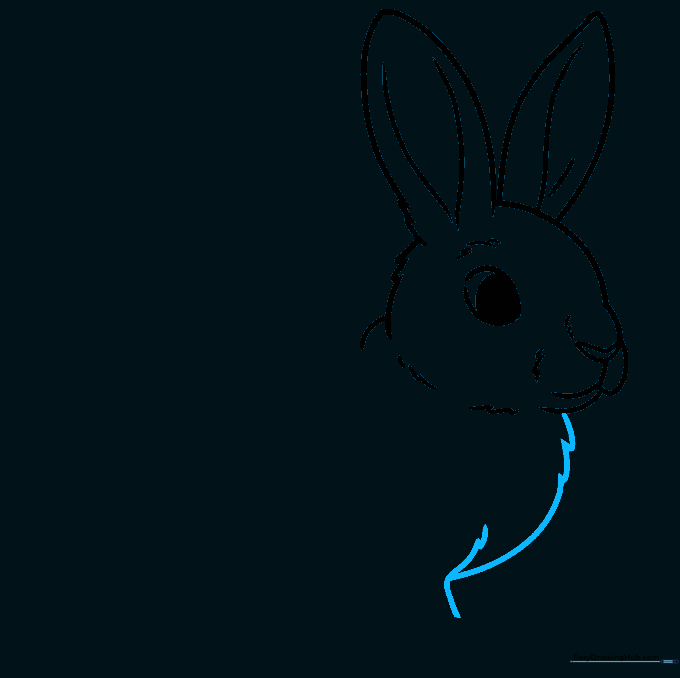
Continue the furry line down from the shoulder to form the chest and the top of the foreleg. Teacher's Tip: Keep your lines loose and bouncy to make the rabbit look energetic.
Step 6: Drawing the Front Leg
Outline the front leg with a long, smooth curve, adding small details for the toes at the bottom. Teacher's Tip: Adding those tiny toe lines makes the drawing look much more professional and complete.
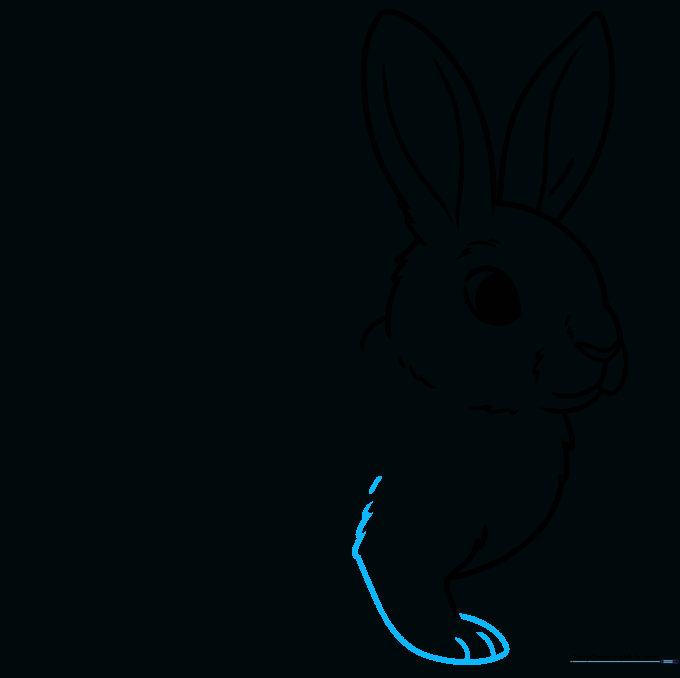
Step 7: Adding the Back and Rear Foot
Draw the second foreleg, then sweep a long curve from the shoulder to create the back and haunches. Fold the line back to form the rear foot. Teacher's Tip: The 'haunch' is the strongest part of the rabbit's leg—make it look nice and round!
Step 8: Belly and Foot Details

Connect the front and back legs with a belly line, using those same jagged fur strokes. Add small lines to the rear foot to define the toes. Teacher's Tip: Keep the belly line slightly curved upward to show the rabbit is sitting comfortably.
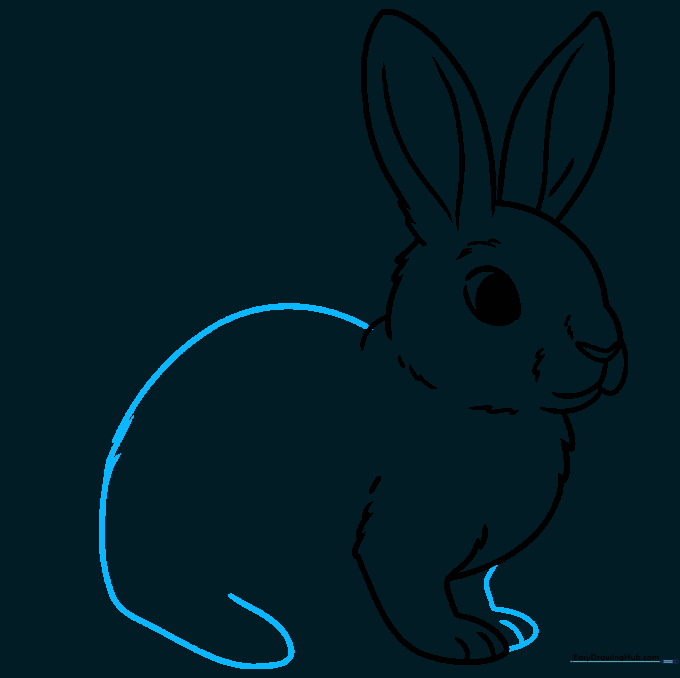
Step 9: Final Touches and Tail
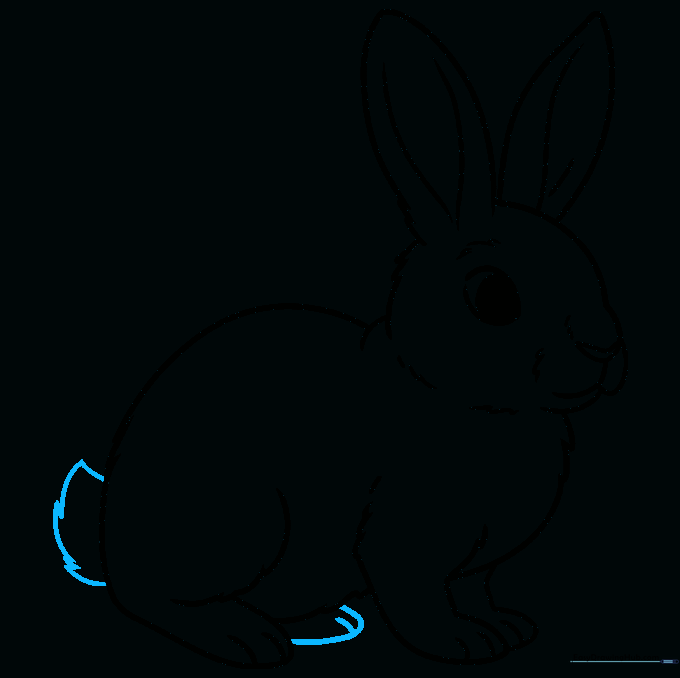
Complete the outline by adding the final rear foot and a small, fluffy tail. Use jagged lines for the tail to make it look soft. Teacher's Tip: A quick, sharp flick of the pencil makes the best tail tip!
Step 10: Bringing Your Rabbit to Life with Color
Now for the fun part! Color your rabbit. You can go for natural browns and greys, or get creative with your favorite colors. Teacher's Tip: Try using light, circular motions with your colored pencils to create a soft, blended fur effect.
More Tutorials


