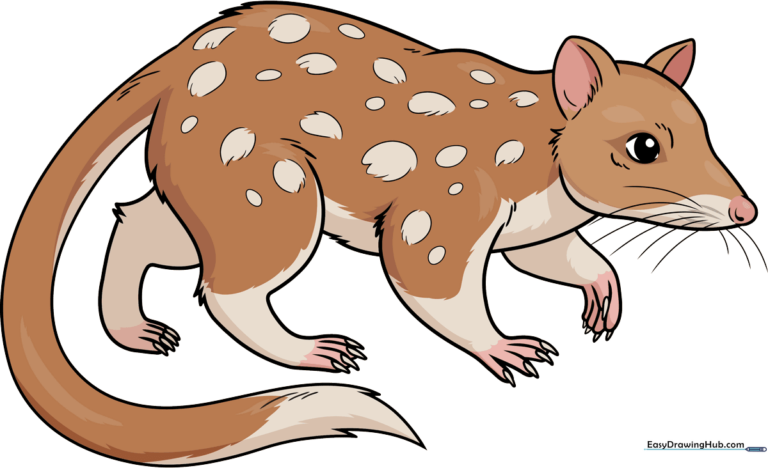
How to Draw a Quoll: Easy 9-Step Guide for Kids
Bring this unique Australian marsupial to life with our easy-to-follow drawing guide, perfect for young artists ages 6 and up. You will only need a pencil, an eraser, and a piece of paper to master this cute character. Follow along to develop your sketching confidence and learn how to add realistic fur textures.
🎯 Final Result
Step-by-Step Instructions
Step 1: Sketching the Face and Ear
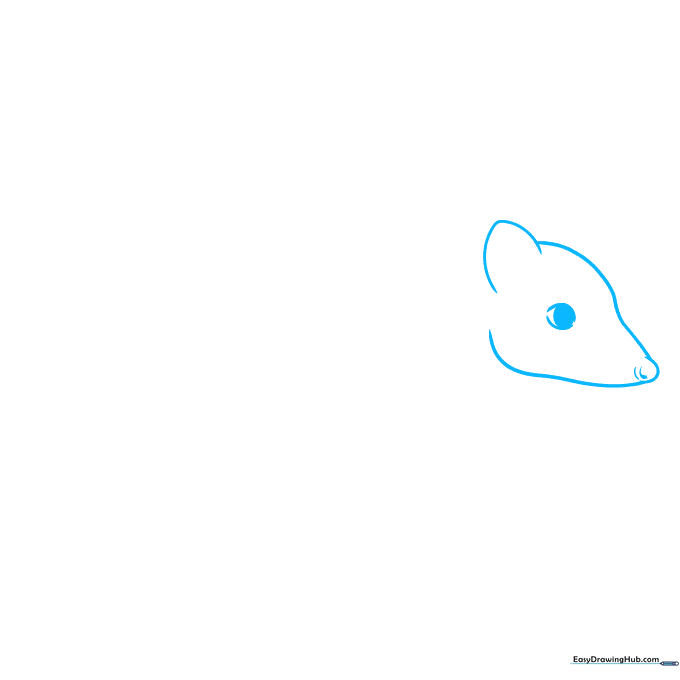
Start by drawing the quoll's face using soft, curved lines for the nose and a small oval for the eye. Tip: Keep your pencil pressure light so you can easily adjust the shape of the ear later if needed.
Step 2: Defining the Head Shape
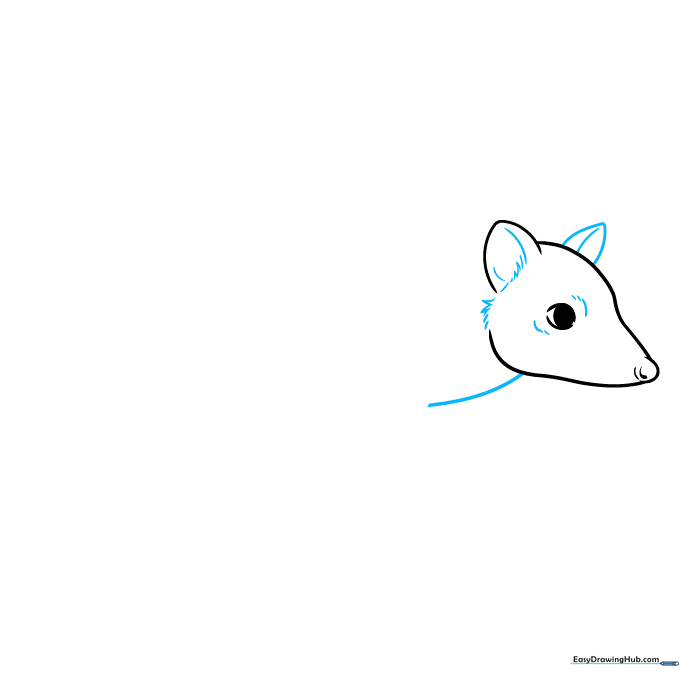
Enclose the second ear with a triangular curve and extend the neck line downward. Tip: Add tiny, quick strokes around the edge of the face to mimic the look of soft fur.
Step 3: Sketching the Back and Foreleg
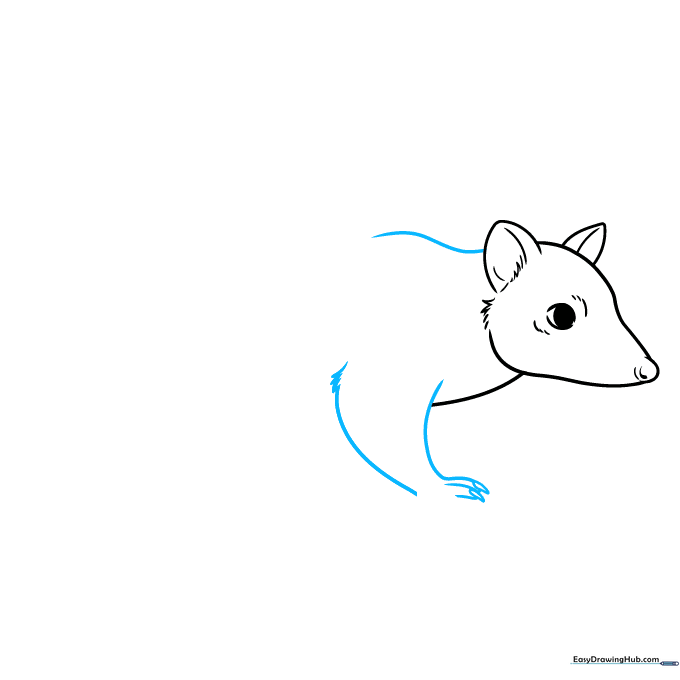
Draw a long, smooth curve for the back, transitioning into the foreleg. Tip: Use jagged, zigzag lines at the top of the leg to create a natural-looking fur tuft.
Step 4: Adding the Belly and Rear Leg

Connect the belly using a series of short, overlapping lines. Tip: When drawing the toes, use small teardrop shapes to give the paws a realistic, rounded appearance.
Step 5: Drawing the Paws
Complete the rear foot and draw the front paw as if it is mid-step. Tip: Focus on the 'teardrop' technique for the claws; it makes the feet look much more professional.
Step 6: Finalizing the Legs

Finish the front paw and define the remaining rear leg with long, fluid lines. Tip: Use short, quick strokes near the joints to suggest muscle and fur movement.
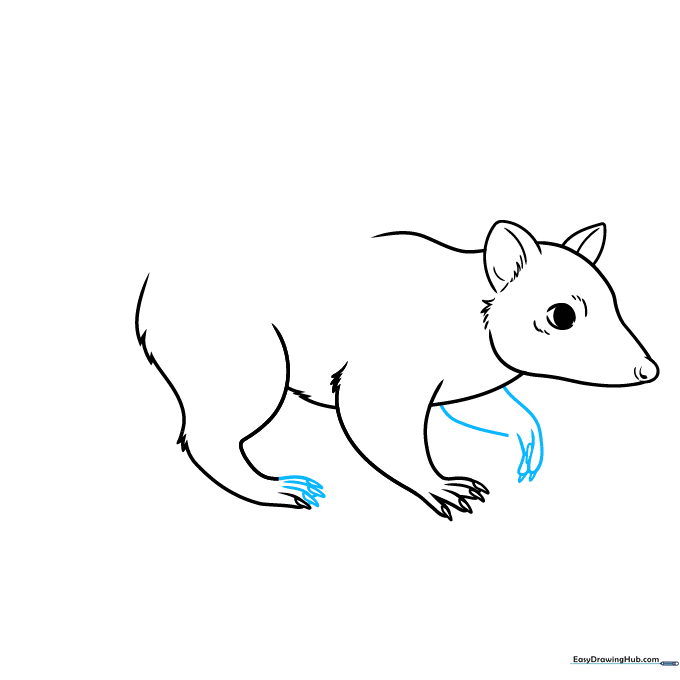
Step 7: The Tail and Whiskers
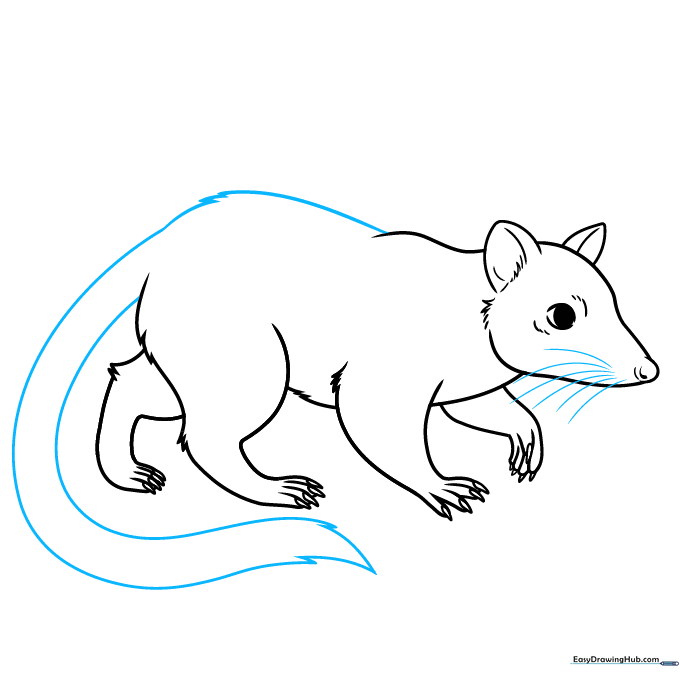
Draw a long, sweeping tail and add delicate whiskers near the snout. Tip: Make the whiskers thin and slightly curved to give the quoll a lively, alert expression.
Step 8: Adding Signature Spots
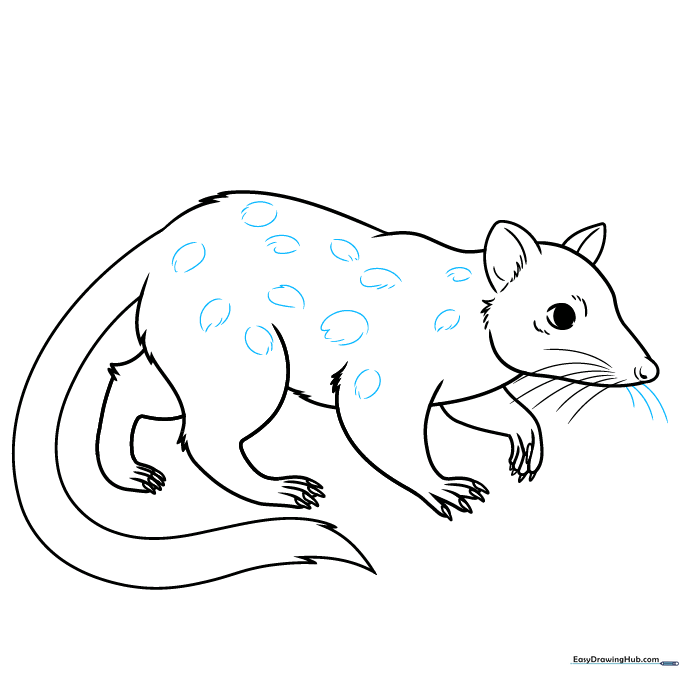
Add the quoll's iconic spots using small, incomplete circles along the back. Tip: Vary the size of the spots to make the pattern look natural rather than perfectly uniform.
Step 9: Final Textures
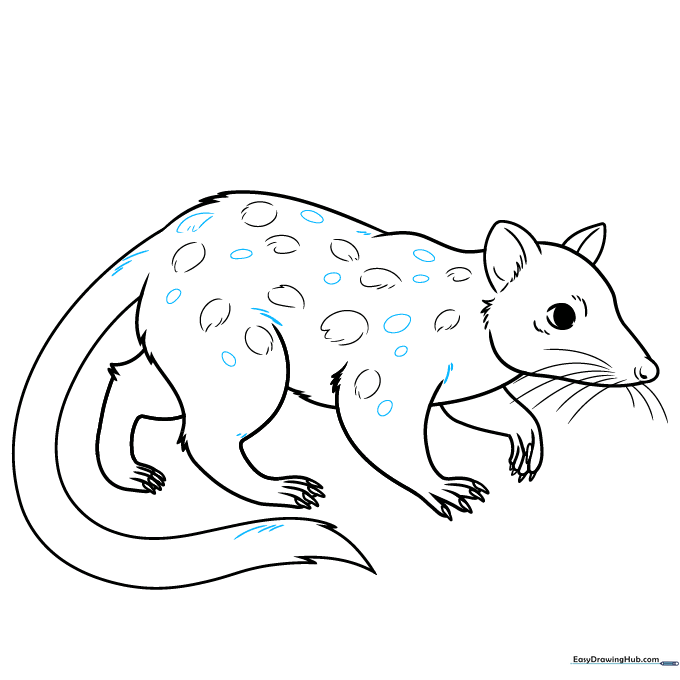
Add final details by sketching short, light lines across the body to create a furry texture. Tip: Don't overdo it—a few well-placed lines are better than too many messy ones!
Step 10: Color Your Quoll
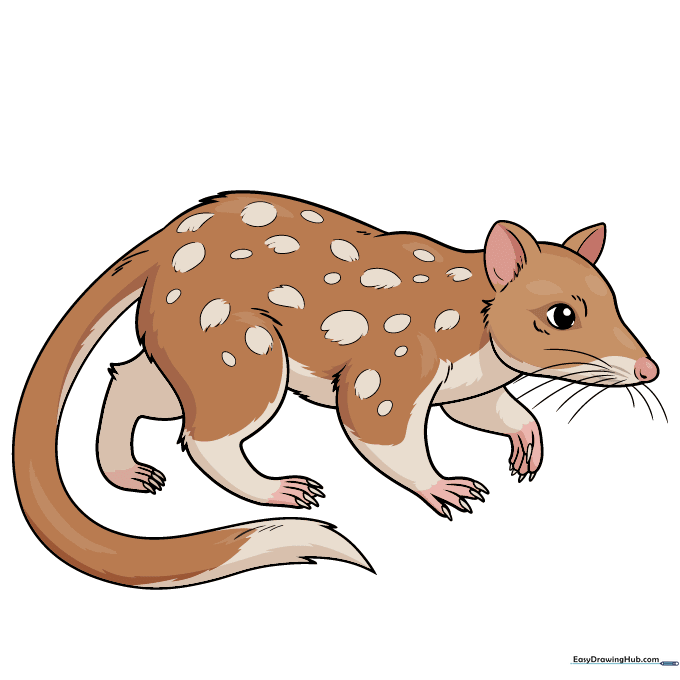
Bring your quoll to life with color! Use shades of brown, gray, or reddish-orange for the fur, and keep the spots white. Tip: Use a light touch with your colored pencils to blend the colors smoothly.
More Tutorials


