How to Draw a Quetzal: Easy 9-Step Bird Tutorial
Bring the vibrant colors of the rainforest to your sketchbook! This tutorial is designed for young artists and beginners, requiring only a pencil, eraser, and paper. Follow these simple steps to master the unique profile and long, flowing tail feathers of the Resplendent Quetzal.
🎯 Final Result

Step-by-Step Instructions
Step 1: Sketching the Head and Beak
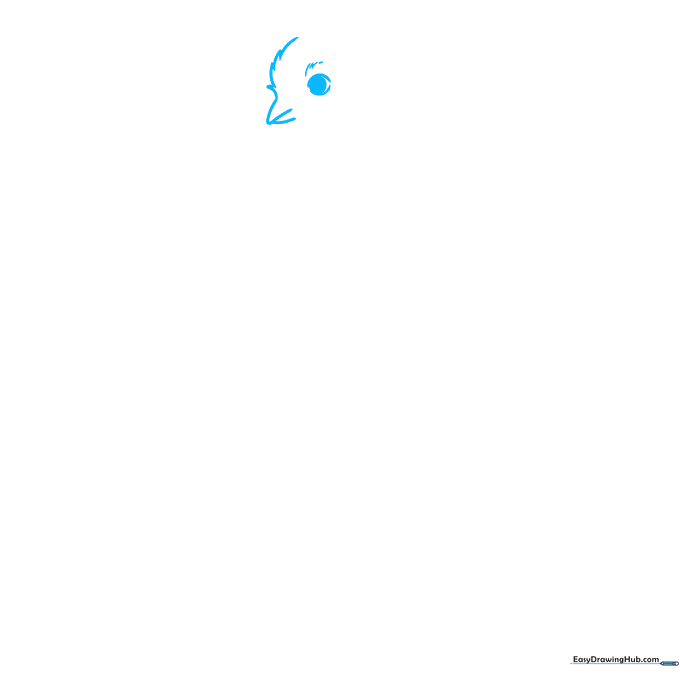
Start by drawing the bird's face using short, curved lines that meet at sharp points to form the beak. For the eye, draw a small circle within a circle and shade the center. Teacher's Tip: Keep your pencil pressure light here; the eye is the focal point, so take your time to get the placement just right.
Step 2: Defining the Head and Chest
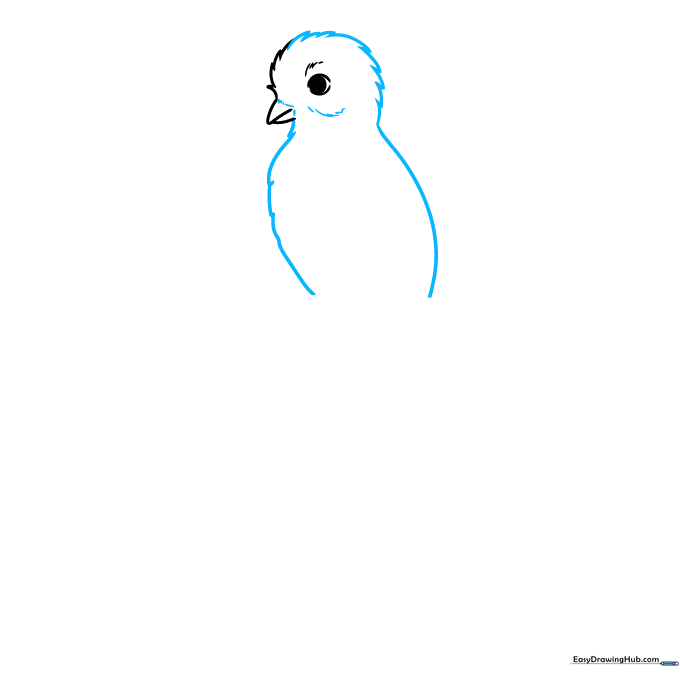
Continue using short, jagged strokes to outline the back of the head and the chest. Use a long, smooth curved line for the back. Teacher's Tip: Use quick, flicking motions with your wrist to create the look of soft feathers.
Step 3: Adding Wing Details
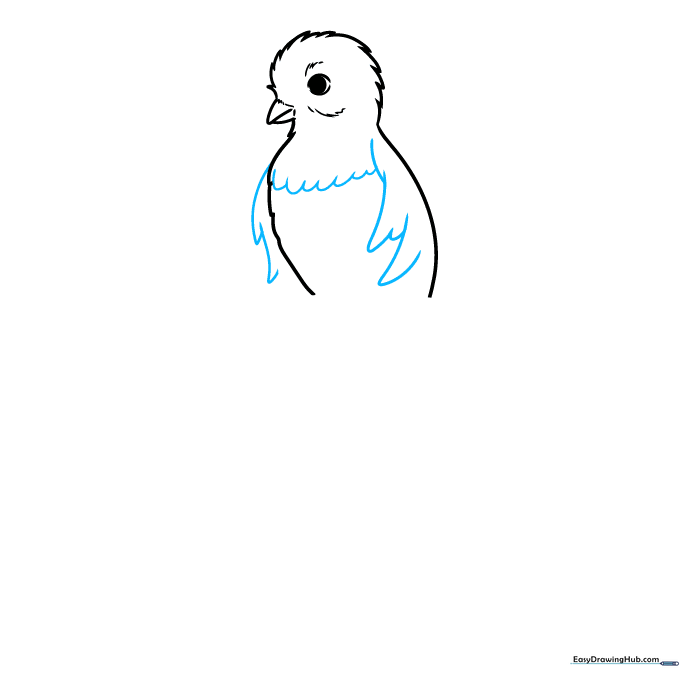
Use a series of 'U' shaped lines to suggest the folded wings and create a clear border between the chest and the belly. Teacher's Tip: Think of these 'U' shapes as overlapping scales or feathers to give your bird depth.
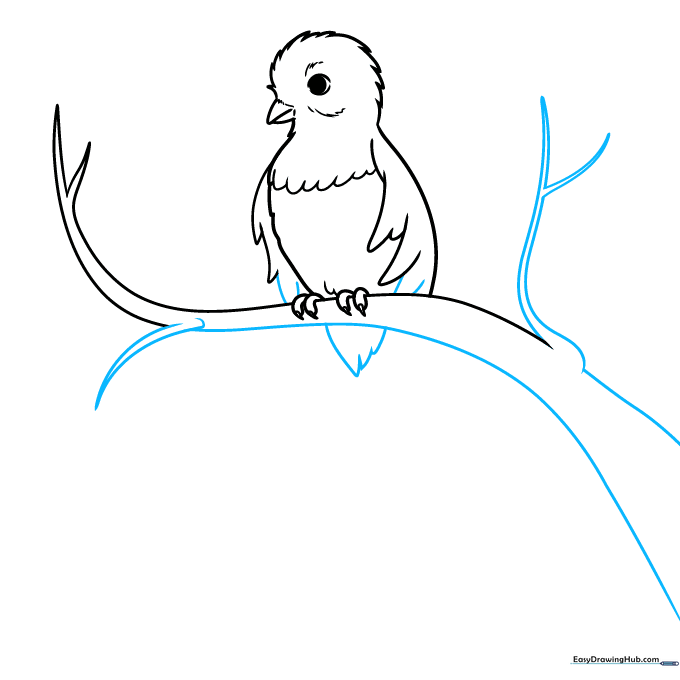
Step 4: Drawing the Perch
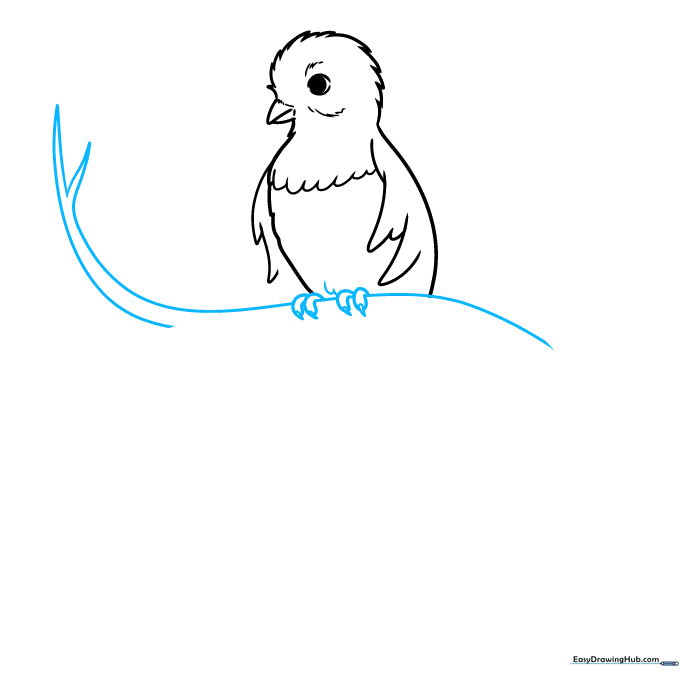
Draw a 'Y' shaped branch using long, curved lines. Add small teardrop shapes for the claws gripping the wood. Teacher's Tip: Make the branch look natural by adding slight bumps and variations in the line thickness.
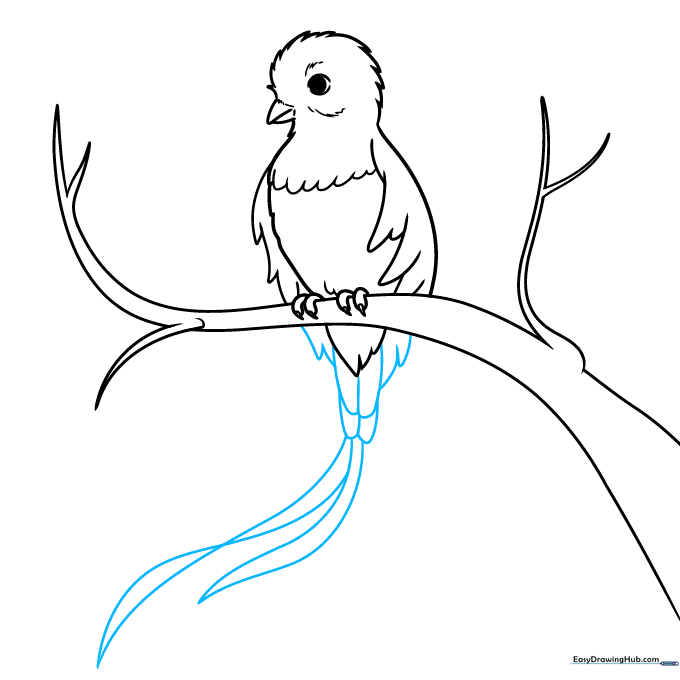
Step 5: Extending the Wings and Tail Base
Continue the branch and sketch the base of the tail feathers beneath it. Use pairs of lines that meet at points for the wing tips. Teacher's Tip: Ensure the tail base connects smoothly to the body so the bird looks balanced.
Step 6: The Majestic Tail Feathers
Use overlapping 'U' shapes for the upper tail, then draw two long, sweeping curved lines that cross over each other for the signature tail feathers. Teacher's Tip: Let your hand move freely to create these long curves—the more fluid the line, the more graceful the bird will look.
Step 7: Adding Texture
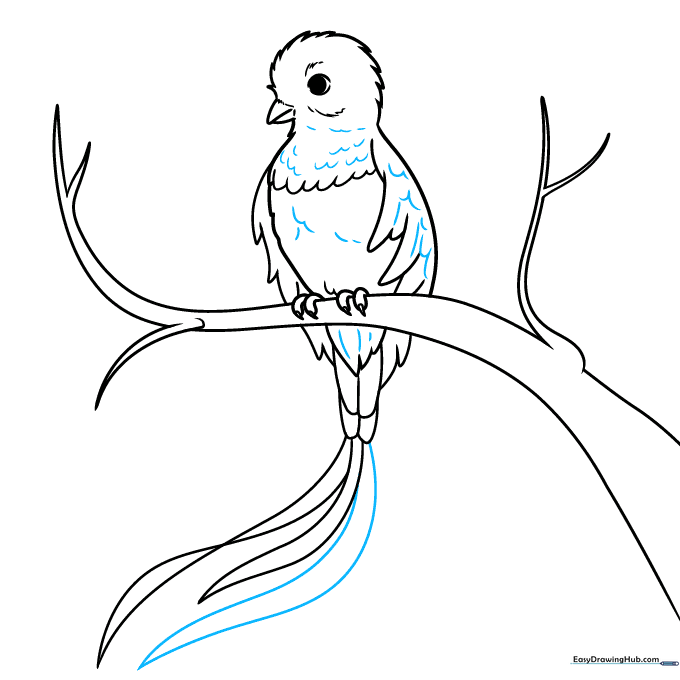
Add one more long tail feather and use curved lines along the body to suggest feather texture. Teacher's Tip: Vary the length of your texture lines to make the feathers look realistic and layered.
Step 8: Adding Foliage
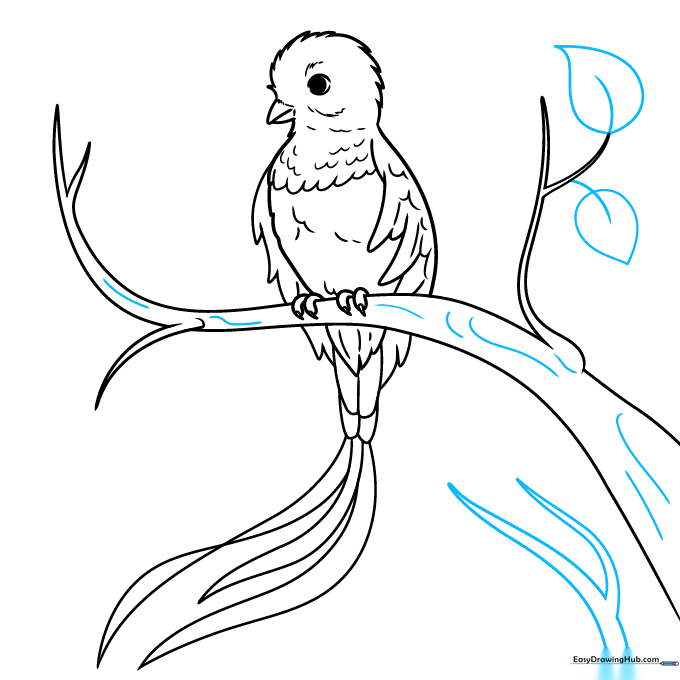
Draw another branch and add leaves using a central vein line with a teardrop shape around it. Teacher's Tip: Don't make all the leaves the same size; variety makes your drawing look more like a real rainforest scene.
Step 9: Final Touches
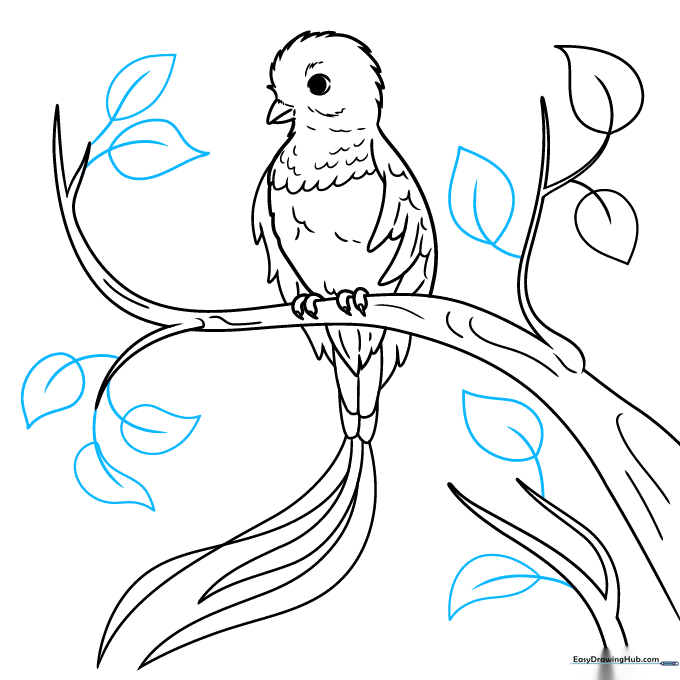
Add a few more leaves to fill out the composition. Check your lines and erase any unnecessary construction marks. Teacher's Tip: Step back from your drawing to see if you want to add any extra detail to the bark or leaves before coloring.
Step 10: Bringing it to Life with Color

Color your Quetzal! Use vibrant bluish-green for the body, a bright red for the belly, and white for the base of the tail. Teacher's Tip: Use light pressure for the white areas and build up the green and red colors in layers for a rich, professional look.
More Tutorials


