How to Draw a Quail: Easy 10-Step Guide for Kids
Ready to bring a charming quail to life? This tutorial is perfect for young artists ages 5 and up. Grab your favorite pencil, an eraser, and some paper to practice these simple shapes and build your confidence in drawing woodland birds.
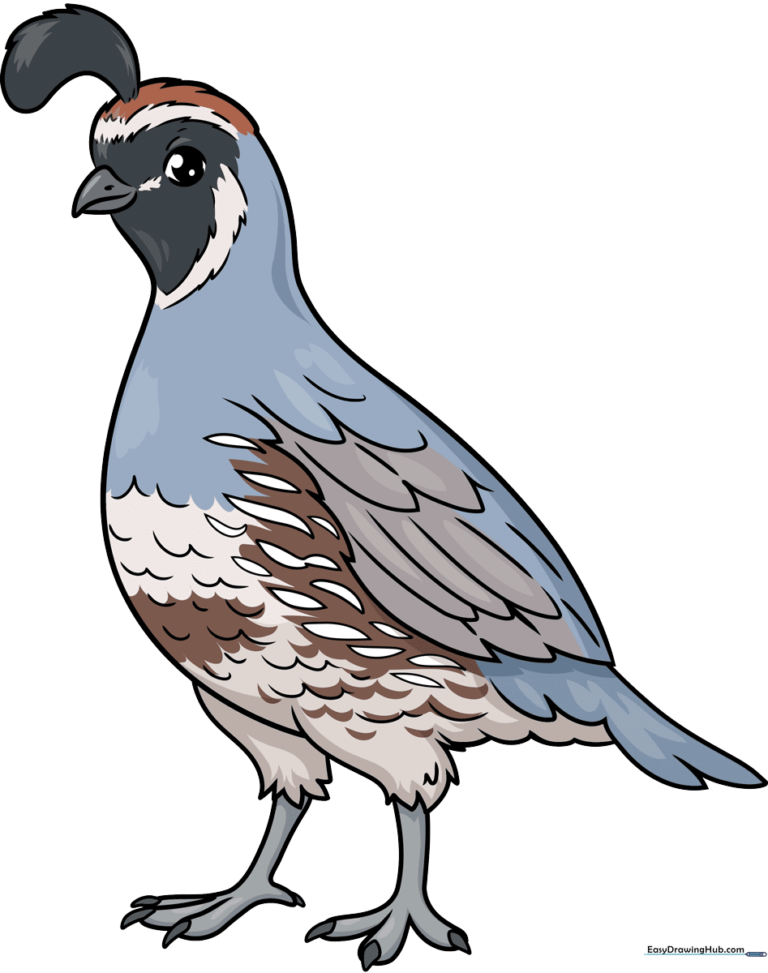
🎯 Final Result
Step-by-Step Instructions
Step 1: Sketching the Beak and Eye
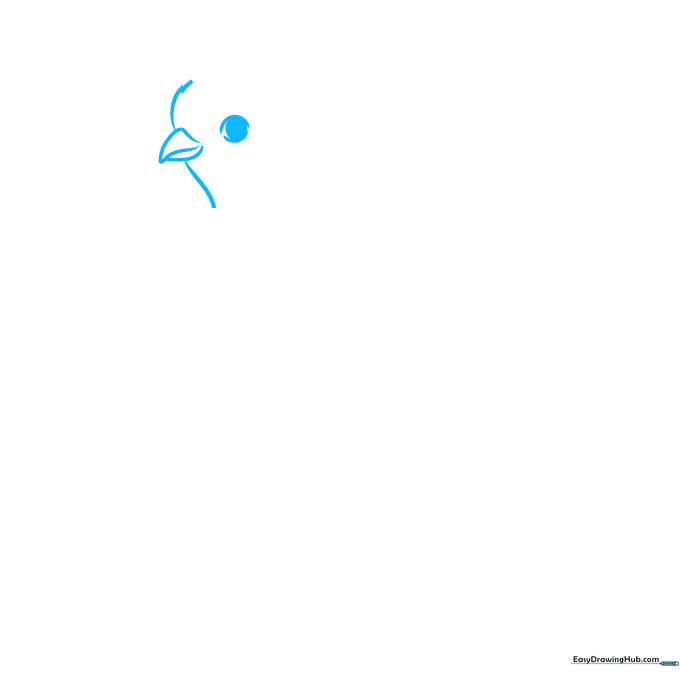
Start by drawing a small triangle for the upper beak and a curved line for the lower beak. Add a small, shaded circle for the eye. Teacher's Tip: Keep your pencil pressure light so you can easily adjust the beak shape if it looks a bit crooked!
Step 2: Adding the Iconic Head Plume
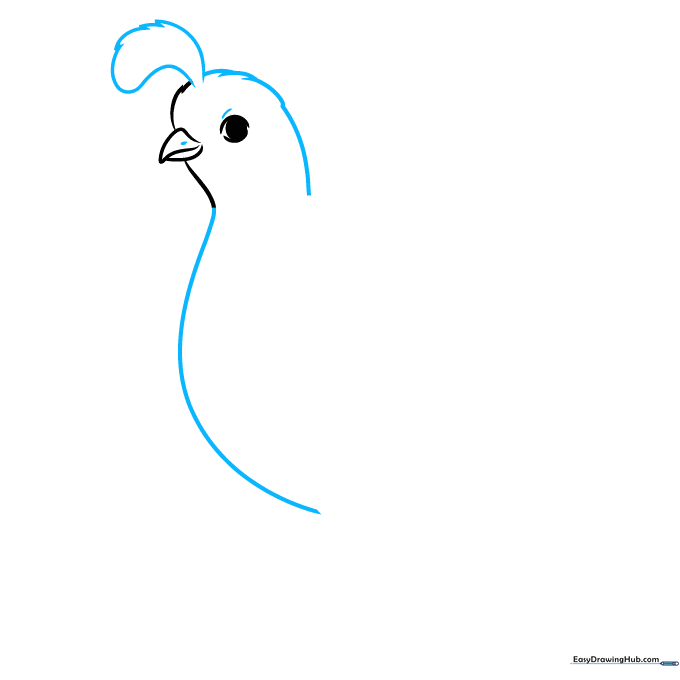
Extend the neck lines and draw the quail's signature head plume using jagged, curved lines that loop back. Teacher's Tip: The plume is the quail's 'crown'—make it look bouncy and light!
Step 3: Shaping the Back and Legs
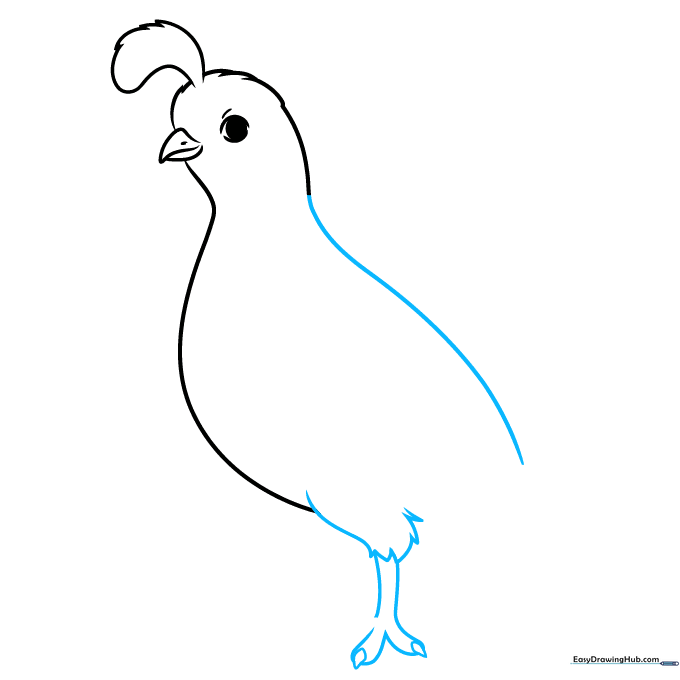
Draw a long, smooth curve for the back and start the legs using jagged lines to suggest fluffy feathers. Teacher's Tip: Use short, quick strokes for the 'fluffy' parts to make the bird look soft.
Step 4: Defining the Feet
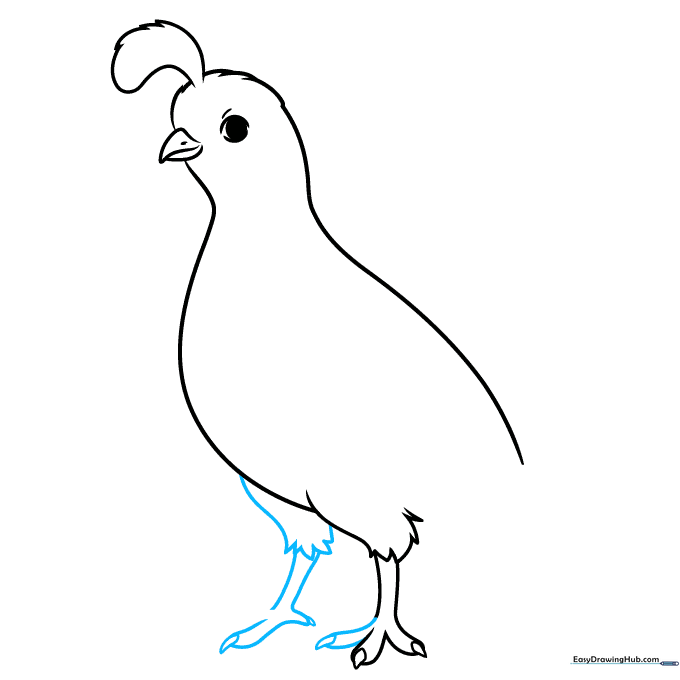
Add the second leg and finish the toes using small teardrop shapes for the claws. Teacher's Tip: Think of the toes as little 'V' shapes to help keep them balanced.
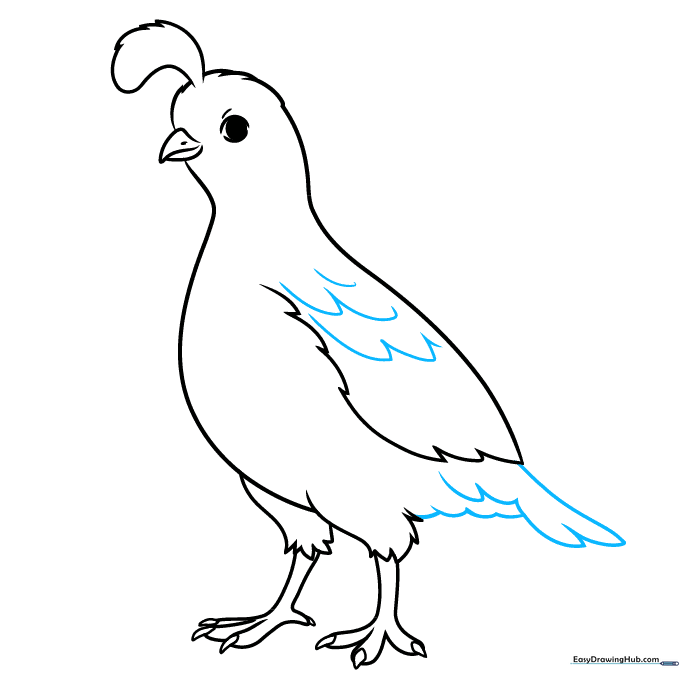
Step 5: Sketching the Wing

Outline the wing using jagged, curved lines to mimic the look of folded feathers. Teacher's Tip: Don't worry about making every line perfect; nature is rarely perfectly symmetrical!
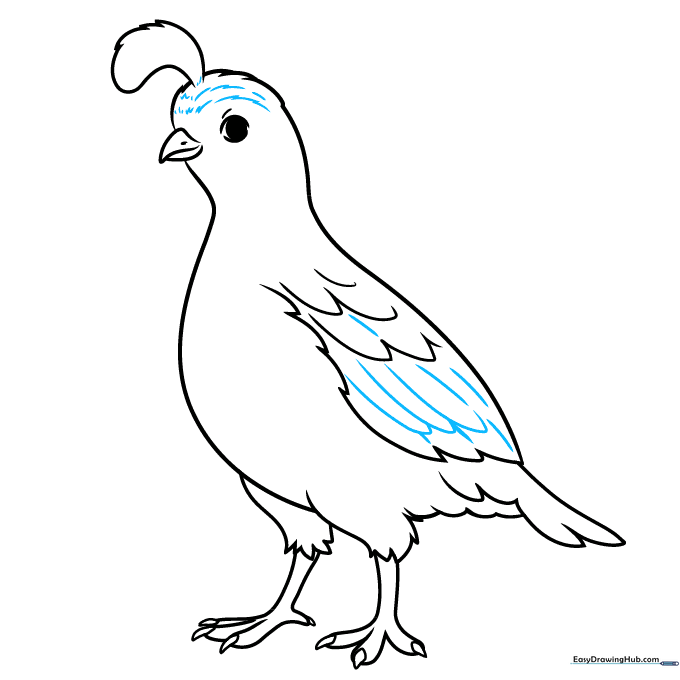
Step 6: Adding Feather Texture
Use connected 'U' shapes to create a layered feather pattern on the wing and tail. Teacher's Tip: This repetitive motion is great for practicing steady hand control.
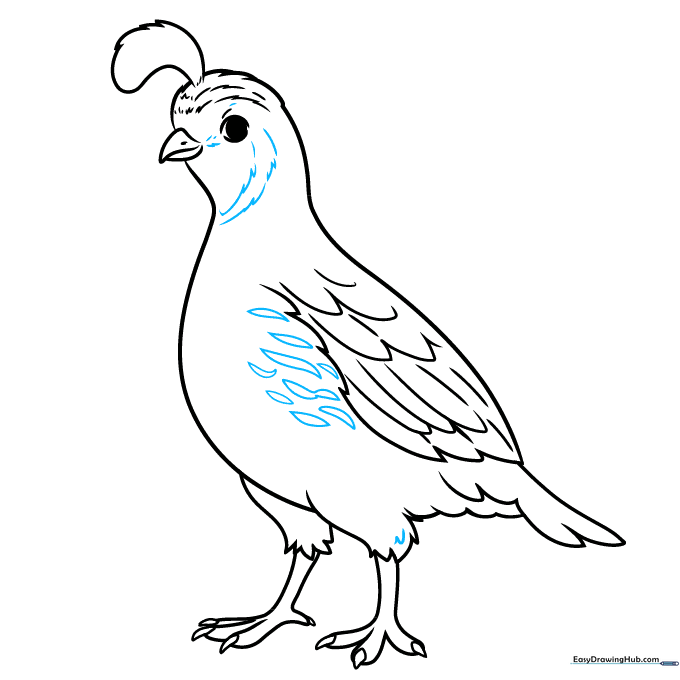
Step 7: Refining the Face Markings
Add more overlapping lines to the wing and create a stripe across the face using jagged lines. Teacher's Tip: These markings give the quail its unique personality, so take your time.
Step 8: Adding Final Details
Extend the face stripe and add pointed shapes near the wing to create depth. Teacher's Tip: Small details like these make your drawing look much more professional.
Step 9: Completing the Belly
Finish the belly feathers with more 'U' shapes and pointed accents. Teacher's Tip: Ensure your lines are consistent to make the bird look cohesive.
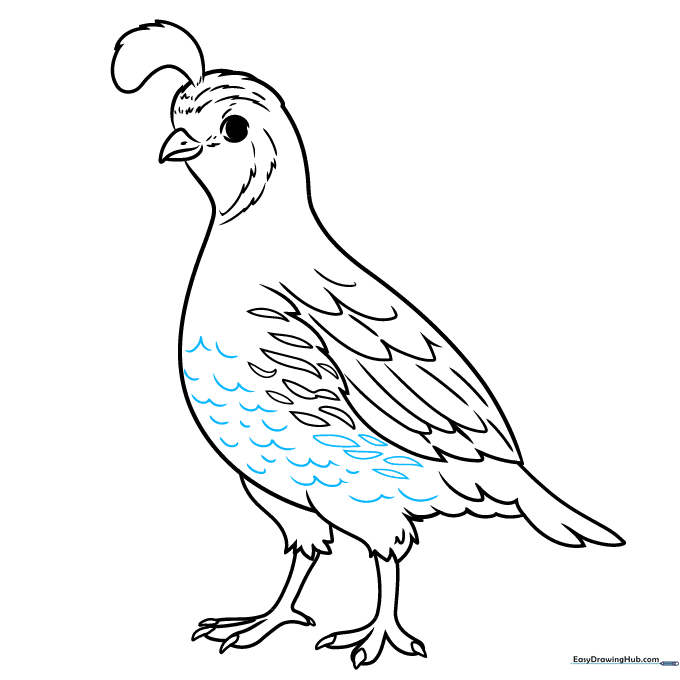
Step 10: Bring Your Quail to Life with Color
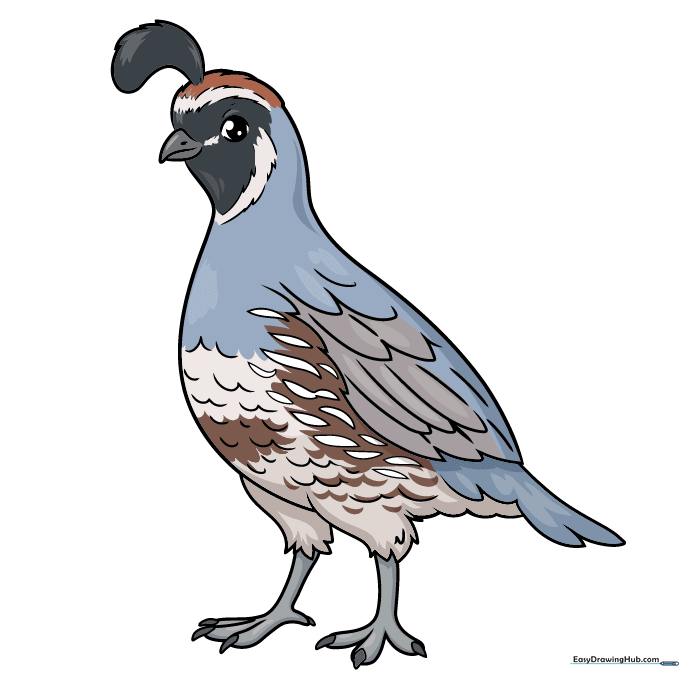
Your outline is complete! Now, use earthy tones like brown, cream, and gray to color your quail. Teacher's Tip: Try using light pressure for the cream areas and darker, bolder strokes for the black markings to create contrast.
More Tutorials


