How to Draw a Pyramid: Easy 10-Step Guide for Kids
Bring the wonders of Ancient Egypt to your sketchbook with this simple pyramid drawing tutorial. Designed for ages 5 and up, this activity uses basic geometric shapes to build confidence in perspective. All you need is a pencil, an eraser, and a piece of paper to get started.
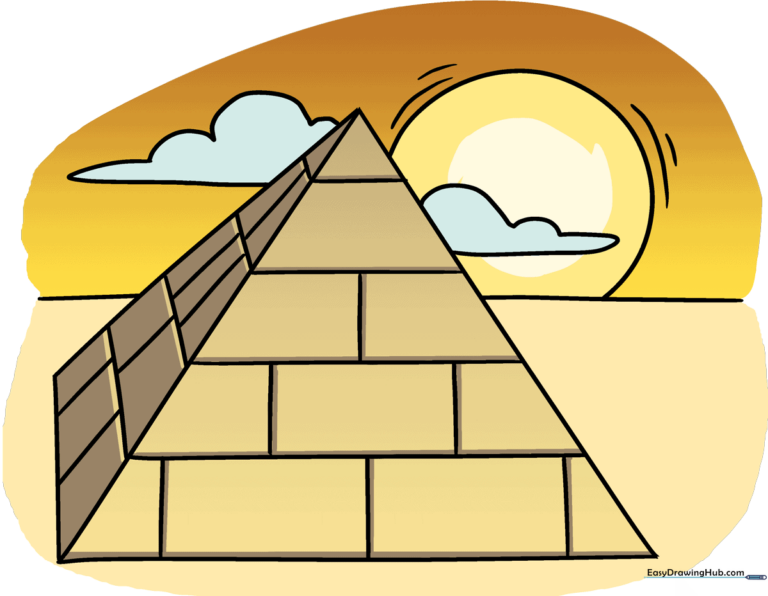
🎯 Final Result
Step-by-Step Instructions
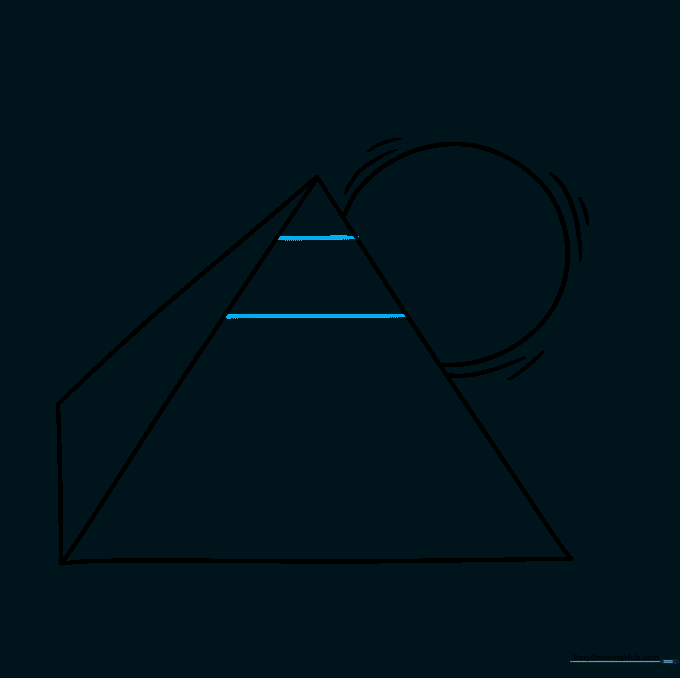
Step 1: Sketching the Front Face
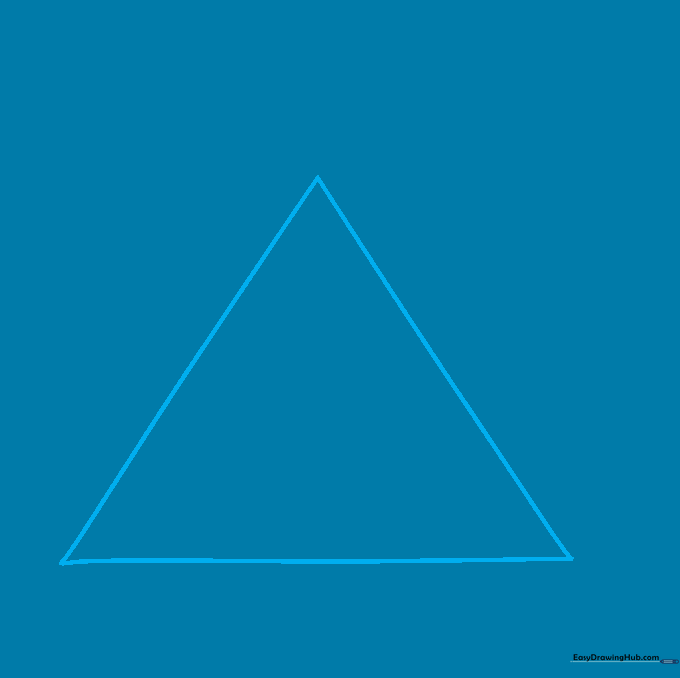
Draw a large triangle to represent the front face of the pyramid. Teacher's Tip: Use a light touch with your pencil so you can easily adjust the shape if your lines aren't perfectly straight the first time.
Step 2: Adding Depth
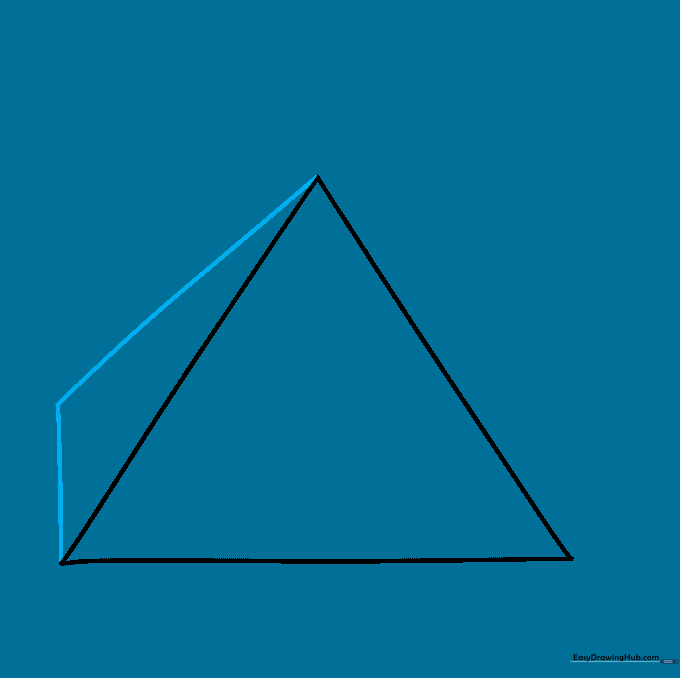
Draw two straight lines extending from the top point to create a second triangle on the side. Teacher's Tip: Keep the angle of these lines sharp to give your pyramid a sturdy, three-dimensional look.
Step 3: Sketching the Desert Sun
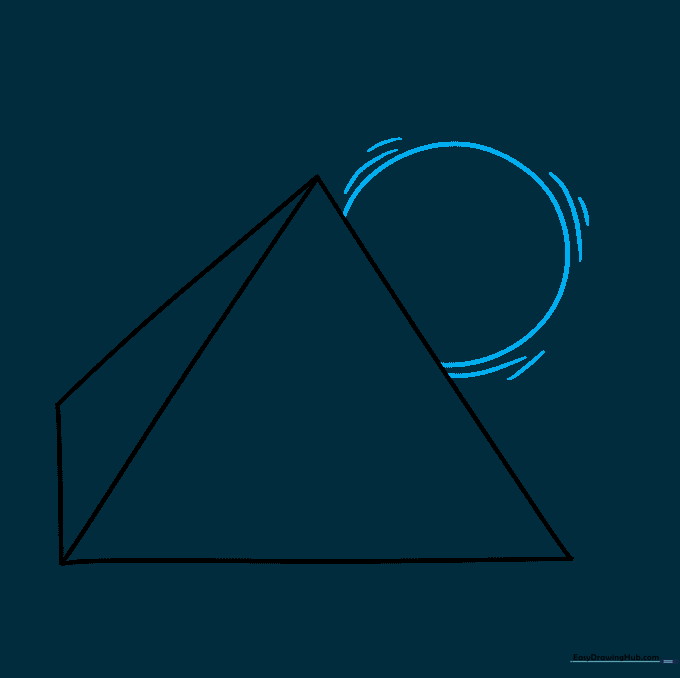
Add a semi-circle near the horizon line to represent the sun, and draw small curved lines around it to show heat waves. Teacher's Tip: Use a light, shaky hand for the heat waves to make them look like shimmering air.
Step 4: Creating Stone Layers
Draw horizontal lines across the top section of the pyramid to suggest stone layers. Teacher's Tip: Space these lines closer together near the top and wider as you move down to create a sense of perspective.
Step 5: Adding Stone Blocks
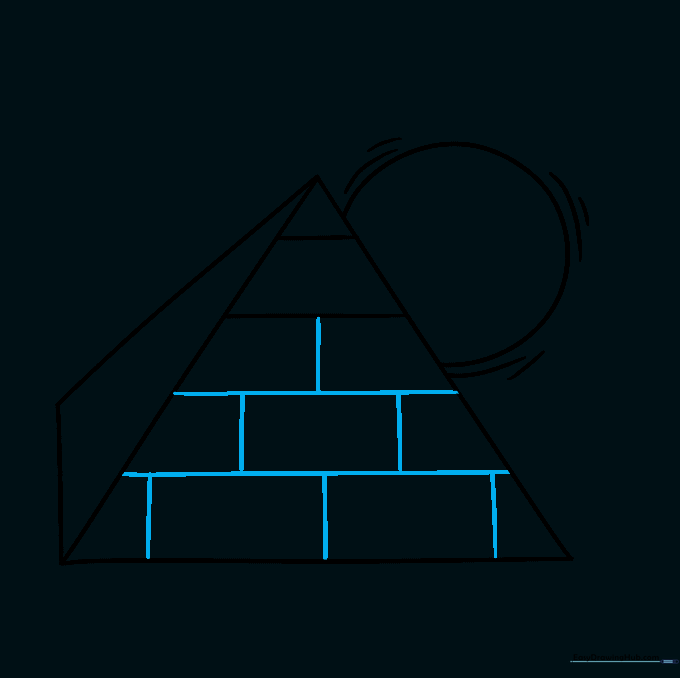
Continue the horizontal lines down the face and add short vertical lines to form blocks. Teacher's Tip: Offset your vertical lines in each row—like a brick wall—to make the structure look more realistic.
Step 6: Detailing the Side Face
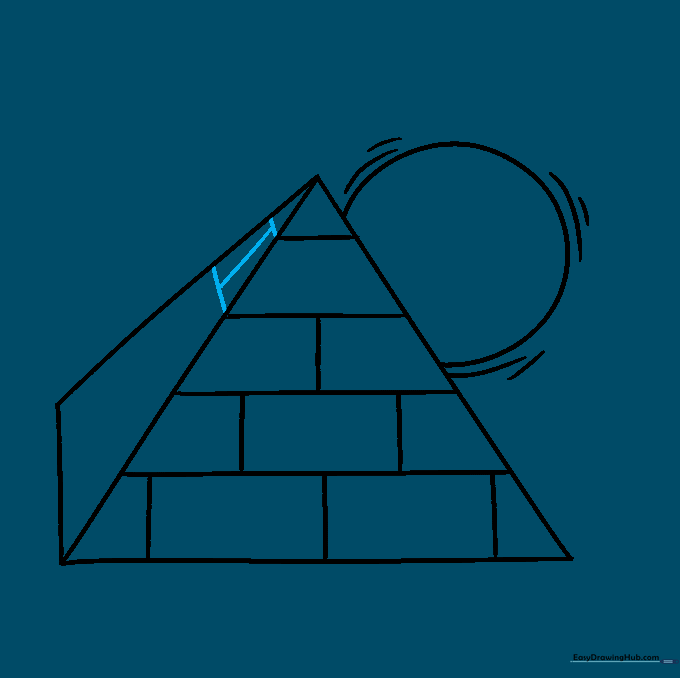
Draw diagonal lines on the side face that align with your horizontal lines. Teacher's Tip: Use a ruler if you find it tricky to keep these lines consistent with the front face.
Step 7: Completing the Stone Texture
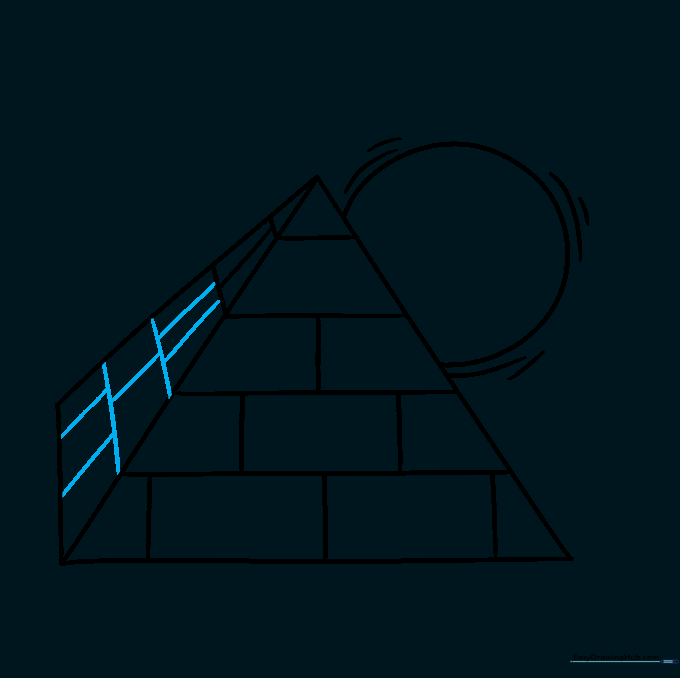
Fill in the side face with vertical lines to complete the block pattern. Teacher's Tip: Don't worry if the lines aren't perfectly spaced; ancient stones were often irregular!
Step 8: Setting the Horizon
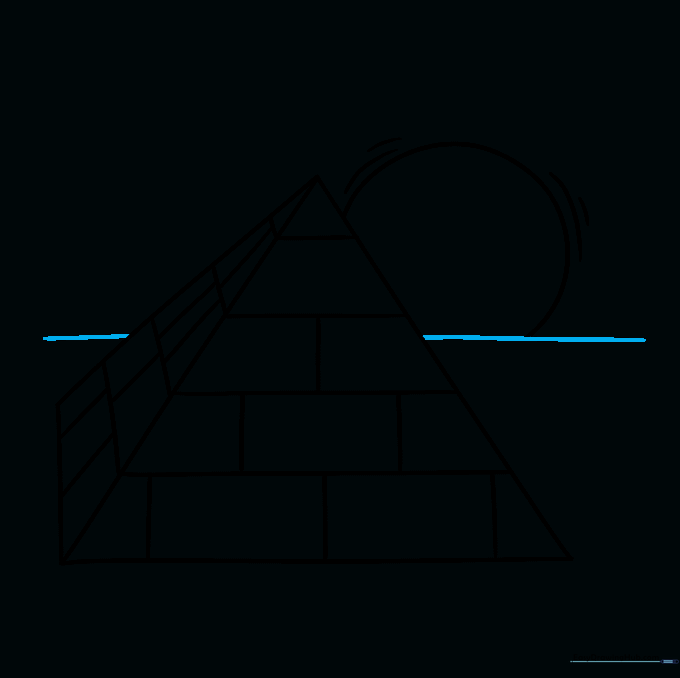
Draw a straight horizontal line behind the pyramid and erase the portion of the sun that dips below it. Teacher's Tip: This creates a clean 'ground' for your drawing to sit on.
Step 9: Adding Atmosphere
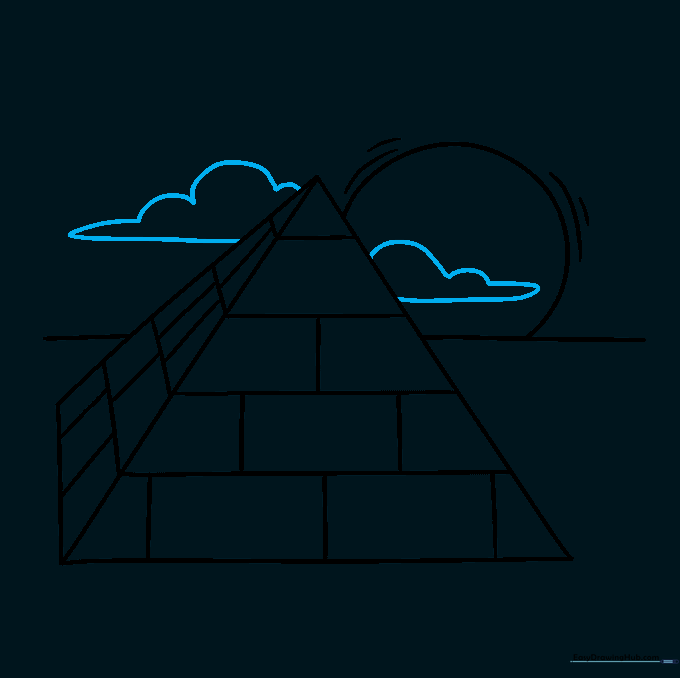
Add a few fluffy clouds in the sky using connected, soft curves. Teacher's Tip: Keep the clouds simple so they don't distract from the main subject—the pyramid.
Step 10: Adding Color
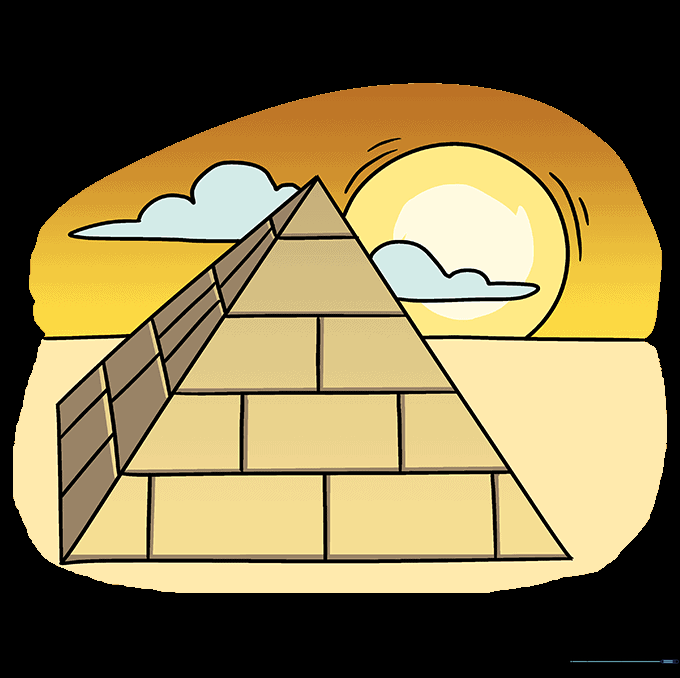
Bring your drawing to life with tan, gold, or sandy yellow colors. Teacher's Tip: Did you know pyramids were once covered in bright white limestone? Try coloring yours white with a light blue shadow to see how they might have looked in history!
More Tutorials


