How to Draw a Puppy: Easy 10-Step Guide for Kids
Looking for a fun, screen-free activity? This step-by-step guide is perfect for children ages 5+ to learn how to draw a playful puppy. All you need is a pencil, an eraser, and a piece of paper to bring your furry friend to life.
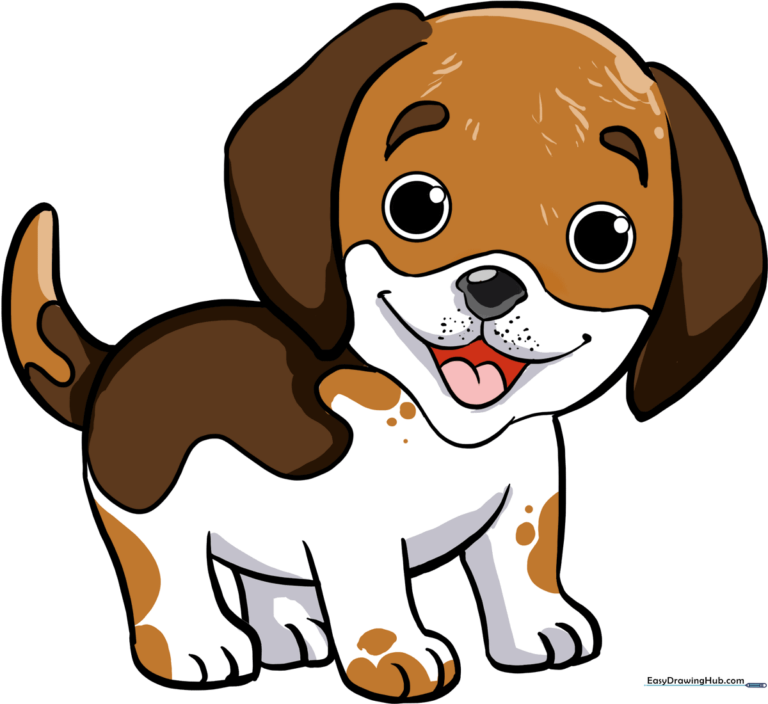
🎯 Final Result
Step-by-Step Instructions
Step 1: Sketching the Head and Ear

Draw a light, incomplete circle for the head. Add a floppy ear by drawing two curved lines that overlap the side of the head. Teacher's Tip: Keep your pencil lines faint so you can easily erase any overlap later.
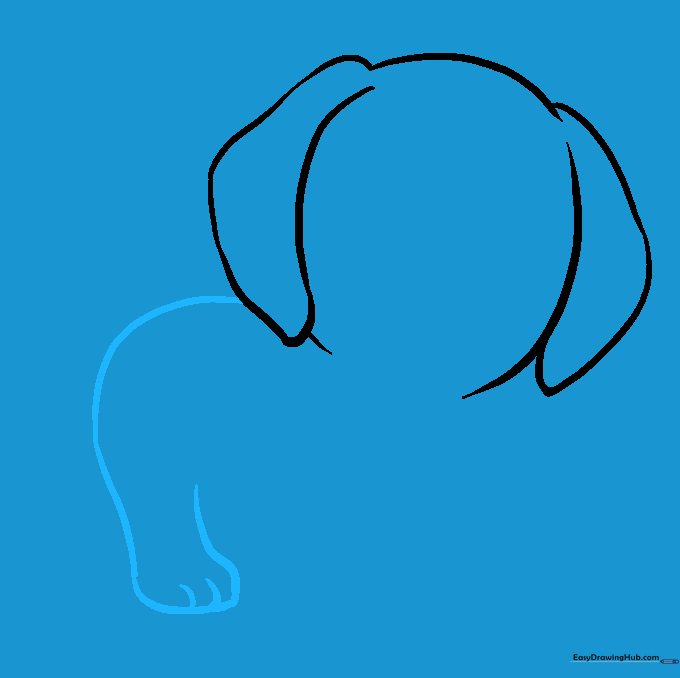
Step 2: Adding the Second Ear

Draw a matching curved shape on the opposite side of the head for the second ear. Tip: Try to make the ears symmetrical to give your puppy a balanced, friendly look.
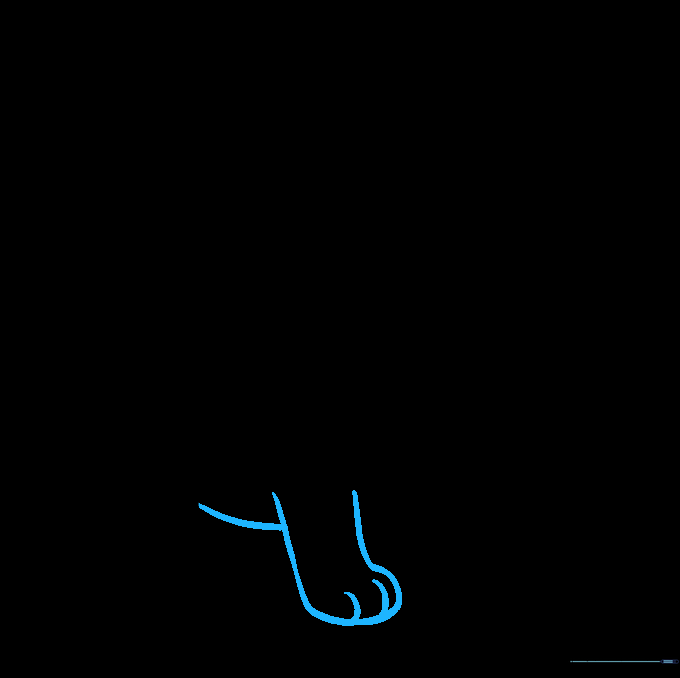
Step 3: Shaping the Back and Rear Leg
Use a long, smooth curve to draw the puppy's back and hip. Loop the line back to form the rear leg and paw. Add tiny curved lines at the bottom for toes. Tip: Use a fluid motion for the back to make the puppy look soft and cuddly.
Step 4: Drawing the Front Leg and Belly
Extend a curved line down for the front leg, doubling it back to create the paw. Connect the front and back legs with a gentle curve to form the belly. Tip: Keep the belly line slightly rounded to show the puppy's chubby shape.
Step 5: Adding the Chest and Second Front Leg
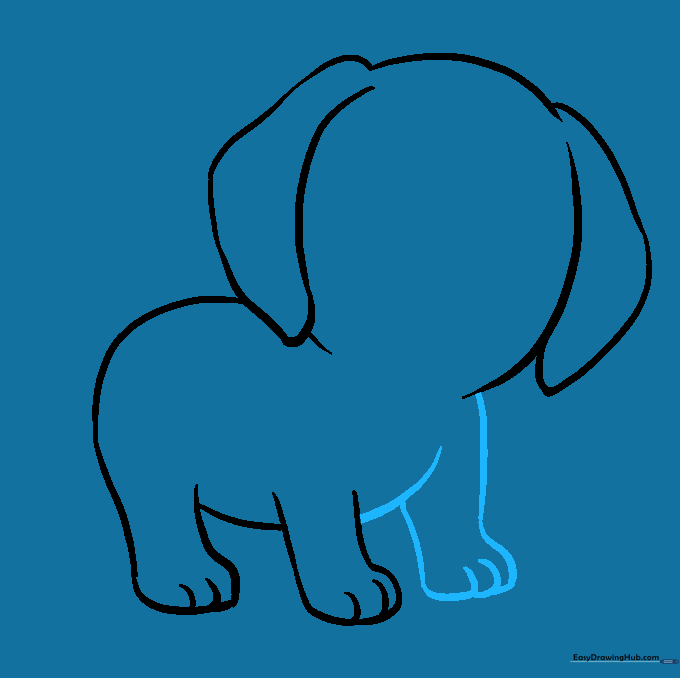
Draw the second front leg by extending a line from the neck and doubling it back. Add a curved line connecting to the first leg to define the chest. Tip: Overlapping these lines adds depth to your drawing.
Step 6: Completing the Legs

Add the final visible leg tucked between the others. Tip: Keep this leg slightly smaller to create the illusion of perspective.
Step 7: Drawing the Tail
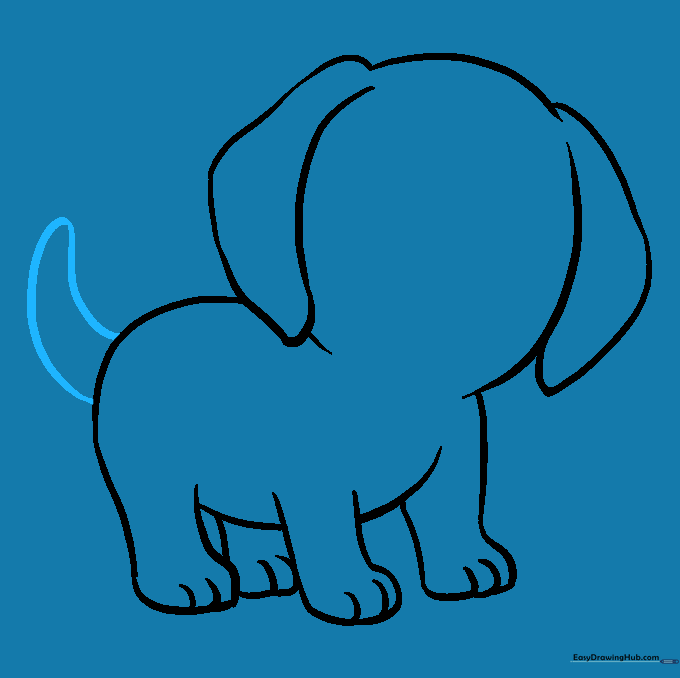
Draw two long, curved lines that meet at a point to create a happy, wagging tail. Tip: A slightly curved tail makes the puppy look excited!
Step 8: Adding Expressive Eyes
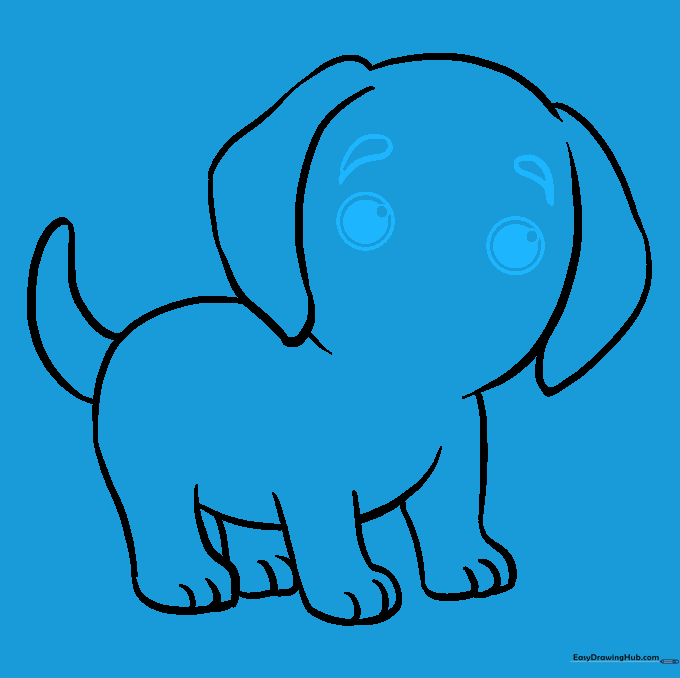
Draw two large circles for the eyes, with smaller circles inside for pupils. Shade the space between the circles. Add curved lines above for eyebrows. Tip: Shading the pupils dark makes the eyes look bright and alert.
Step 9: Finishing the Face and Spots
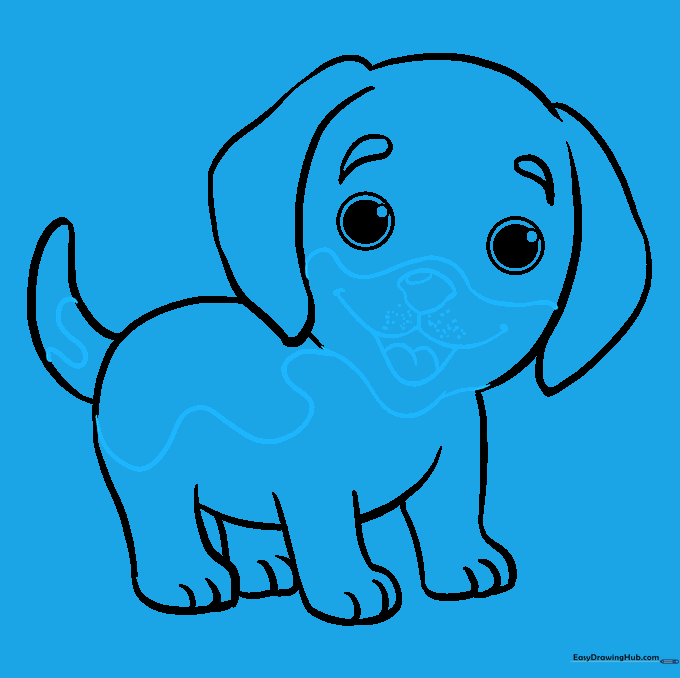
Draw a triangular nose with a small oval highlight. Add a 'W' shaped mouth and a tongue. Finish with wavy lines for spots. Tip: Leave a tiny white dot in the nose to make it look wet and shiny.
Step 10: Bringing Your Puppy to Life with Color
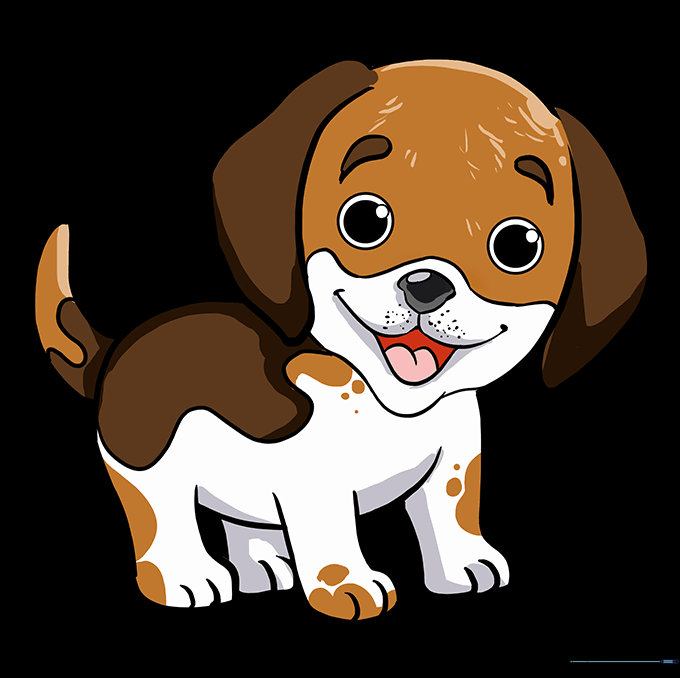
Time to color! Use browns, tans, or greys for the fur. Tip: Use light pressure with your crayons to create a soft, fuzzy texture.
More Tutorials


