How to Draw a Pumpkin: Easy 10-Step Guide for Kids
Bring the harvest season to life with this fun, beginner-friendly pumpkin drawing guide. Perfect for artists ages 5 and up, you only need a pencil, an eraser, and your favorite markers or crayons. Follow these steps to build confidence and master the art of drawing rounded shapes and organic textures.
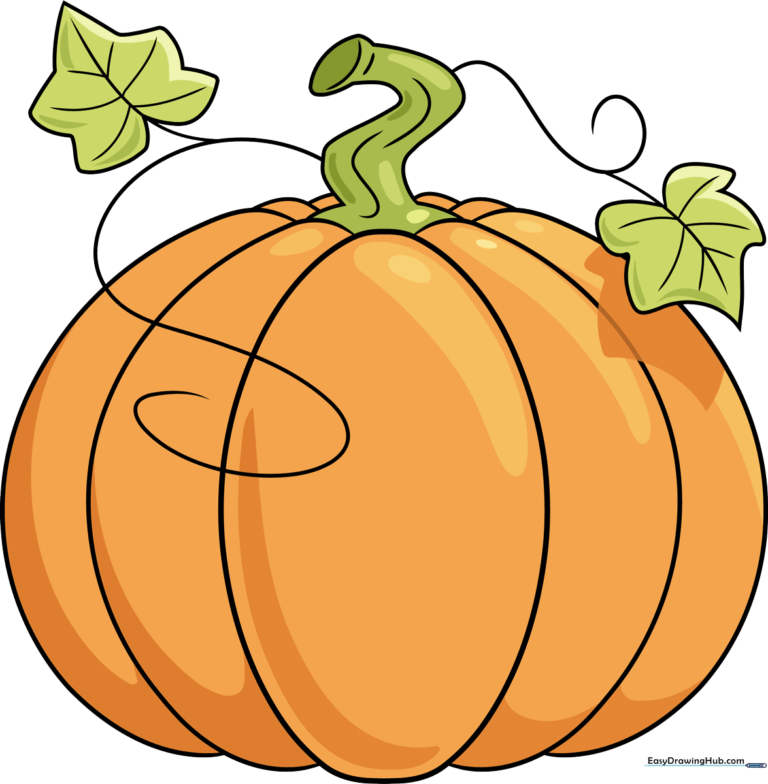
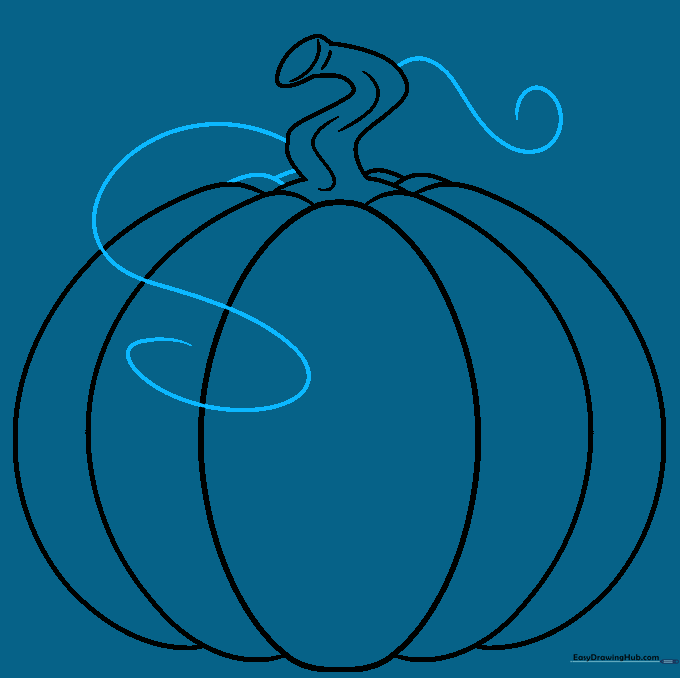
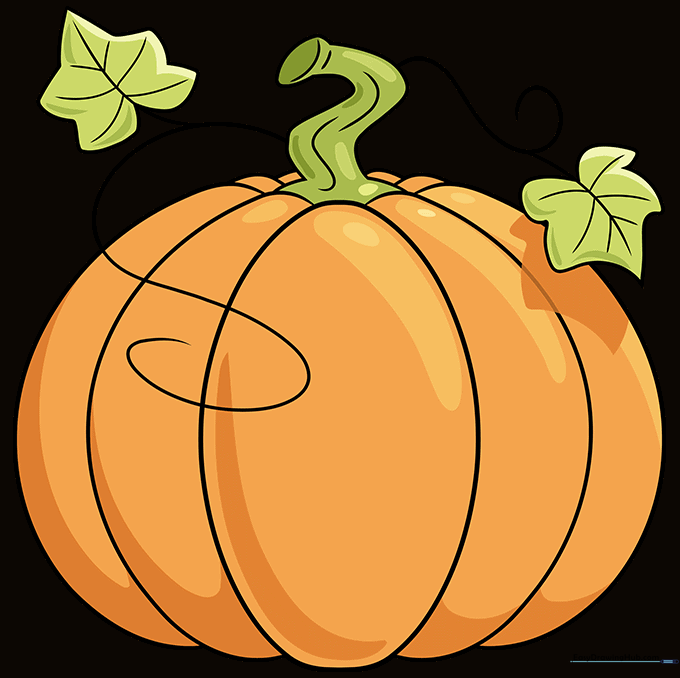
🎯 Final Result
Step-by-Step Instructions
Step 1: Sketching the First Ribs

Draw a tall, narrow oval to start the center rib. Then, add a curved, crescent-like shape on either side to form the next two ribs. Teacher's Tip: Keep these shapes slightly uneven—pumpkins are natural, not perfect circles!
Step 2: Expanding the Pumpkin Body
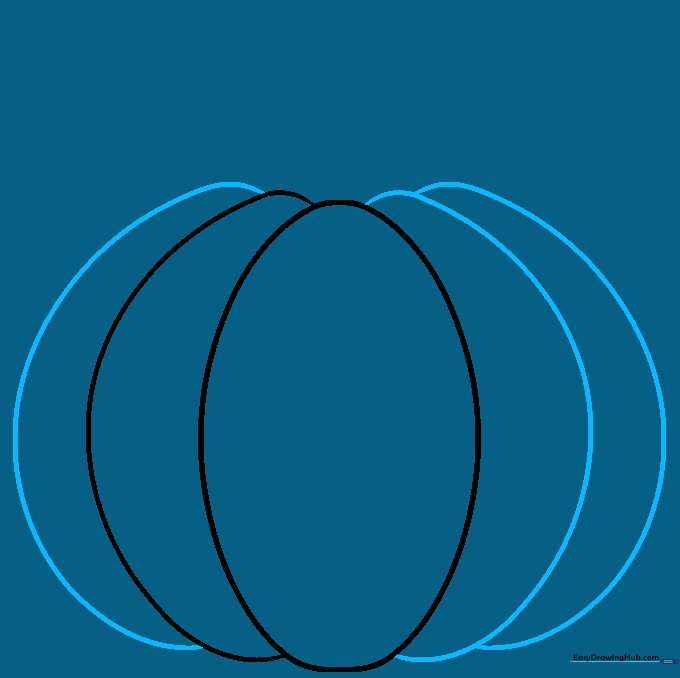
Continue adding long, curved lines outward to create more ribs until your pumpkin looks round and full. Tip: Make the ribs on the far left and right slightly smaller to give the drawing a 3D effect.
Step 3: Drawing the Stem
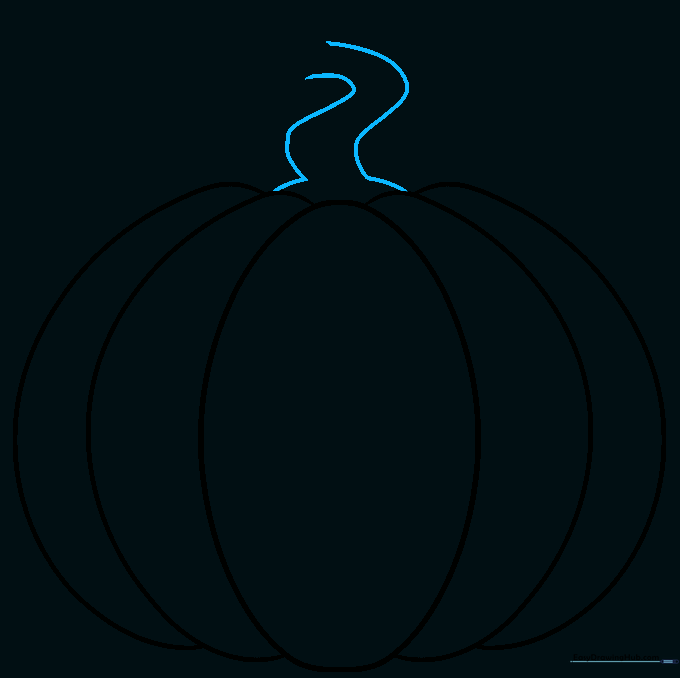
Draw two 'S' shaped lines rising from the top center to create a thick, sturdy stem. Tip: Imagine the stem is reaching toward the sun; keep the lines fluid and organic.
Step 4: Adding Stem Texture
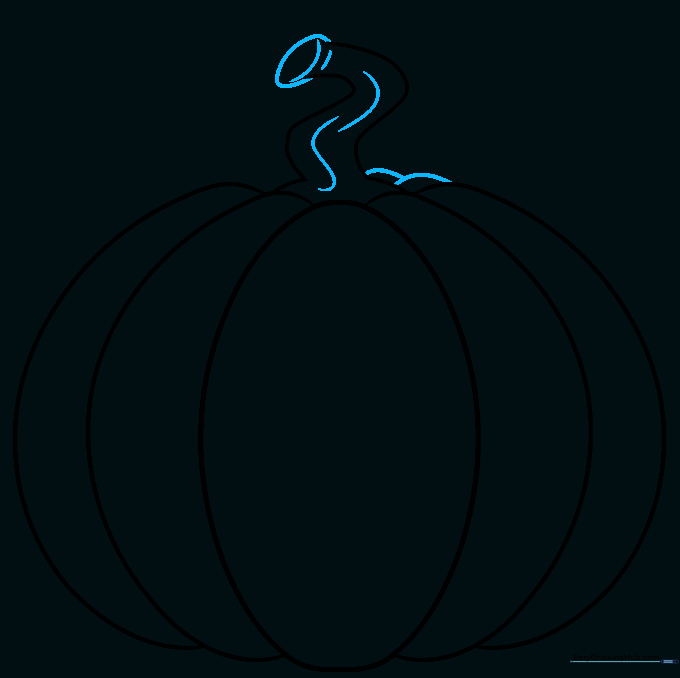
Cap the stem with a small oval and add short, vertical lines to show texture. Add a few small lines where the stem meets the pumpkin to show where it connects. Tip: Use short, quick strokes for the texture to make it look woody.
Step 5: Adding Curly Tendrils
Draw long, winding 'S' shaped lines coming from the base of the stem. These are the pumpkin's vines. Tip: Make them look bouncy and light, as if they are curling in the wind.
Step 6: Starting the Leaf
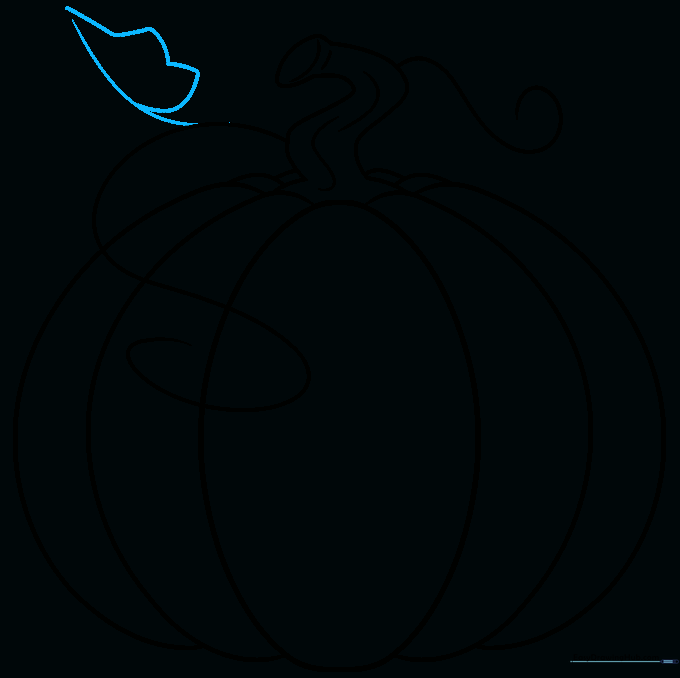
Draw a curved line from the vine to act as the leaf's center vein. Outline the leaf using a series of connected, bumpy, curved lines. Tip: Think of a heart shape with jagged edges to get the leaf outline right.
Step 7: Detailing the Leaf
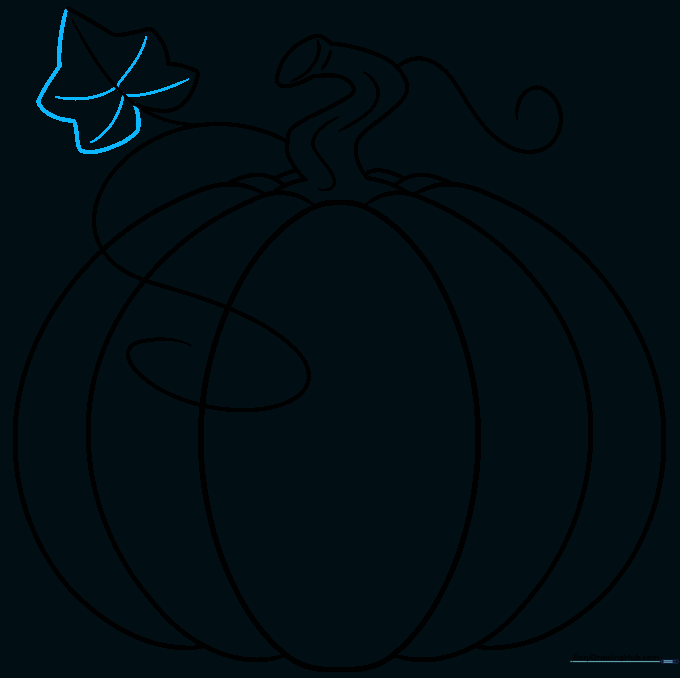
Complete the other side of the leaf and draw small diagonal lines branching out from the center vein. Tip: These veins make the leaf look realistic—keep them thin and delicate.
Step 8: Adding a Second Leaf
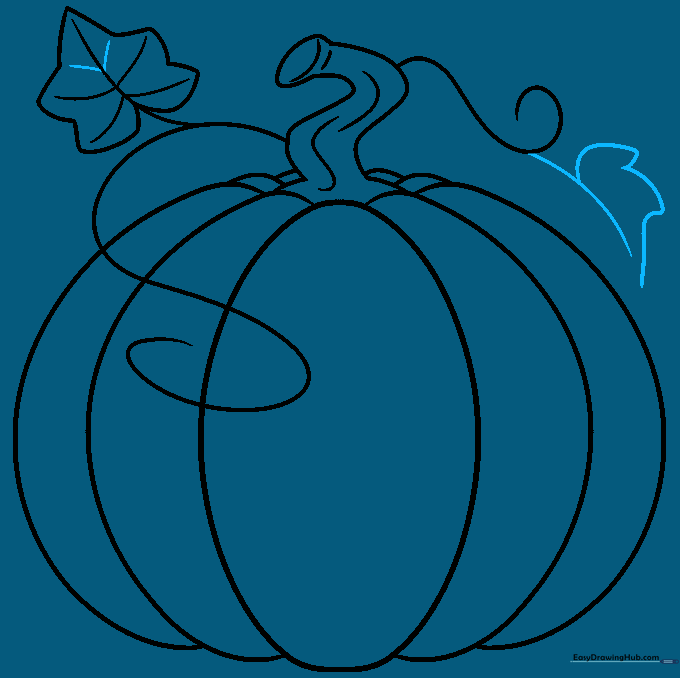
Repeat the process to add a second leaf near the first. This adds depth to your drawing. Tip: Overlap the leaves slightly to make the drawing look more natural.
Step 9: Finalizing the Outline

Clean up your drawing by erasing any overlapping lines and darkening the main outlines. Ensure all veins and stem details are clear. Tip: Use a darker pencil or a fine-liner pen to make your final lines pop.
Step 10: Coloring Your Masterpiece
Bring your pumpkin to life with color! Use bright orange for the body, deep green for the leaves and vines, and earthy brown for the stem. Tip: Try coloring the edges of each rib a slightly darker orange to create a shadow effect.
More Tutorials


