How to Draw a Pufferfish: Easy 9-Step Guide for Kids
Ready to bring a spiky ocean friend to life? This tutorial is perfect for young artists ages 5 and up. Grab your favorite pencil, an eraser, and some paper, and follow along as we build this pufferfish using simple shapes and expressive lines.
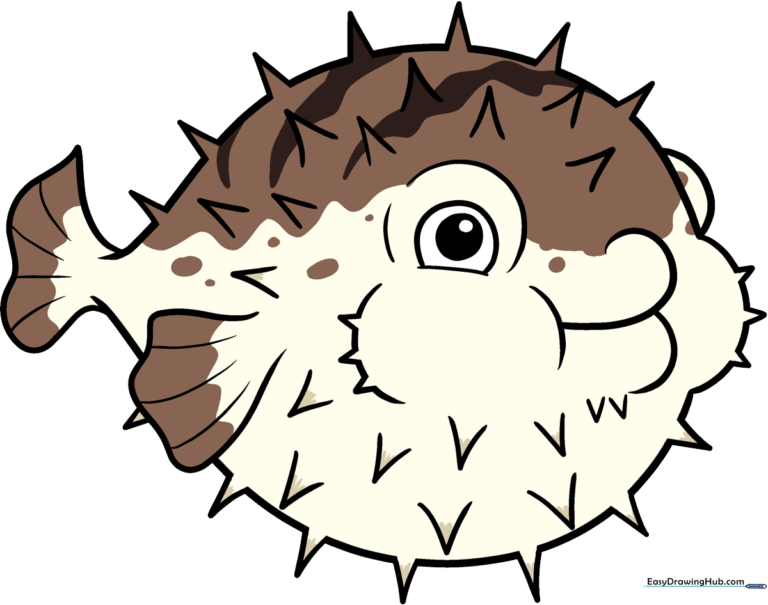
🎯 Final Result
Step-by-Step Instructions
Step 1: Sketching the Face and Eye
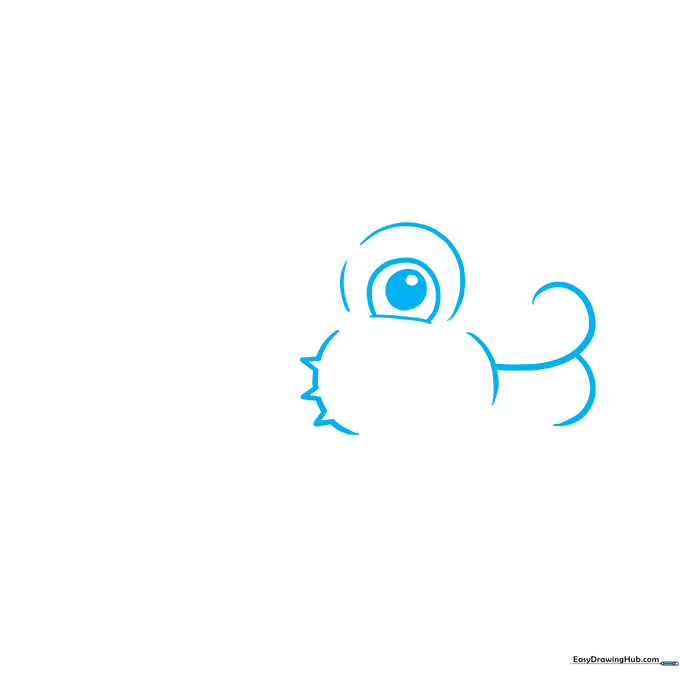
Start by drawing the pufferfish's mouth using a soft, curved line. Add the cheek with a small 'V' shape. For the eye, draw a circle and add two smaller circles inside, shading the center to give it a friendly look. Teacher's Tip: Keep your pencil pressure light here so you can easily adjust the shape if needed.
Step 2: Defining the Head and Back
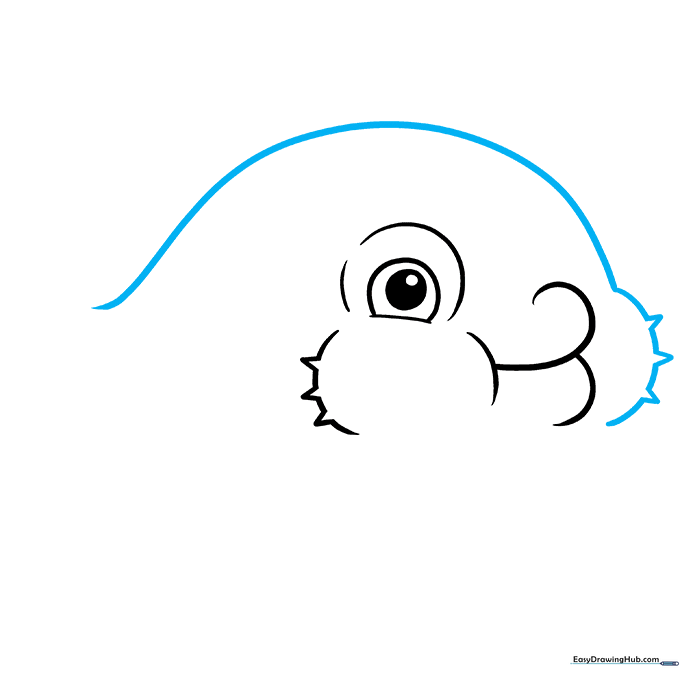
Draw a long, smooth curve for the back of the fish, connecting it to the top of the head. Add the second cheek using a combination of curved and 'V' lines. Tip: Think of this as drawing a round balloon shape—keep the lines fluid and rounded.
Step 3: Completing the Body Shape
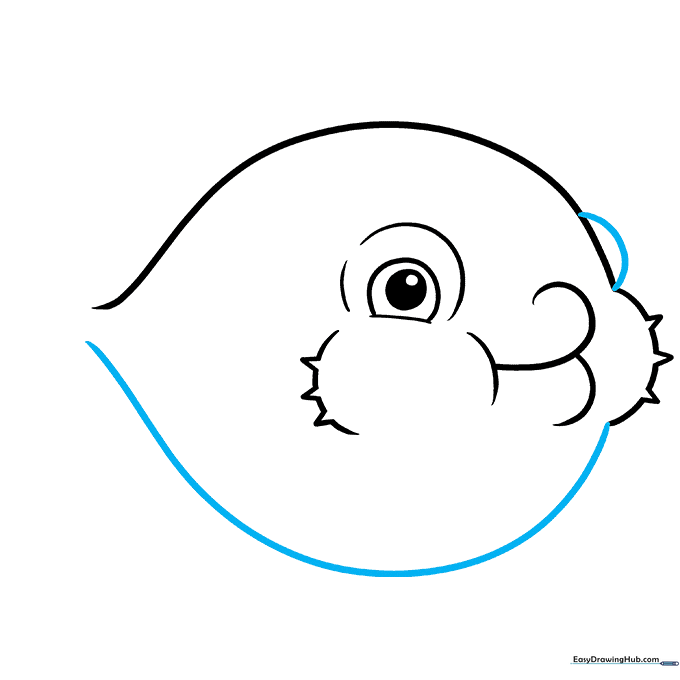
Add the second eye on the side of the head using a partial circle. Then, draw a long, sweeping curve to create the belly. Tip: Make sure the belly curve is nice and round to give your pufferfish that classic 'puffed up' look.
Step 4: Adding Fins and Tail
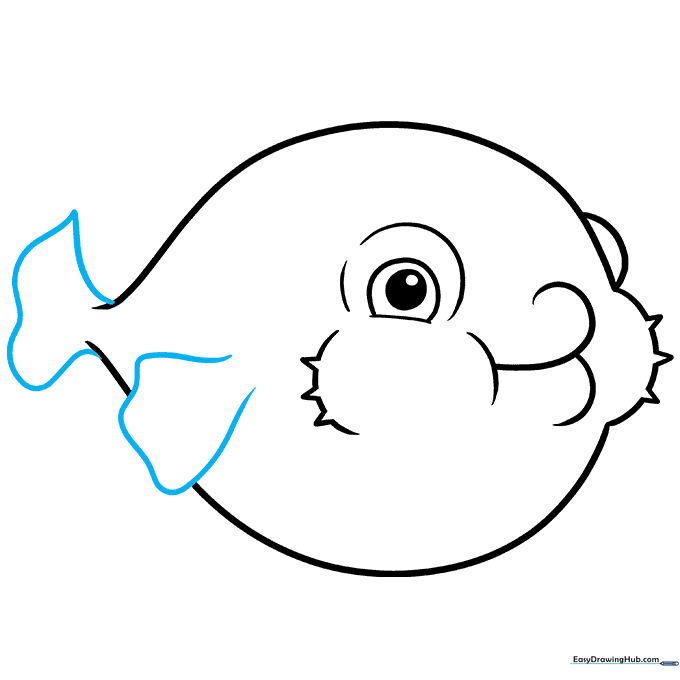
Draw the fin by sketching a wavy line that loops back on itself. Add the tail in the same way, ensuring it overlaps slightly with the body. Tip: If you make a mistake, use your eraser to clean up the overlapping lines for a professional look.
Step 5: Adding Detail Lines
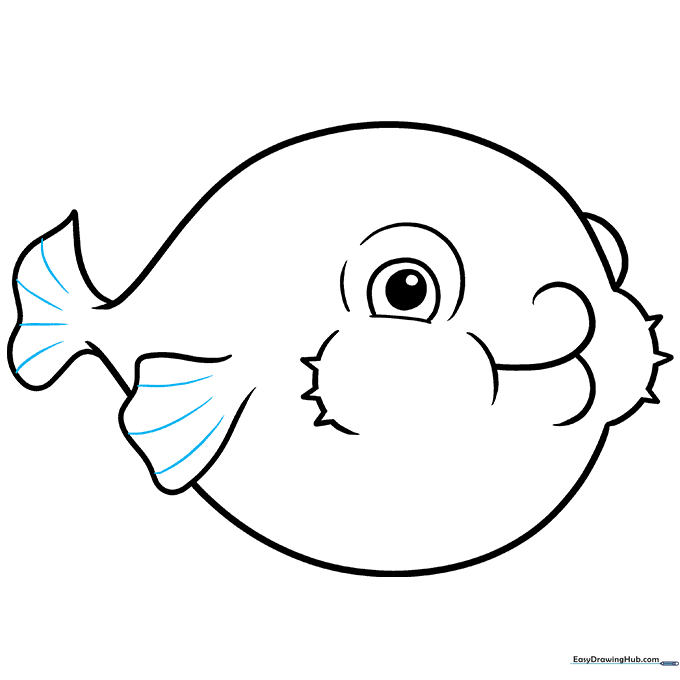
Add curved lines across the fins and tail to create texture. These lines act as the 'bones' of the fins. Tip: Keep these lines parallel to each other for a neat, organized appearance.
Step 6: Drawing Belly Spines
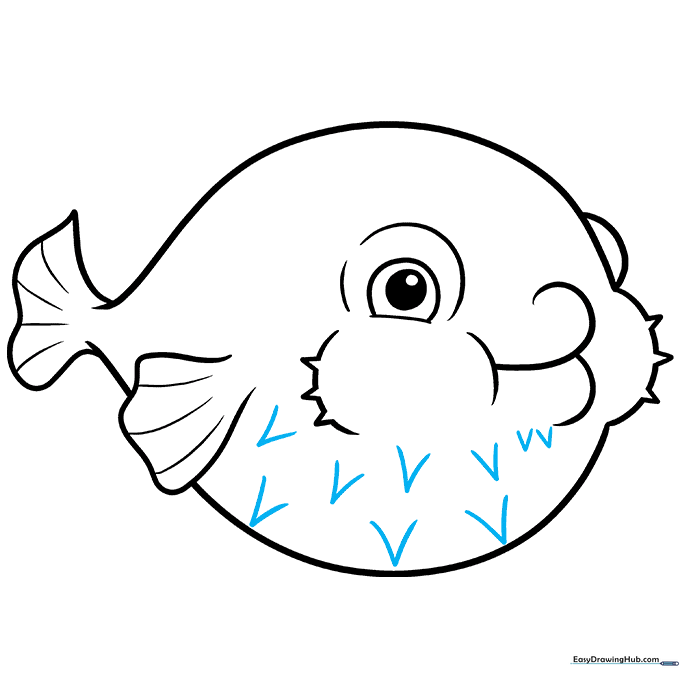
Now for the fun part—the spikes! Use small 'V' shaped lines along the belly to represent the pufferfish's spines. Tip: Vary the size of the 'V's slightly to make your drawing look more natural and less mechanical.
Step 7: Refining the Spines
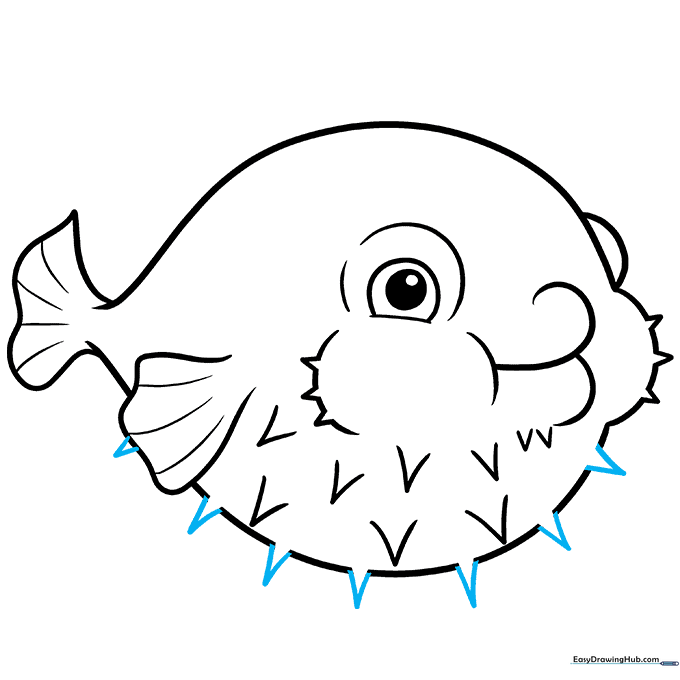
Continue adding 'V' shapes along the edge of the belly. Once you've drawn them, carefully erase the small line segment between the arms of each 'V' to make them look like sharp, individual spikes. Tip: Use a kneaded eraser if you have one for more precision.
Step 8: Adding Head Spines
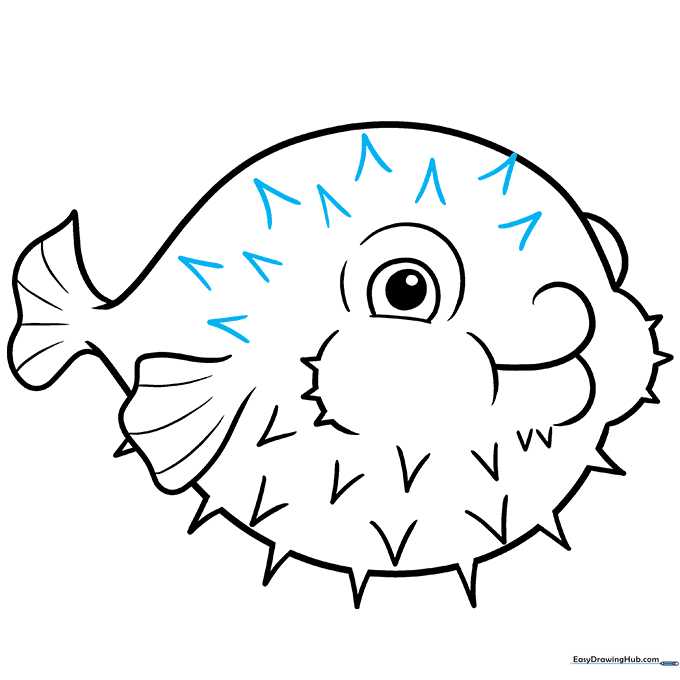
Repeat the process by adding 'V' shaped spines to the head area. Tip: Don't crowd them too much; leave some space so the face remains the focal point of your drawing.
Step 9: Finalizing the Outline
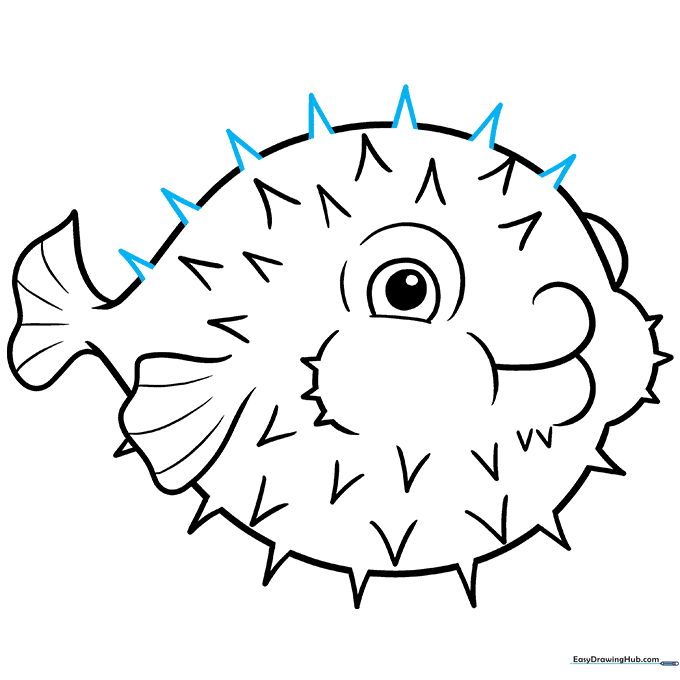
Add the final set of spines along the back of the fish. Erase any remaining guide lines between the 'V's to complete your outline. Tip: Take a step back and look at your drawing from a distance to ensure the spikes look balanced.
Step 10: Coloring Your Pufferfish
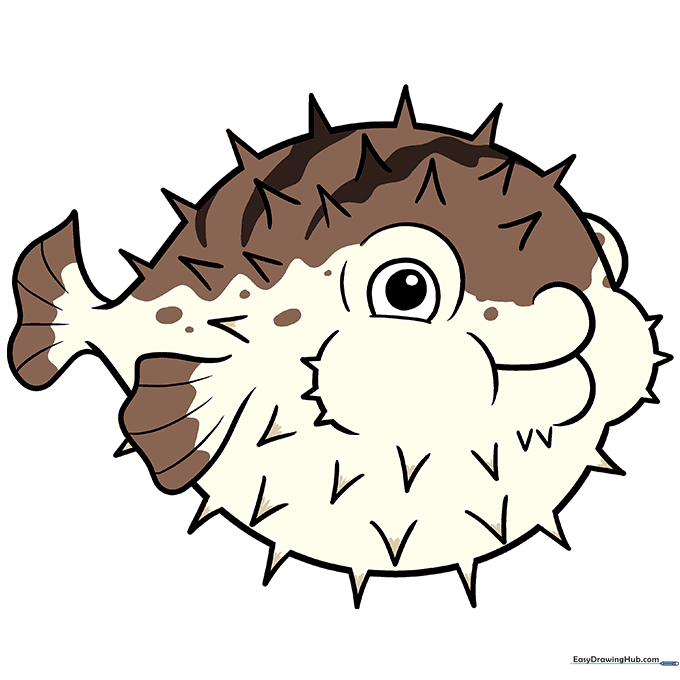
Time to bring your fish to life! Use shades of yellow, brown, or grey. Pufferfish often have a darker top and a lighter belly. Tip: Use a light touch with your colored pencils to layer colors for a more realistic, textured look.
More Tutorials


