How to Draw a Pterodactyl: Easy 9-Step Guide for Kids
Ready to bring a prehistoric flyer to life? This tutorial is perfect for young artists ages 5 and up. All you need is a pencil, an eraser, and a piece of paper to master this iconic dinosaur. Follow along to build confidence and improve your hand-eye coordination through simple geometric shapes.
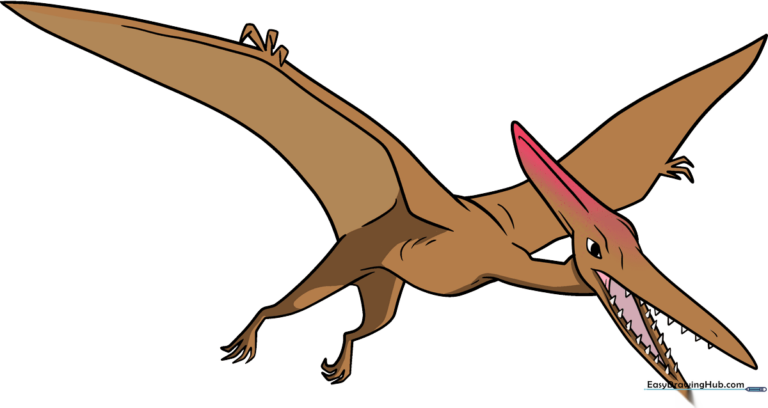
🎯 Final Result
Step-by-Step Instructions
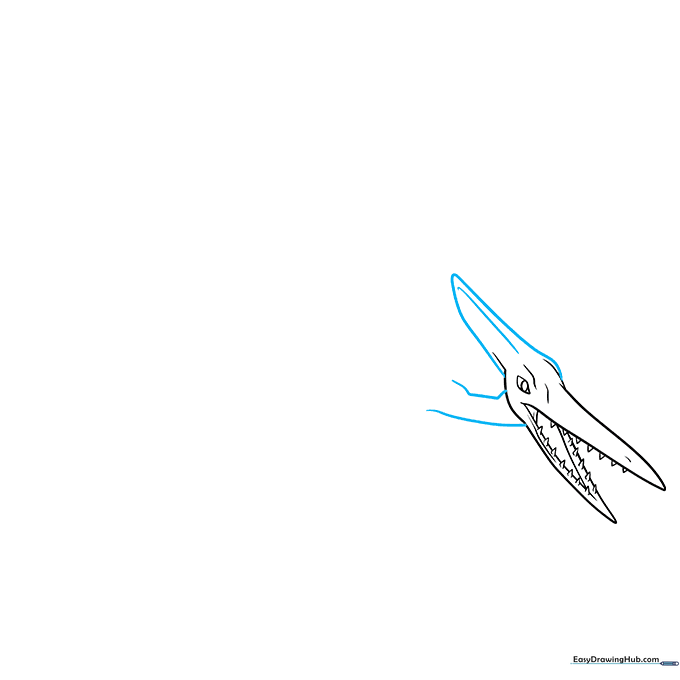
Step 1: Sketching the Head and Beak
Sketch a long, narrow triangle with a slight curve on top for the beak. Add an oval eye inside an uneven diamond shape. Teacher's Tip: Keep the eye placement near the top of the head to give your Pterodactyl a friendly, alert look.
Step 2: Defining the Mouth
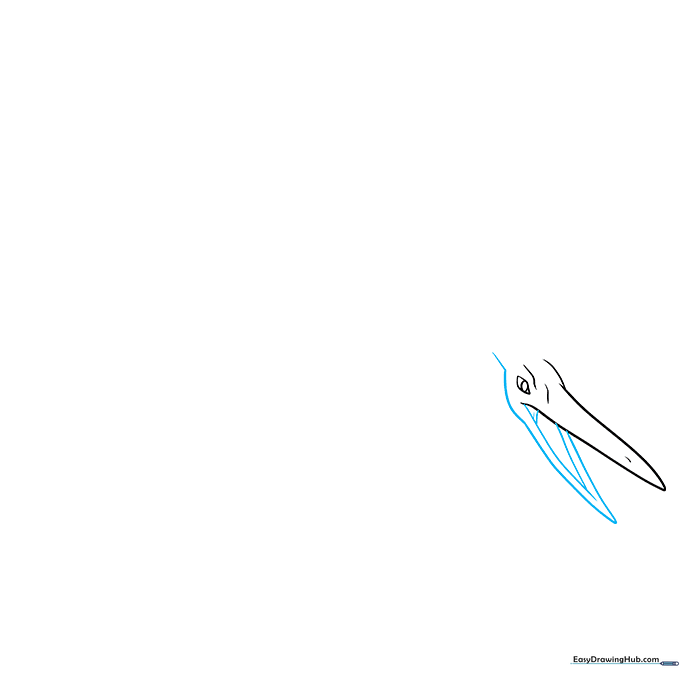
Draw two nested triangles to form the open jaw, then add two lines inside to suggest depth. Outline the back of the head with a smooth curve. Teacher's Tip: Use a light touch here so you can easily adjust the jaw angle later.
Step 3: Adding Sharp Teeth
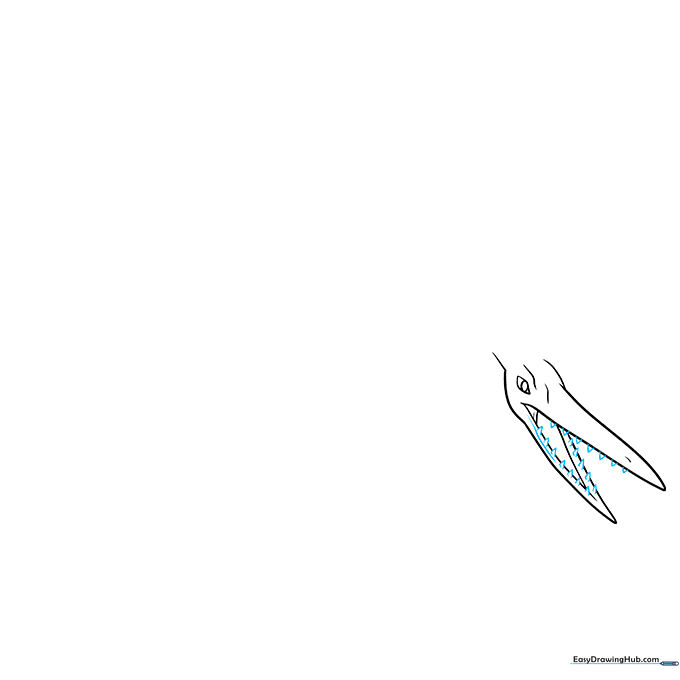
Add small triangles along the jawline to create sharp teeth. Teacher's Tip: Don't worry about making them perfectly uniform; a little variation makes the dinosaur look more natural.
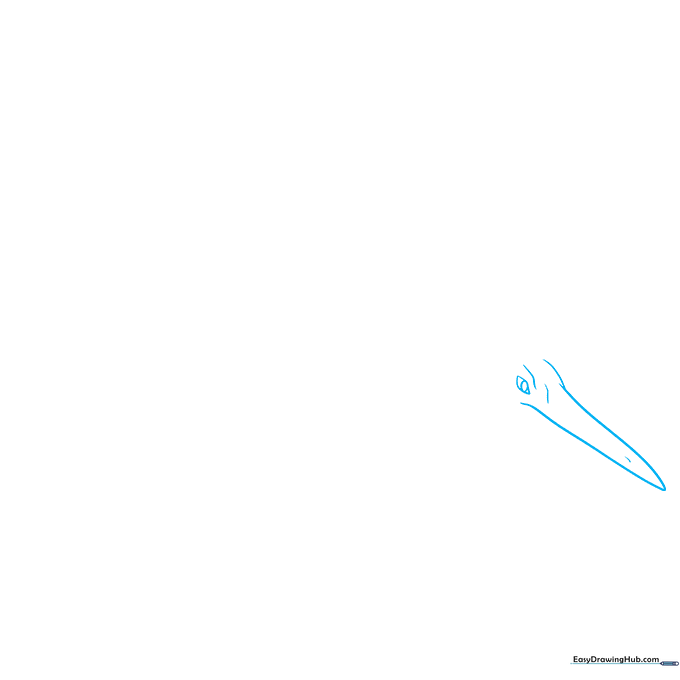
Step 4: Drawing the Neck
Connect the head to the body using two vertical lines with gentle curves. Complete the back of the head with a triangular crest. Teacher's Tip: The crest is a signature Pterodactyl feature—make it bold!
Step 5: Starting the Wings
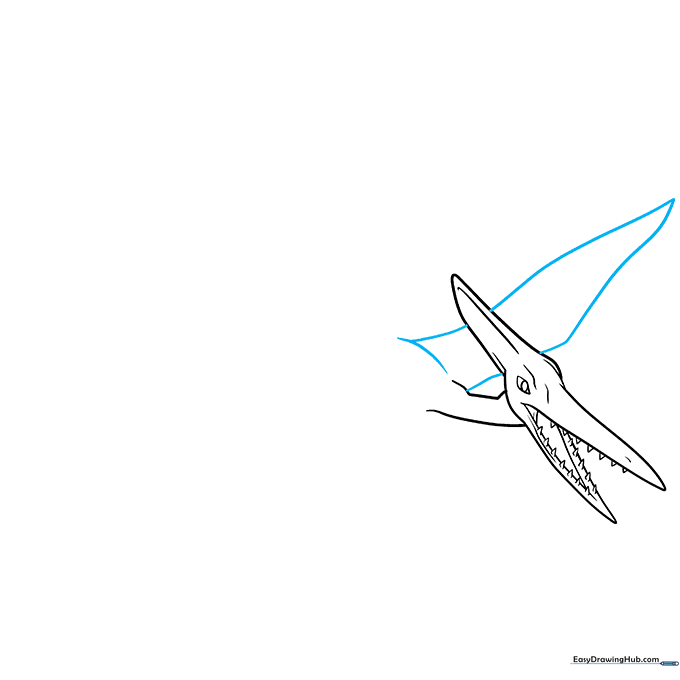
Sketch a wavy, uneven triangle to the right for the wing base and add three curves on the left. Teacher's Tip: Think of these as large, leathery flaps—keep your lines fluid.
Step 6: Extending the Wing Span
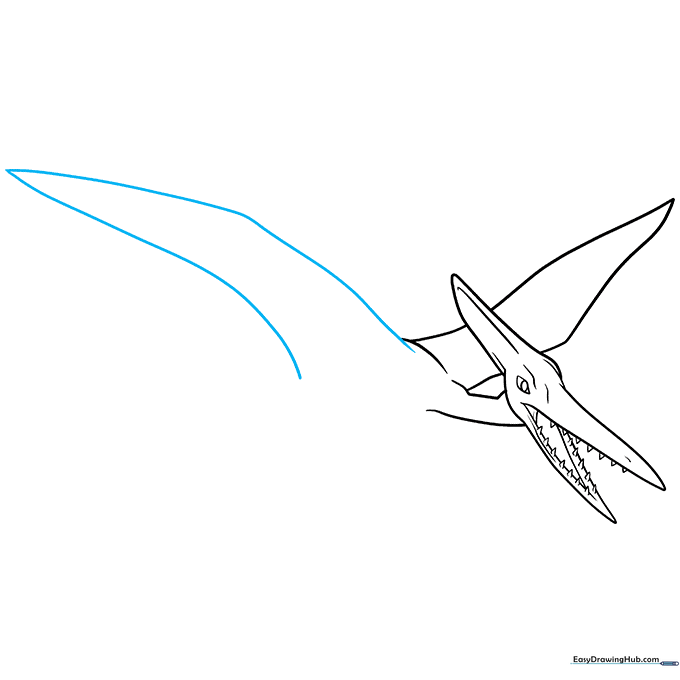
Extend the wing with a larger triangle that reaches toward the edge of your page. Teacher's Tip: Use long, sweeping motions to give the wing a sense of motion.
Step 7: Adding Wing Detail
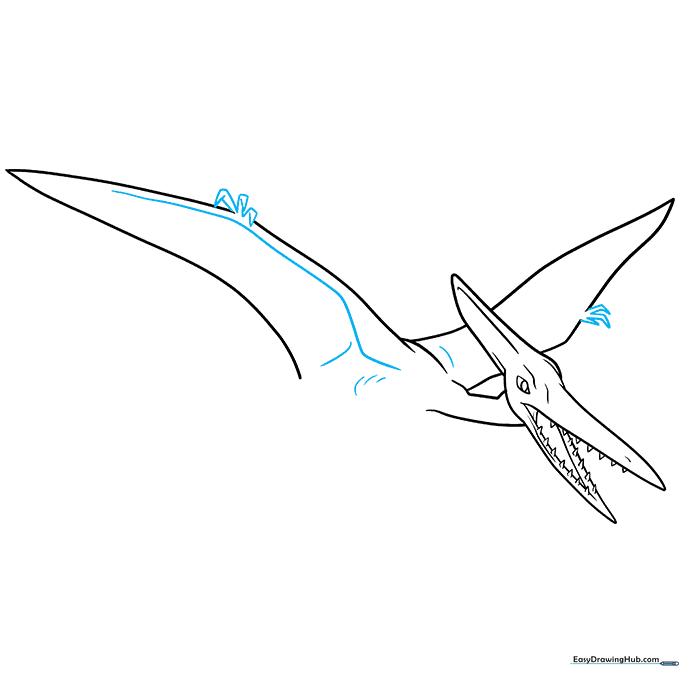
Add curves and small, blade-like triangles to the wings to represent the leathery texture. Teacher's Tip: Varying the size of these triangles adds realistic detail to the wing membrane.
Step 8: Sketching the Legs
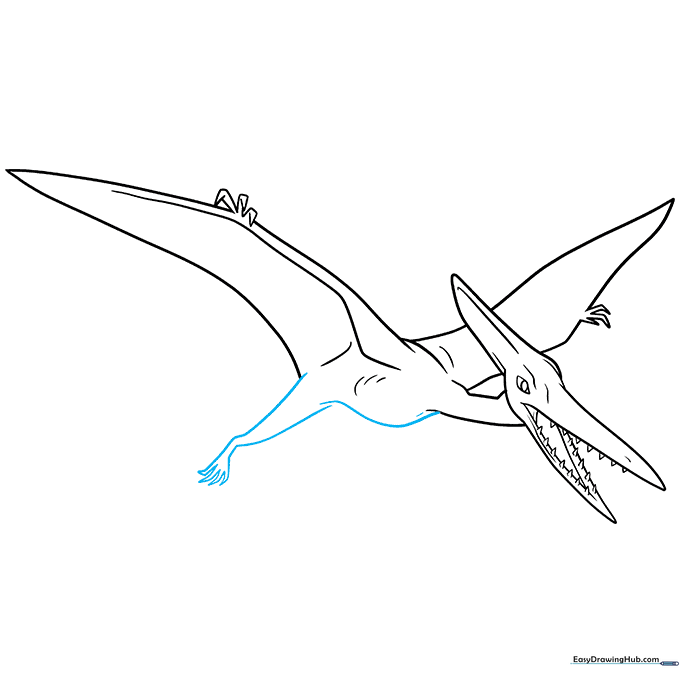
Draw the legs using diagonal lines and small triangles for the claws. Outline the body with a gentle curve. Teacher's Tip: Keep the legs tucked close to the body to show the Pterodactyl is in flight.
Step 9: Final Outlining
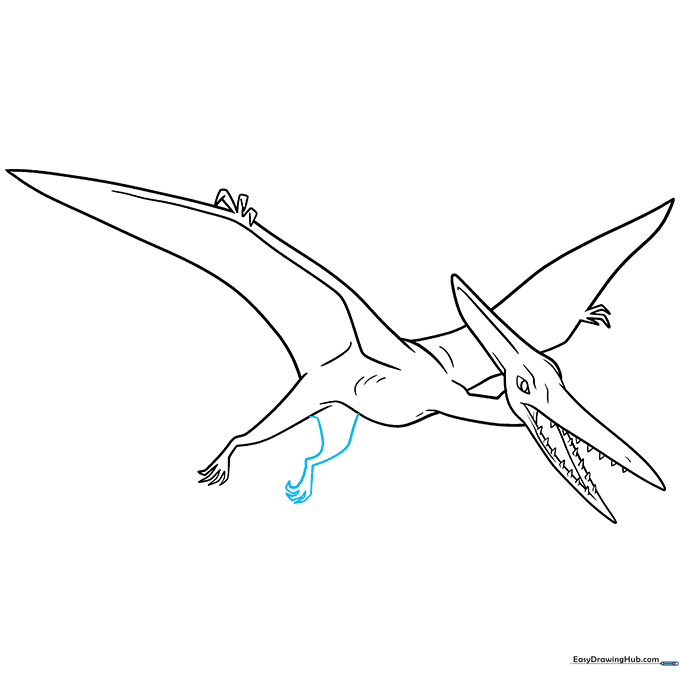
Complete the second leg and finalize your drawing with a black marker. Use a lighter touch for the teeth and body details. Teacher's Tip: Once the ink is dry, gently erase your original pencil lines for a clean, professional look.
Step 10: Adding Color

Bring your Pterodactyl to life with earthy browns. Use darker shades for shadows under the wings and lighter shades for the body. Teacher's Tip: Use a soft pink for the inside of the mouth to create a nice contrast.
More Tutorials


