How to Draw a Pteranodon: Easy 10-Step Guide for Kids
Bring the prehistoric skies to life with this fun Pteranodon drawing guide, perfect for young artists ages 5 and up. All you need is a pencil, an eraser, and a piece of paper to get started. By following these simple shapes, you will build confidence in your sketching skills while creating your own flying reptile.
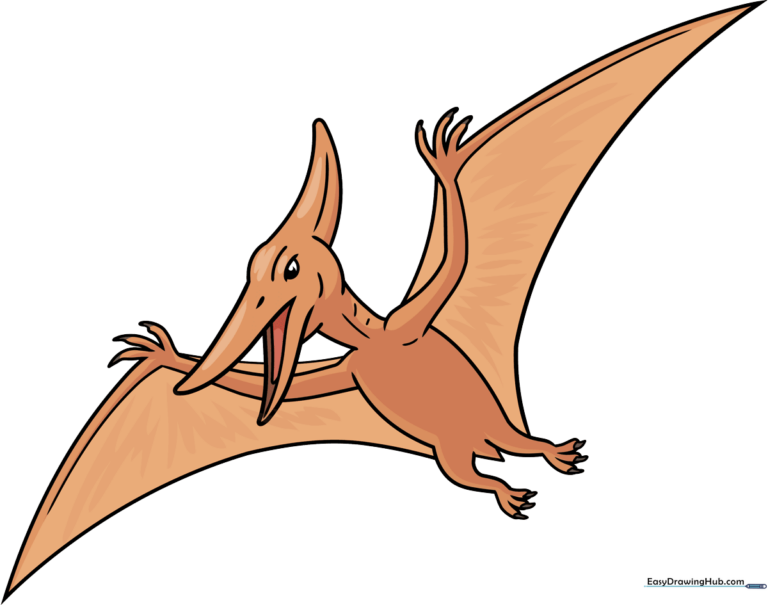
🎯 Final Result
Step-by-Step Instructions
Step 1: Sketching the Beak and Eye
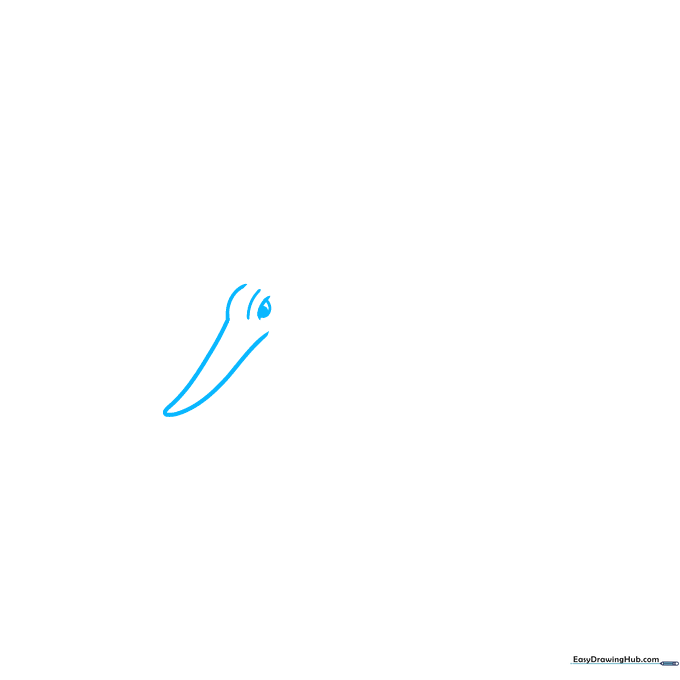
Start by drawing a long, curved line that doubles back on itself to form the upper beak. Add a teardrop shape for the eye and a small circle for the pupil. Teacher's Tip: Keep the beak shape slender to give your Pteranodon a sleek, aerodynamic look.
Step 2: Defining the Crest and Jaw
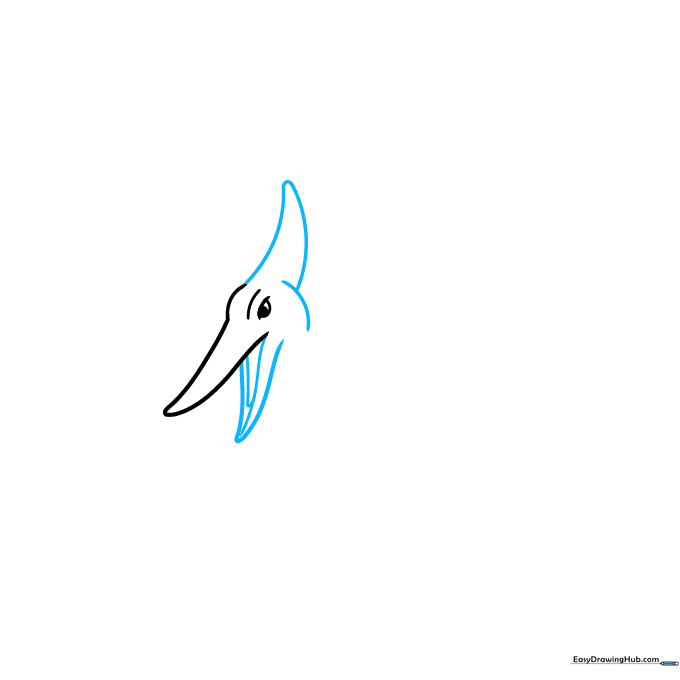
Extend a long curve from the top of the head to create the iconic crest. Add a curved line for the cheek and a lower jaw. Tip: Make the crest look like a smooth, elongated triangle to balance the head.
Step 3: Forming the Neck and Shoulder
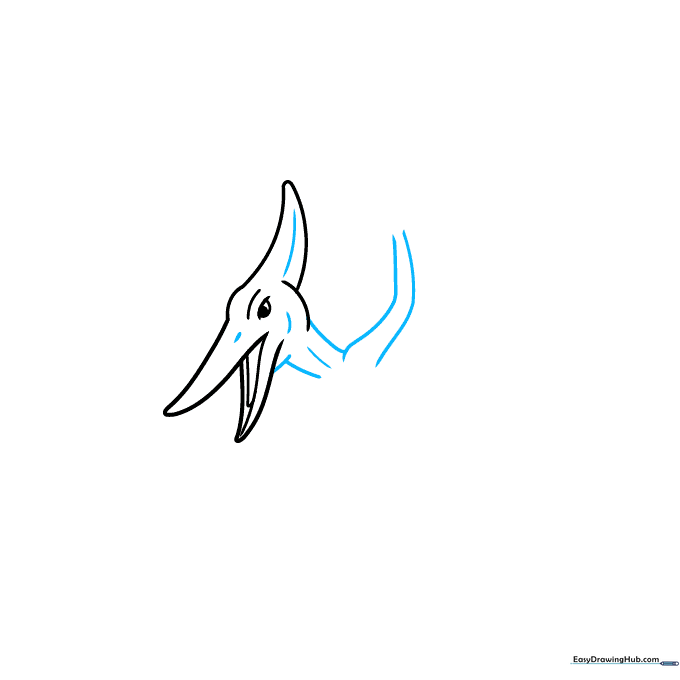
Use overlapping curved lines to connect the head to the body, forming the neck and the start of the wing shoulder. Tip: Use short, light strokes to suggest the texture of the skin around the neck.
Step 4: Drawing the Wing Fingers
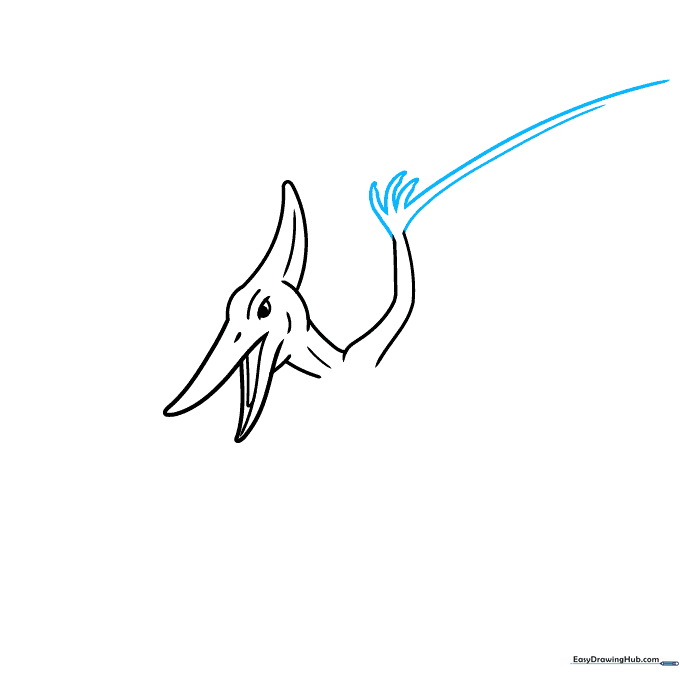
Sketch the hand using pointed, curved lines for the fingers. Extend the fourth finger long and thin to act as the support for the wing sail. Tip: Imagine the fingers are like a fan opening up.
Step 5: Outlining the Body and Wing
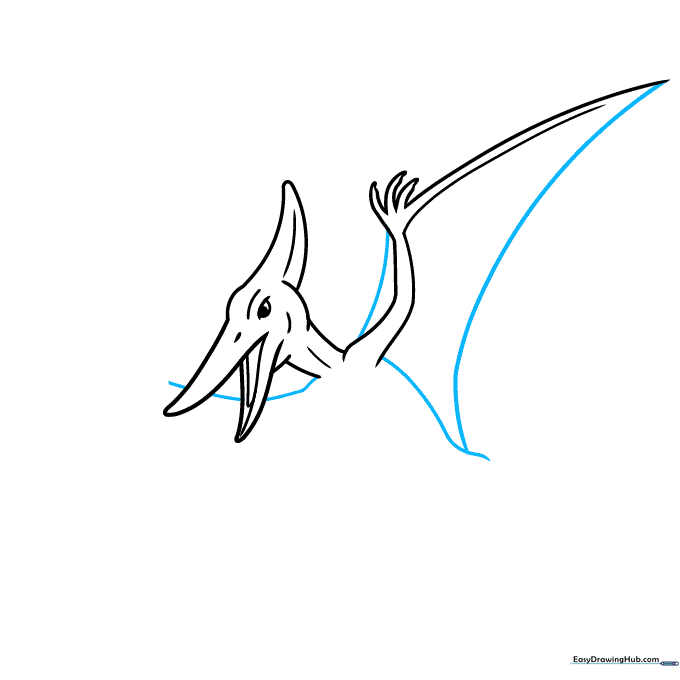
Draw long, sweeping curves to define the body and the top edge of the wing. Tip: Keep these lines fluid to make the Pteranodon look like it is mid-flight.
Step 6: Adding the Second Wing
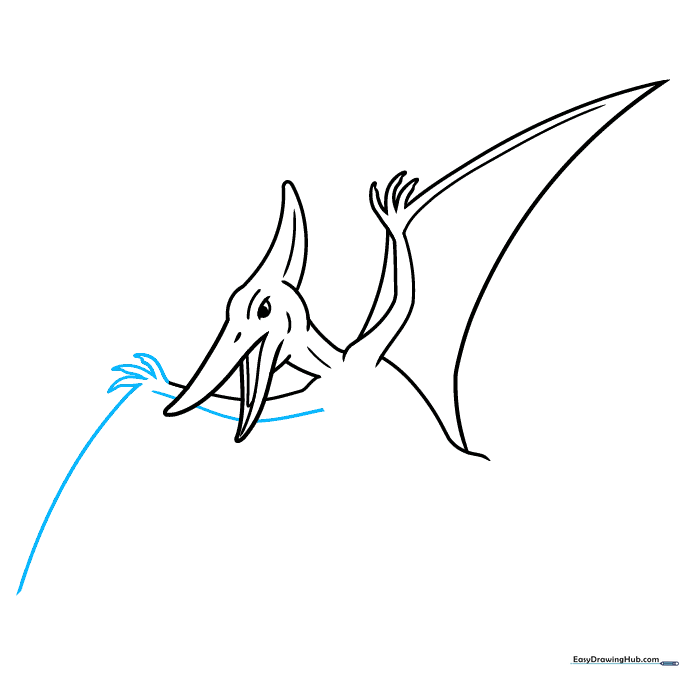
Draw the bottom arm and fingers for the second wing. Ensure the fourth finger extends outward to maintain the wing's shape. Tip: Use a slightly different angle for this wing to show depth.
Step 7: Finalizing Wing and Body Contours
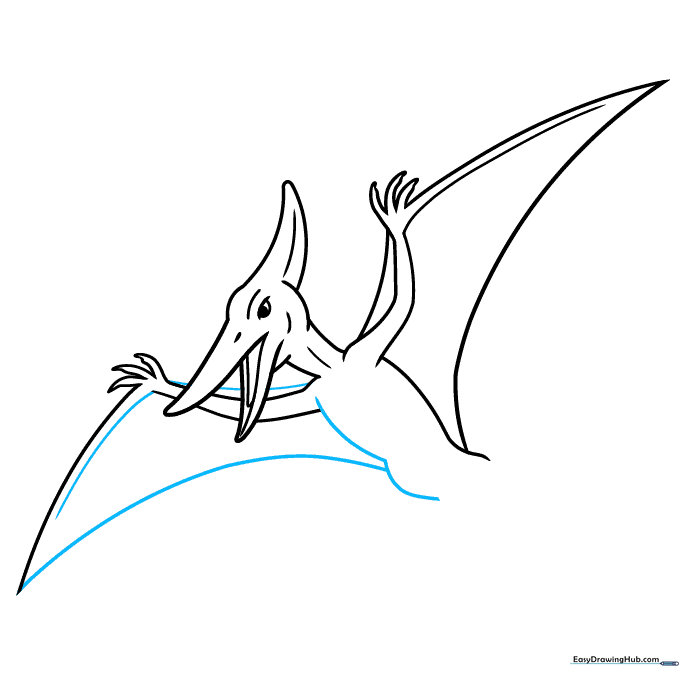
Connect the wing tips and belly with long, smooth curves. This defines the overall silhouette. Tip: Check that your wing edges are smooth, not jagged, to represent the skin membrane.
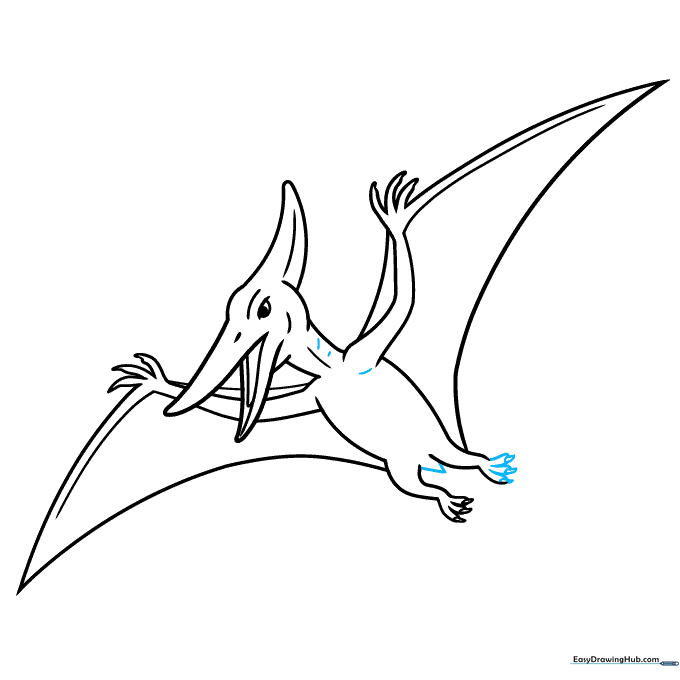
Step 8: Adding Legs and Claws
Draw the legs and toes, finishing each with a sharp, triangular claw. Tip: Keep the legs small, as Pteranodons were built for flying, not walking.
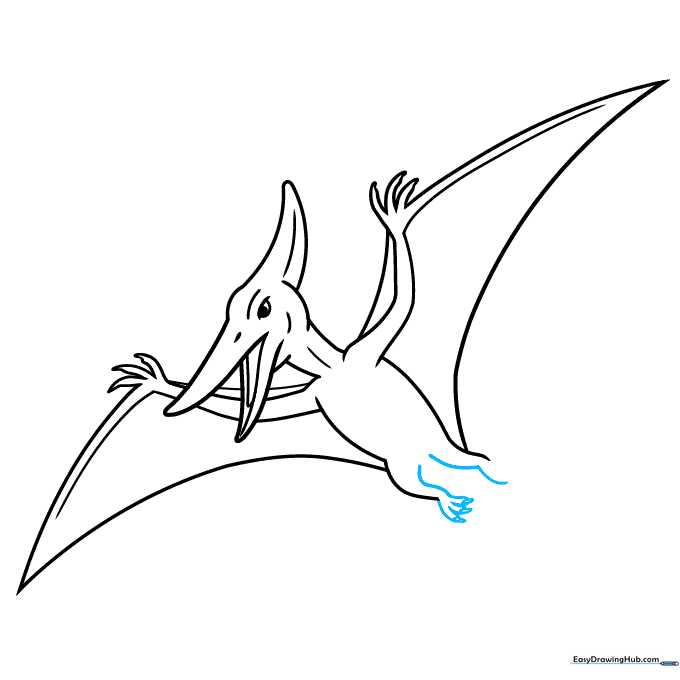
Step 9: Final Details
Add a small 'V' shape for the tail and use short lines to add texture to the neck and shoulders. Tip: These small details add a sense of realism to your cartoon drawing.
Step 10: Coloring Your Pteranodon
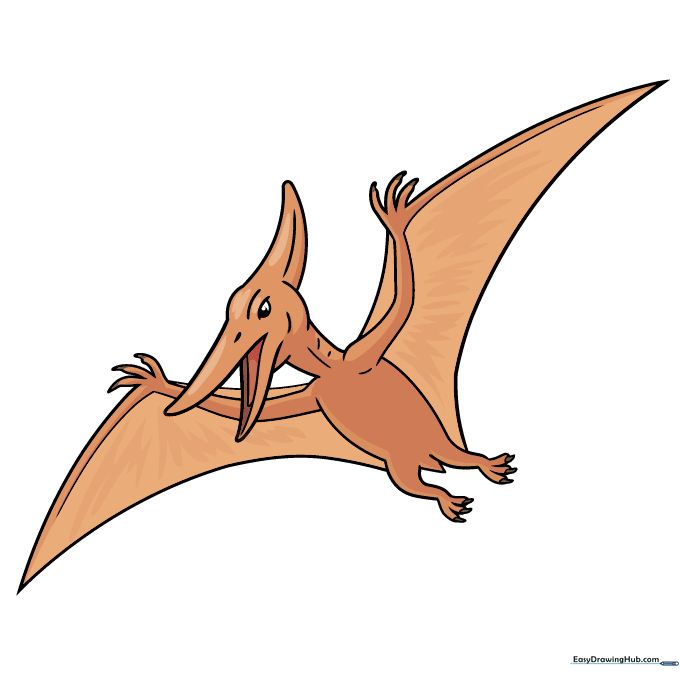
Your outline is ready! Use earthy tones like browns, reds, or greys to color your Pteranodon. Tip: Try using a darker shade for the shadows under the wings to give your drawing a 3D effect.
More Tutorials


