How to Draw a PS4 Controller: Easy 10-Step Guide
Ready to level up your art skills? This tutorial is perfect for young gamers ages 7+ who want to sketch their favorite controller. All you need is a pencil, an eraser, and a piece of paper to bring this iconic design to life.
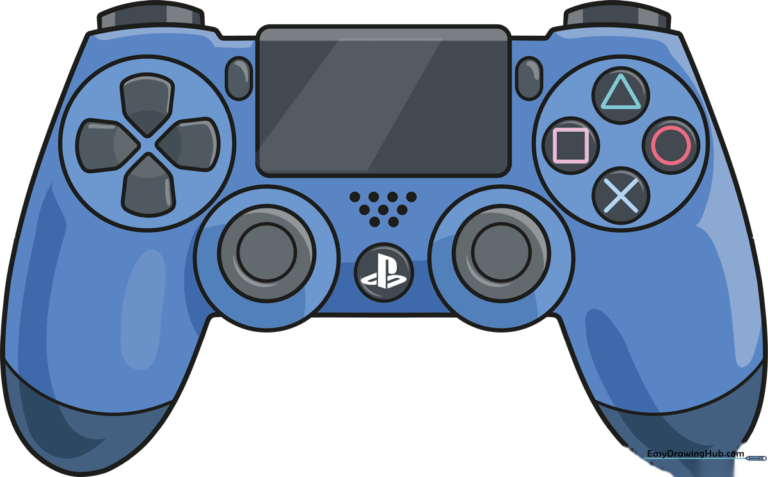
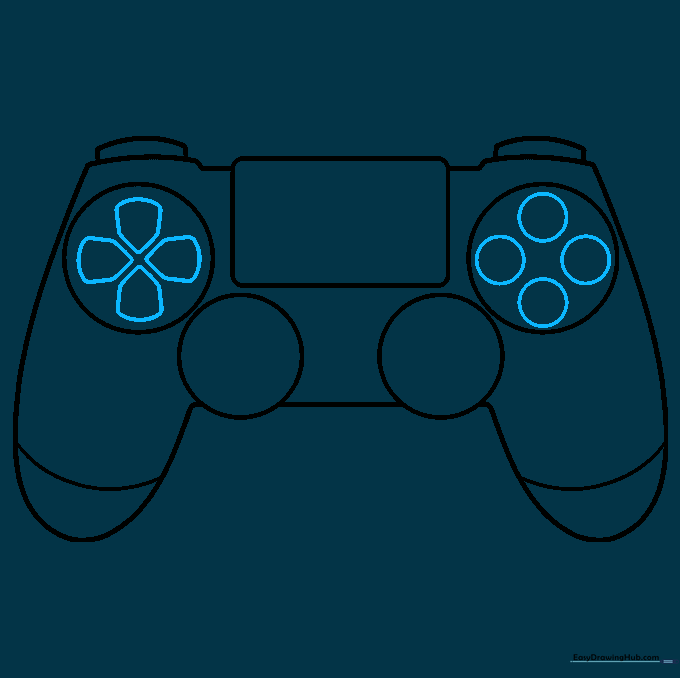
🎯 Final Result
Step-by-Step Instructions
Step 1: Sketching the Touchpad

Start by drawing a rectangle with rounded corners. This is the heart of your controller. Teacher's Tip: Keep your pencil pressure light so you can easily adjust the shape if it looks a bit lopsided.
Step 2: Placing the Joysticks
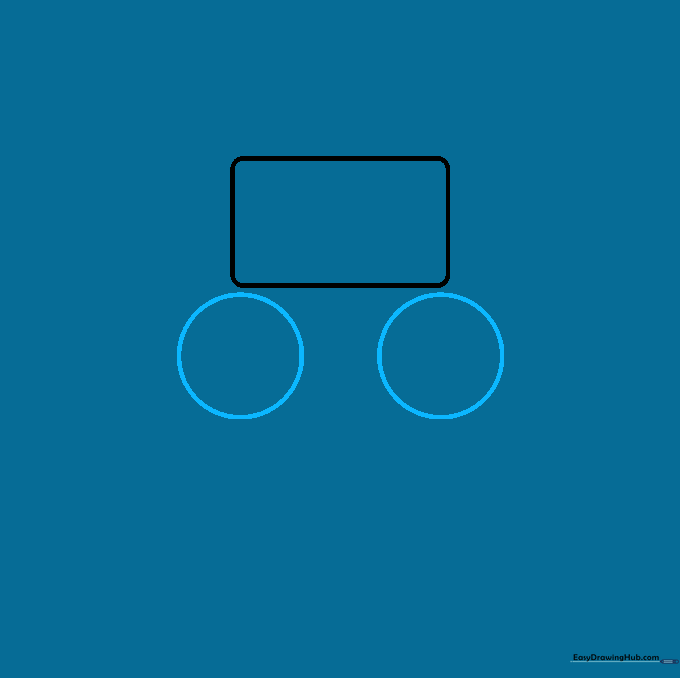
Draw two large circles beneath your rectangle. These will become the L3 and R3 joysticks. Tip: Try to space them evenly so your controller looks balanced and symmetrical.
Step 3: Outlining the Grips
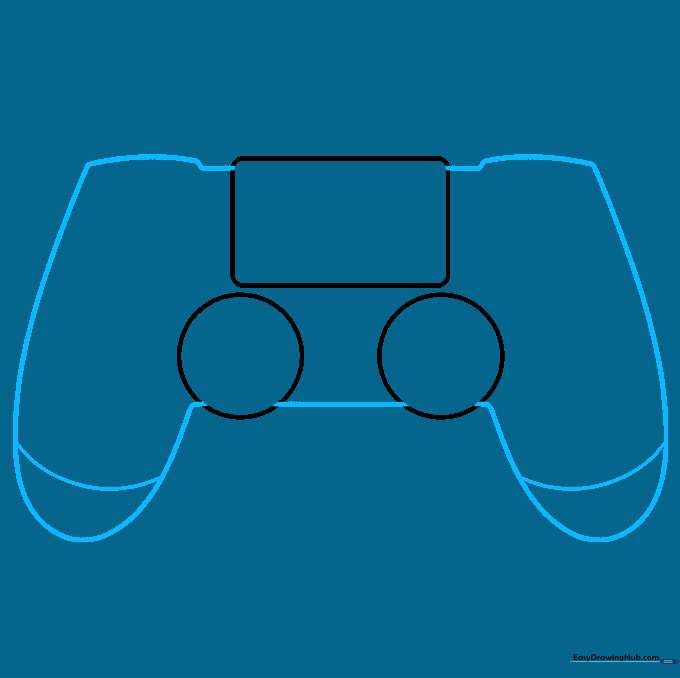
Use smooth, curved lines to connect the top touchpad to the bottom lobes. Add small indentations near the center for a realistic look. Tip: Use long, sweeping motions with your wrist rather than short, choppy strokes.
Step 4: Adding Shoulder Buttons
Draw larger circles around your joystick guides, then add two small, straight lines at the top to create the L1 and R1 shoulder buttons. Tip: Think of these as little 'shelves' sitting on top of the controller.
Step 5: The Directional Pad
Inside the left circle, draw four rounded pentagons in a 'T' shape for the D-pad. On the right side, draw four smaller circles for the action buttons. Tip: Keep these shapes small and neat—they are the most detailed part of the drawing!
Step 6: Adding Button Symbols
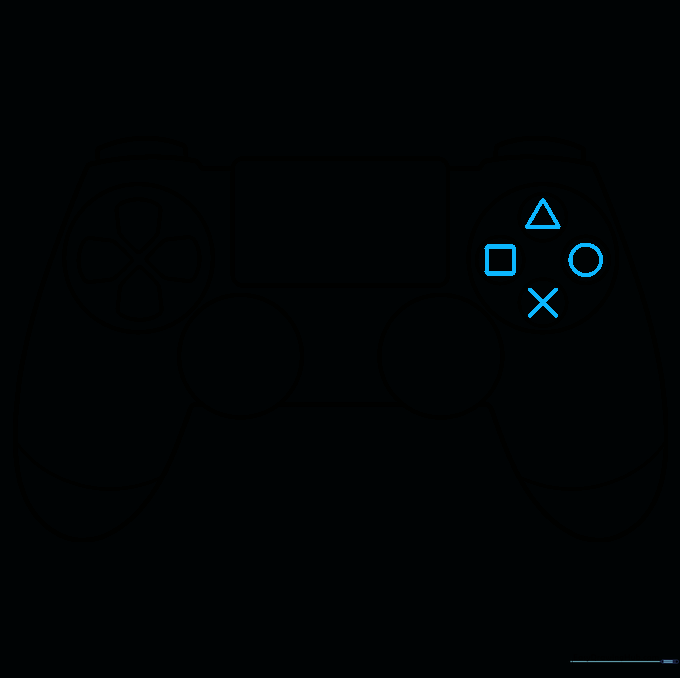
Draw the iconic Triangle, Circle, X, and Square inside the right-hand circles. Tip: Take your time with the triangle—it's the trickiest one to get symmetrical!
Step 7: Share, Options, and Speaker
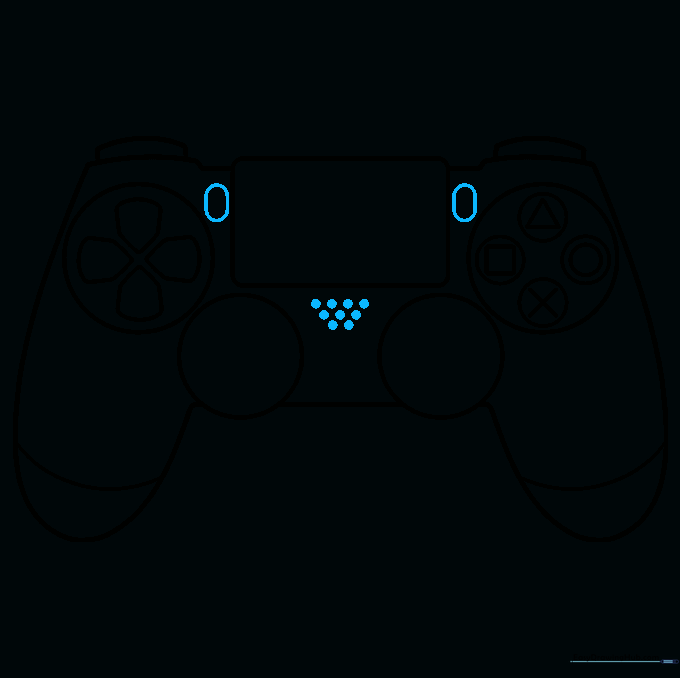
Add two small ovals near the touchpad for the 'Share' and 'Options' buttons. Below the touchpad, draw a grid of small circles to represent the speaker. Tip: Use a sharp pencil point to keep these small details clean.
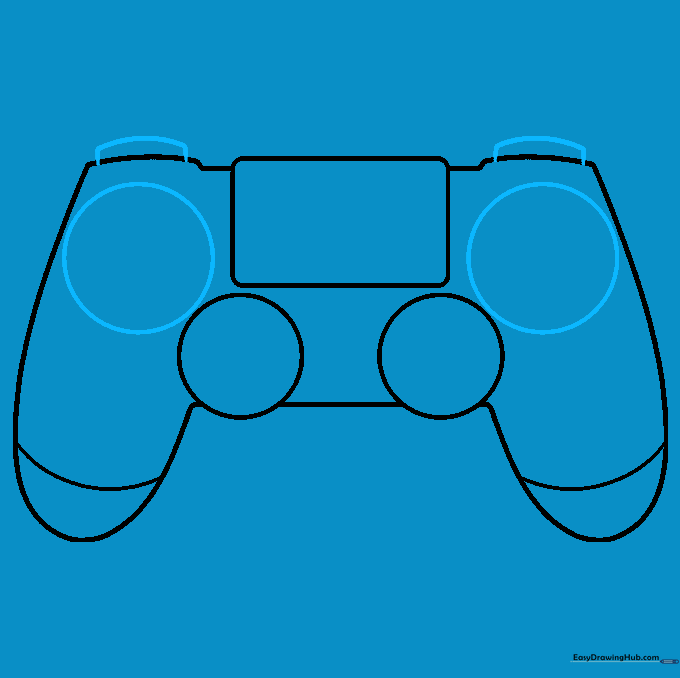
Step 8: Refining the Joysticks
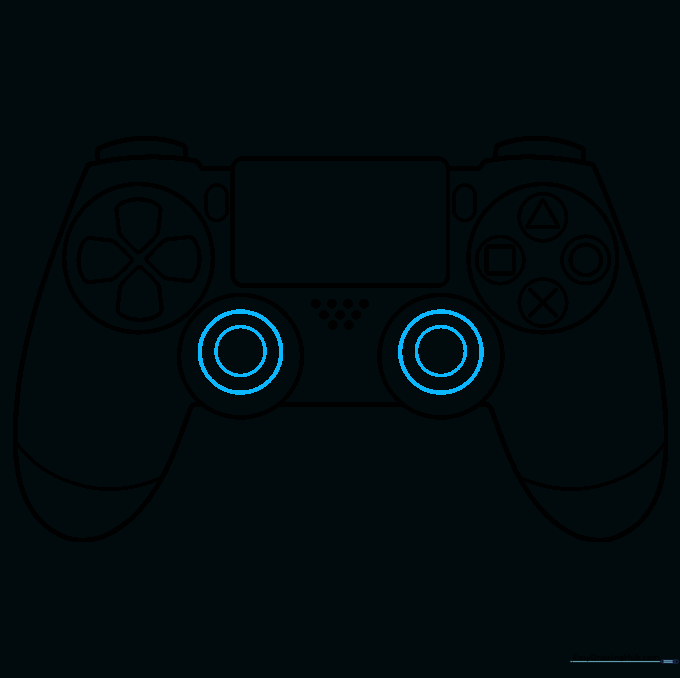
Inside your joystick circles, draw two smaller, concentric circles. This creates the depth needed for the thumbsticks. Tip: Focus on making the inner circles look like they are slightly raised.
Step 9: The PlayStation Logo
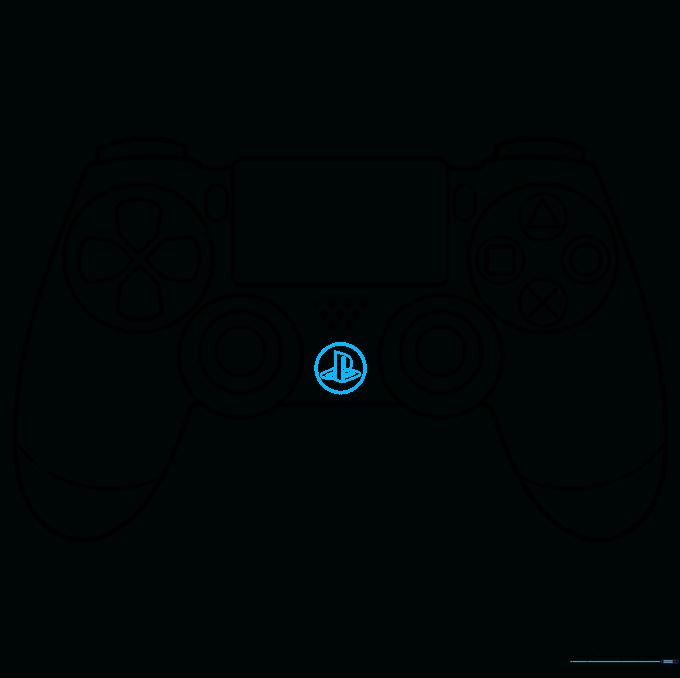
Draw a small circle between the joysticks and sketch the stylized 'PS' logo inside. Tip: If the letters are too small, just draw a simple 'PS' to keep it frustration-free!
Step 10: Bring It to Life with Color

Time to color! While classic black is great, why not try a custom color like 'Berry Blue' or 'Sunset Orange'? Tip: Use markers for bold, solid colors or colored pencils if you want to add some shading for a 3D effect.
More Tutorials


