How to Draw a Princess: Simple 9-Step Guide for Kids
Bring a fairytale character to life with this simple drawing guide, perfect for artists ages 5 and up. All you need is a pencil, an eraser, and your favorite coloring supplies to get started. Follow these steps to build confidence in your character design and storytelling skills.
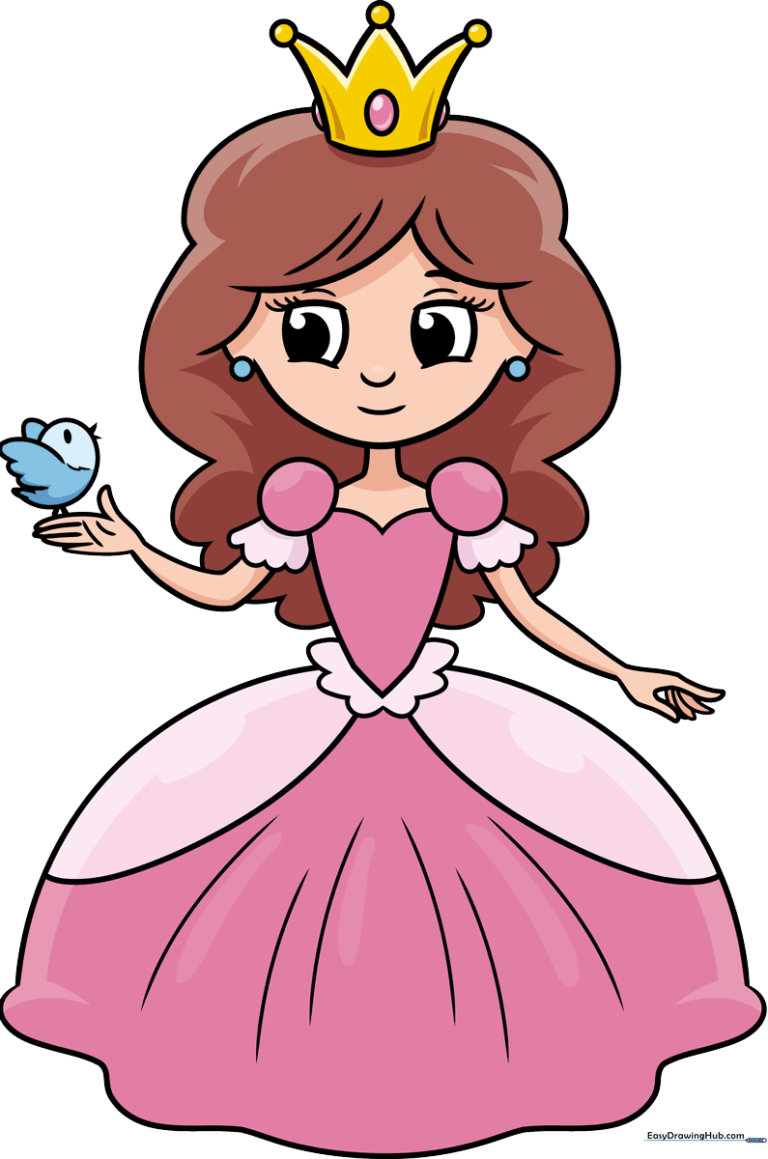
🎯 Final Result
Step-by-Step Instructions
Step 1: Sketching the Expressive Eyes

Start by drawing two rounded rectangles for the eyes. Add a small, shaded circle inside each for the pupil. Teacher's Tip: Keep your pencil pressure light so you can easily adjust the shape if the eyes look a bit uneven.
Step 2: Defining the Face and Hair

Use soft, overlapping curves to outline the hair, cheeks, and chin. Add small circles for earrings and simple lines for the nose and mouth. Teacher's Tip: Use a 'U' shape for the chin to give her a friendly, gentle expression.
Step 3: Adding the Royal Crown
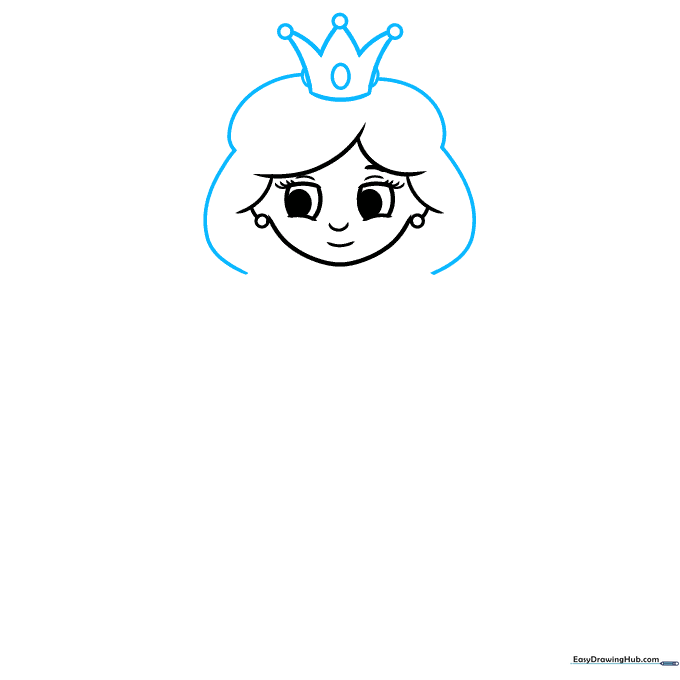
Draw a crown on top of her head using triangular spikes and small circles at the tips. Teacher's Tip: Imagine the crown is resting gently on her hair; keep the base curved to match the shape of her head.
Step 4: Creating the Bodice
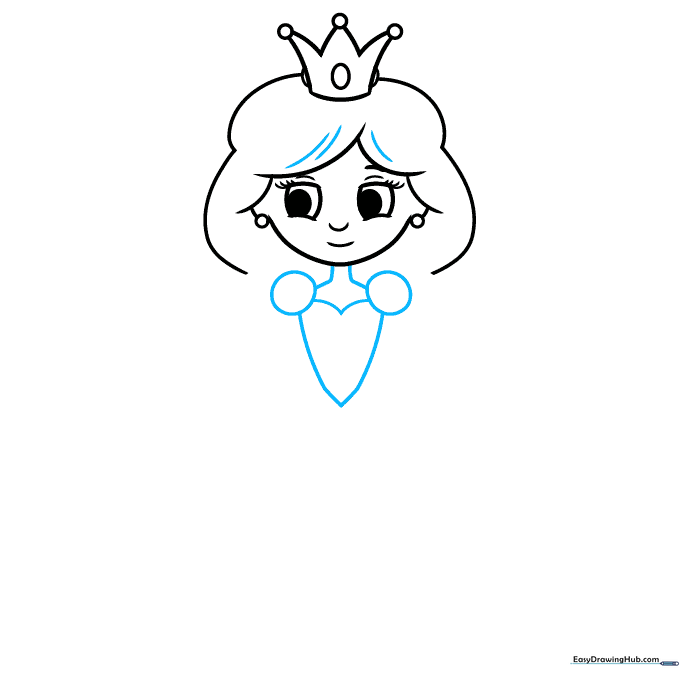
Add texture to the hair with curved lines. Extend two lines for the neck and draw circles for the shoulders, connecting them with a heart-shaped bodice. Teacher's Tip: The heart shape is a great way to practice symmetry!
Step 5: Drawing the First Arm
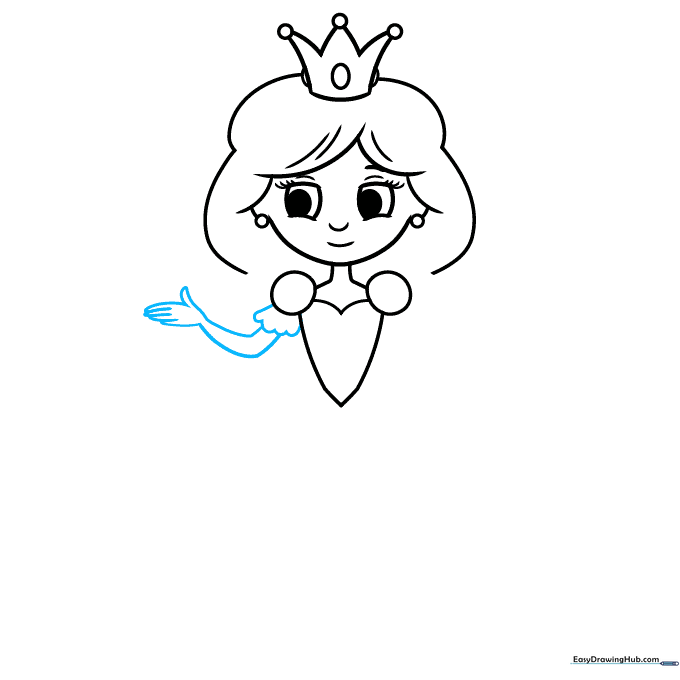
Draw a scalloped sleeve below the shoulder, then extend lines to form the arm and hand. Teacher's Tip: Keep the arm lines slightly curved to make her pose look natural rather than stiff.
Step 6: Balancing the Pose

Repeat the process on the opposite side to draw the second scalloped sleeve, arm, and hand. Teacher's Tip: Check that both arms are roughly the same length to keep your character balanced.
Step 7: Finishing the Hair and Waist
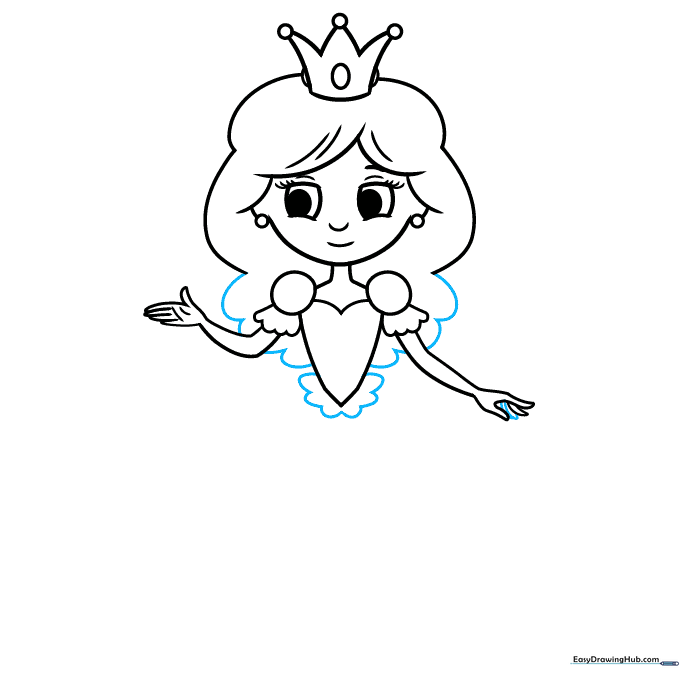
Complete the hair by drawing curved lines that flow behind the arms. Add a scalloped ruffle at the waist of the dress. Teacher's Tip: Use long, sweeping strokes for the hair to show movement.
Step 8: Sketching the Flowing Skirt
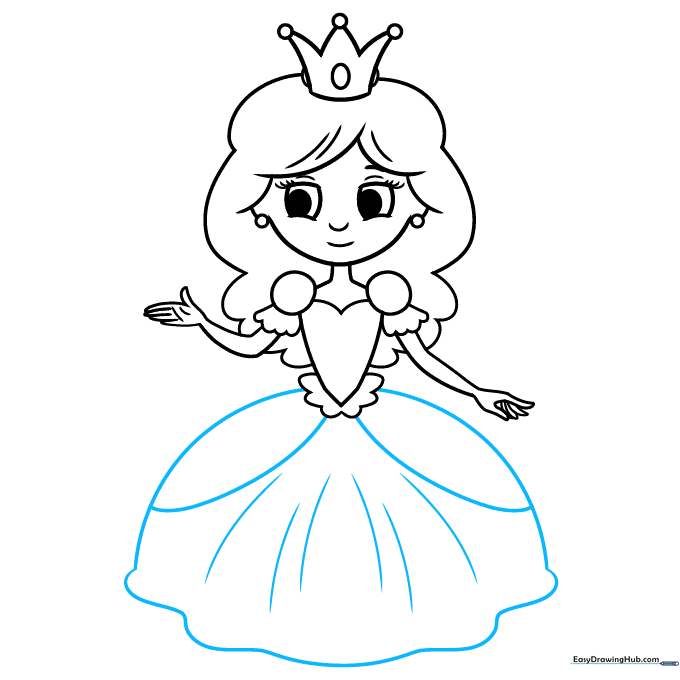
Extend long, wavy lines from the waist to create a full, flowing skirt. Add extra curved lines to suggest folds in the fabric. Teacher's Tip: Vary the width of your skirt lines to make the dress look like it has volume.
Step 9: Adding a Feathered Friend
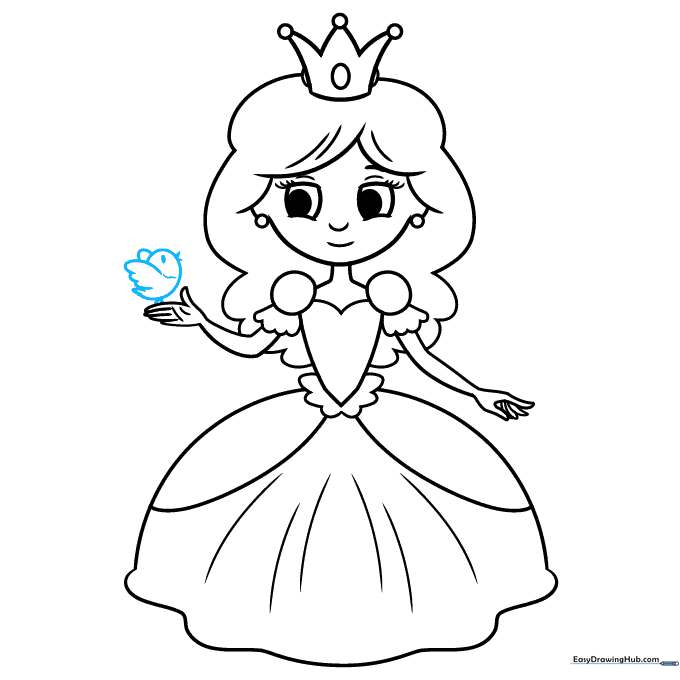
Draw a small bird perched on her hand using simple triangles for the beak and feet. Teacher's Tip: Keep the bird small so it doesn't distract from the princess's face.
Step 10: Bringing Your Princess to Life with Color
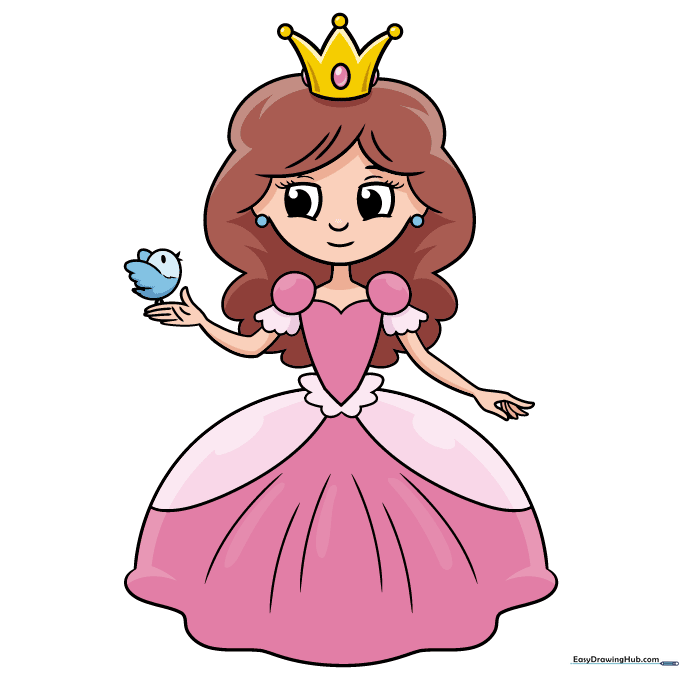
Now for the best part! Color your princess using your favorite shades. We used pink, but feel free to experiment with blues, yellows, or purples to create your own unique royal style.
More Tutorials


