How to Draw a Prince: Easy 10-Step Guide for Kids
Bring a royal character to life with this engaging drawing tutorial designed for ages 7 and up. You will need a pencil, an eraser, and your favorite coloring supplies to complete this noble figure. Follow along to master character proportions and classic cartoon detailing.
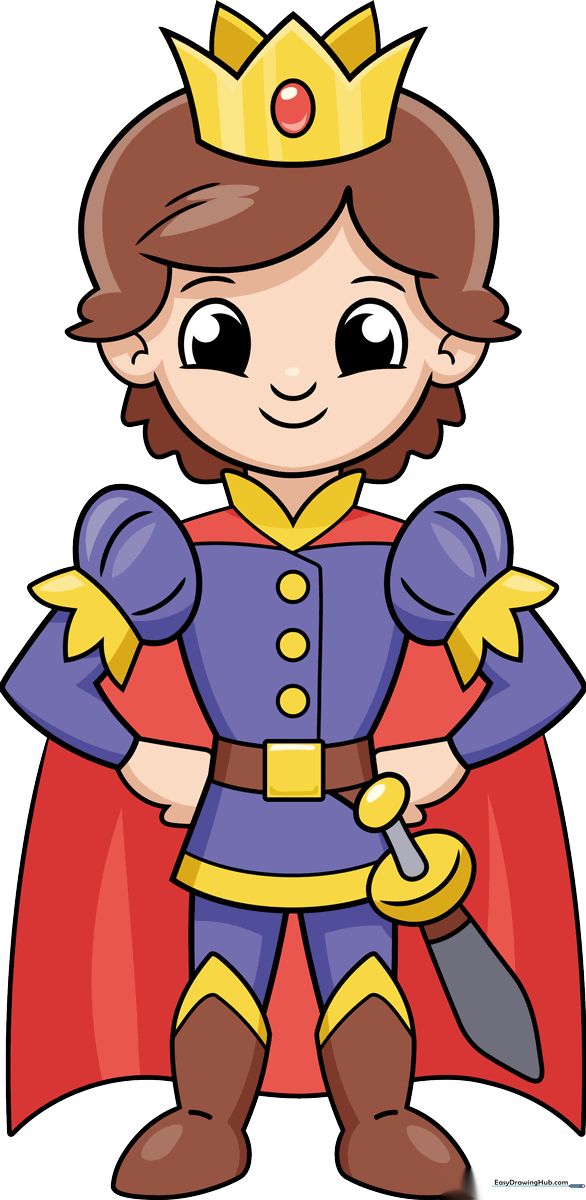
🎯 Final Result
Step-by-Step Instructions
Step 1: Sketching the Face

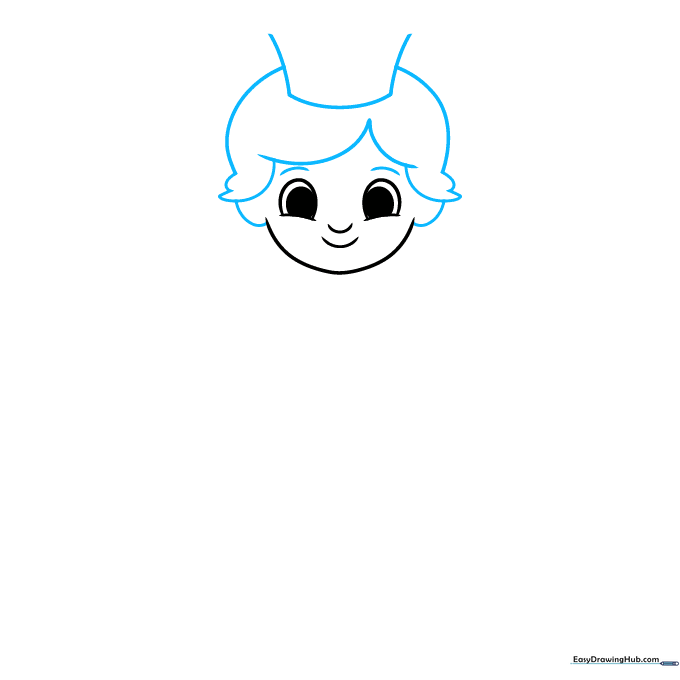
Draw a soft 'U' shape for the jawline and add a small curved nose and a cheerful smile. Teacher's Tip: Keep the face shape rounded to give your prince a friendly, youthful appearance.
Step 2: Adding Ears and Crown Base
Sketch the ears on the sides of the head and a simple rectangle on top for the crown. Teacher's Tip: Use light, dashed lines for the crown base so you can adjust the height later.
Step 3: Detailing the Crown and Neck
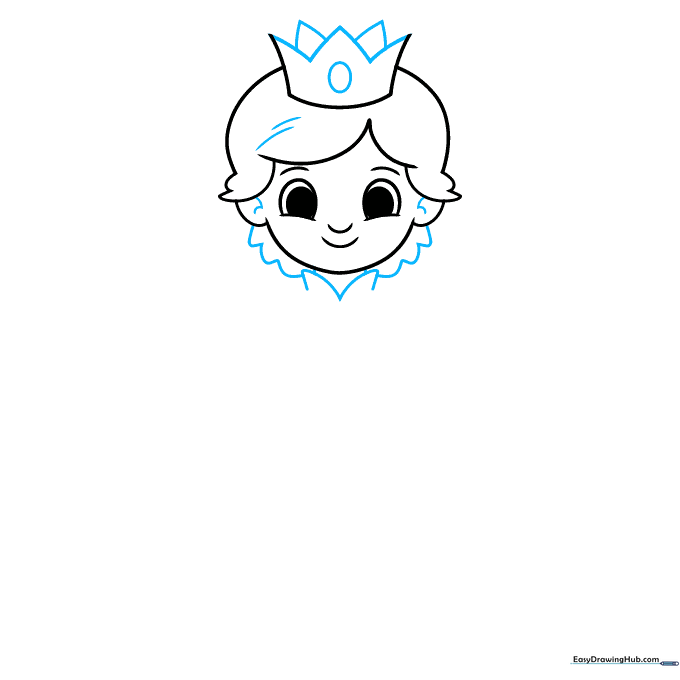
Add triangular spikes to the crown and a gemstone in the center. Draw the neck and collar. Teacher's Tip: Make the collar wide to give the prince a more regal, formal look.
Step 4: Shaping the Shoulders
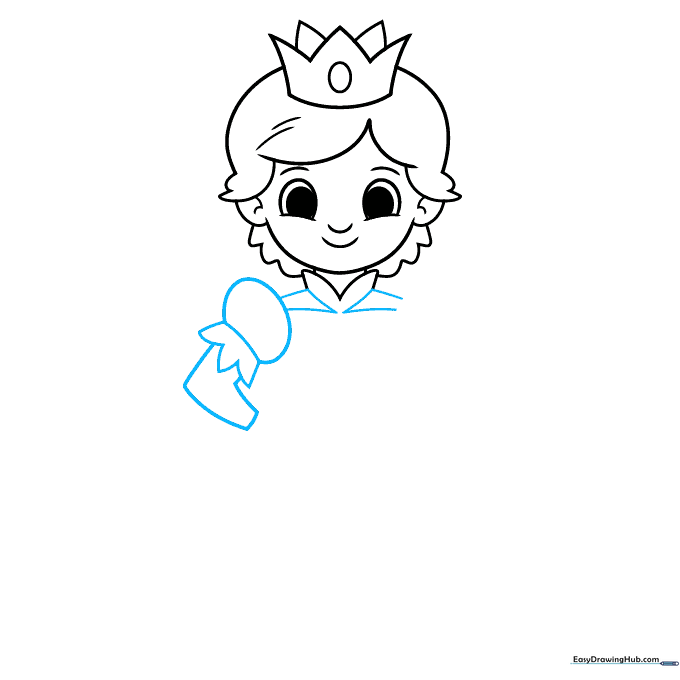
Draw the shoulder pads and the start of the arm. Teacher's Tip: Use oval shapes for the shoulders to create a 'puffy' sleeve effect common in royal attire.
Step 5: Completing the Arms
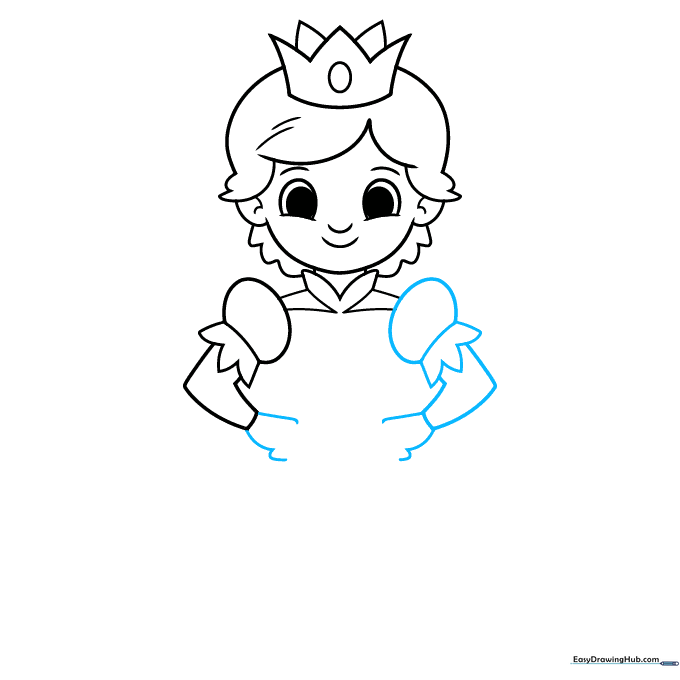
Mirror the arm on the other side and begin sketching the hands. Teacher's Tip: Keep the arms slightly bent to make the pose look natural rather than stiff.
Step 6: Adding the Belt and Sword Pommel
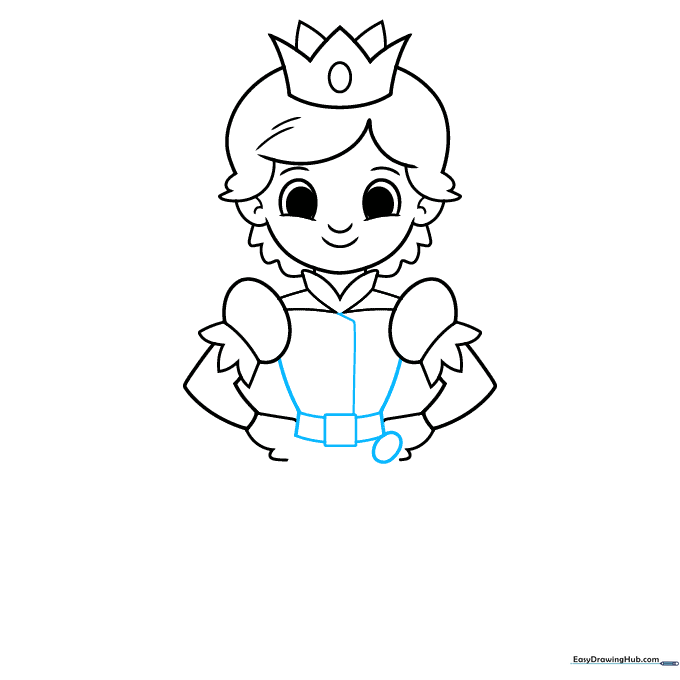
Draw the belt buckle and the pommel of the sword. Teacher's Tip: Ensure the belt is centered so the character looks balanced.
Step 7: Drawing the Sword and Tunic
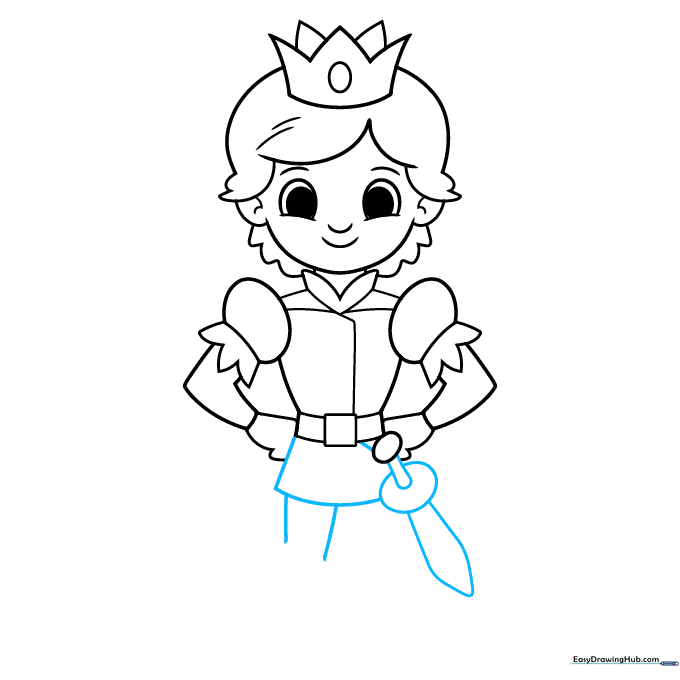
Complete the sword blade and the bottom of the tunic. Teacher's Tip: Use a ruler if you want the sword blade to look extra sharp and straight.
Step 8: Adding Boots and Details
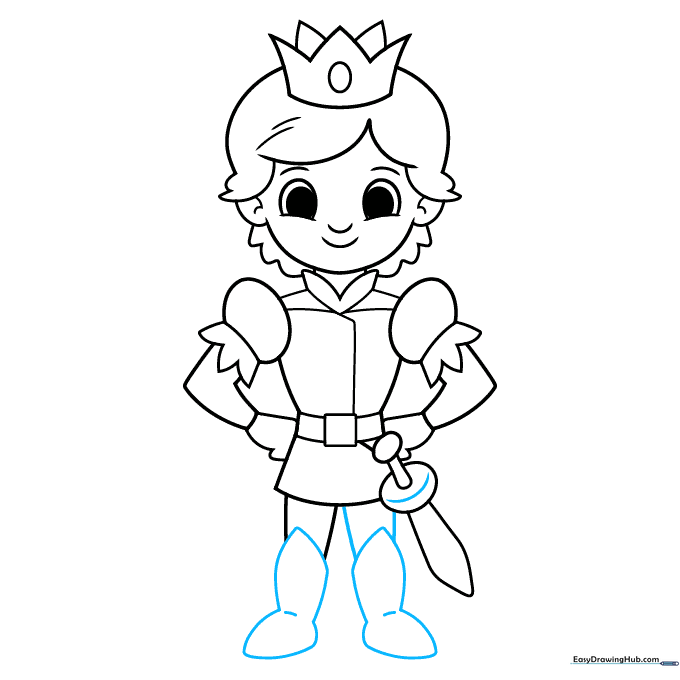
Draw the legs and boots, adding contour lines for texture. Teacher's Tip: Add small horizontal lines on the boots to represent the fold of the leather.
Step 9: Finalizing the Cape
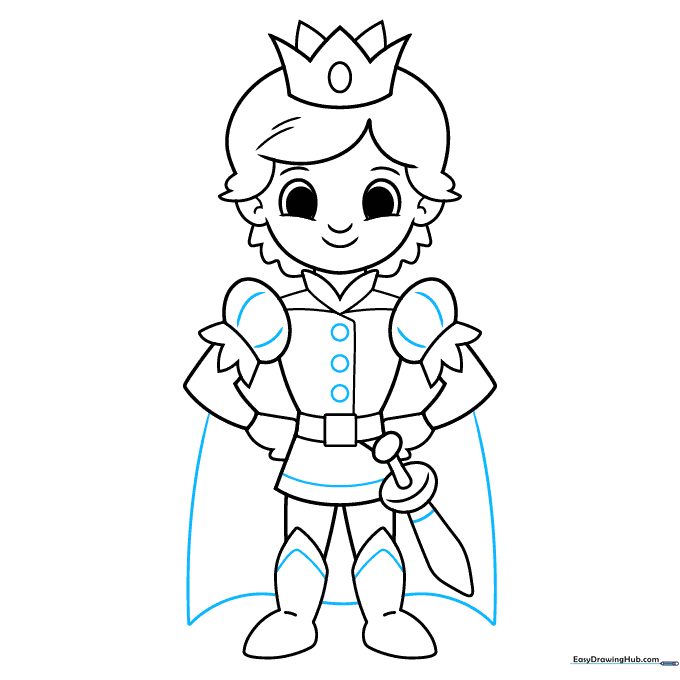
Add the cape and final buttons to the tunic. Teacher's Tip: Draw the cape flowing slightly to one side to give your drawing a sense of movement.
Step 10: Color Your Prince
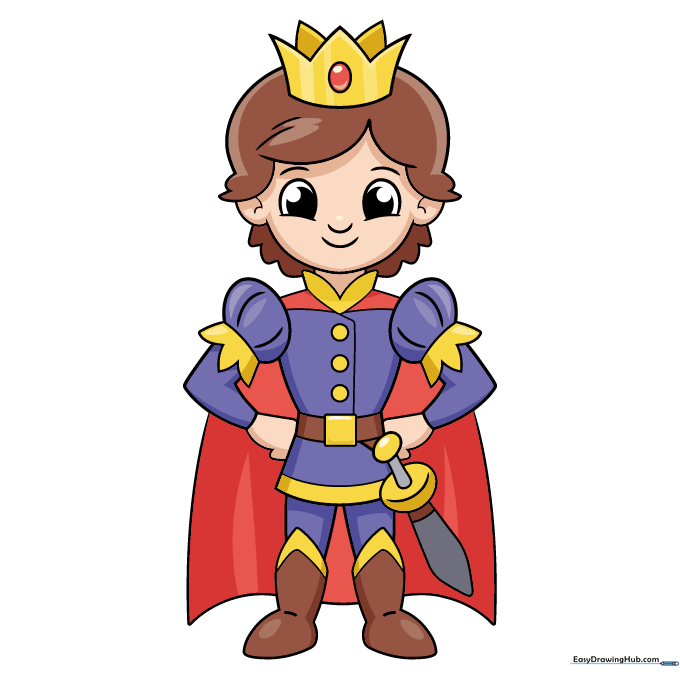
Add your final colors! Use royal purples, deep reds, and bright golds. Teacher's Tip: Use a darker shade of your base color to add shadows under the cape and arms for a 3D effect.
More Tutorials


