How to Draw a Possum: Easy 10-Step Guide for Kids
Ready to bring a woodland friend to life? This tutorial is perfect for young artists ages 5 and up. All you need is a pencil, an eraser, and a piece of paper to master this adorable possum in just a few minutes.
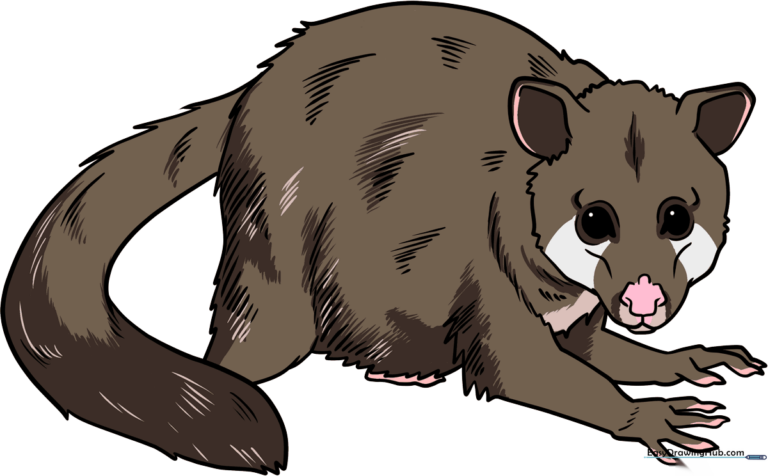
🎯 Final Result
Step-by-Step Instructions
Step 1: Sketching the Expressive Eyes

Start by drawing two large circles for the eyes, with smaller circles inside for pupils. Shade the pupils in completely. Tip: Keep your pencil pressure light so you can easily adjust the shape if needed.
Step 2: Shaping the Snout
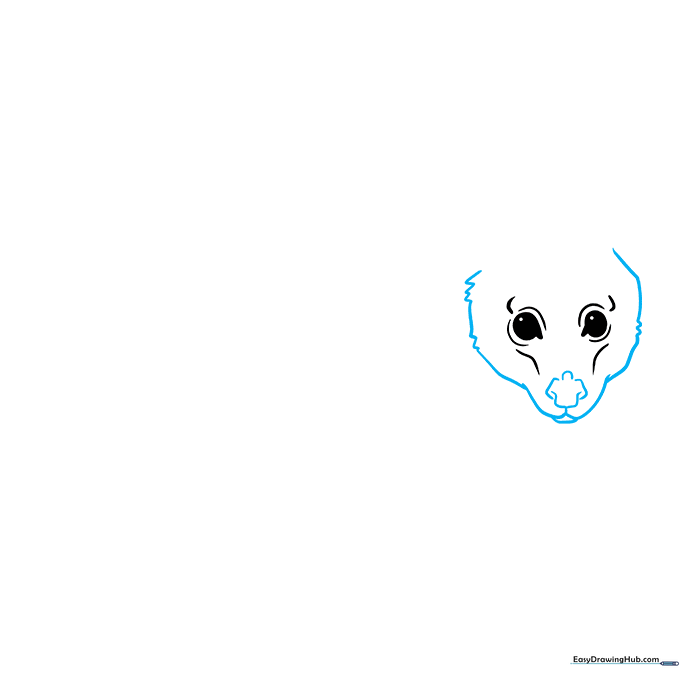
Draw a series of overlapping 'U' shapes to form the nose. Use soft, curved lines to outline the snout and sides of the face. Tip: Use short, quick strokes to create a slightly fuzzy, natural look for the fur.
Step 3: Adding the Ears
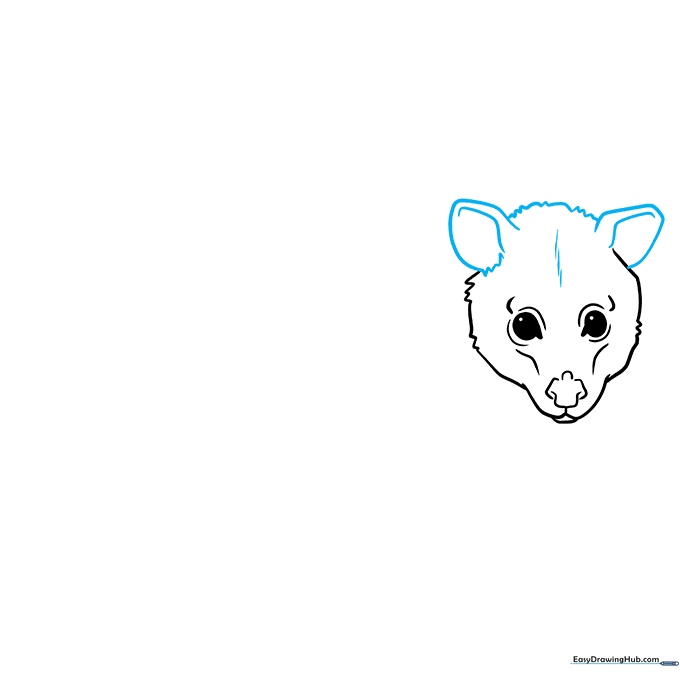
Draw two large, rounded ears using long curved lines. Add inner contours to give them depth. Tip: Connect the ears with small, jagged lines to mimic the texture of real fur.
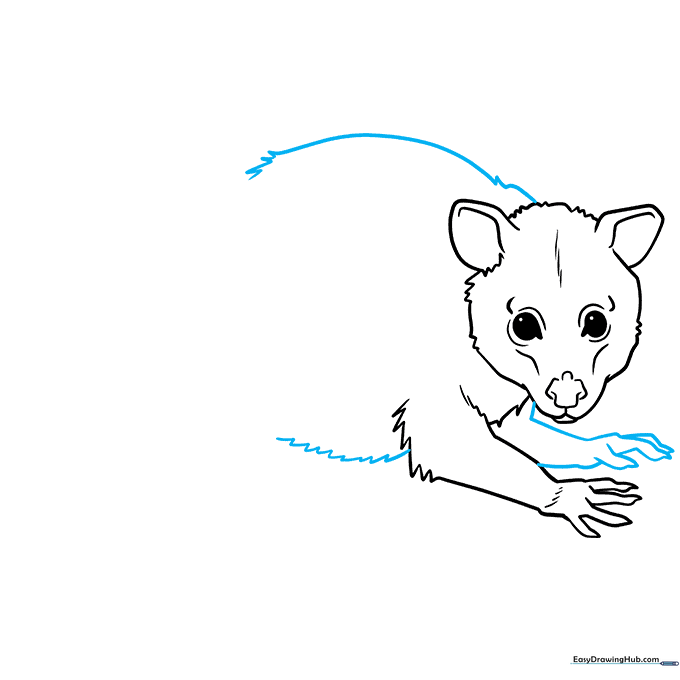
Step 4: Drawing the First Paw
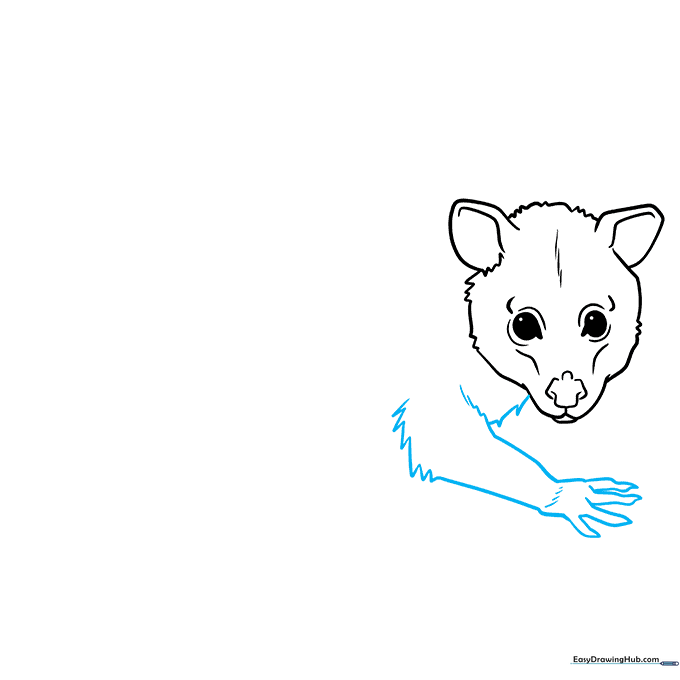
Use jagged lines to sketch the arm and connect it to the face. Draw the paw using wavy, overlapping lines for the fingers. Tip: Keep the fingers rounded to make the possum look friendly and cute.
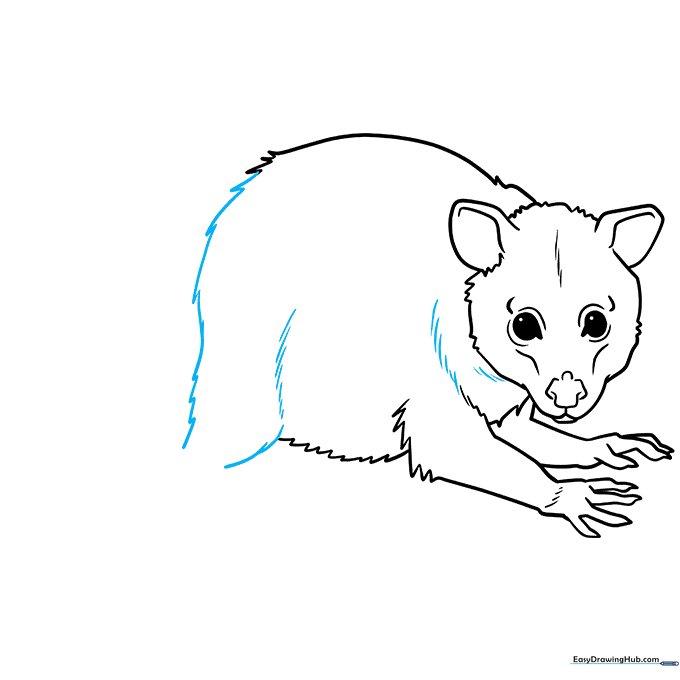
Step 5: Defining the Body
Sketch the back and belly using jagged, uneven lines to suggest fur. Add the second foreleg and paw. Tip: Ensure the body shape is slightly rounded to give your possum a cuddly appearance.
Step 6: Adding the Rear Legs
Use jagged lines to define the rear legs. Add curved lines around the neck and leg joints to create a sense of movement. Tip: Focus on the connection points where the legs meet the body to make the drawing look grounded.
Step 7: The Tail and Final Foot
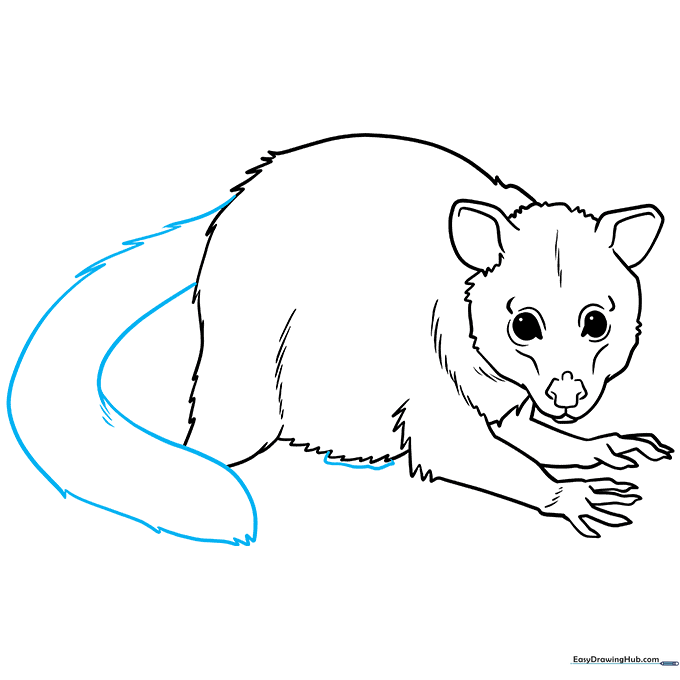
Draw the long, characteristic tail using a series of jagged lines that double back. Add the final rear foot visible beneath the belly. Tip: A possum's tail is quite long, so don't be afraid to let it curve across your page!
Step 8: Adding Fur Texture
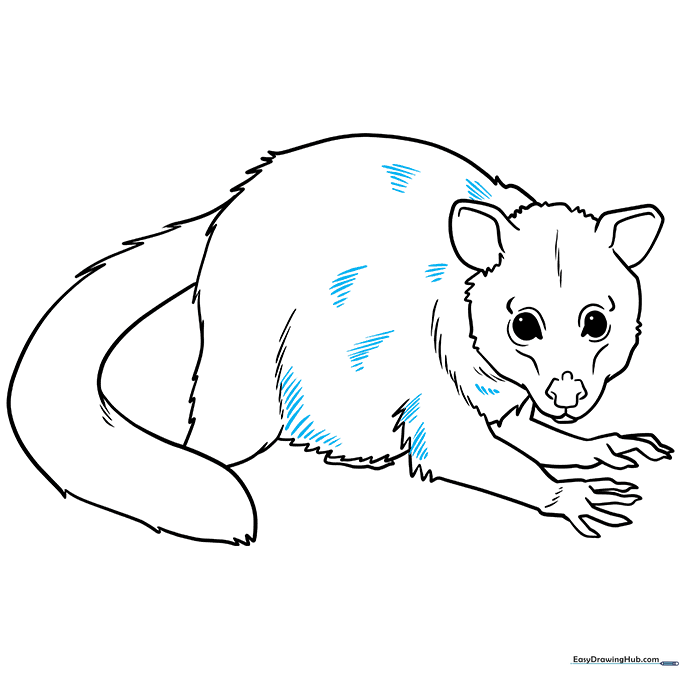
Add patches of closely spaced lines across the body to represent fur. Tip: Vary the length of your lines to make the fur look realistic and soft.
Step 9: Final Details
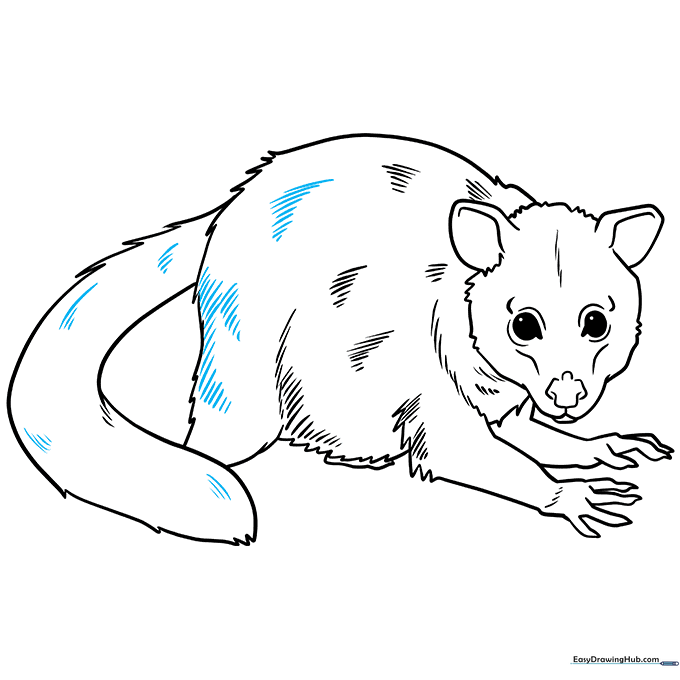
Continue adding small, short lines to refine the fur texture throughout the body. Tip: Focus on the edges of the possum to give it a clean, finished silhouette.
Step 10: Color Your Masterpiece
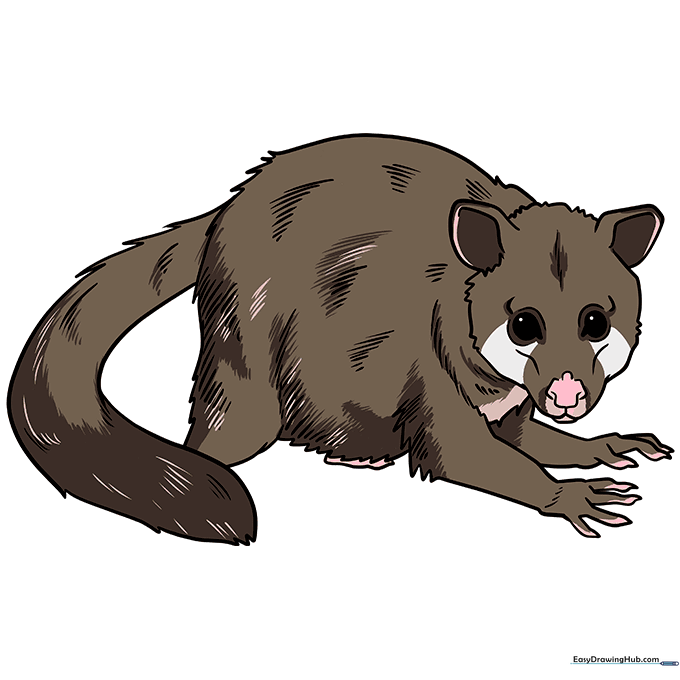
Your outline is complete! Use shades of gray, brown, and white to color your possum. Tip: Use a lighter gray for the face and a darker brown for the body to give your drawing extra dimension.
More Tutorials


