How to Draw a Poppy: Easy 10-Step Guide for Kids
Bring the beauty of summer into your sketchbook with this simple poppy drawing tutorial, perfect for artists ages 5 and up. All you need is a pencil, an eraser, and your favorite coloring tools to get started. Follow these steps to master organic, wavy lines and create a vibrant floral masterpiece.
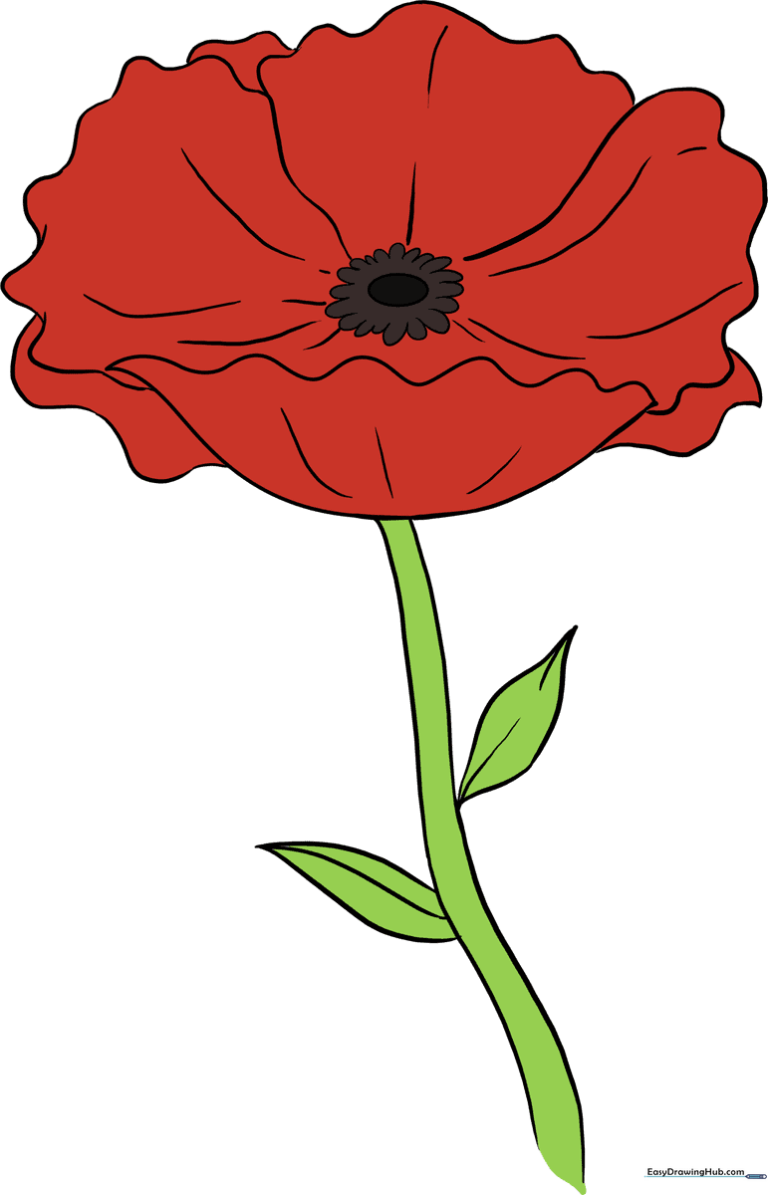
🎯 Final Result
Step-by-Step Instructions
Step 1: Sketching the Seed Pod

Draw a small oval for the center, then surround it with tiny 'U' shaped lines. Teacher's Tip: Keep these 'U' shapes tight and close together to create a realistic, textured seed pod look.
Step 2: Forming the First Petal

Draw a wide 'U' shape beneath the center, then connect the ends with a wavy line. Teacher's Tip: Poppy petals are naturally crinkly, so don't worry about making your lines perfectly straight!
Step 3: Adding the Second Petal

Extend a long, curved line from the center, curving it downward to meet the first petal. Add a few extra curved lines inside to show the petal's natural fold. Teacher's Tip: Use these internal lines to create a sense of depth.
Step 4: Sketching the Third Petal

Repeat the process on the opposite side to create the third petal. Keep the lines wavy and connect them back to the center. Teacher's Tip: Vary the length of your lines to make the flower look more organic.
Step 5: Closing the Bloom

Bridge the gap between your petals with a final wavy line to complete the flower shape. Teacher's Tip: Ensure your lines overlap slightly to make the petals look like they are layered.
Step 6: Adding Petal Details

Draw small, wavy lines at the junctions where petals meet. This creates the illusion of overlapping petals. Teacher's Tip: Less is more—just a few small lines will add great detail.
Step 7: Drawing the Stem
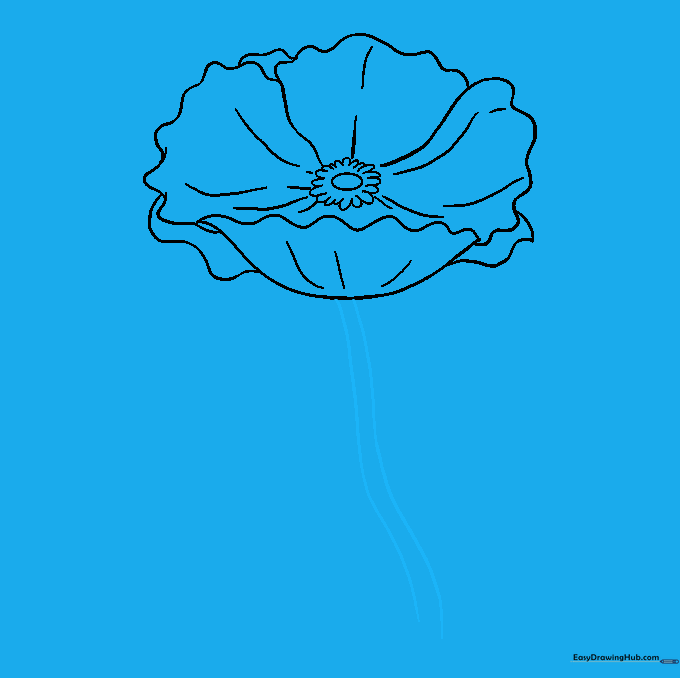
Extend two long, parallel lines downward from the base of the flower. Teacher's Tip: Keep the stem slightly curved to give your flower a more natural, swaying appearance.
Step 8: Adding the First Leaf

Draw two curved lines meeting at a point on the side of the stem, then add a vein line down the center. Teacher's Tip: Poppy leaves are often jagged; feel free to add a little 'zig-zag' to the edges.
Step 9: Adding the Second Leaf

Add another leaf on the opposite side of the stem using three curved lines. Teacher's Tip: Try to make this leaf a slightly different size than the first to keep the drawing balanced but natural.
Step 10: Bringing Your Poppy to Life

Time to color! Use a deep red for the petals and black for the center. Teacher's Tip: Try layering light and dark reds to give your poppy a velvety, realistic texture.
More Tutorials


