How to Draw a Ponytail: Easy 10-Step Guide for Beginners
Ready to give your character a stylish new look? This tutorial is perfect for young artists ages 6+ looking to master hair movement and volume. All you need is a pencil, an eraser, and your favorite coloring tools to bring this ponytail to life.
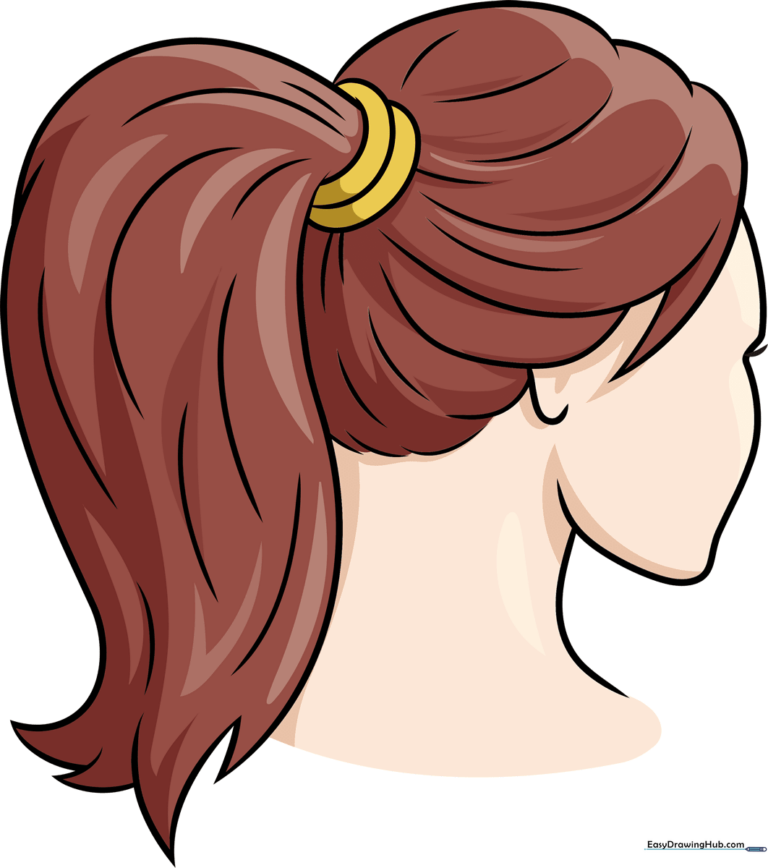
🎯 Final Result
Step-by-Step Instructions
Step 1: Sketching the Face Profile
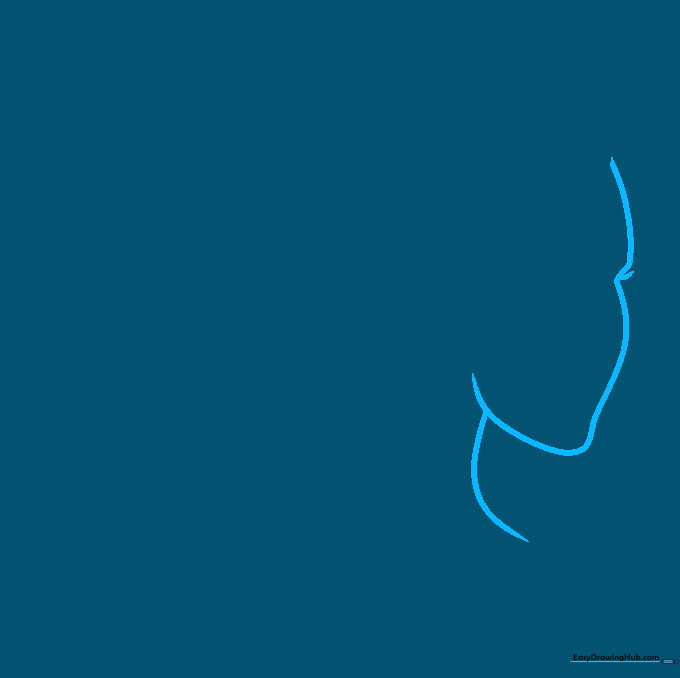
Lightly sketch the profile of the face using one curved line for the forehead and nose, and another for the neck. Teacher's Tip: Keep your pencil pressure very light here so you can easily erase the guidelines once the hair is drawn.
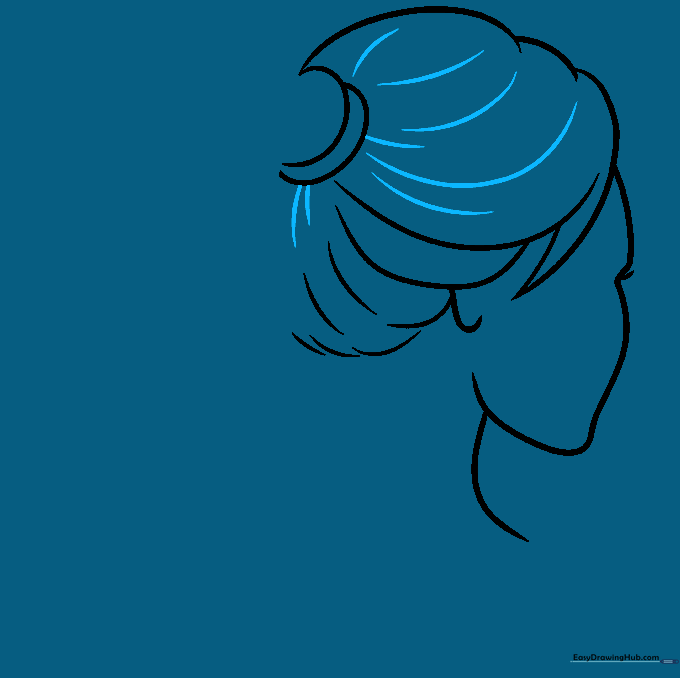
Step 2: Adding the Hairline
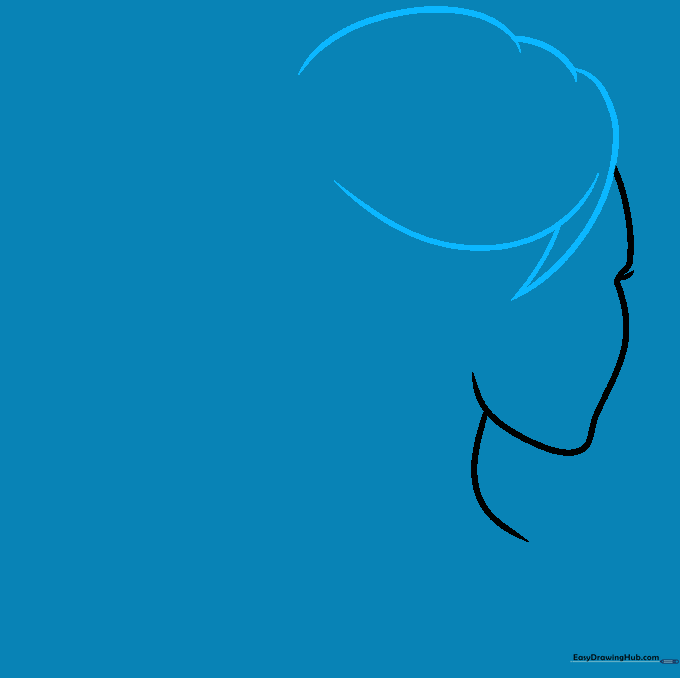
Sketch the hair on top of the head using overlapping curved lines. Tip: Use sharp, pointed strokes to create the look of loose locks rather than one solid block of hair.
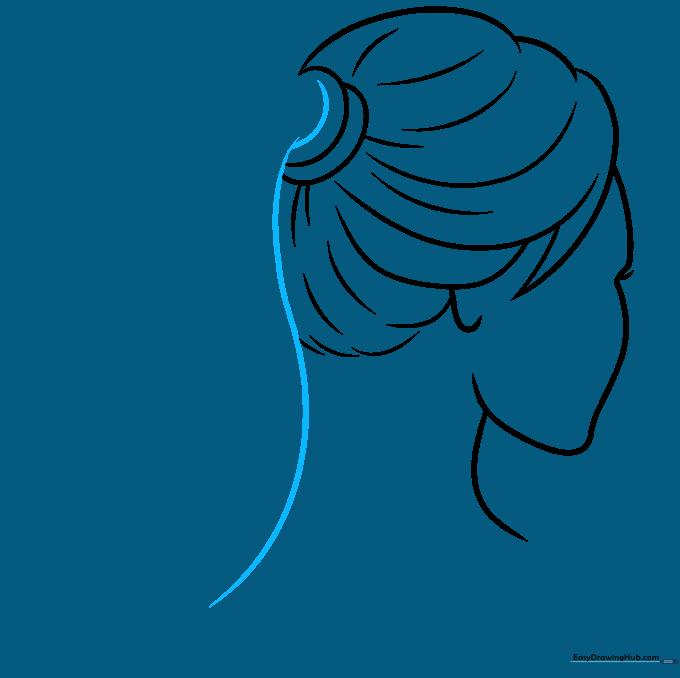
Step 3: Defining the Sides
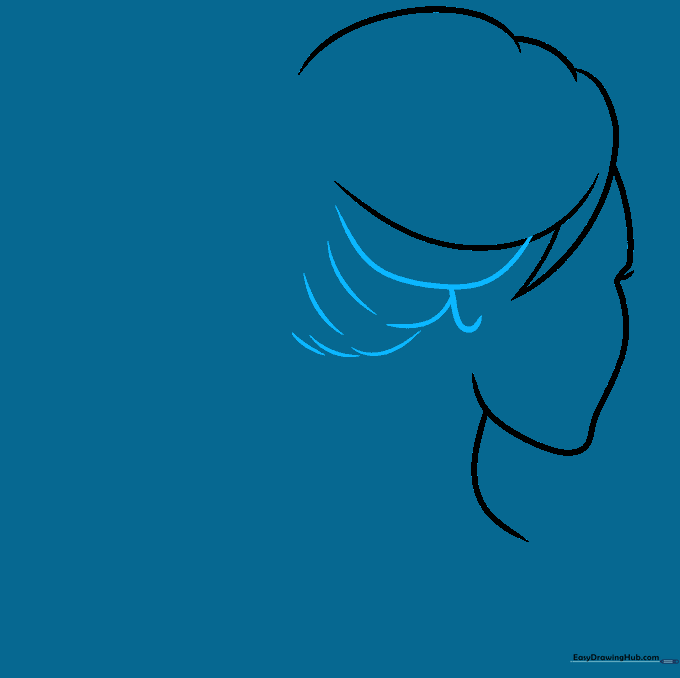
Add more overlapping curves along the side of the head and near the nape of the neck. Don't forget to add a small curved line for the ear! Tip: Vary the size of your curves to make the hair look natural and full.
Step 4: Drawing the Hair Tie

Draw two overlapping 'C' shaped lines to create the hair tie. Tip: Imagine the hair tie is hugging the hair tightly; keep these lines rounded to show volume.
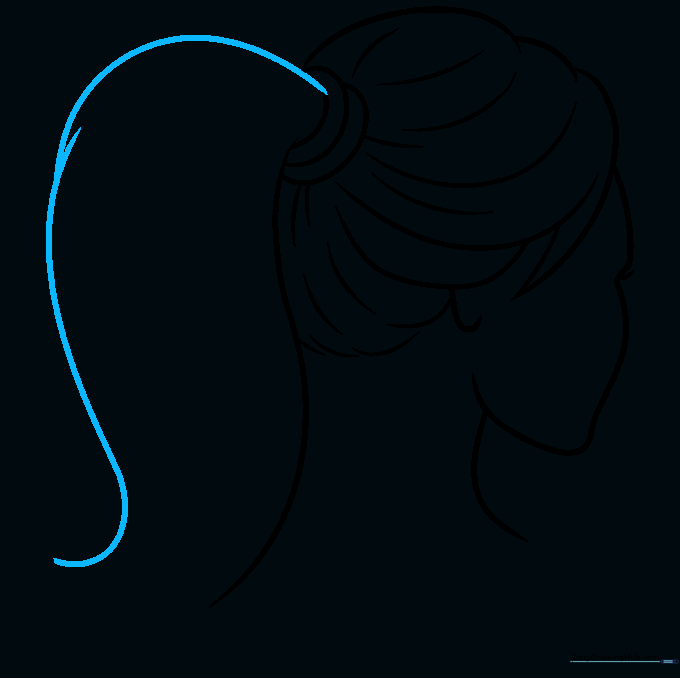
Step 5: Shaping the Ponytail
Draw long, sweeping curved lines extending from the hair tie. Tip: Let your wrist flow with the curve—long, confident lines look much better than short, choppy ones.
Step 6: Detailing the Base
Add another 'C' curve to the hair tie to give it thickness, then extend a long line down the back of the neck to define the bottom edge of the ponytail. Tip: This line helps anchor the hair to the head.
Step 7: Adding Volume
Draw more overlapping curved lines extending from the tie to outline the top of the ponytail. Tip: Think of these as 'ribbons' of hair—layering them creates a realistic, voluminous look.
Step 8: Finishing the Ends
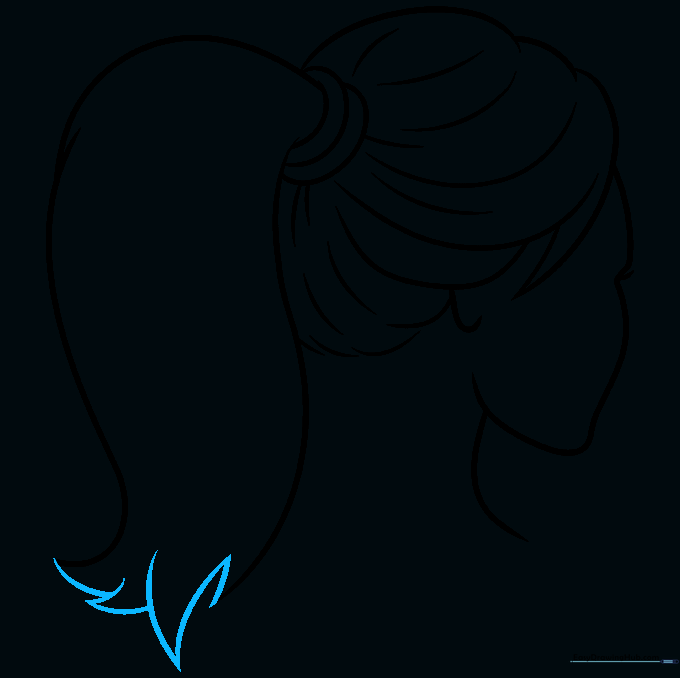
Connect the ends of the ponytail using short, jagged curved lines. Tip: Don't make the ends perfectly straight; hair naturally tapers, so varying the length of these small lines makes it look more authentic.
Step 9: Adding Texture
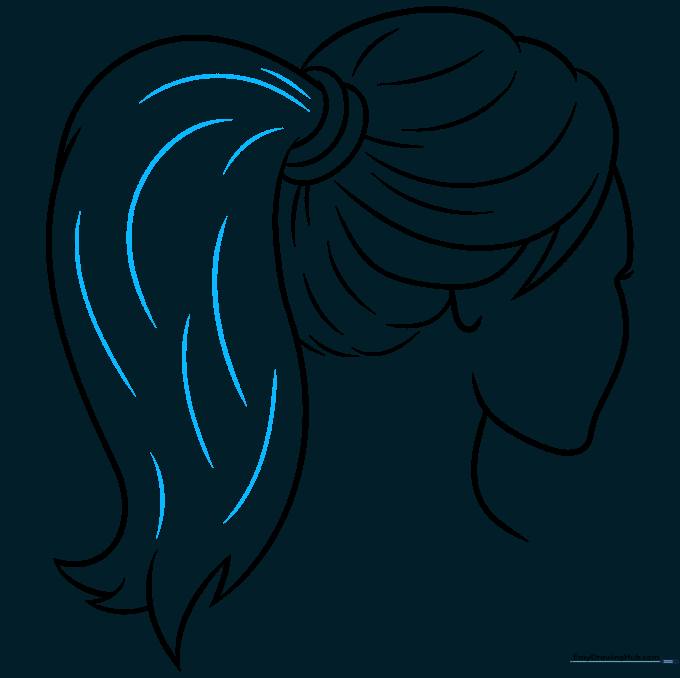
Add texture by drawing curved lines of varying lengths down the length of the ponytail. Tip: These lines represent individual strands or groups of hair—keep them flowing in the same direction as the ponytail.
Step 10: Coloring Your Creation
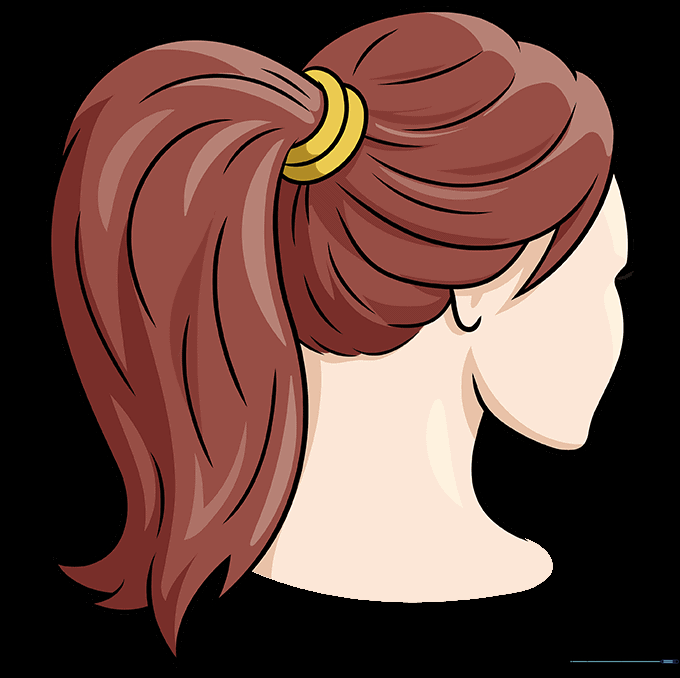
Bring your drawing to life with color! Whether you choose blonde, brunette, or a fun fantasy color, use light strokes to color in the direction of the hair. Tip: Leave a small white space on the top of the ponytail to act as a 'highlight' for a shiny, healthy look.
More Tutorials


