How to Draw a Pond: Easy 10-Step Nature Scene Guide
Bring a peaceful ecosystem to life with this step-by-step pond drawing tutorial, perfect for young artists ages 5 and up. You will need a pencil, eraser, and some colored pencils or markers to complete this scene. Follow along to master basic landscape shapes and cute animal characters.
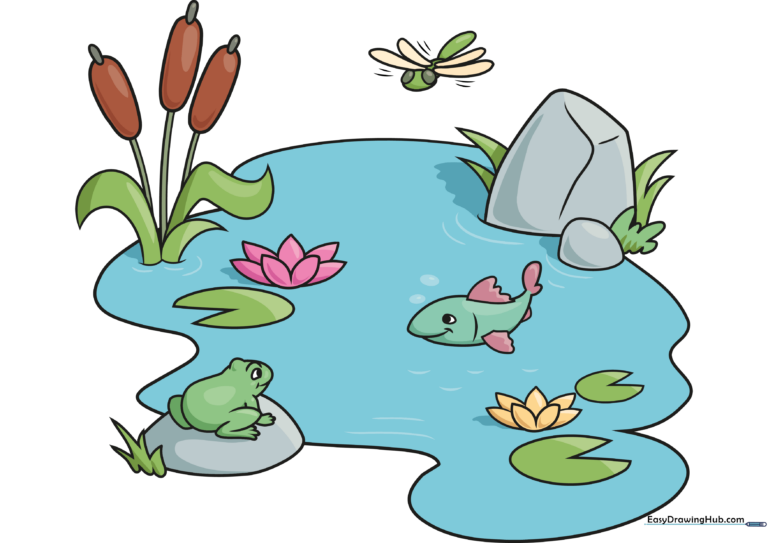
🎯 Final Result
Step-by-Step Instructions
Step 1: Sketching the Pond Edge

Start by outlining the pond's perimeter. Draw a few stones of varying sizes using long, curved lines. Connect them to create the bank. Teacher's Tip: Use a light touch here—these lines act as your guide for the water's edge.
Step 2: Adding Aquatic Plants

Draw an aquatic plant near the edge. Add short, curved lines at the base to represent ripples in the water. Extend pairs of curved lines upward to form the leaves. Teacher's Tip: Keep the leaves slightly asymmetrical to make them look more natural.
Step 3: Drawing Cattails and Grass
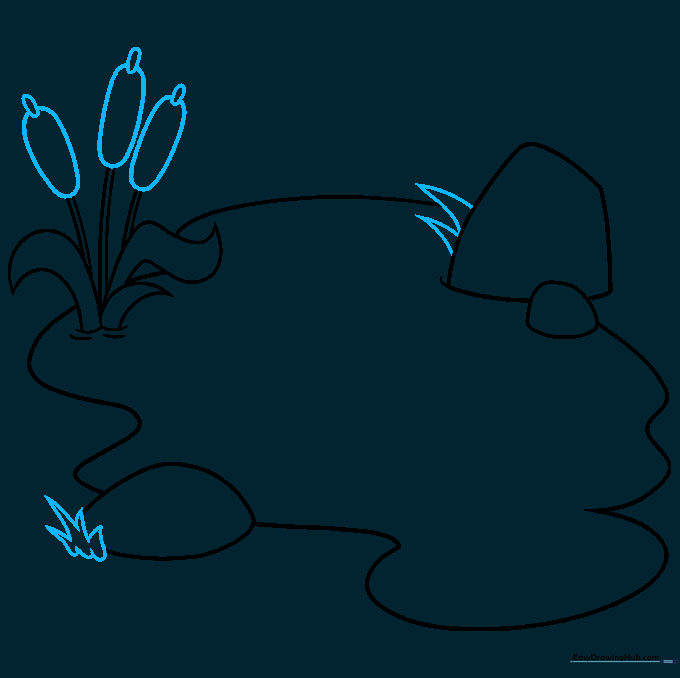
Draw the tops of the cattails using two elongated ovals—one large, one small. Add blades of grass along the rocks by drawing curved lines that meet at sharp points. Teacher's Tip: Vary the height of the grass blades to add depth to your drawing.
Step 4: Adding a Friendly Fish
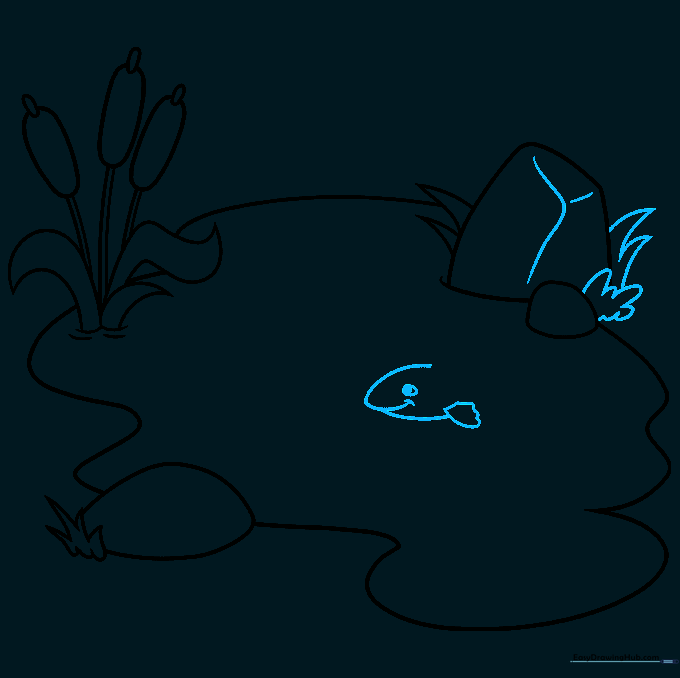
Contour the stone with curved lines and add more grass. Now, start your fish! Draw a smiling face and a small oval eye. Teacher's Tip: When drawing the eye, leave a tiny white dot unshaded to create a 'sparkle' effect.
Step 5: Completing the Fish and Starting the Frog
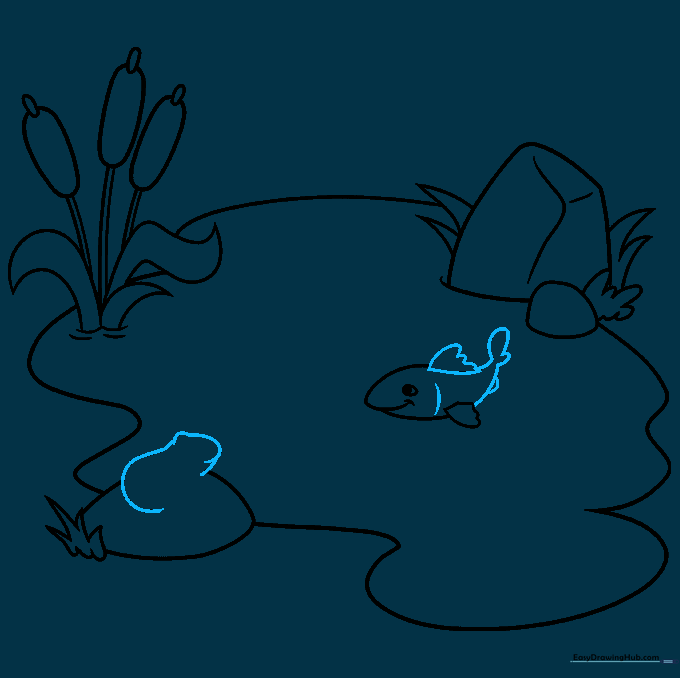
Finish the fish body, tail, and fins. Then, sketch a frog sitting on a rock. Use curved lines for the head and mouth. Teacher's Tip: Keep the frog's body rounded to give it a cute, cartoonish appearance.
Step 6: Detailing the Frog and Dragonfly

Add the frog's legs and toes using overlapping curves. Draw a dragonfly nearby by creating a head with two small eye ovals. Teacher's Tip: Frogs have powerful back legs—make sure they look folded and strong!
Step 7: Dragonfly Wings and Water Lilies
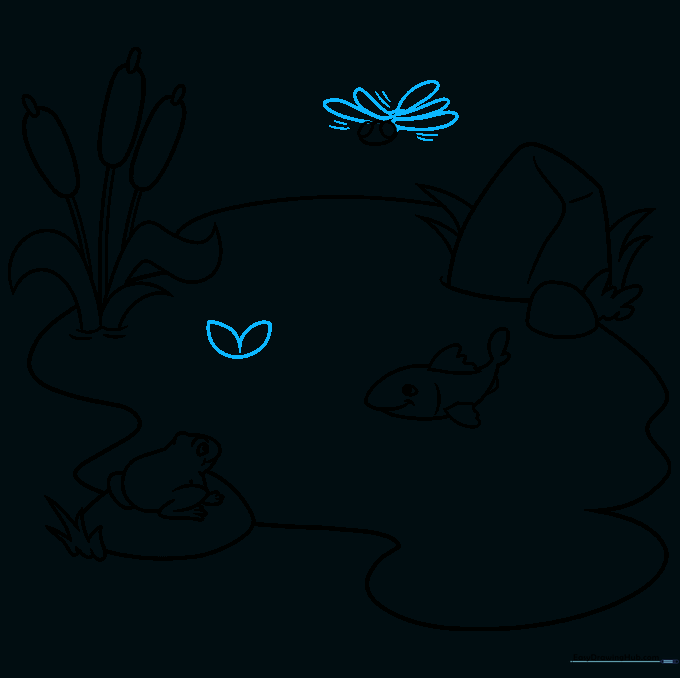
Finish the dragonfly wings with curved lines that double back. Add motion lines to show it's flying. Start your water lily with a double-pointed petal. Teacher's Tip: Use light, quick strokes for the dragonfly wings to make them look delicate.
Step 8: Adding More Blossoms
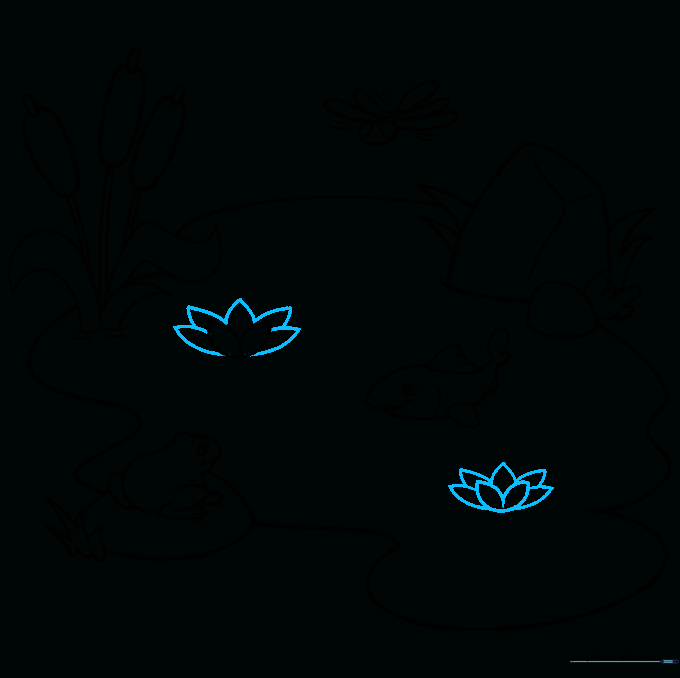
Continue outlining the water lily petals, ensuring they meet at sharp points. Add a second blossom nearby. Teacher's Tip: Overlapping petals creates a beautiful 3D effect.
Step 9: Final Touches
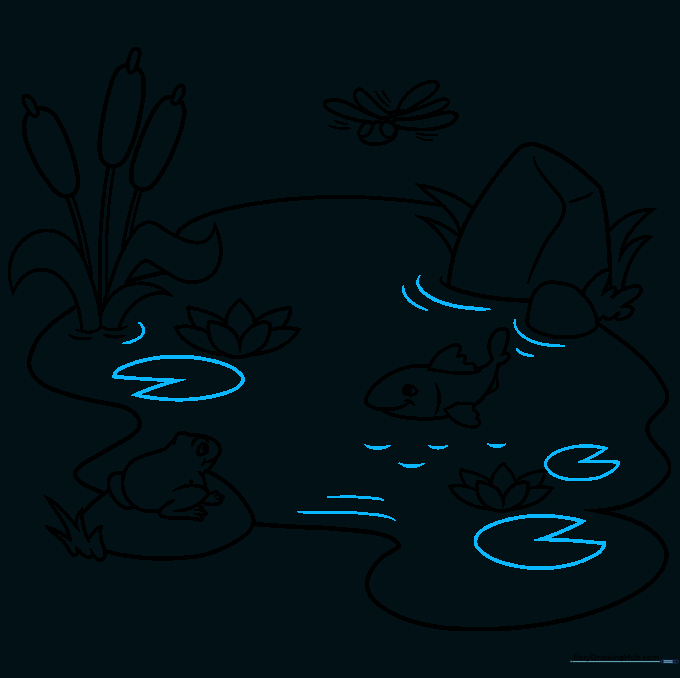
Draw lily pads as partial circles with a 'V' notch. Add small ripples around the animals and plants. Teacher's Tip: These ripples are essential for making the water look still and peaceful.
Step 10: Color Your Masterpiece
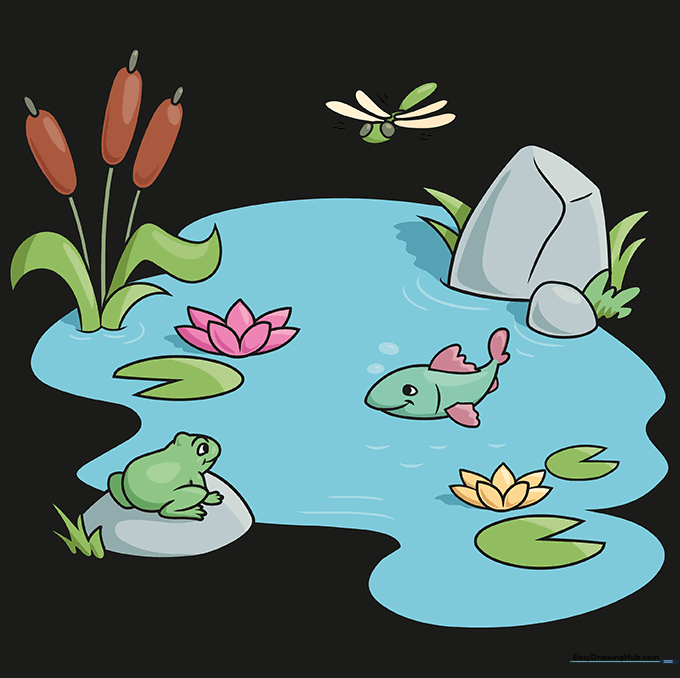
Bring your pond to life with vibrant blues for the water, greens for the plants, and bright colors for your fish and frog. Teacher's Tip: Use a light blue for the water and darker blue for the ripples to add contrast.
More Tutorials


