How to Draw a Pomegranate: Easy 9-Step Art Guide
This step-by-step tutorial is perfect for young artists ages 6+ looking to master fruit textures. You will need a pencil, eraser, and your favorite red markers or colored pencils. Follow along to create a vibrant, juicy pomegranate slice that looks good enough to eat!
🎯 Final Result
Step-by-Step Instructions
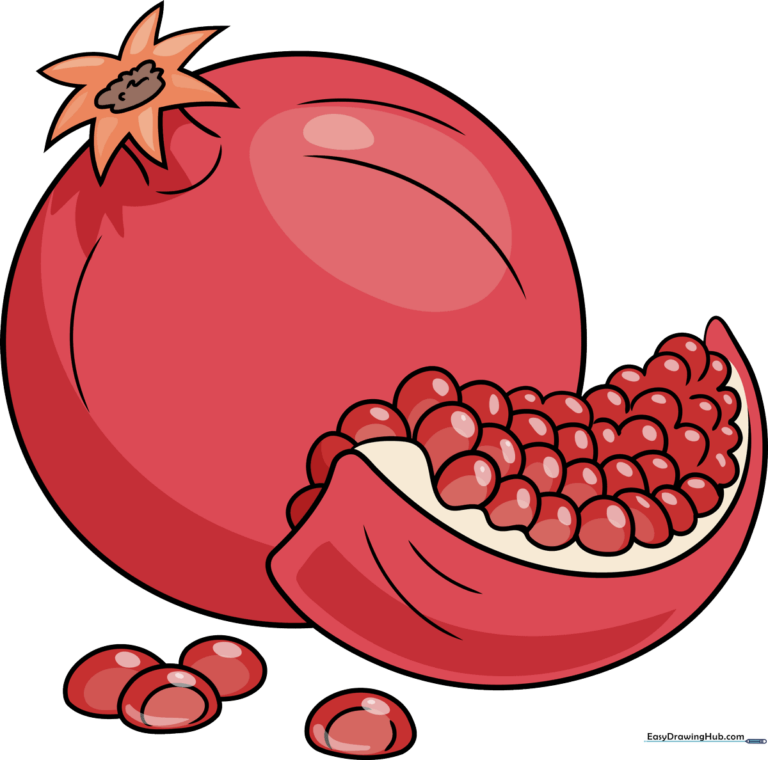
Step 1: Sketching the Pomegranate Slice

Start by drawing two long, gentle curved lines that meet at one end to form a wide, rounded triangle. Teacher's Tip: Keep your pencil pressure light so you can easily adjust the shape if it looks a bit too pointy.
Step 2: Defining the Inner Rind
Draw a long, scalloped line inside the triangle to represent the thick white rind of the fruit. Teacher's Tip: Use a wavy hand motion to make the line look organic rather than perfectly straight.
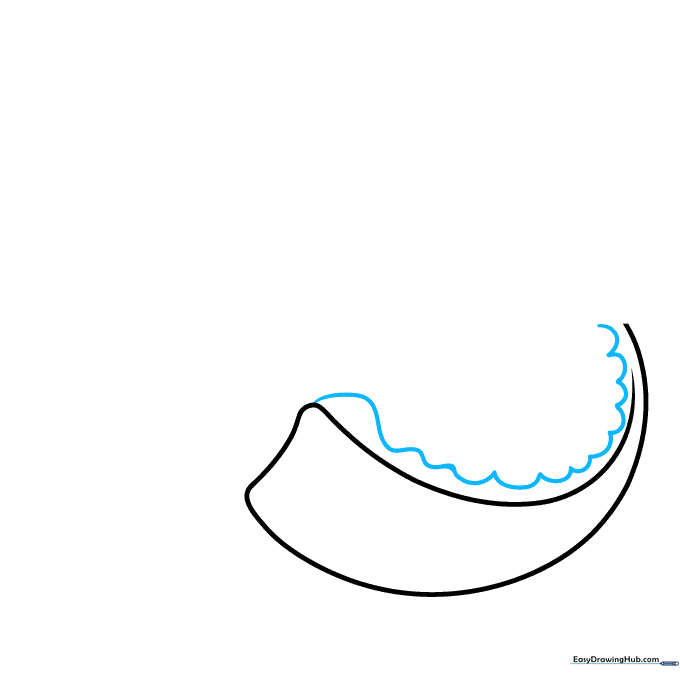
Step 3: Adding the First Seeds
Add texture to the rind with small curved lines, then begin drawing the arils (the seeds). Draw several overlapping, oval-shaped clusters. Teacher's Tip: Think of these as little jelly beans tucked inside the fruit.
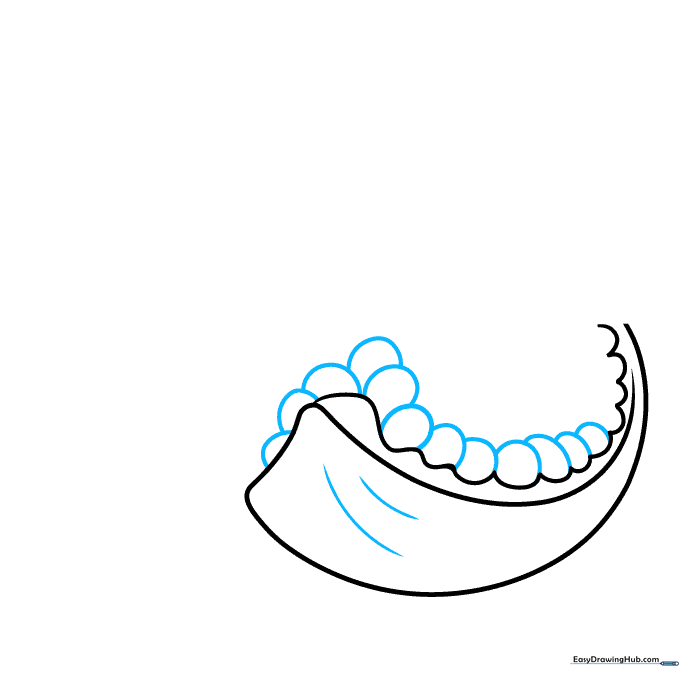
Step 4: Filling the Slice
Continue adding more oval shapes to fill the center of the slice. Teacher's Tip: Don't worry about making them perfect; pomegranates are naturally messy and irregular!
Step 5: Sketching the Whole Fruit
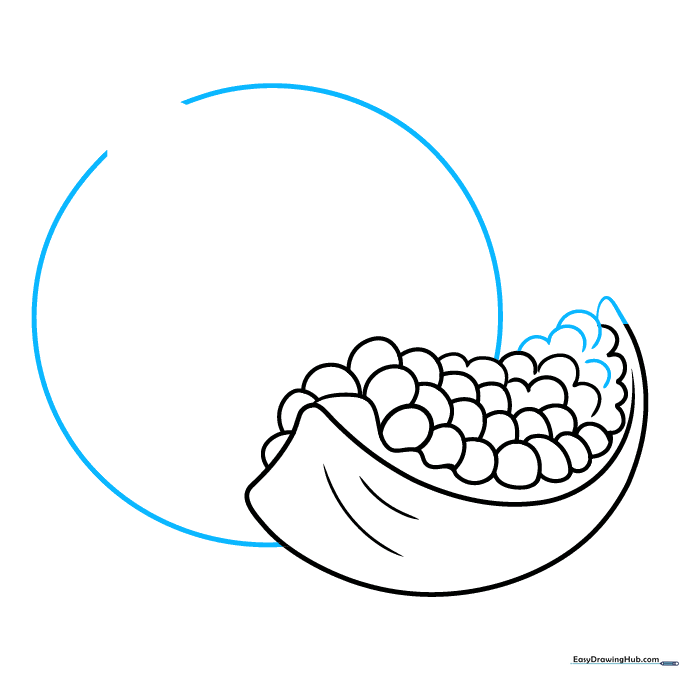
Finish the slice with a U-shaped line, then draw a large circle behind it to represent the whole pomegranate. Teacher's Tip: Draw the circle lightly so you can erase the part that overlaps with the slice later.
Step 6: Drawing the Calyx
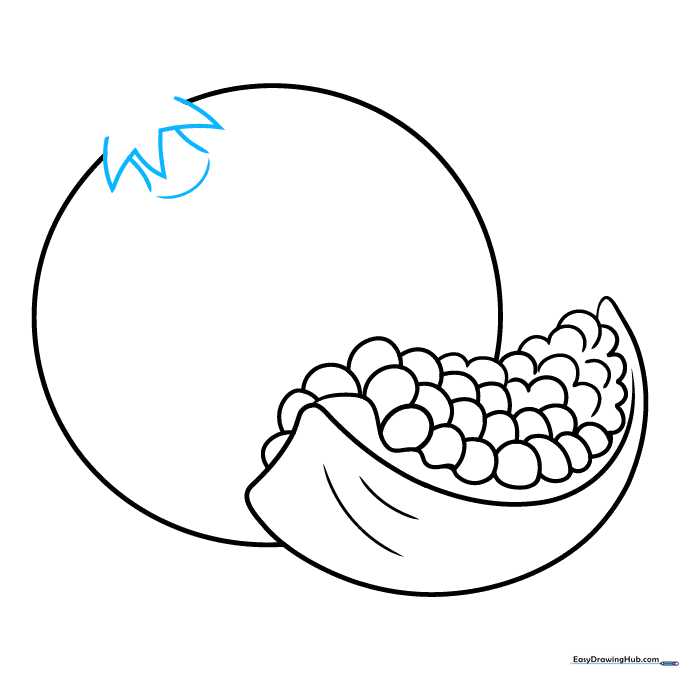
Draw the star-shaped calyx at the top of the fruit using connected V-shapes. Add two curved lines below it to show the stem area. Teacher's Tip: The calyx looks like a tiny crown on top of the fruit.
Step 7: Refining the Crown
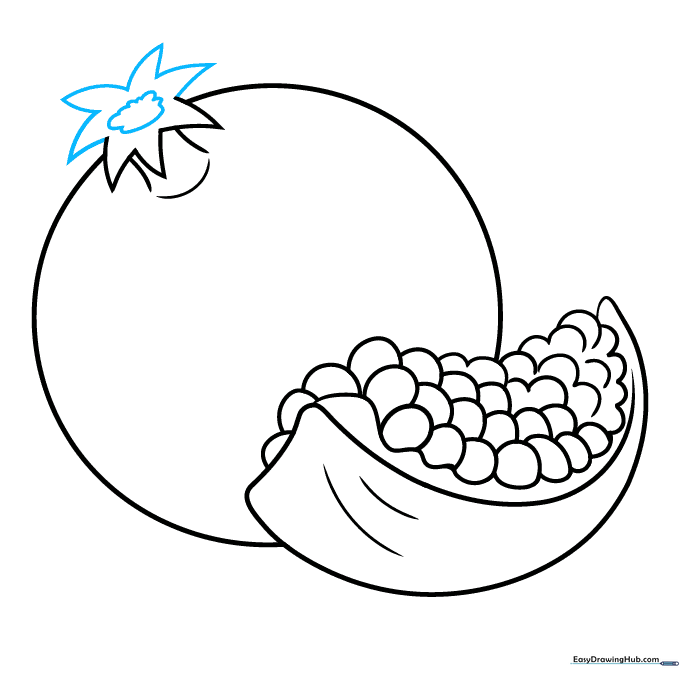
Complete the starburst shape with more V-lines and add a cloud-like shape in the center. Teacher's Tip: This adds depth and makes the top of the fruit look realistic.
Step 8: Adding Texture and Seeds
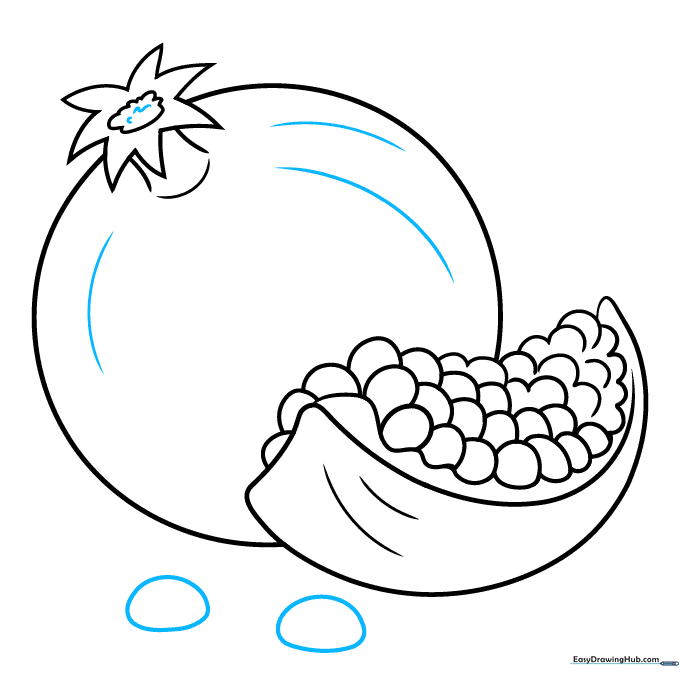
Add curved lines to the fruit's skin to show its leathery texture. Draw a few extra arils in front of the fruit. Teacher's Tip: Use a 'gumdrop' shape for the seeds in the foreground to make them stand out.
Step 9: Final Touches
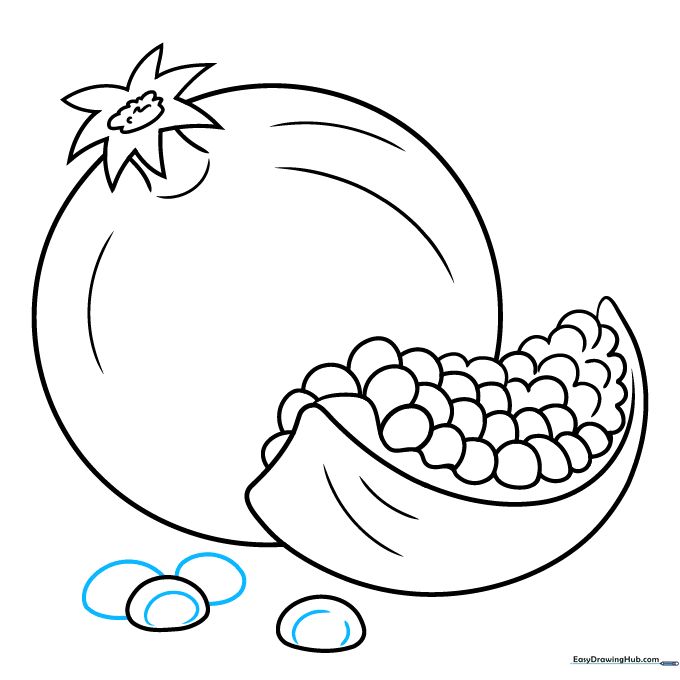
Add small lines inside the arils to represent the seeds. Your outline is now ready for color! Teacher's Tip: Darken your final lines with a pen before erasing your pencil marks for a clean look.
Step 10: Coloring Your Art
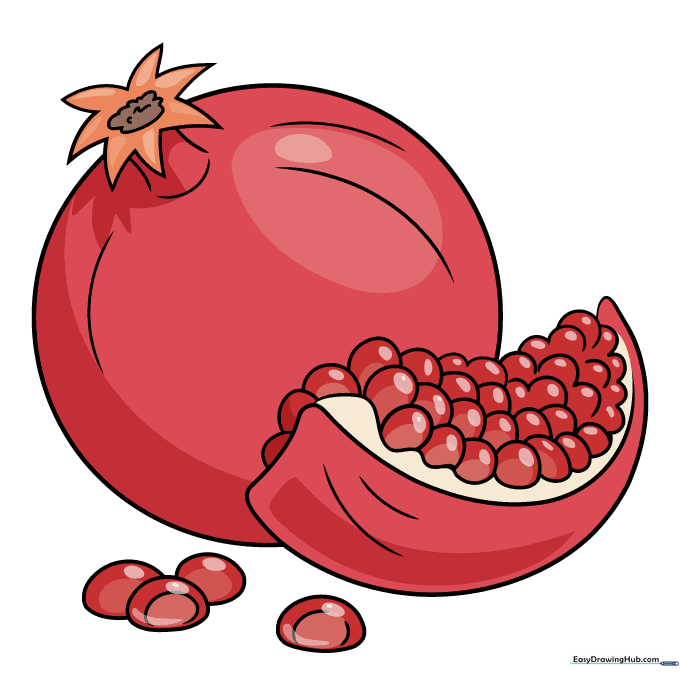
Bring your drawing to life with vibrant reds and pinks. Use darker red for the shadows and lighter pink for the highlights on the seeds. Teacher's Tip: Leave a tiny white spot on each seed to create a 'wet' look.
More Tutorials


