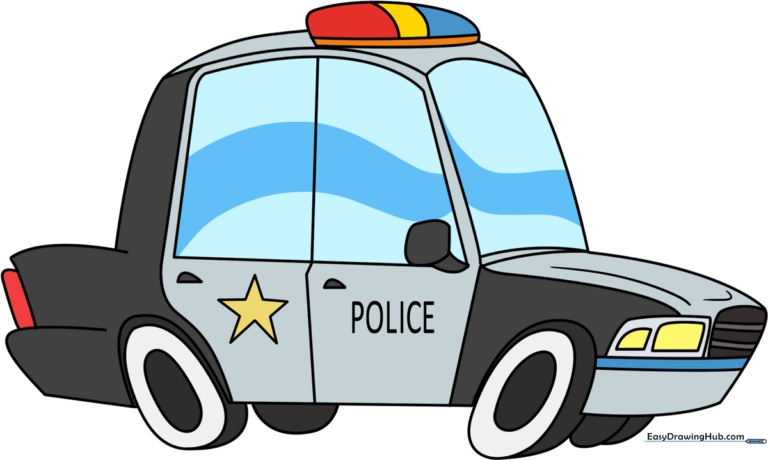
How to Draw a Police Car: Easy 10-Step Guide for Kids
Ready to patrol the streets? This guide is perfect for young artists ages 5 and up who want to draw their own emergency vehicle. You'll only need a pencil, an eraser, and some paper to get started. Follow these simple steps to build your confidence and master basic vehicle proportions.
🎯 Final Result
Step-by-Step Instructions
Step 1: Sketching the Car Body

Start by drawing the main frame of the car. Use a long, smooth curve for the roof and overlapping curves for the trunk and bumper. Tip: Keep your pencil pressure light so you can easily adjust the shape if the lines look a bit wobbly.
Step 2: Defining the Windshield
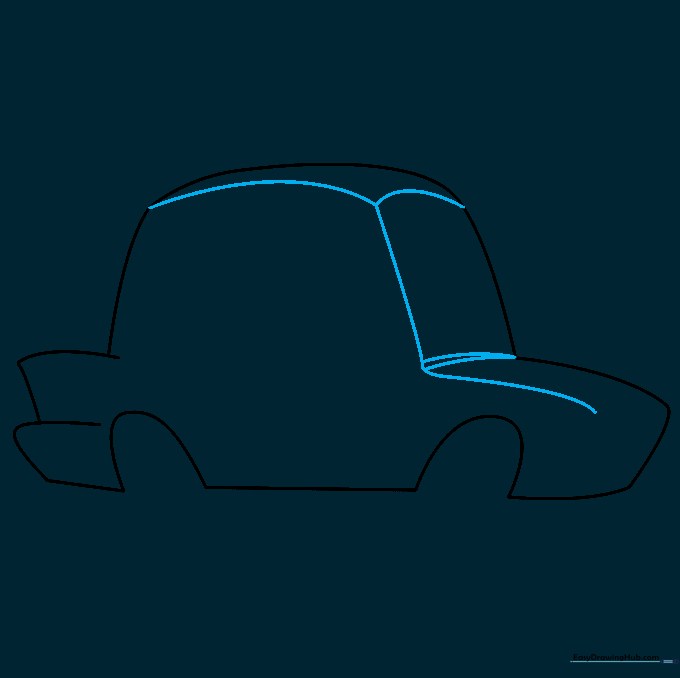
Now, let's add the cabin details. Draw an 'L' shaped line to mark the windshield and a curved line for the hood. Tip: Imagine the car is facing left; keep the hood line slightly slanted to give the car a sense of speed.
Step 3: Adding the Door Panels
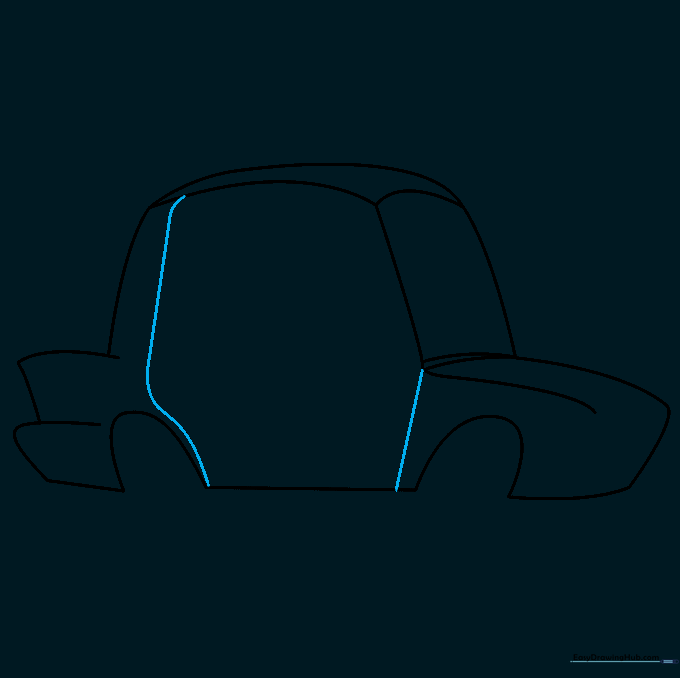
Draw a straight vertical line for the front of the door and a gentle curve for the back. Tip: Make sure the door lines connect neatly to the bottom of the car frame to keep the structure solid.
Step 4: Drawing the Windows
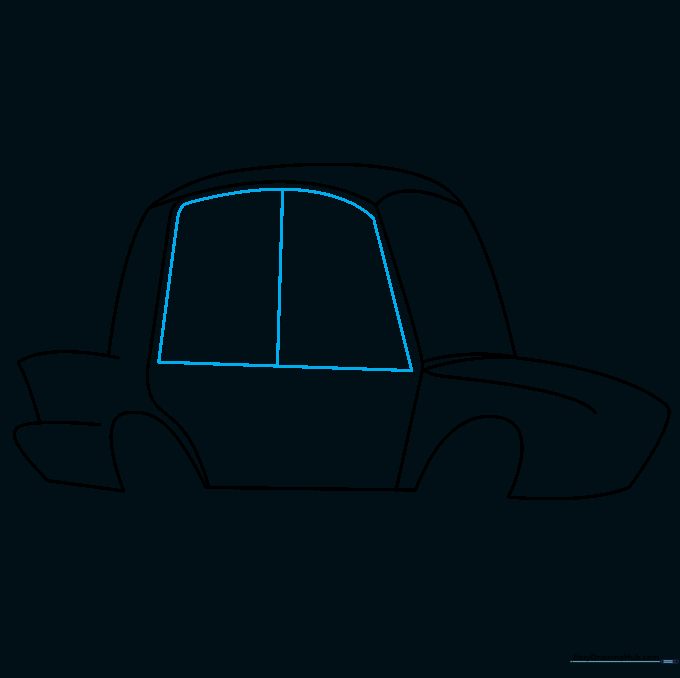
Use straight and curved lines to create the side windows. Add a vertical line in the middle to represent the window frame. Tip: Use a ruler if you want perfectly straight lines, but freehand is great for a cartoon style!
Step 5: Adding Grille and Handles
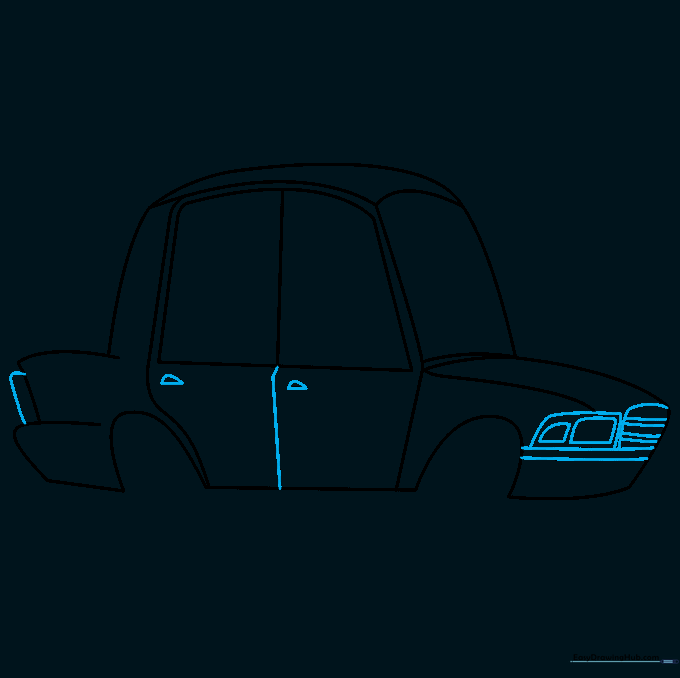
Detail the front with a rectangular grille and a headlight. Add small teardrop shapes on the doors for handles. Tip: Keep the handles small so they don't look too heavy compared to the rest of the car.
Step 6: Drawing the Wheels
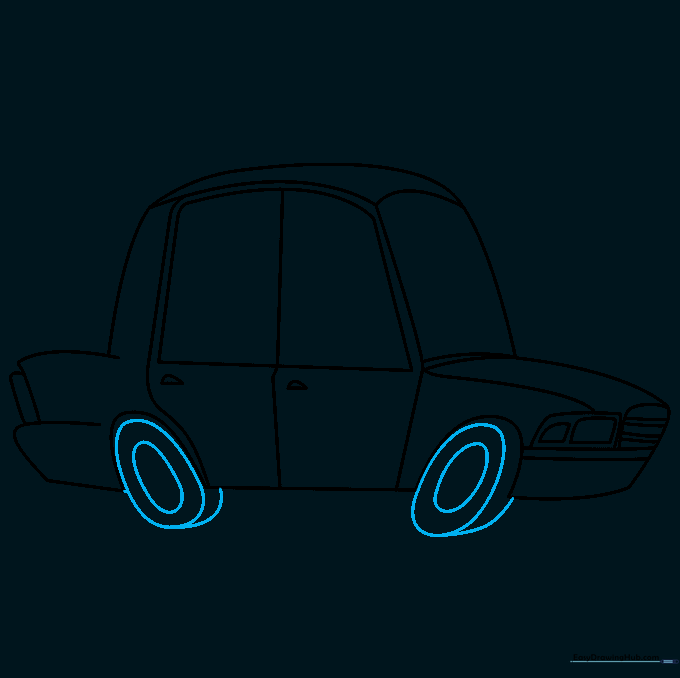
Draw an oval inside an oval for each tire. Connect the bottom of the tire to the wheel well with a small curved line. Tip: Try to make your ovals the same size so the car looks balanced.
Step 7: Adding Mirrors and Back Wheels
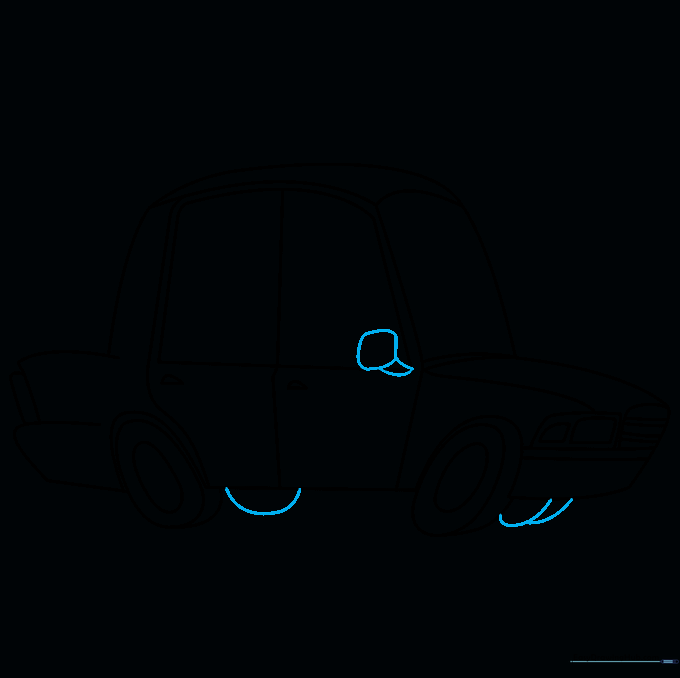
Sketch the wheels on the far side of the car and add a small side-view mirror near the window. Tip: Only draw a portion of the far wheels to show depth and perspective.
Step 8: The Emergency Light Bar
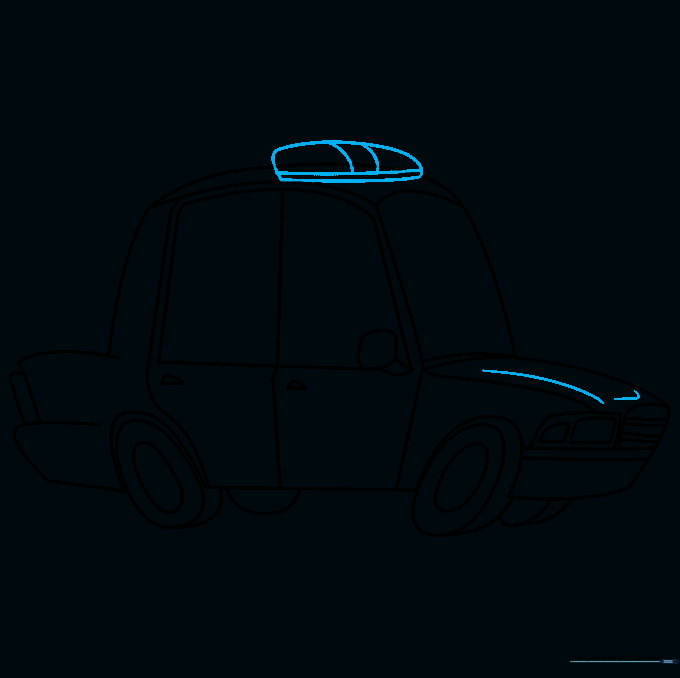
Draw an elongated oval on the roof with two lines across the middle to create the light bar. Tip: Use bright colors later to make these lights really pop!
Step 9: Adding Police Markings
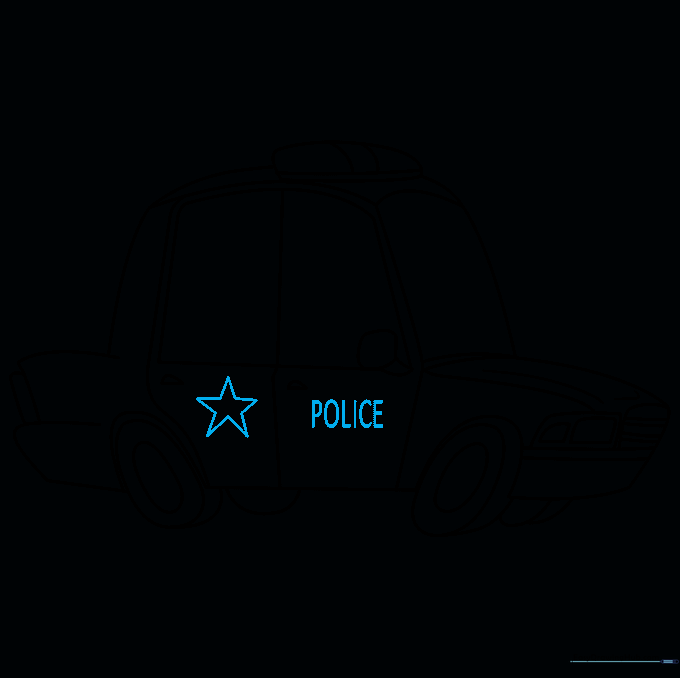
Add a five-pointed star to the door and write 'POLICE' in clear, block letters. Tip: Practice writing the letters on a separate piece of paper first to make sure they fit nicely.
Step 10: Coloring Your Creation
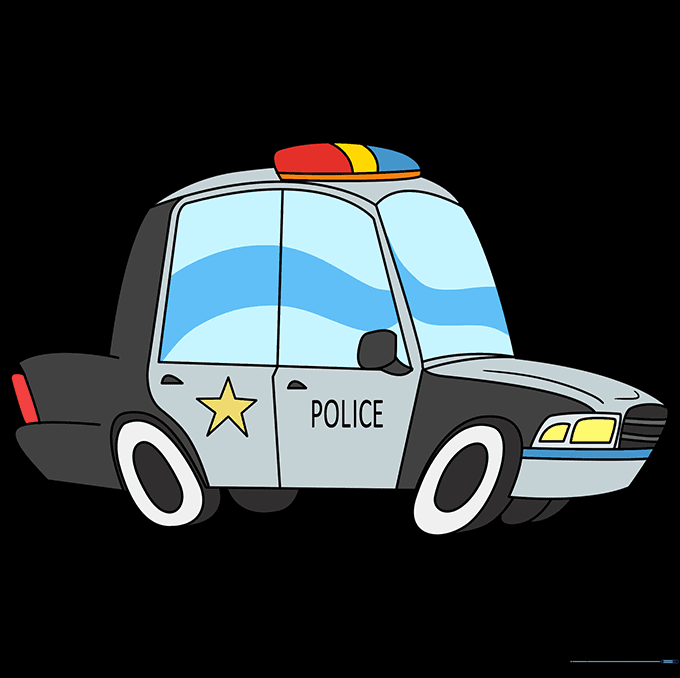
Time to bring it to life! Use classic black and white for the body and bright red and blue for the light bar. Tip: Use markers for bold lines or colored pencils for a softer, blended look.
More Tutorials


