How to Draw a Plesiosaurus: Easy 9-Step Guide for Kids
Bring this long-necked marine reptile to life! This tutorial is designed for young artists ages 6+ to practice fluid, curved lines. Grab your pencil, eraser, and paper to master this iconic sea creature in just a few minutes.
🎯 Final Result

Step-by-Step Instructions
Step 1: Sketching the Eye and Snout
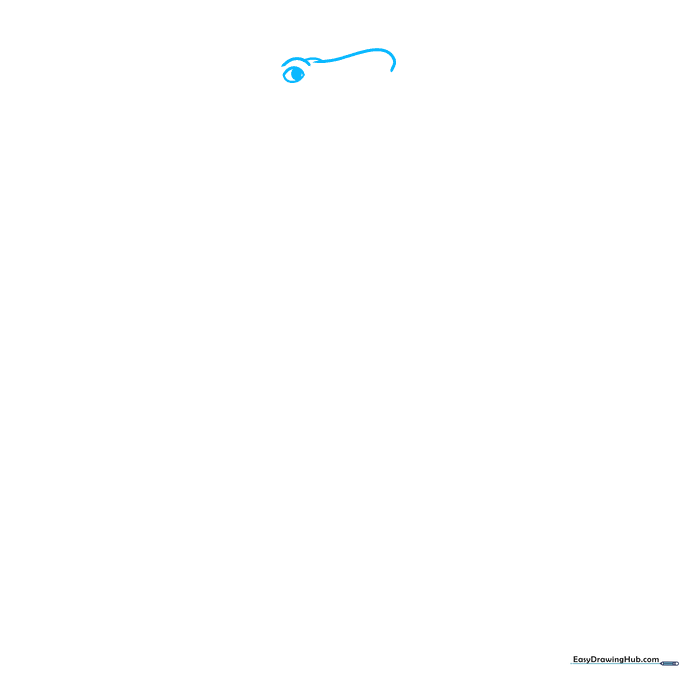
Start by sketching the face using overlapping curved lines for the snout and eye ridges. Draw an oval within an oval for the eye. Teacher's Tip: Keep your pencil pressure light here so you can easily adjust the shape if the snout looks a bit too long.
Step 2: Defining the Jawline
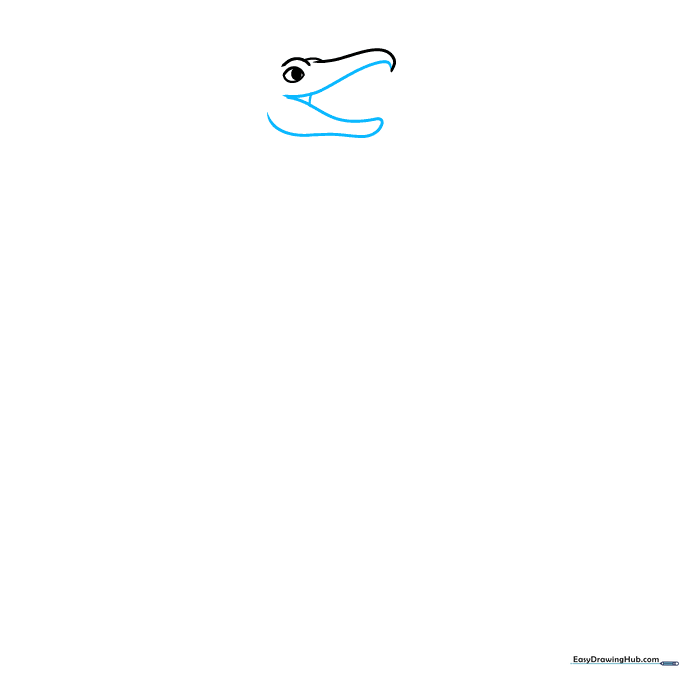
Draw a curved 'V' shape to create the open mouth. Add a curved line for the lower jaw, connecting it to the upper jaw at the corner. Teacher's Tip: Imagine the mouth is slightly surprised; keep the 'V' wide to give your dinosaur personality.
Step 3: Adding Teeth and Tongue
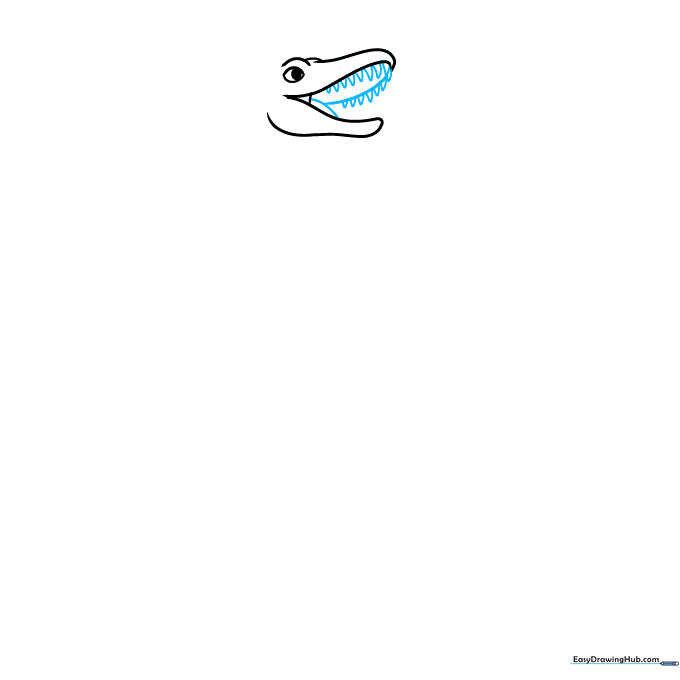
Enclose the inside of the upper jaw with a soft curve, then add a small tongue shape. Draw tiny triangles along the upper jaw for teeth. Teacher's Tip: Don't make the teeth too sharp; small, rounded triangles look friendlier for a cartoon style.
Step 4: Starting the Long Neck
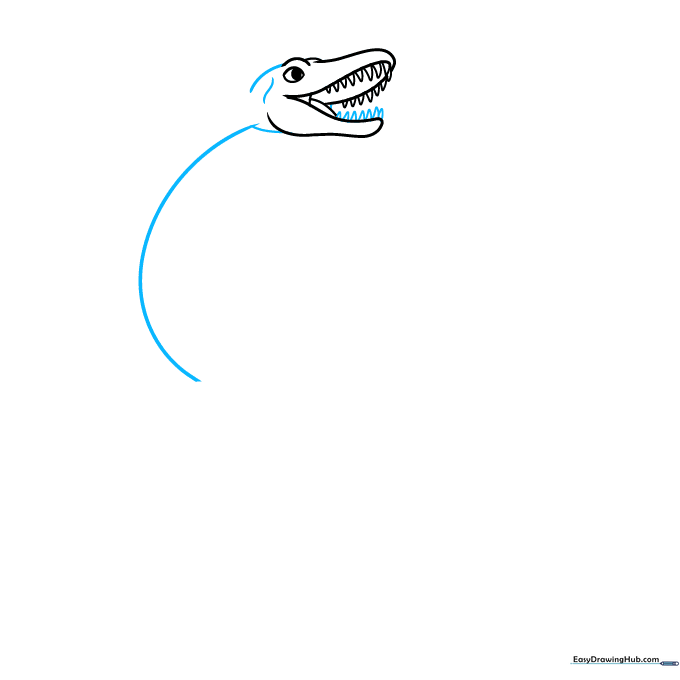
Add teeth to the lower jaw and use short, quick strokes to contour the base of the head. Extend a long, sweeping curved line to begin the neck. Teacher's Tip: Use your whole arm to draw this long line—it helps keep the curve smooth rather than jagged.
Step 5: Shaping the Body and Flipper
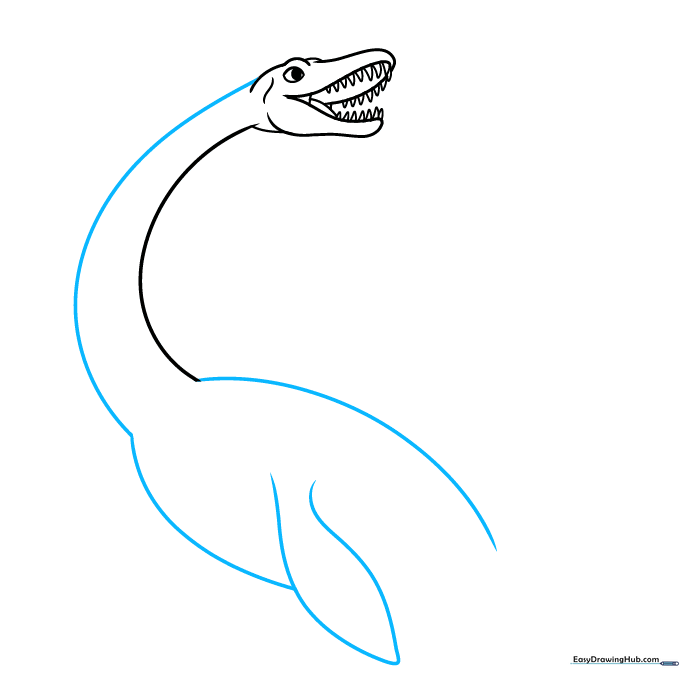
Draw a second line parallel to the first to finish the neck. Extend lines from the base to outline the body, then add a large, pointed flipper. Teacher's Tip: Think of the flipper like a bird's wing—it should be wide at the base and taper to a point.
Step 6: Adding Rear Flippers and Tail
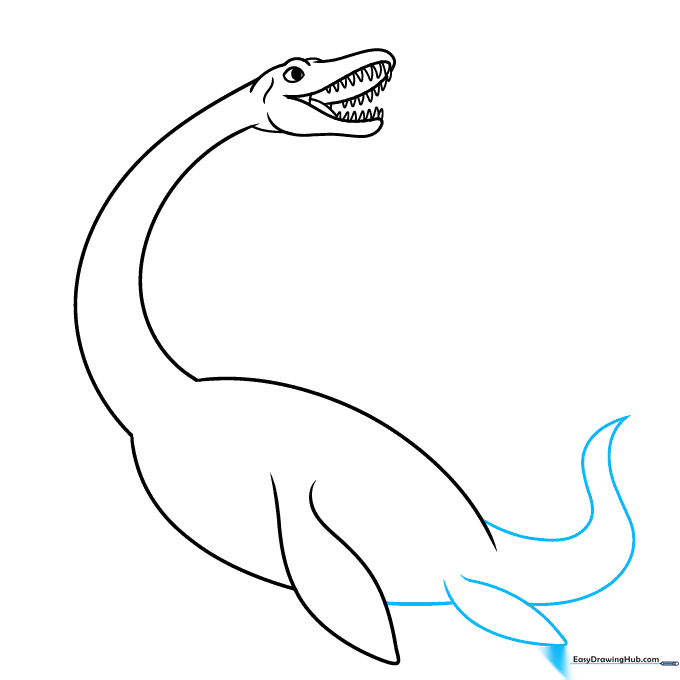
Extend a line past the first flipper to create the rear flipper, then draw the tail by connecting lines to a point. Teacher's Tip: Keep the tail short and stubby to balance out the very long neck.
Step 7: Finalizing the Body Shape
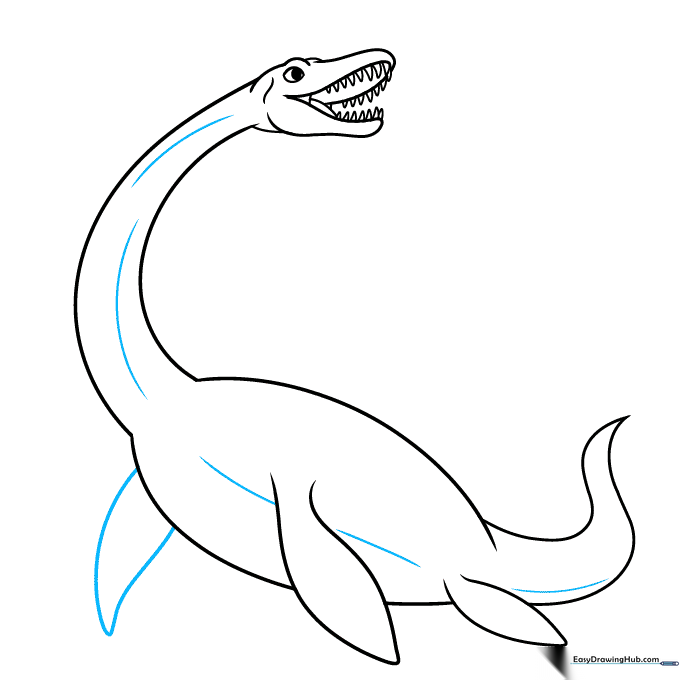
Draw the remaining front flipper and contour the belly with soft, curved lines. Teacher's Tip: Adding these extra curves makes the dinosaur look more three-dimensional and 'fleshy' rather than flat.
Step 8: Creating the Water Environment
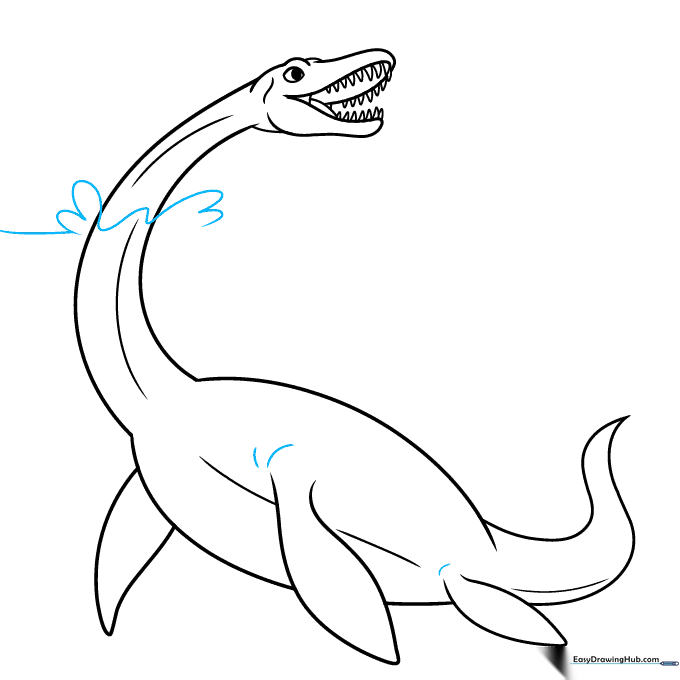
Add a horizon line and 'U' shaped splashes around the neck to show the dinosaur emerging from the water. Teacher's Tip: Vary the size of your 'U' shapes to make the water look like it is splashing naturally.
Step 9: Completing the Scene
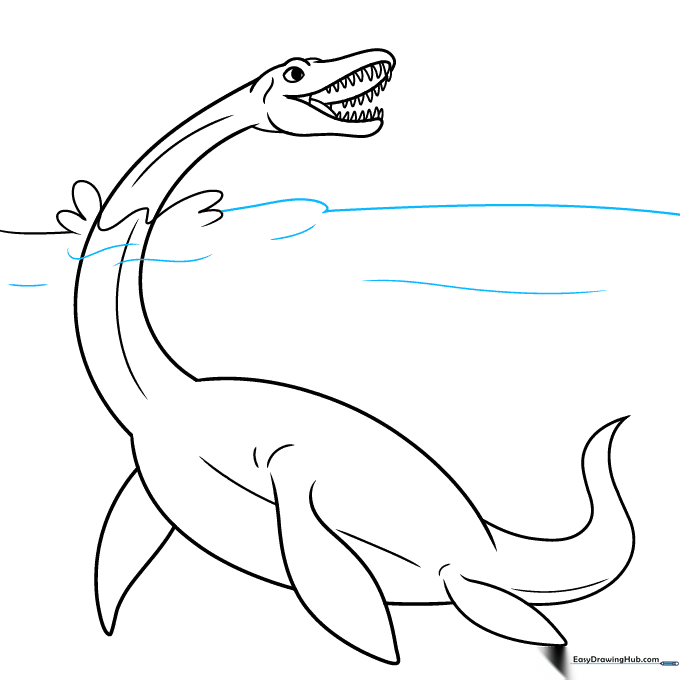
Use gentle, wavy lines to finish the ocean waves around your Plesiosaurus. Teacher's Tip: Keep these lines light so they don't distract from the main character of your drawing.
Step 10: Adding Color
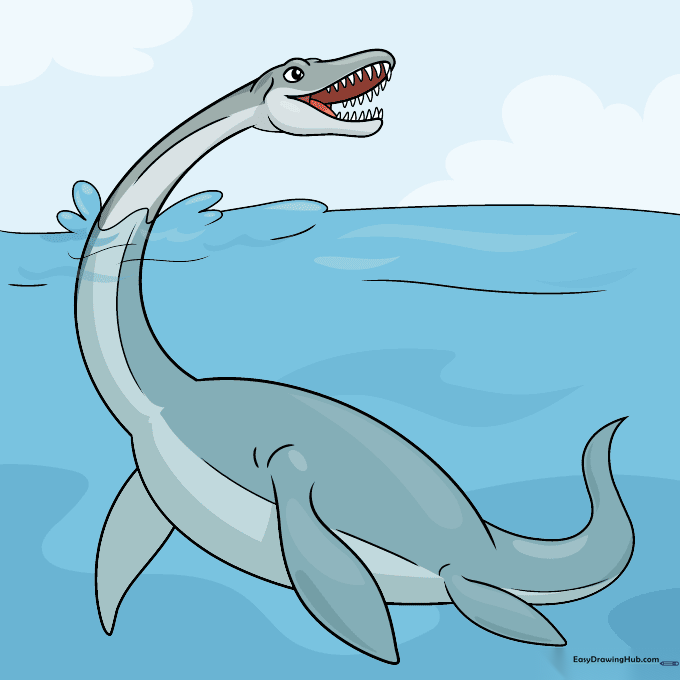
Time to bring your dinosaur to life! We used dark gray for the top and light gray for the belly to mimic natural countershading found in marine animals. Teacher's Tip: Use colored pencils and blend the two grays where they meet for a professional, smooth look.
More Tutorials


