How to Draw a Playground: Easy 10-Step Guide for Kids
Bring your favorite park to life with this simple drawing guide, perfect for artists ages 5 and up. You will only need a pencil, an eraser, and your favorite coloring tools to create a complete playset. Follow along to practice basic shapes and perspective while designing your own outdoor scene.
🎯 Final Result
Step-by-Step Instructions
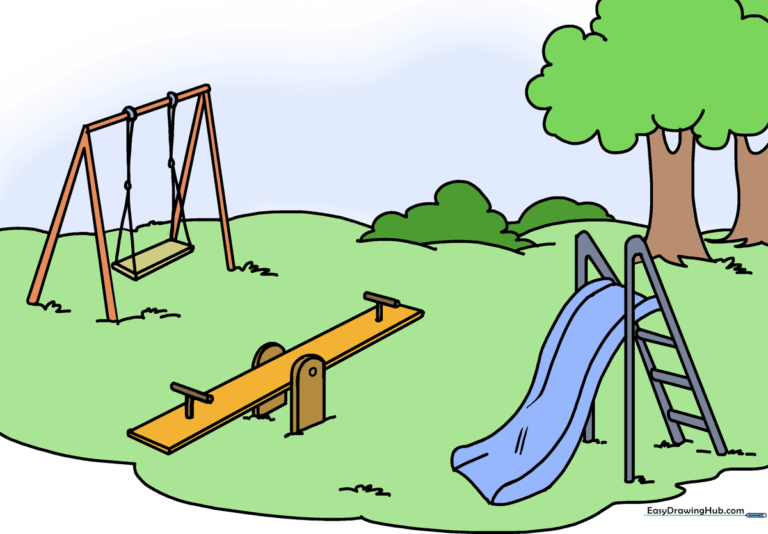
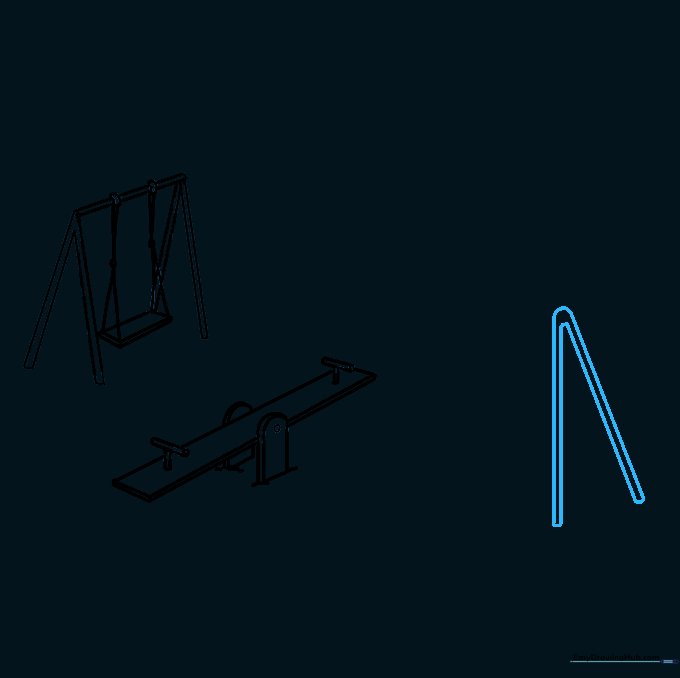
Step 1: Sketching the Swingset Frame

Draw two pairs of narrow, upside-down 'V' shapes to create the legs of the swingset. Connect the tops with a horizontal bar. Teacher's Tip: Keep your pencil lines light and loose so you can easily adjust the width if the frame looks a bit wobbly.
Step 2: Adding the Swing Seat
Draw a rectangle between the legs for the seat, adding depth with extra lines at the corners. Use small ovals on the top bar to show where the chains attach. Teacher's Tip: Think of the seat as a small box—adding those extra corner lines makes it look 3D!
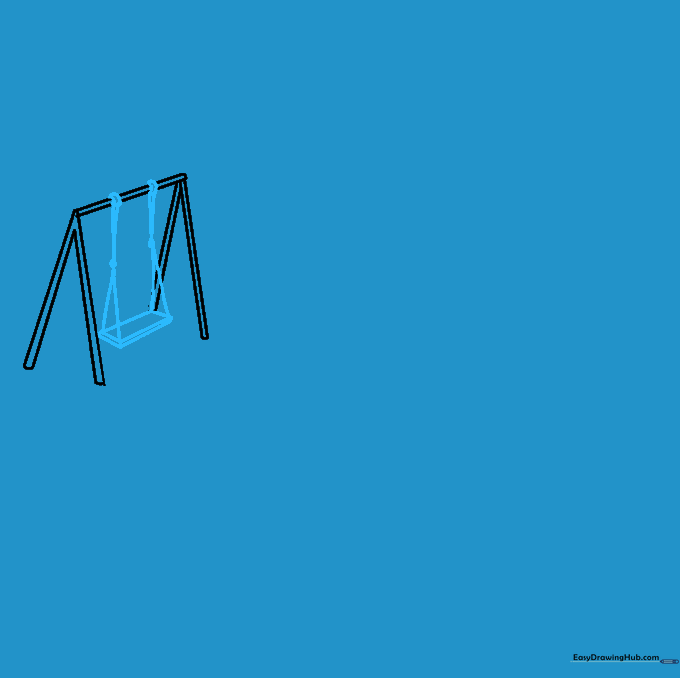
Step 3: Positioning the Seesaw
Sketch a diagonal rectangle in front of the swingset to serve as the seesaw board. Use parallel lines to give it thickness. Teacher's Tip: Don't worry about perfect straight lines; a slight tilt makes the seesaw look like it's in the middle of a fun game.
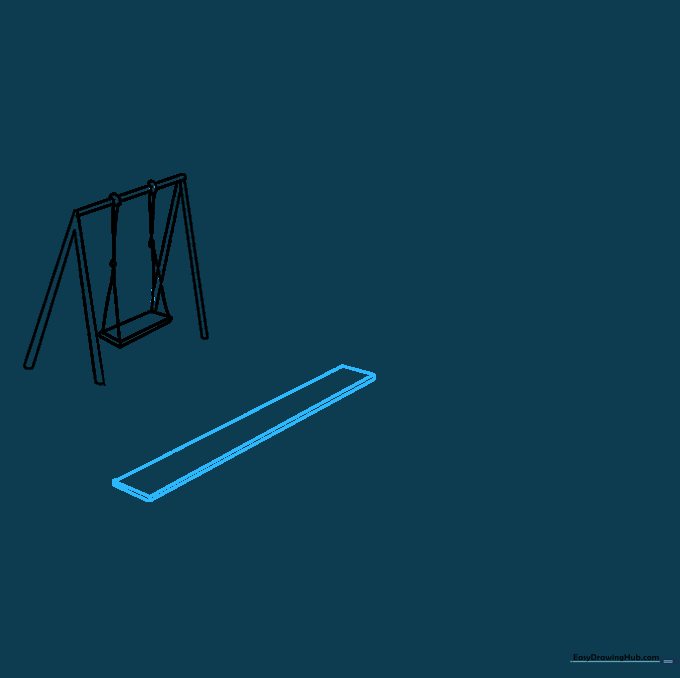
Step 4: Detailing the Seesaw
Draw an upside-down 'U' for the base and add 'T' shapes on each end for handles. Erase any overlapping lines inside the shapes. Teacher's Tip: Use your eraser to clean up the lines where the handles meet the board for a professional, finished look.
Step 5: Starting the Slide Support
Draw two parallel, upside-down 'V' shapes to create the ladder support for the slide. Teacher's Tip: Make sure these lines are tall enough to give your slide a nice, steep angle for imaginary sliding fun!
Step 6: Drawing the Slide
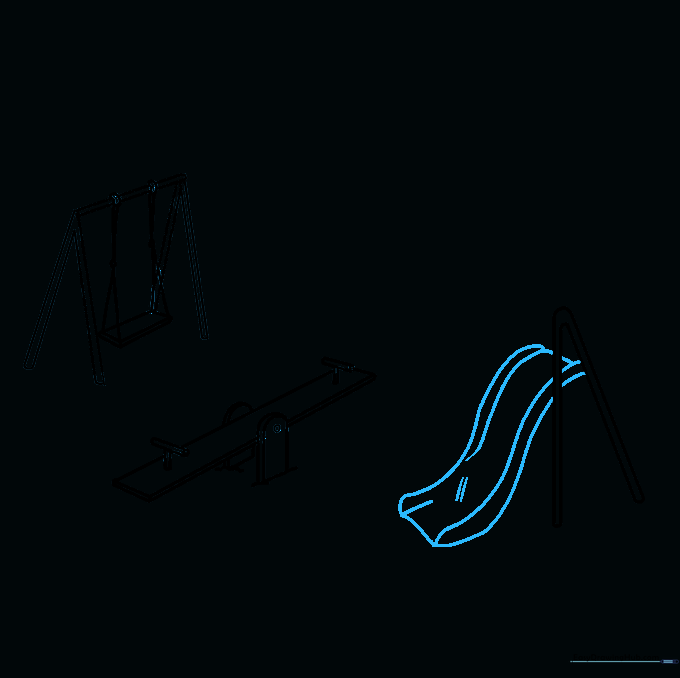
Connect four parallel lines to form the slide chute. Add small hatch marks at the bend to show texture. Teacher's Tip: The hatch marks are a great way to show where the slide curves toward the ground.
Step 7: Completing the Slide Frame
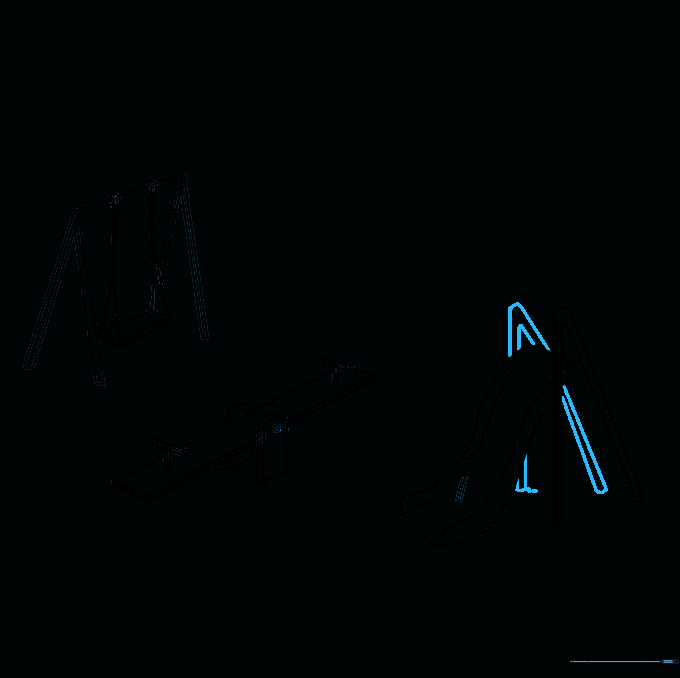
Draw another pair of 'V' shapes behind the slide to show the support on the other side. Teacher's Tip: Drawing these lines slightly lighter than the front ones creates a sense of depth and perspective.
Step 8: Adding Ladder Rungs
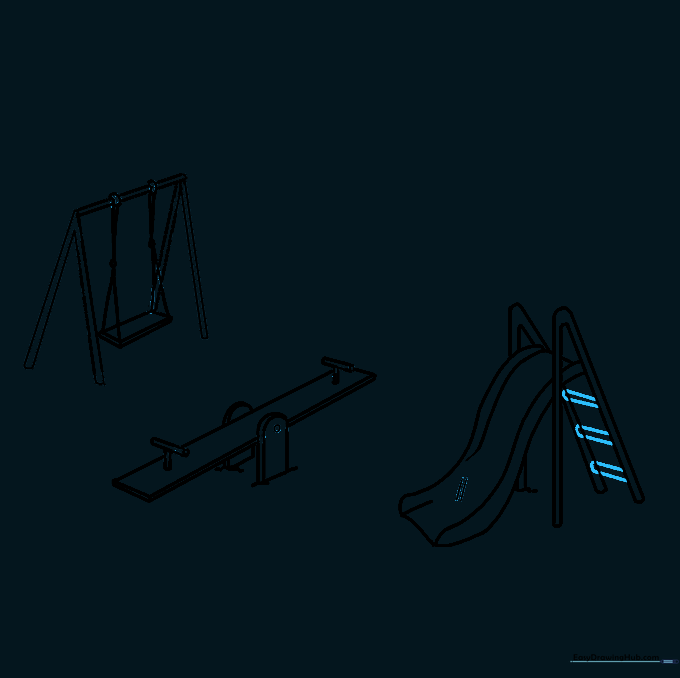
Draw horizontal lines between the support poles to create the ladder rungs. Teacher's Tip: Space them evenly so the ladder looks sturdy and safe for your imaginary playground visitors.
Step 9: Adding Scenery
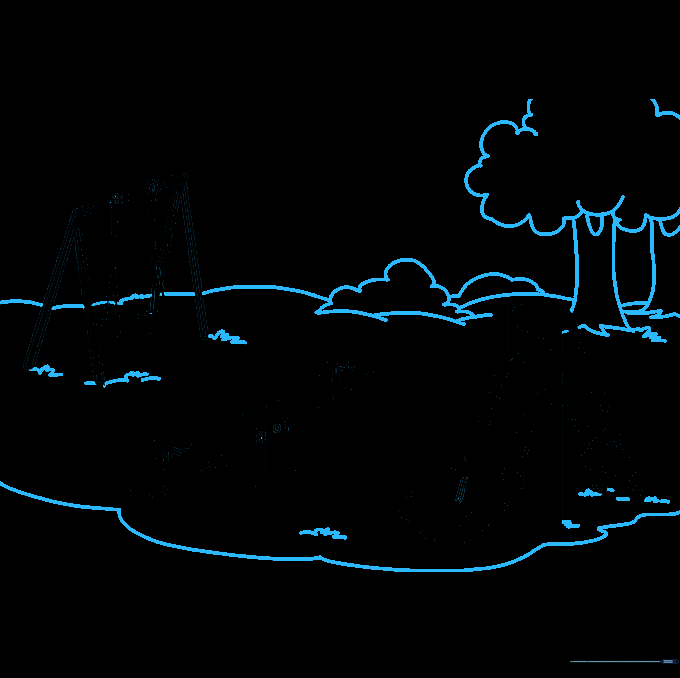
Add grass using short, jagged lines and draw trees with cloud-like shapes for leaves. Teacher's Tip: Use different sizes for your bushes and trees to make the playground look like a real, natural park.
Step 10: Bringing it to Life with Color
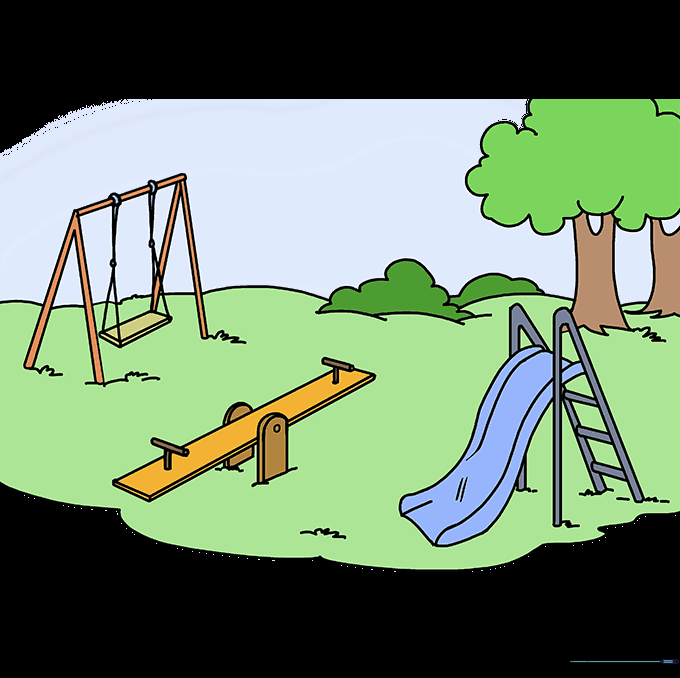
Color your playground! Use bright colors for the equipment and earthy tones for the grass and mulch. Teacher's Tip: Try using colored pencils to add shadows under the equipment to make it pop off the page.
More Tutorials


