How to Draw a Platypus: Easy 10-Step Guide for Kids
Ready to bring this unique Australian mammal to life? This tutorial is perfect for artists ages 5 and up, requiring only a pencil, paper, and an eraser. By following these simple shapes, you will master the platypus's iconic bill and webbed feet in no time.
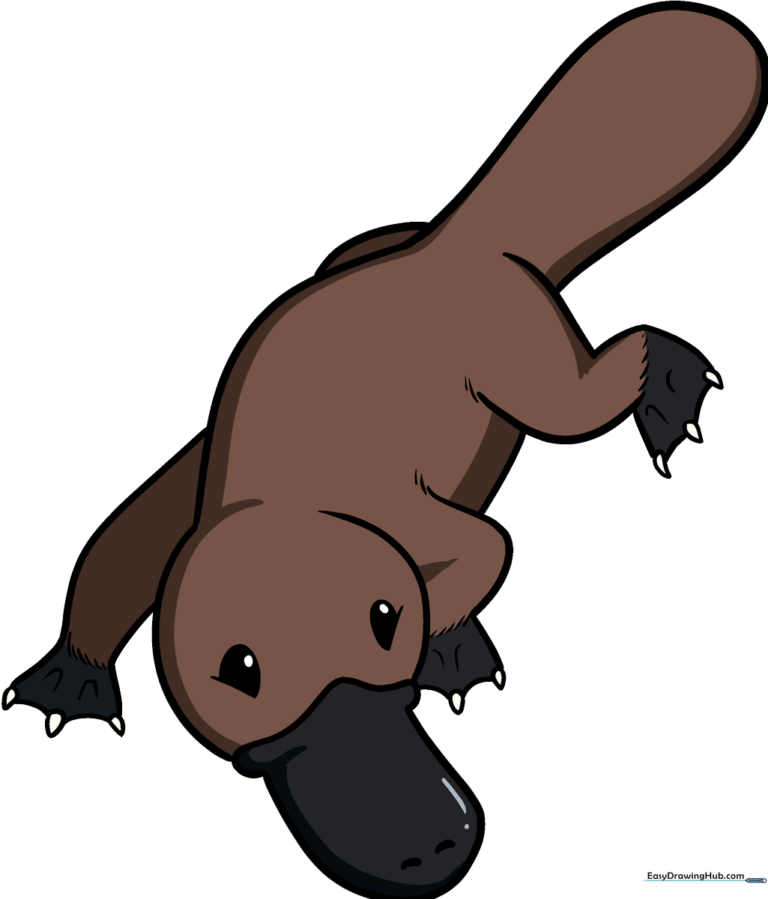
🎯 Final Result
Step-by-Step Instructions
Step 1: Sketching the Iconic Bill
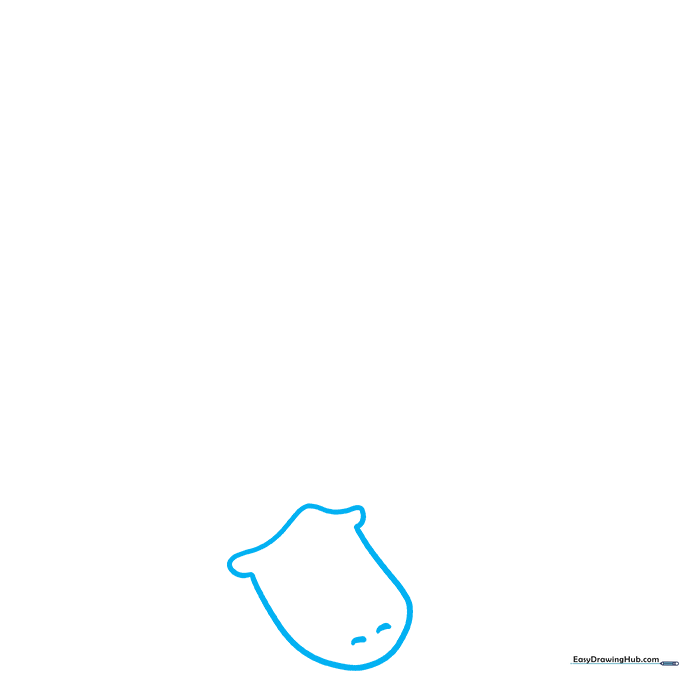
Start by drawing the platypus's duck-like bill. Use a gentle wavy line for the top and a wide 'U' shape for the bottom. Teacher's Tip: Keep the bill slightly rounded at the corners to make it look friendly, and add two small dashes near the tip for nostrils.
Step 2: Adding the Eyes
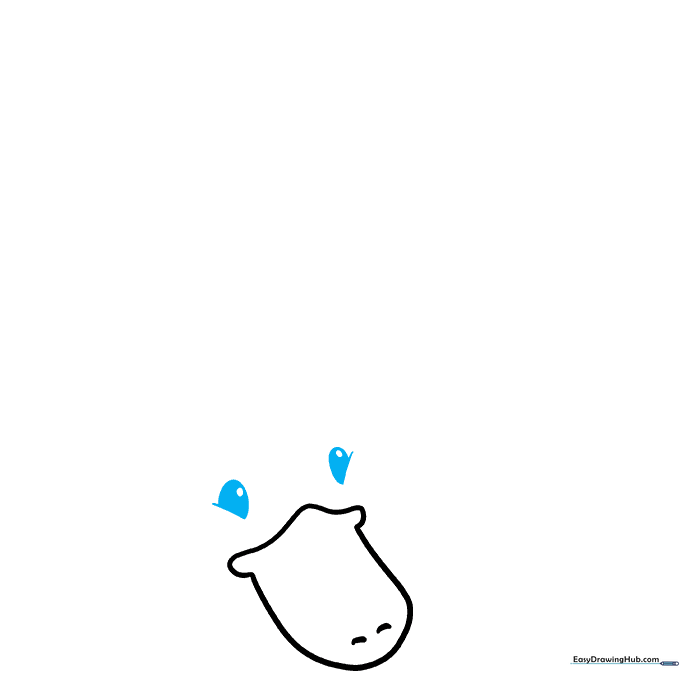
Draw two curved lines above the bill to create the cheeks, then add a partial oval above each for the eyes. Place a small circle inside each oval and shade it in. Tip: Leave a tiny white dot inside the pupil to give your platypus a 'sparkle' of life.
Step 3: Defining the Head
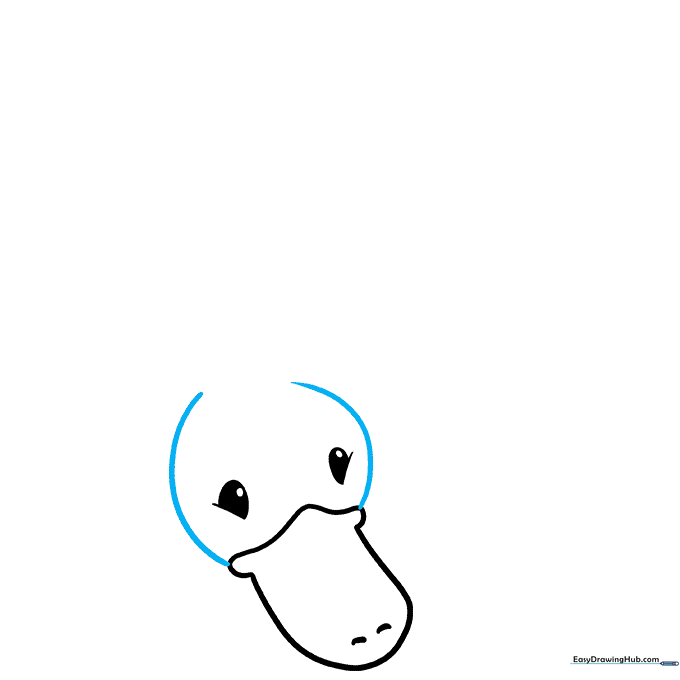
Connect the sides of the bill with smooth, curved lines to form the round head. Tip: Use a light touch here; imagine you are drawing a soft, furry cap around the face.
Step 4: Sketching the Front Leg
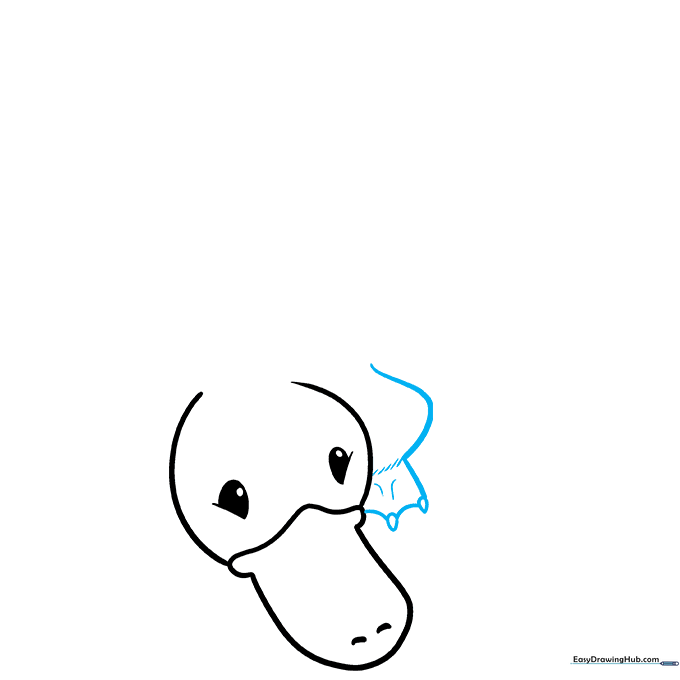
Draw a long, curved line for the side of the leg. At the bottom, add two small rounded triangles for the claws. Connect these with curved lines to form the webbed foot. Tip: Add a few tiny 'v' shapes on the foot to represent the webbing between the toes.
Step 5: Adding the Belly and Fur Texture
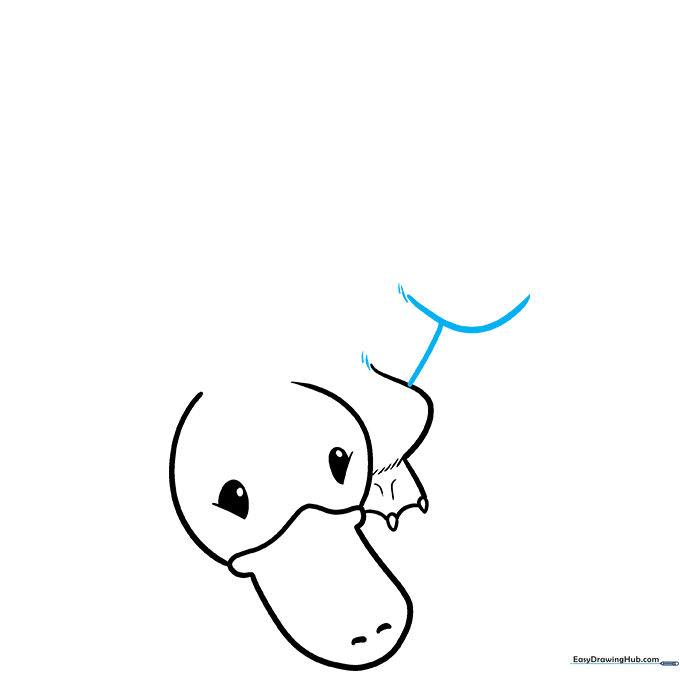
Use curved lines that meet in a 'T' shape to define the belly and rear leg. Tip: Use short, quick pencil strokes along the shoulder and hip to create the look of soft fur.
Step 6: Drawing the Rear Foot
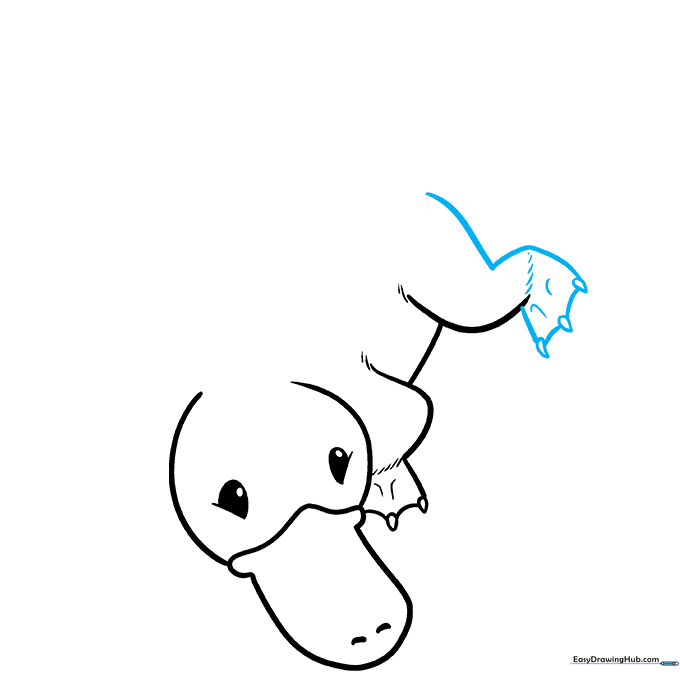
Draw the back leg with a long, sweeping curve. Add three rounded triangles for the claws and connect them. Tip: Make sure the rear foot looks slightly larger than the front one to show perspective.
Step 7: Defining the Back
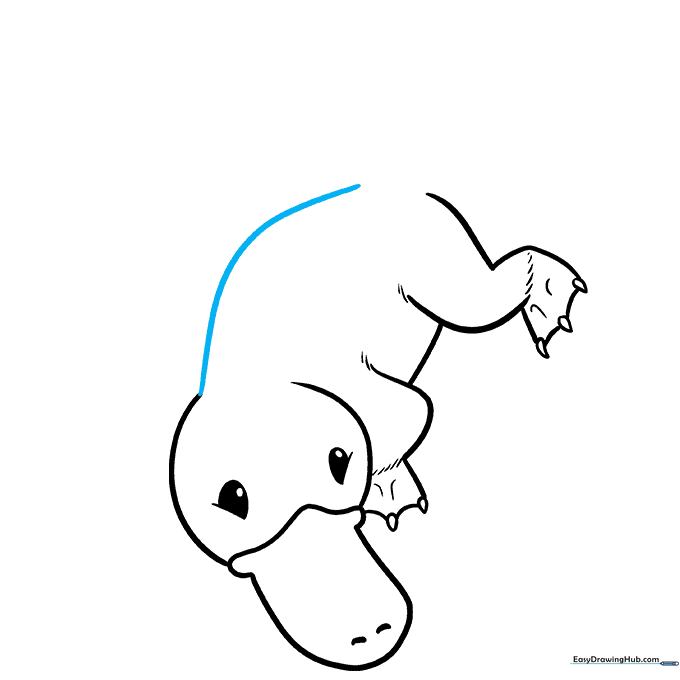
Use one long, continuous curved line to draw the platypus's back. Tip: Keep your hand steady and try to draw this line in one smooth motion for a clean look.
Step 8: Adding the Tail
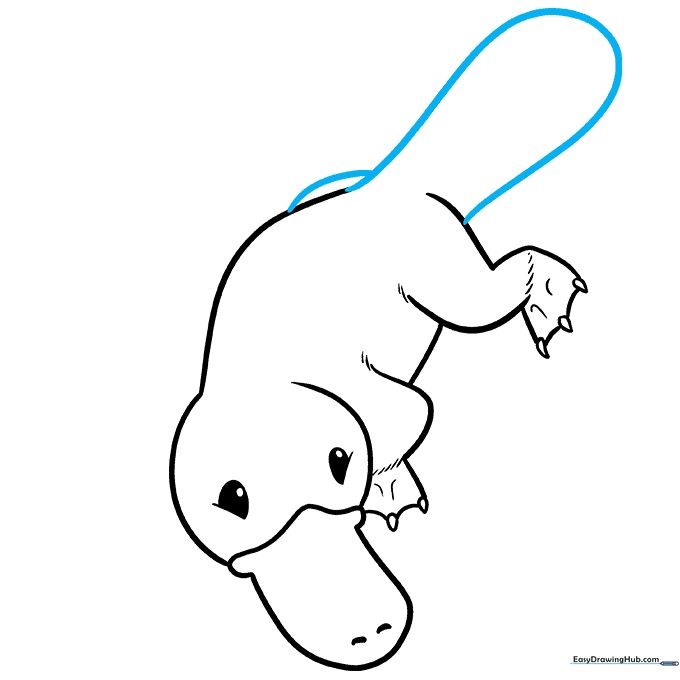
Draw a long, curved line that doubles back on itself to create the flat, paddle-like tail. Add a small line to indicate the remaining rear leg. Tip: Platypus tails are broad and flat, so don't make it too pointy!
Step 9: Finalizing the Legs
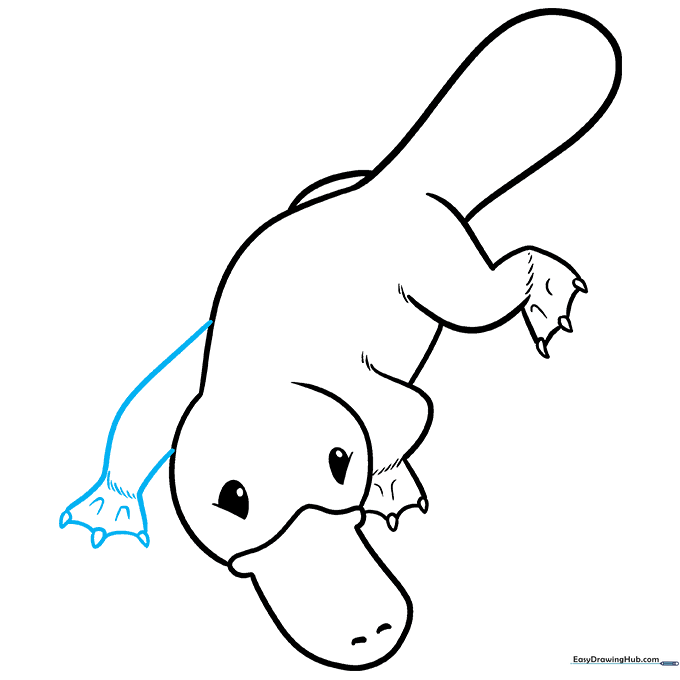
Draw the final foreleg using long, curved lines. Add the three claws and webbing details just like you did for the first leg. Tip: Check that all four feet are roughly the same size to keep your drawing balanced.
Step 10: Coloring Your Masterpiece
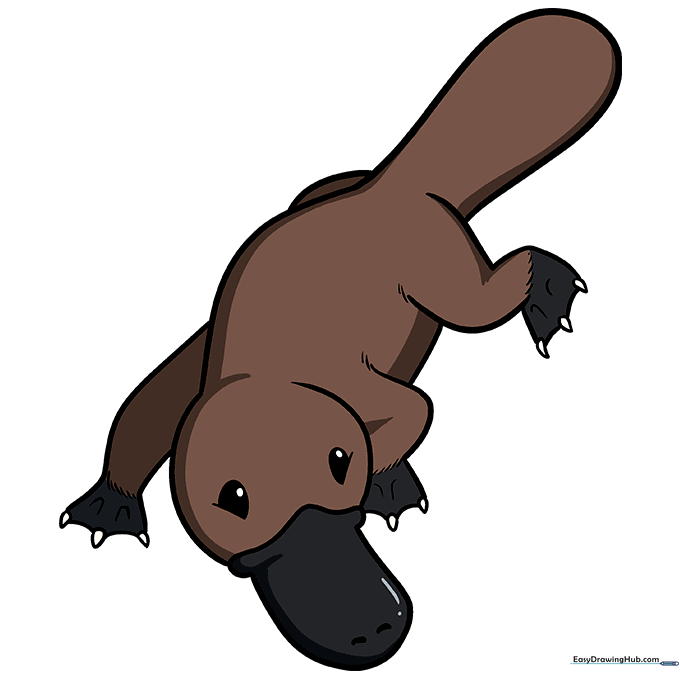
Your outline is complete! Color your platypus with shades of brown for the fur, and use a darker, richer brown for the bill and feet. Tip: Use a light tan or cream color for the belly to add contrast.
More Tutorials


