How to Draw a Plant: Easy 9-Step Guide for Kids
Bring a little nature to your sketchbook! This tutorial is perfect for young artists ages 5 and up. All you need is a pencil, an eraser, and your favorite markers to create a vibrant, leafy friend in just a few minutes.
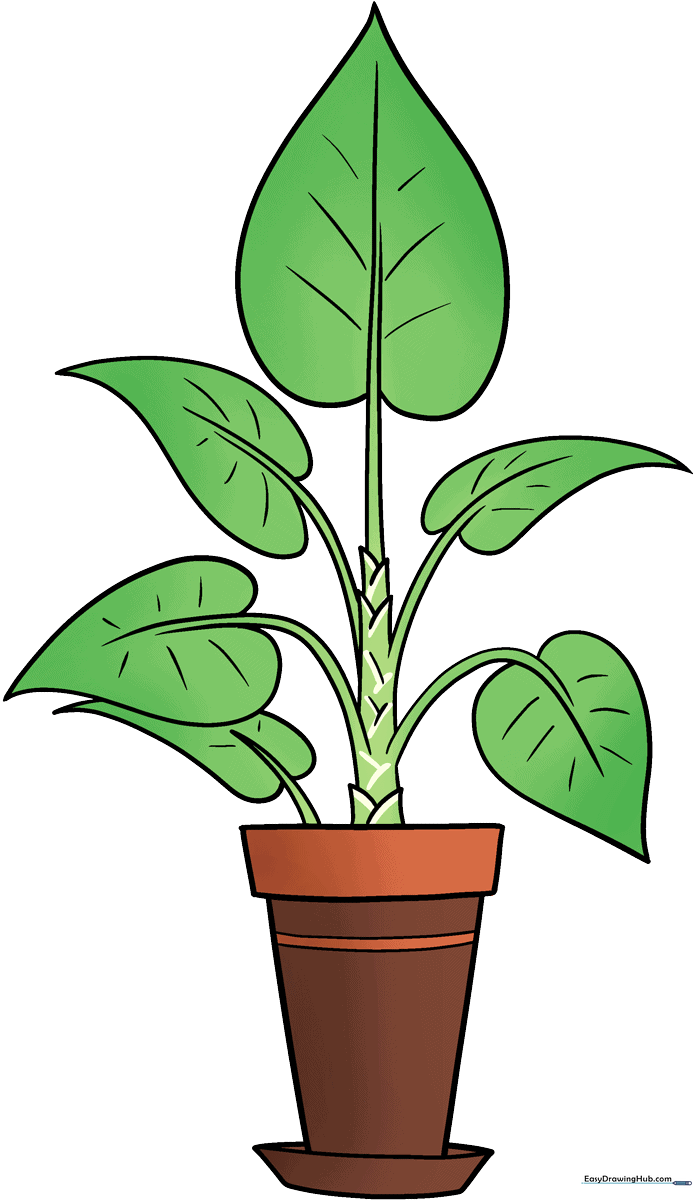
🎯 Final Result
Step-by-Step Instructions
Step 1: Sketching the Flower Pot

Start by drawing a narrow horizontal trapezoid for the pot's rim, followed by a taller trapezoid beneath it for the base. Tip: Keep your lines light so you can easily erase the overlapping parts later.
Step 2: Adding Pot Detail and Stems
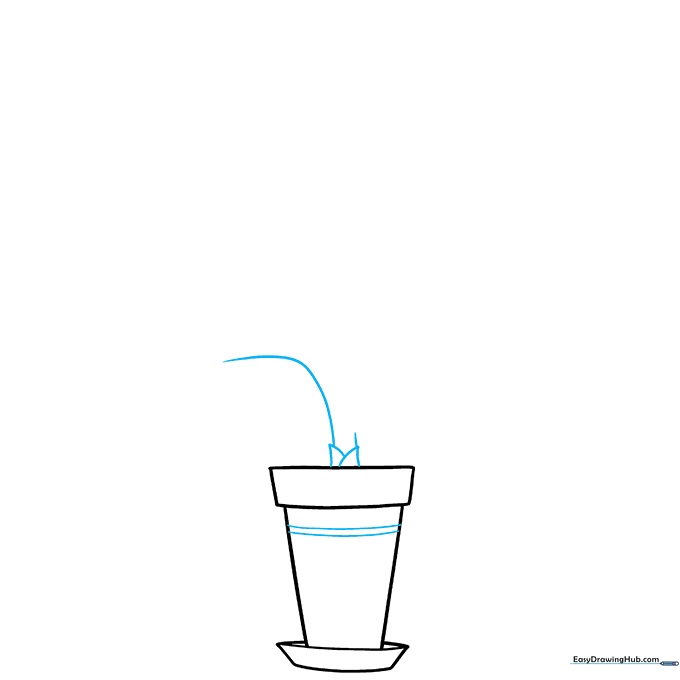
Draw two curved lines across the pot to create a decorative band. Then, sketch two overlapping triangles at the top to serve as the base for your plant stems. Tip: Use gentle, fluid motions to make the stems look organic.
Step 3: Creating the First Leaf
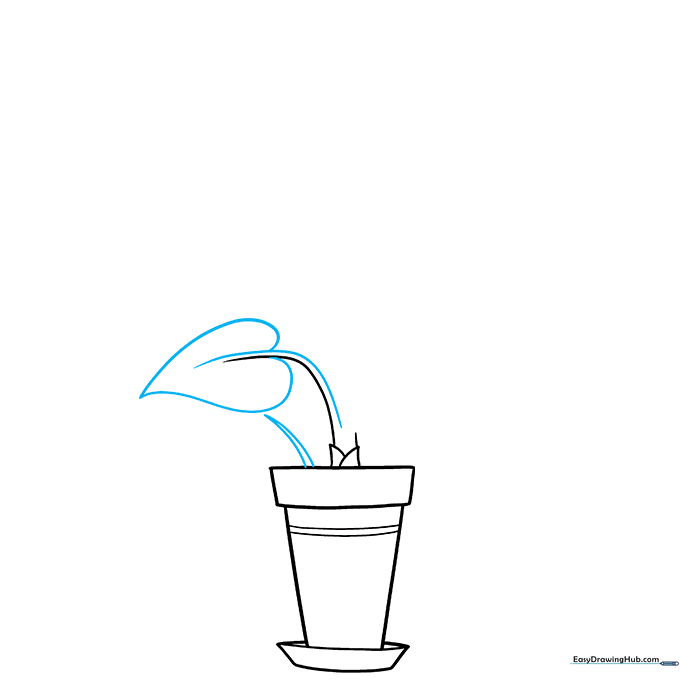
Extend a curved line from the stem and mirror it to create a leaf stalk. Enclose a heart-shaped leaf at the end. Tip: Heart shapes are the secret to drawing cute, cartoon-style foliage!
Step 4: Growing More Leaves
Add another pair of curved lines to create a second stem, and top it with another heart-shaped leaf. Tip: Vary the height of your leaves to make the plant look full and healthy.
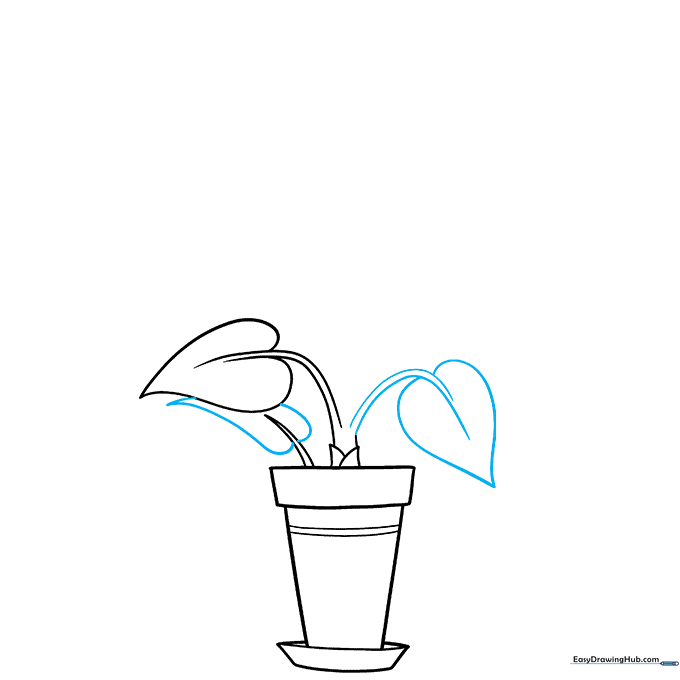
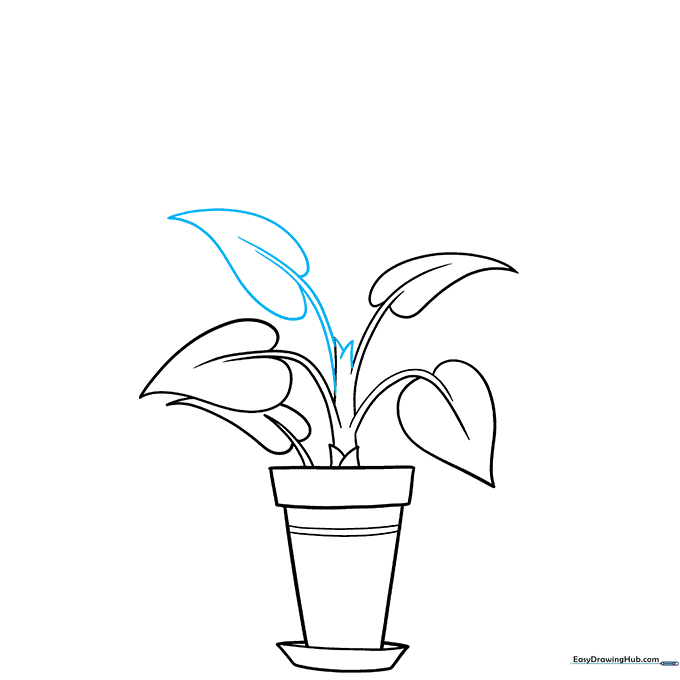
Step 5: Extending the Main Stem
Draw two more curved lines reaching upward from the center. Add a parallel line to create thickness, then cap it with another leaf. Tip: Don't worry if your lines aren't perfectly straight; plants in nature are wonderfully wiggly!
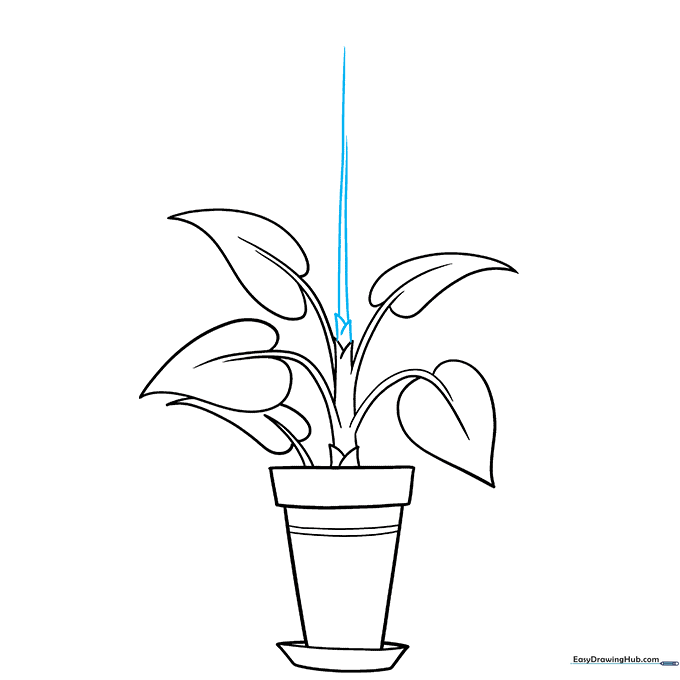
Step 6: Filling Out the Foliage
Add leaves to the opposite side of the stem, then draw two small 'V' shapes at the very top. Tip: These 'V' shapes will become the center of your newest, smallest leaves.
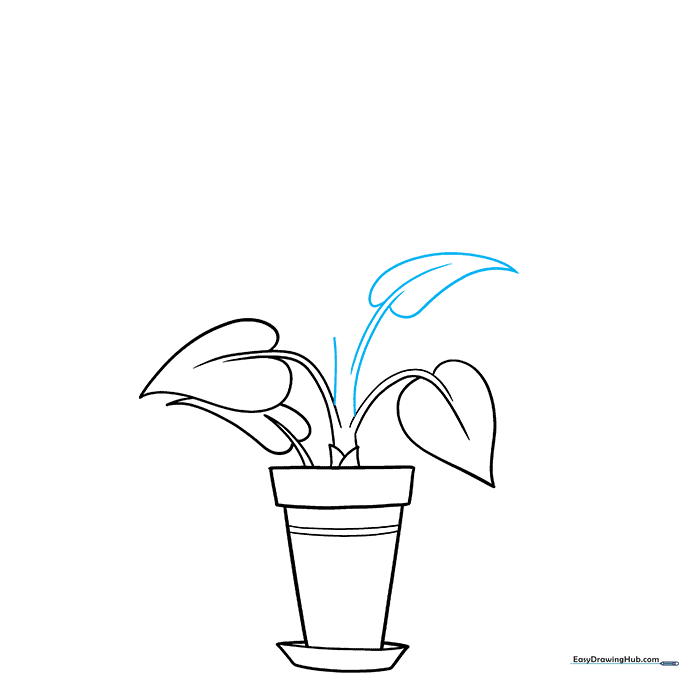
Step 7: Adding Top Growth
Draw two more overlapping 'V' shapes and extend vertical lines above them. Tip: This creates the illusion of new growth sprouting from the center.
Step 8: Adding Leaf Texture
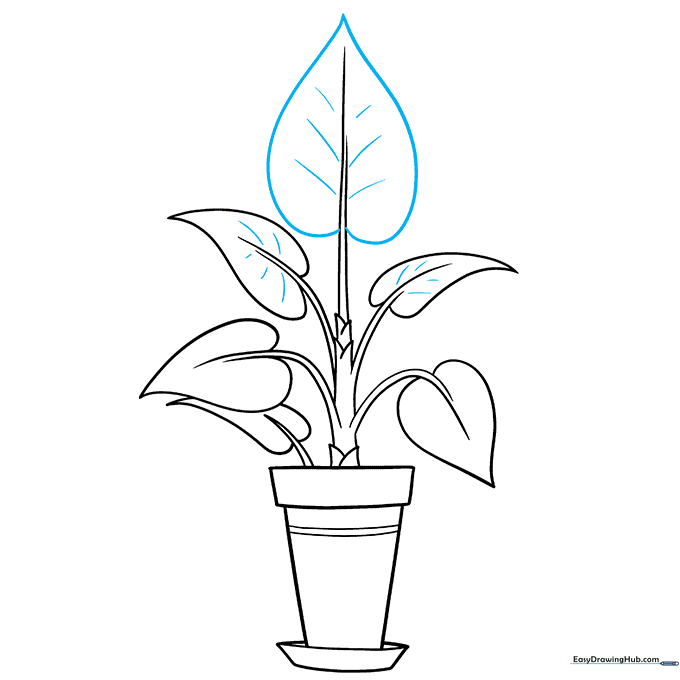
Enclose the final heart-shaped leaf at the top. Add short, dashed lines along the center of each leaf to represent veins. Tip: Use a lighter touch for the veins so they look like natural details rather than heavy outlines.
Step 9: Final Touches
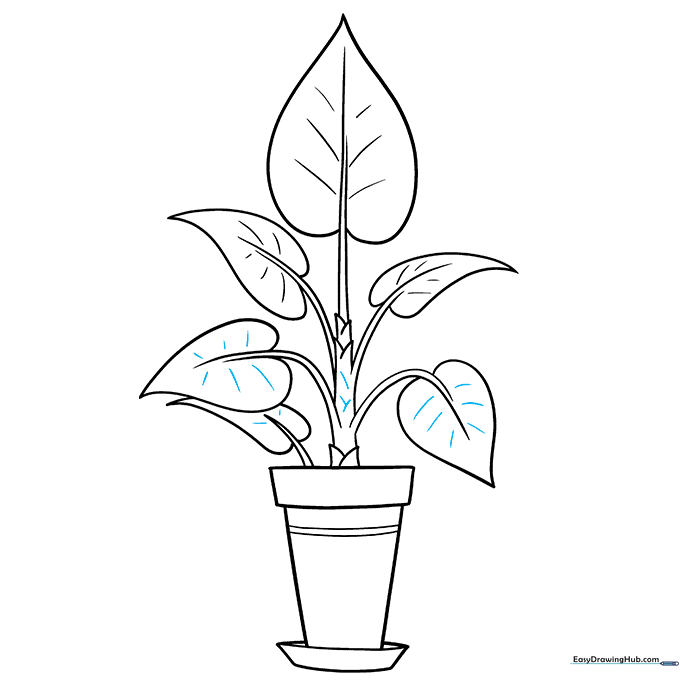
Add final curved lines to the leaves and texture the main stem with small marks. Tip: Review your drawing and erase any stray guidelines to make your plant look clean and professional.
Step 10: Bring Your Plant to Life with Color
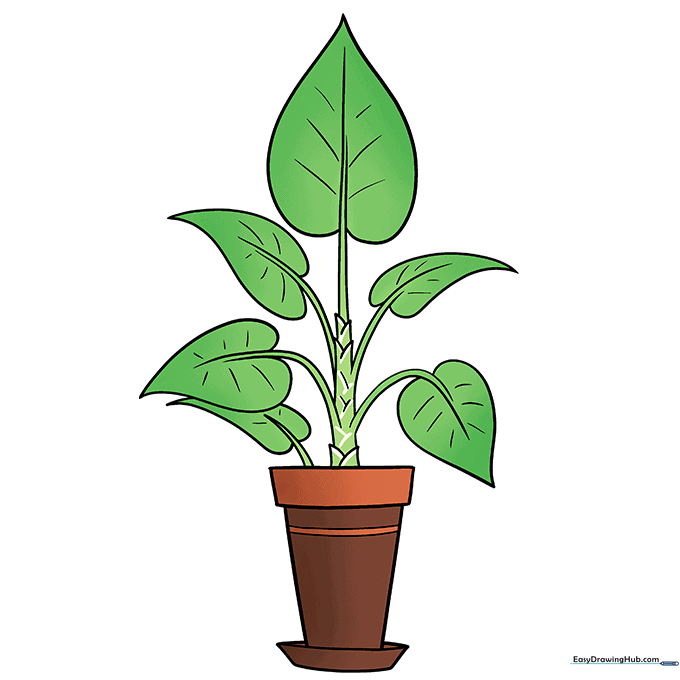
Now for the fun part! Use shades of green for the leaves and a warm terra cotta orange for the pot. Tip: Try adding a little white highlight on the pot to make it look shiny and 3D.
More Tutorials


