How to Draw a Plant Life Cycle: Easy 9-Step Science Guide
This drawing guide is perfect for students and young artists ages 6+ looking to visualize how a seed becomes a fruit-bearing plant. You will need a pencil, eraser, and some colored pencils to complete this science-meets-art project. By the end, you’ll have a clear, labeled diagram that makes understanding biology fun and memorable.
🎯 Final Result

Step-by-Step Instructions
Step 1: Sketching the Seeds and Sprout

Start by drawing three small teardrop shapes to represent your seeds. On the side, draw a fourth teardrop with a vertical line through the center. Extend 'Y' shaped lines from the bottom for roots and a small stem at the top. Teacher's Tip: Keep your pencil pressure light here; these are just your guide shapes!
Step 2: Adding the First Leaf
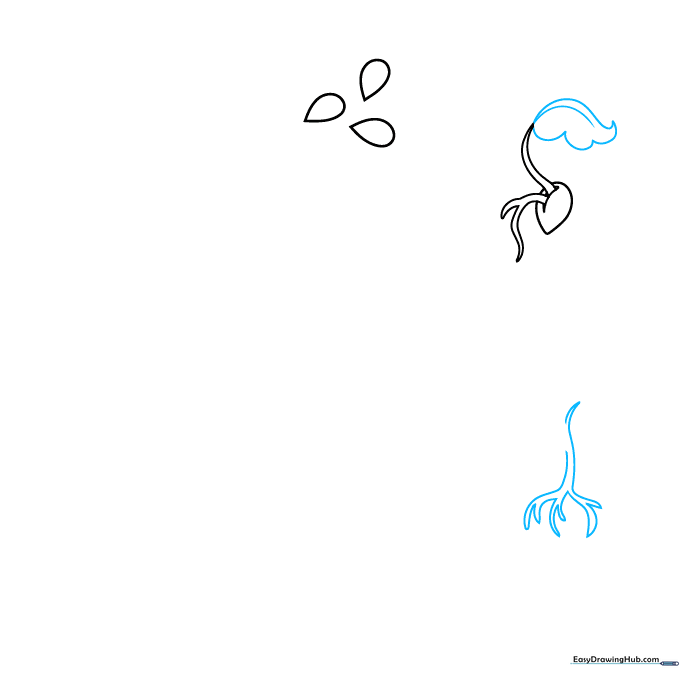
Draw a small leaf at the top of your sprout using a curved line for the central vein. Below the seed, add more curved lines branching into 'Y' shapes to show the root system growing deeper. Teacher's Tip: Roots aren't perfectly straight, so let your hand wiggle a bit to make them look natural.
Step 3: Developing the Seedling
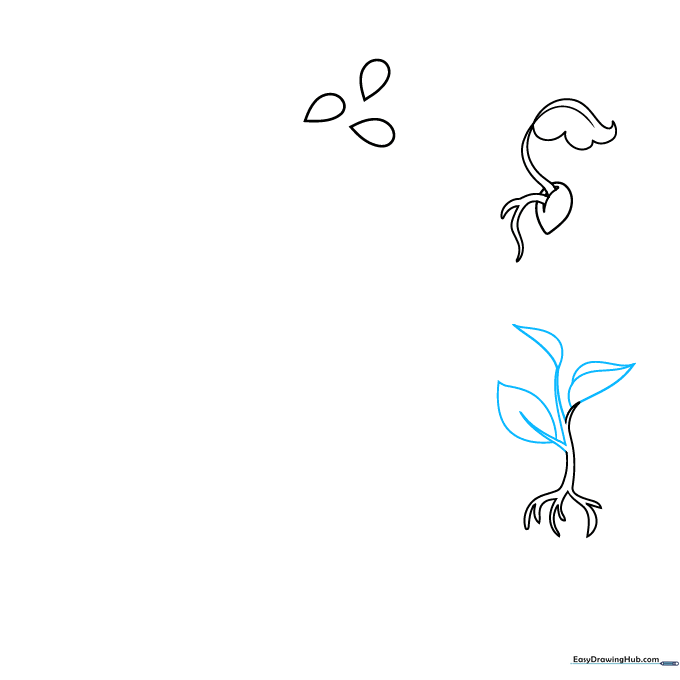
Extend pairs of lines from the main stem to create branches. Enclose these with pointed, oval-like leaf shapes. Teacher's Tip: Try to vary the size of the leaves slightly so the plant looks more realistic.
Step 4: Sketching the Adult Tree
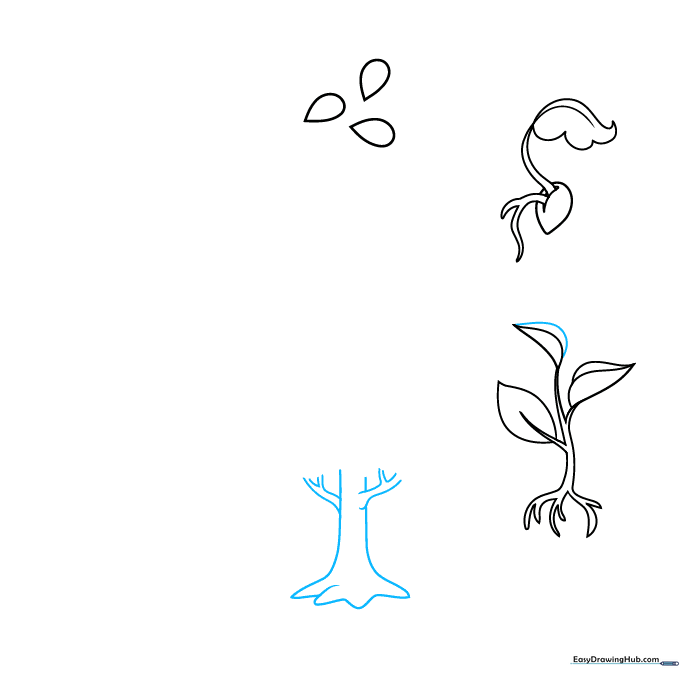
Now, draw a larger trunk at the bottom of your page. Use curved lines that meet at the base and branch out into wider 'Y' shapes at the top to form the structure of a mature tree. Teacher's Tip: Use long, confident strokes for the trunk to show strength.
Step 5: Adding the Tree Crown and Flower Center
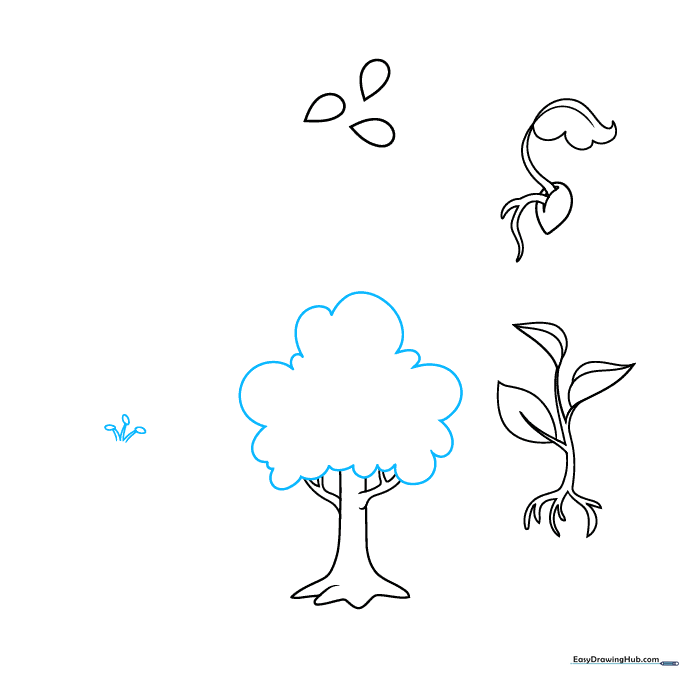
Use soft, cloud-like curved lines to draw the leafy crown of your tree. Nearby, draw three pairs of lines with small ovals at the tips—these will be the center of your flower. Teacher's Tip: The 'cloud' lines should be bumpy and irregular to mimic natural foliage.
Step 6: Forming the Flower Petals
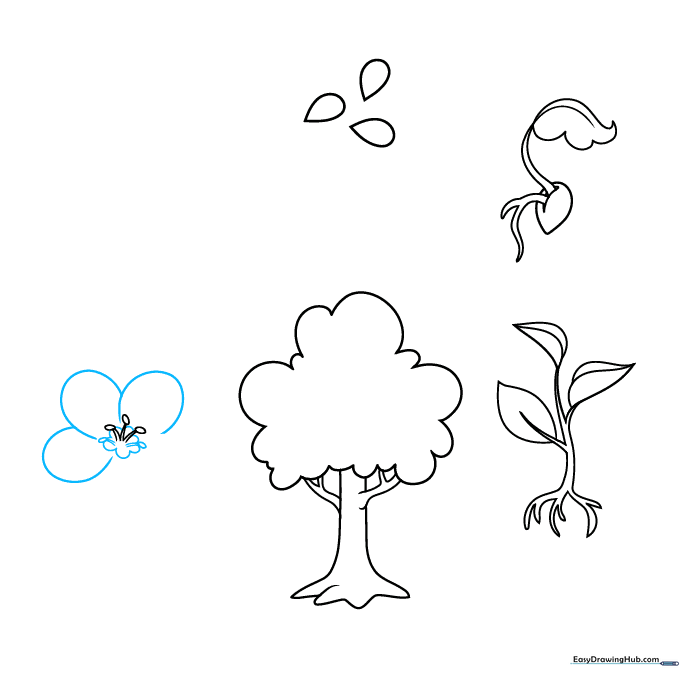
Add more ovals for the flower center and surround them with 'U' shaped lines. Use overlapping curved lines to start building the round petals. Teacher's Tip: Overlapping your lines makes the petals look layered and 3D.
Step 7: Adding the Fruit
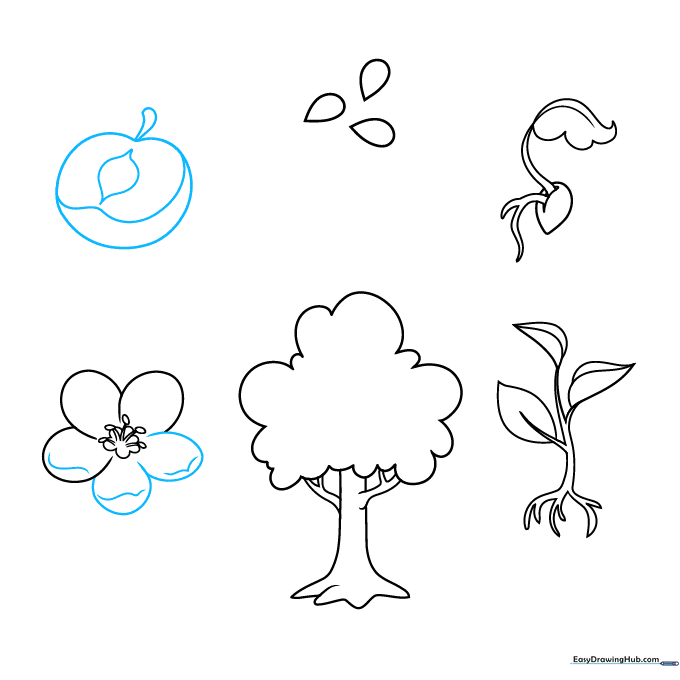
Finish the flower petals, then draw a halved apple above it. Use a double-pointed shape for the core and a round outline for the fruit. Add a small stem at the top. Teacher's Tip: A small 'V' shape at the bottom of the apple adds a nice realistic detail.
Step 8: Connecting the Cycle

Draw two teardrop seeds inside the apple core. Now, draw arrows connecting each stage of your drawing in a clockwise direction. Teacher's Tip: Make your arrows bold so they stand out as the 'path' of the life cycle.
Step 9: Finalizing and Labeling

Complete your arrows and add labels for each stage: Seeds, Sprout, Seedling, Adult Plant, Flower, and Fruit. Teacher's Tip: Use a ruler for your label lines to keep the diagram looking clean and professional.
Step 10: Adding Color

Bring your diagram to life! Use greens for the leaves and stems, browns for the roots and trunk, and bright colors for the flower and fruit. Teacher's Tip: Use light and dark shades of green to add depth to your leaves.
More Tutorials


