How to Draw a Plant Cell: Easy 10-Step Science Diagram
Perfect for science class projects or visual learners, this guide breaks down the complex anatomy of a plant cell into simple, manageable shapes. You will need a pencil, eraser, and colored pencils to bring your diagram to life. Follow these steps to build a clear, accurate model that makes biology concepts easy to remember.
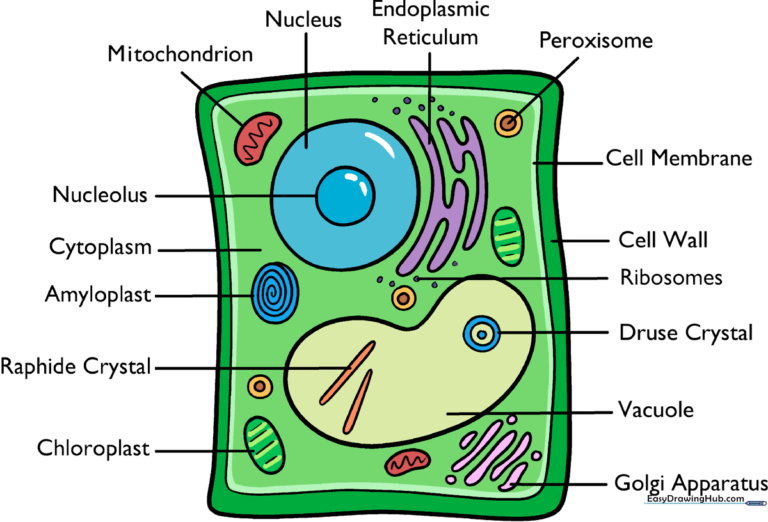
🎯 Final Result
Step-by-Step Instructions
Step 1: Sketching the Rigid Cell Wall
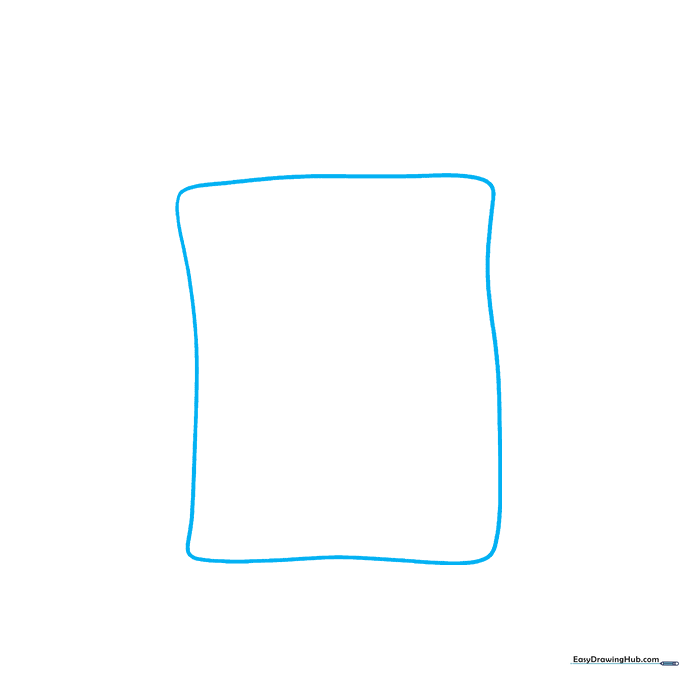
Begin by drawing a slightly wavy rectangle to represent the cell wall. Tip: Plant cells are distinct from animal cells because of this rigid, boxy structure, so keep your corners slightly rounded but firm.
Step 2: Adding the Cell Membrane
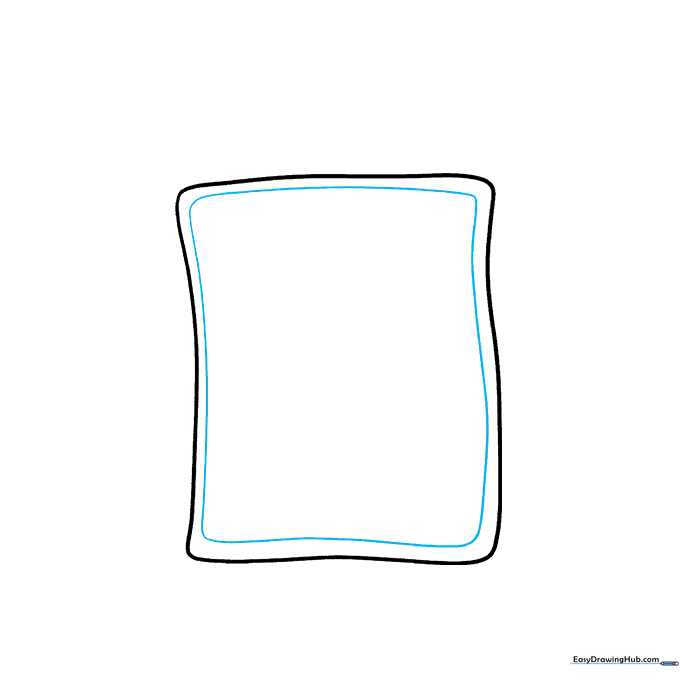
Draw a second, slightly smaller wavy rectangle inside the first one. This represents the cell membrane. Tip: Keep the space between the two lines consistent to show the thickness of the cell wall.
Step 3: Drawing the Nucleus
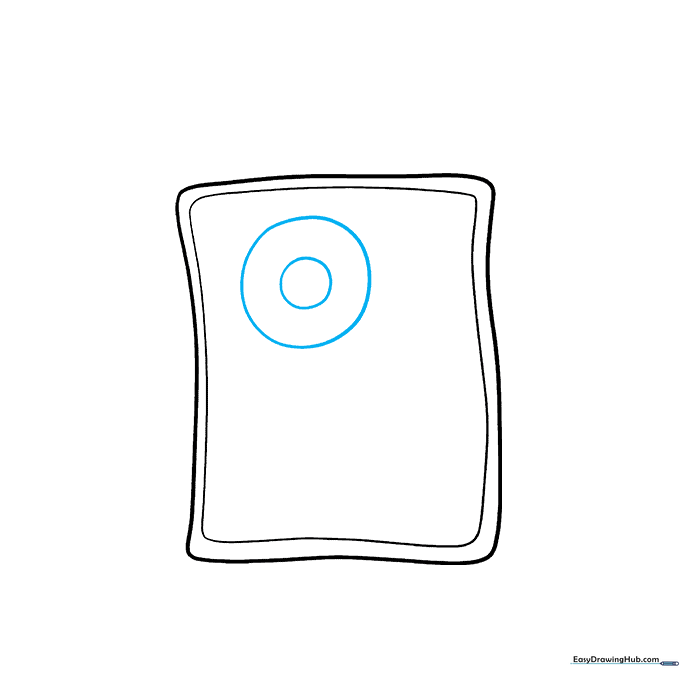
Draw a circle within a circle near the center of your cell. The outer circle is the nucleus, and the inner one is the nucleolus. Tip: Use a light touch; the nucleus is the 'control center' and should look neat and round.
Step 4: Vacuoles and Chloroplasts

Draw a large, irregular 'peanut' shape for the vacuole. Nearby, add two ovals with parallel lines inside to represent chloroplasts. Tip: Chloroplasts are the energy factories, so make sure they stand out clearly.
Step 5: Golgi and Endoplasmic Reticulum
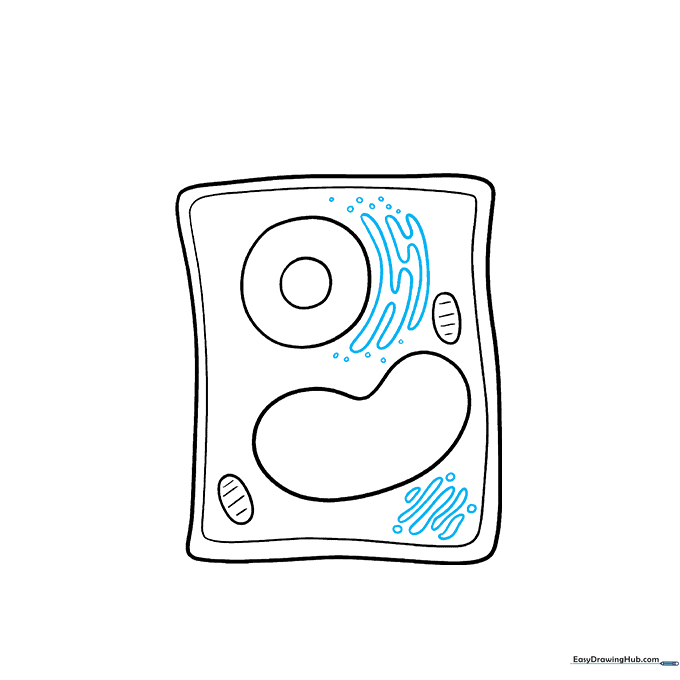
Use wavy lines to create the Golgi apparatus and zigzag shapes for the endoplasmic reticulum. Tip: Don't worry about perfect symmetry; these organelles are naturally complex and organic in shape.
Step 6: Peroxisomes and Crystals
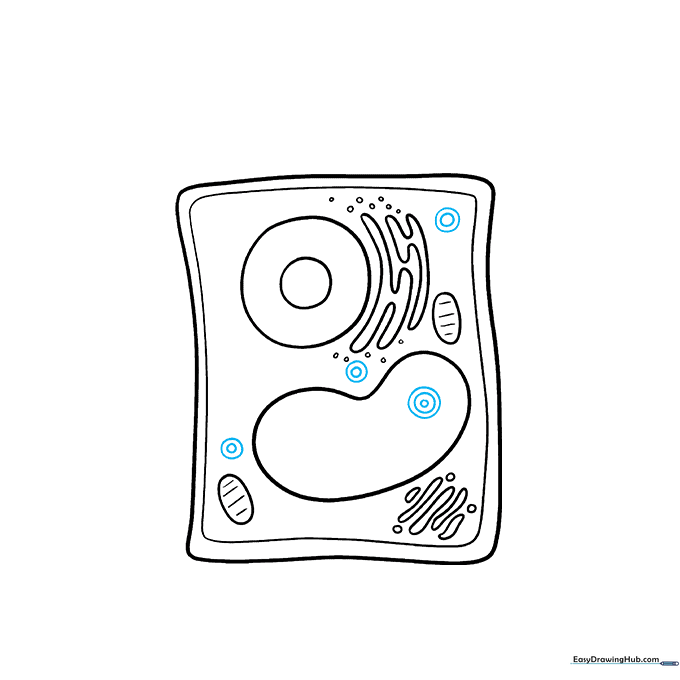
Add small circles for peroxisomes and nested circles inside the vacuole for the druse crystal. Tip: Vary the size of your circles to show the different scales of these tiny organelles.
Step 7: Mitochondria and Amyloplasts
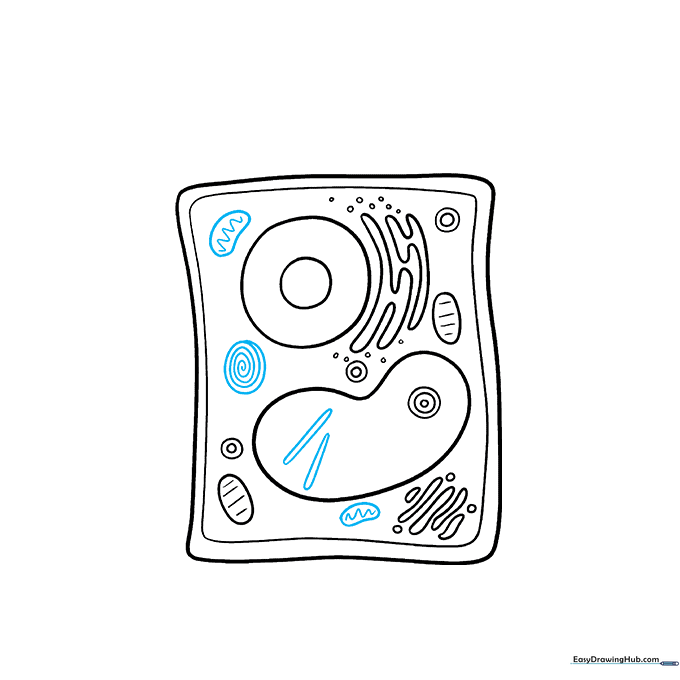
Draw oval mitochondria with wavy centers and a spiral line for the amyloplast. Add two thick lines for raphide crystals. Tip: Use a sharp pencil to keep these small details clean and distinct.
Step 8: Labeling Part 1
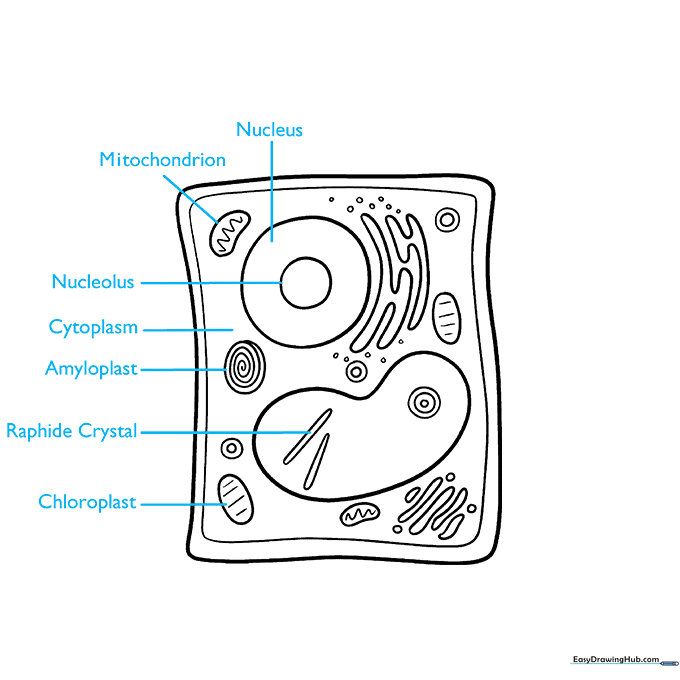
Start labeling your diagram by drawing straight lines from the organelles to the edge of the page. Label the chloroplast, raphide crystal, amyloplast, cytoplasm, nucleolus, mitochondrion, and nucleus.
Step 9: Labeling Part 2
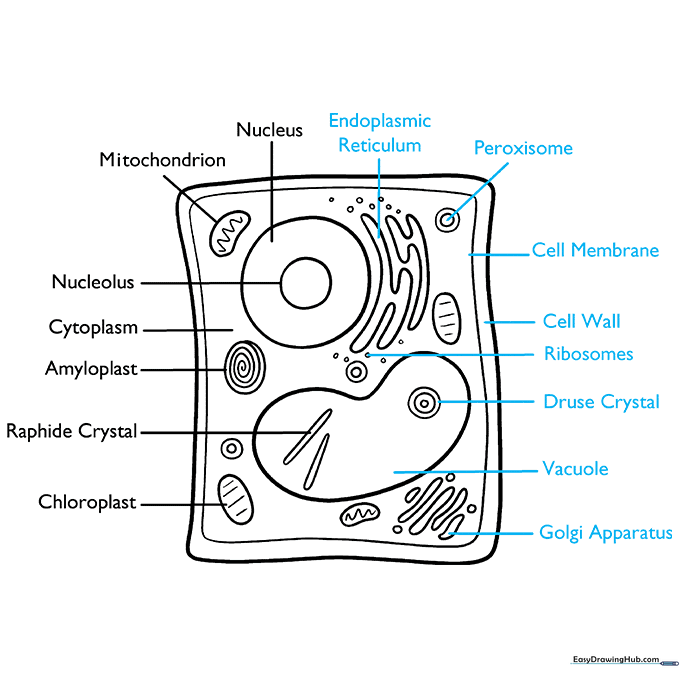
Finish your labels by identifying the endoplasmic reticulum, peroxisome, cell membrane, cell wall, ribosomes, druse crystal, vacuole, and Golgi apparatus. Tip: Use a ruler to keep your label lines neat.
Step 10: Adding Color
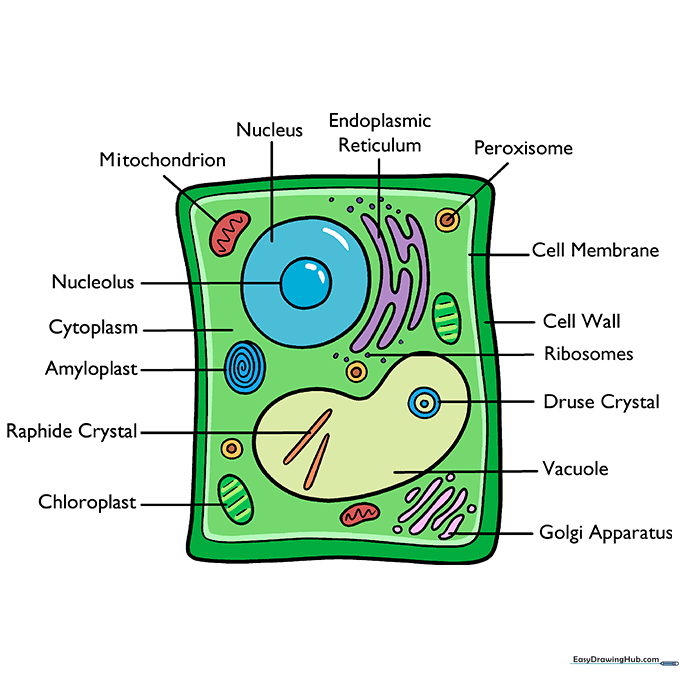
Bring your diagram to life with color! Use green for chloroplasts to represent chlorophyll. Assign different colors to each organelle to make them easy to identify for your science study. Tip: Use light, vibrant colors so the labels remain easy to read.
More Tutorials


