How to Draw Plaid: Easy Step-by-Step Pattern Guide
Perfect for young artists ages 6+, this guide breaks down the complex plaid pattern into simple, repeatable geometric lines. You only need a pencil, a ruler, and your favorite markers or colored pencils. Follow along to add realistic fabric textures to your character designs and fashion sketches.
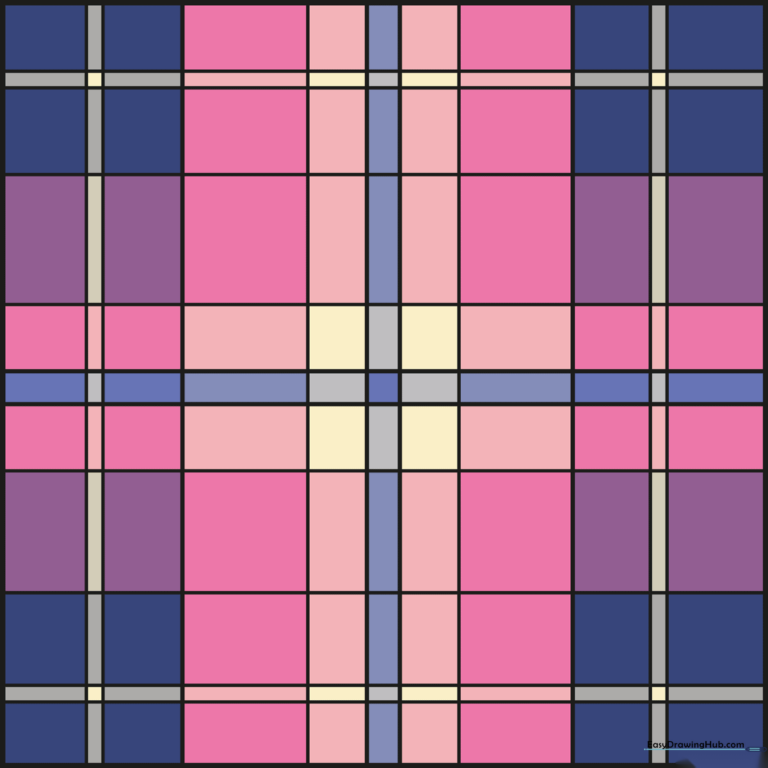
🎯 Final Result
Step-by-Step Instructions
Step 1: Establishing the Frame
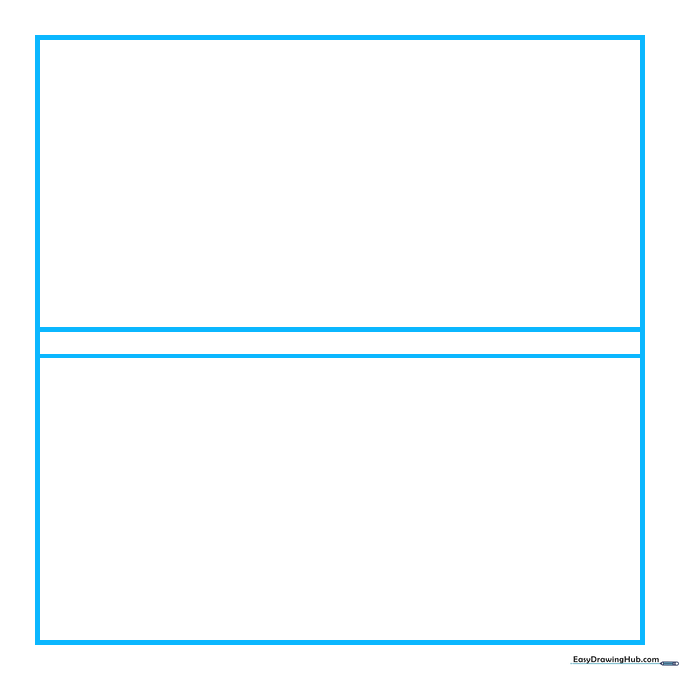
Start by drawing a square to act as your canvas. Tip: If you are drawing this on a shirt or accessory, use the outline of your object instead. Add two horizontal lines across the center. Keep your pencil pressure light so you can easily adjust your spacing later.
Step 2: Adding Vertical Structure
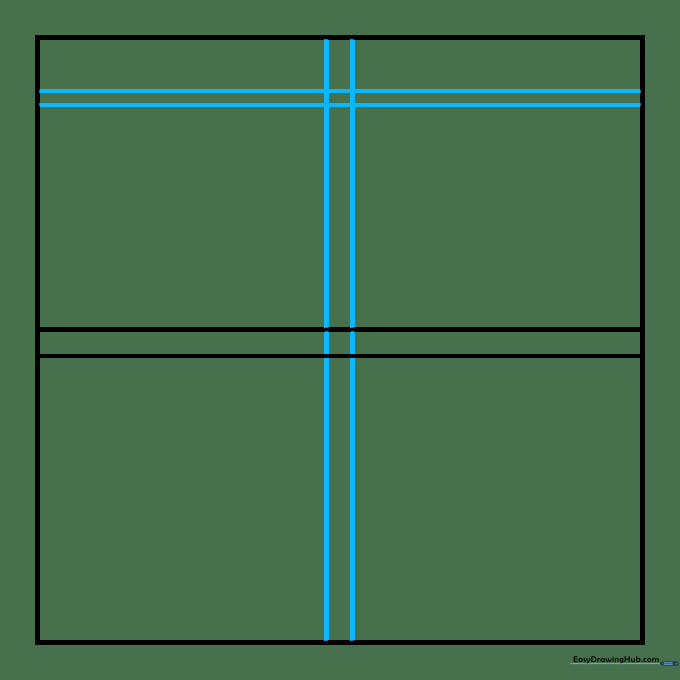
Draw two vertical lines that cross your horizontal ones at a 90-degree angle. Then, add a pair of horizontal lines near the top. Tip: Varying the distance between your lines is the secret to making the plaid look authentic rather than like a simple grid.
Step 3: Creating Corner Details
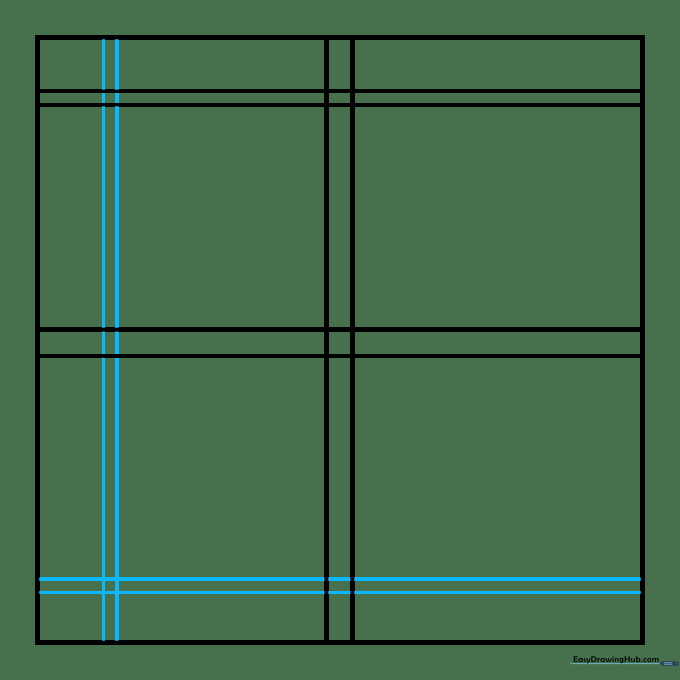
Add another set of vertical and horizontal lines that meet in one corner of your square. Tip: Use a ruler if you struggle with steady hands; plaid is all about clean, crisp intersections.
Step 4: Filling the Pattern
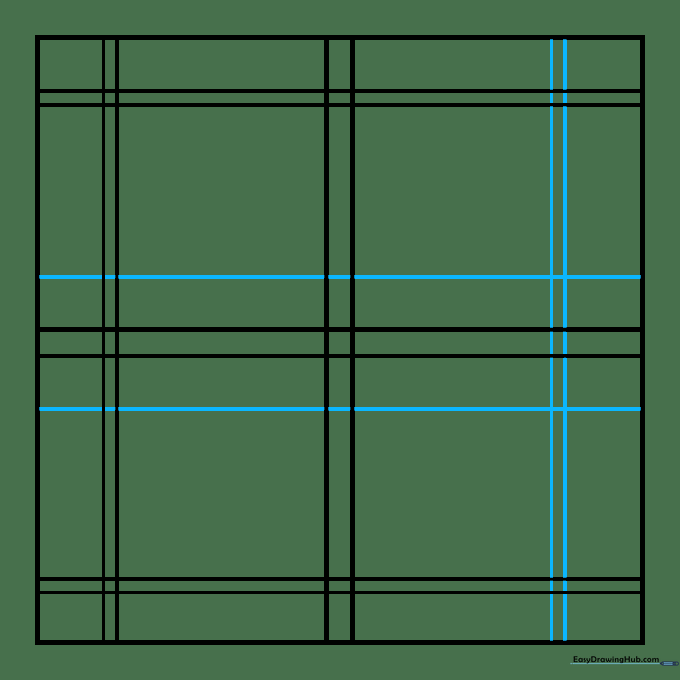
Add more vertical lines to the side and extend your horizontal lines above and below the center. Tip: Think of this as weaving; you are creating a series of overlapping bands.
Step 5: Finalizing the Grid

Complete your pattern by adding the final set of vertical and horizontal lines. You should now have a balanced checkerboard effect with varying line thicknesses. Tip: Ensure your lines are parallel to maintain the professional look of the fabric.
Step 6: Adding Color and Depth
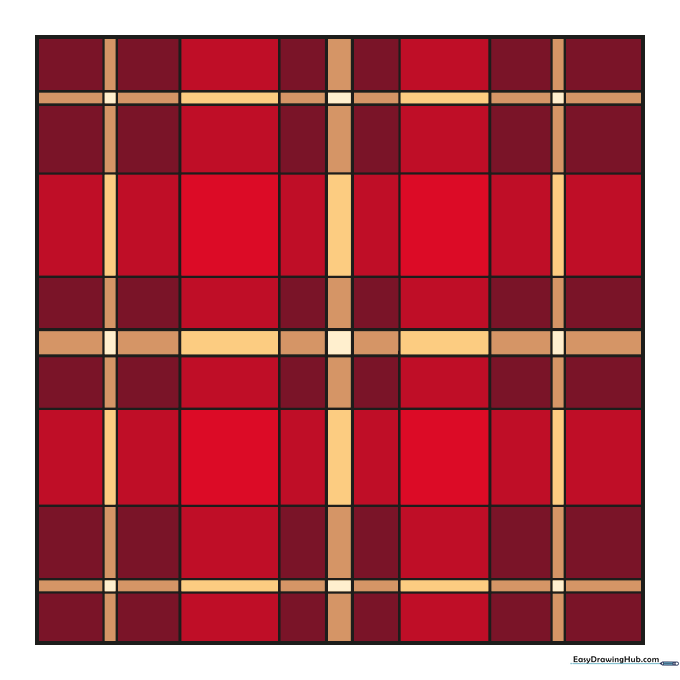
Coloring is where the plaid comes to life. Use a darker shade where the lines cross to create the illusion of overlapping threads. Tip: Keep the squares with no lines the lightest to make the pattern pop!
More Tutorials


