How to Draw a Plague Doctor: Easy 10-Step Tutorial
Bring this iconic historical figure to life with a guided drawing session perfect for ages 8+. You will need a pencil, eraser, and paper to complete this character study. Follow along to practice layering shapes and creating fabric folds for a professional-looking illustration.
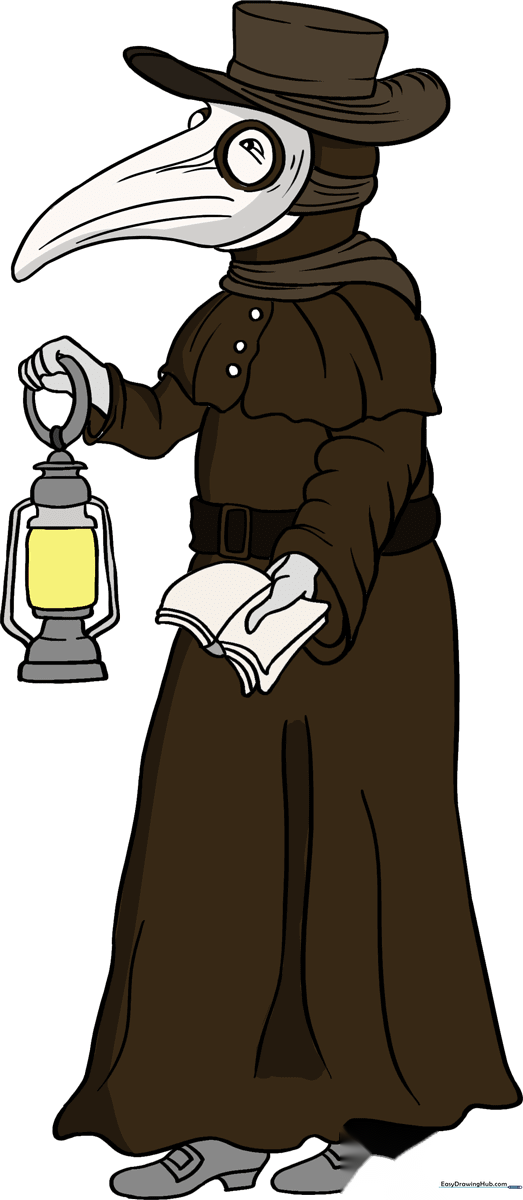
🎯 Final Result
Step-by-Step Instructions
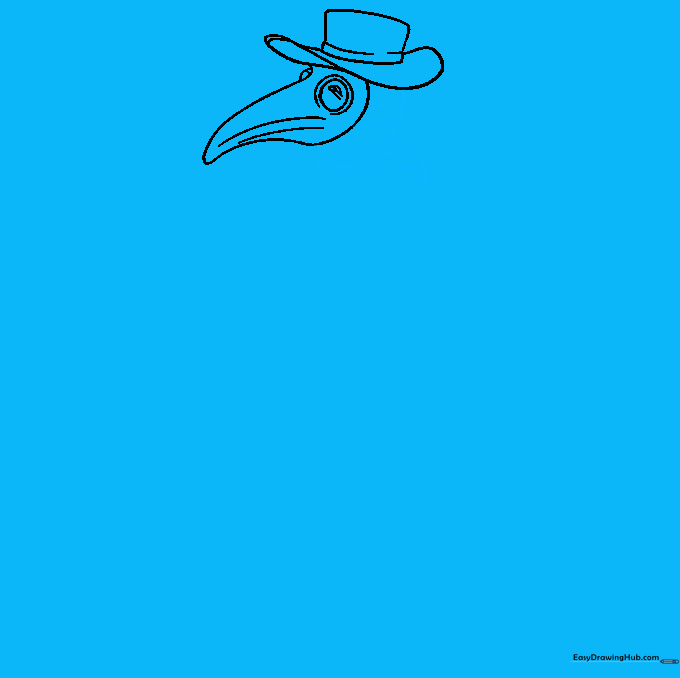
Step 1: Sketching the Hat Base

Start by drawing a curved rectangle using four soft lines. Tip: Keep your pencil pressure light so you can easily adjust the shape if it looks a bit lopsided.
Step 2: Adding the Hat Brim

Draw a long, flowing 'S' shaped line to form the brim. Tip: Ensure the center of the 'S' touches the hat base to create a realistic 3D perspective.
Step 3: Defining the Iconic Mask

Sketch the bird-like beak using two curved lines that meet at a point. Add a circle for the eye and shade it in. Tip: Use short, light dashes along the beak to suggest texture.
Step 4: Drawing the Scarf and Headband
Outline the back of the head and the scarf wrapped around the neck. Tip: Add small, curved lines on the scarf to mimic the look of bunched fabric.
Step 5: Sketching the Arm and Book

Use overlapping curved lines to draw the sleeve. At the end, draw a simple rectangular shape for the book. Tip: Overlapping lines are the secret to making fabric look heavy and realistic.
Step 6: Adding Garment Details

Draw the top of the robe using overlapping lines and add small circles for buttons. Tip: Keep the buttons aligned to show the center of the coat.
Step 7: Drawing the Lantern

Outline the torso, belt, and the lantern. Use rounded rectangles for the lantern body. Tip: Draw the central globe slightly larger to make the lantern look like it's glowing.
Step 8: Adding the Robe and Shoes

Draw the long skirt of the robe and the shoes. Tip: Add small lines across the shoes to represent buckles or laces for extra detail.
Step 9: Finalizing Details

Go over your drawing and add small lines to the clothing to emphasize the folds and texture. Tip: Use a darker pencil for these final details to make them pop.
Step 10: Adding Color
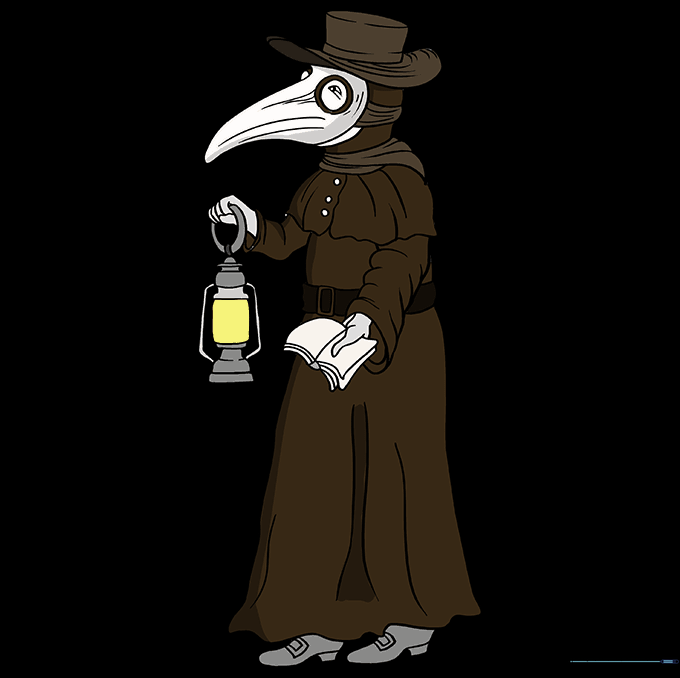
Bring your doctor to life with dark, moody colors. Tip: Use shades of black, grey, and brown to maintain the historical aesthetic.
More Tutorials


