How to Draw a Pitbull: Easy 10-Step Guide for Kids
Ready to draw a loyal, happy-looking Pitbull? This project is perfect for artists ages 5 and up. All you need is a pencil, an eraser, and a piece of paper to bring this pup to life.
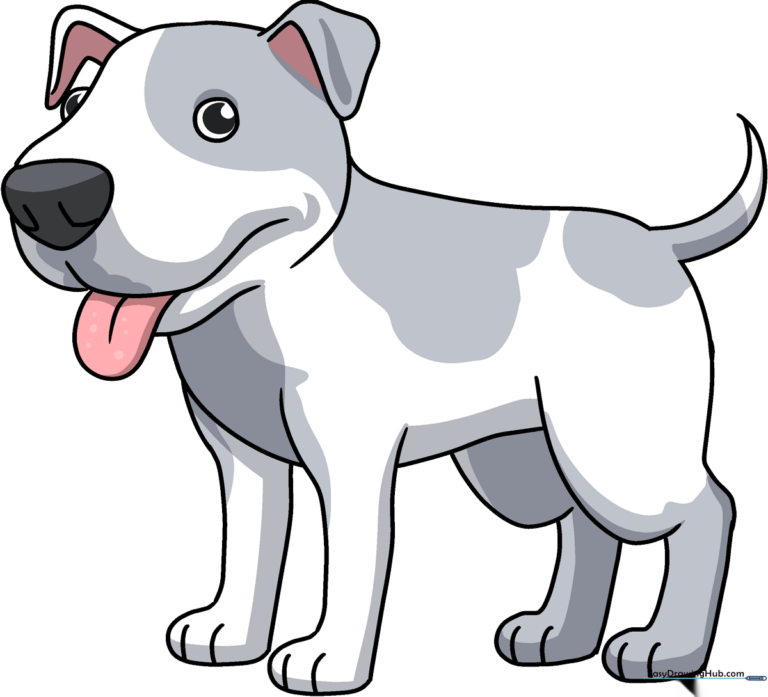
🎯 Final Result
Step-by-Step Instructions
Step 1: Sketching the Head

Start by sketching the dog's face. Use a series of overlapping curved lines to draw the shape of the face, the upper lip, and the lower jaw. Teacher's Tip: Keep your pencil strokes light and loose to get the rounded shape of the muzzle just right.
Step 2: Adding the Ears
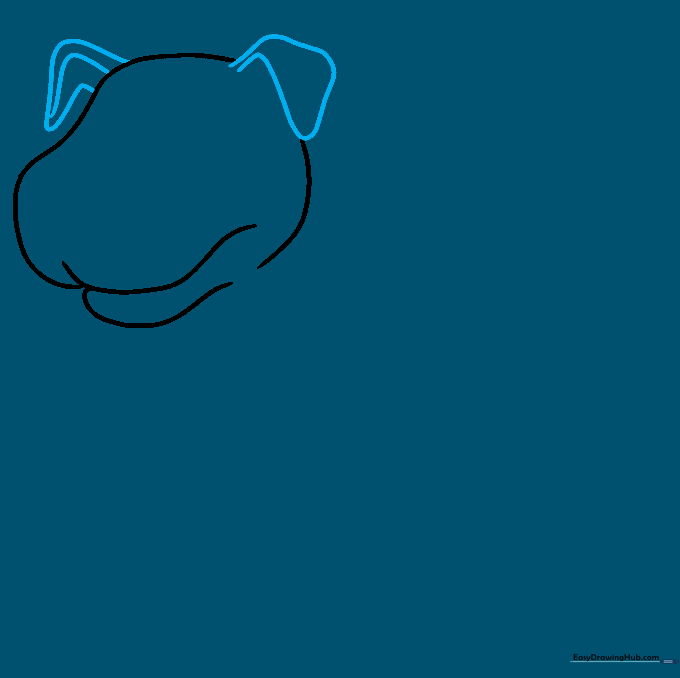
Draw the dog's ears using soft, triangular shapes. Add a curved line down the center of the far ear to give it depth. Teacher's Tip: Pitbull ears are often folded, so don't worry about making them perfectly straight!
Step 3: Drawing the Eyes

Use curved lines to draw two circular shapes for the eyes. Teacher's Tip: Place them slightly apart to give your dog a friendly, alert expression.
Step 4: The Nose and Tongue
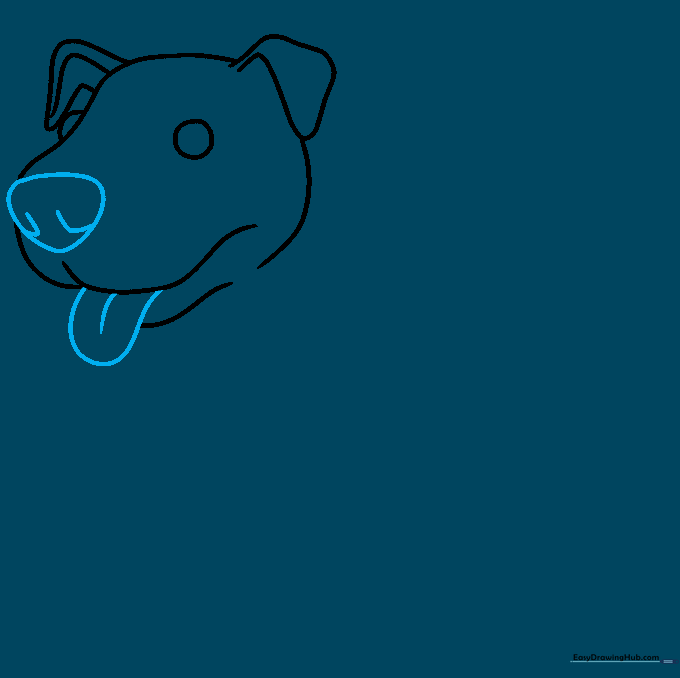
Sketch a rounded, triangular nose with 'L' shaped lines for nostrils. Add a 'U' shaped line for the tongue. Teacher's Tip: A little tongue sticking out makes the dog look extra happy and playful!
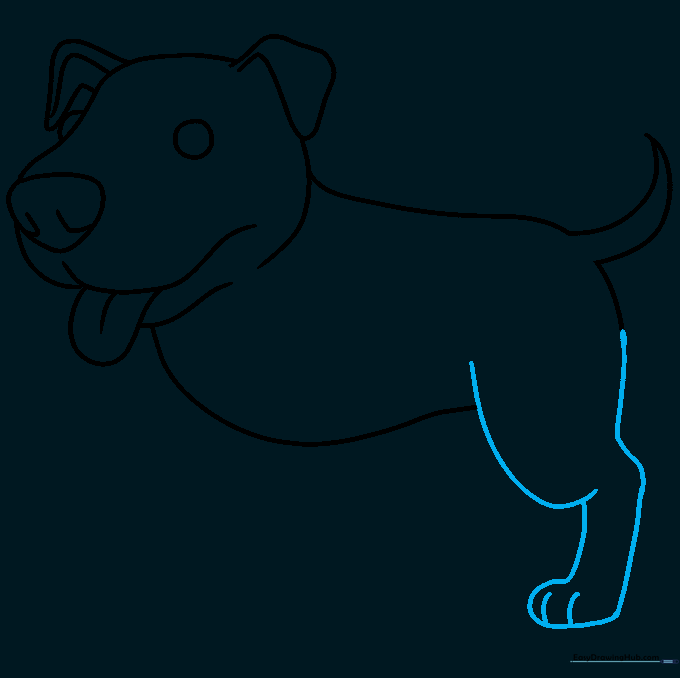
Step 5: The Body and Tail

Use curved lines to draw a bean-shaped body and a pointed, crescent-shaped tail. Teacher's Tip: Keep the body shape smooth to emphasize the dog's muscular but friendly build.
Step 6: Drawing the First Rear Leg
Draw the rear leg using overlapping curved lines for the upper and lower leg. Add short lines for the toes. Teacher's Tip: Overlapping lines help create the illusion of joints and muscles.
Step 7: The Second Rear Leg
Draw the remaining rear leg to match the first one, ensuring you include the short lines for the toes. Teacher's Tip: Symmetry is key here, so try to keep the legs the same size.
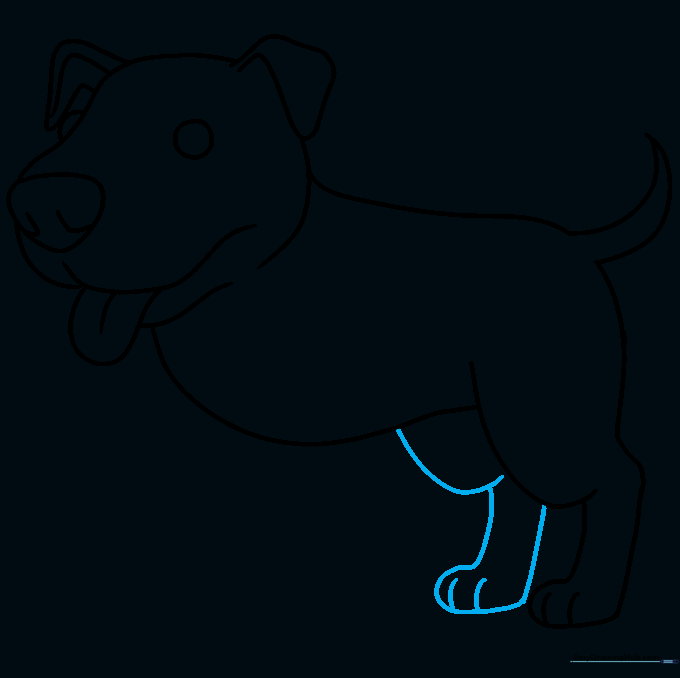
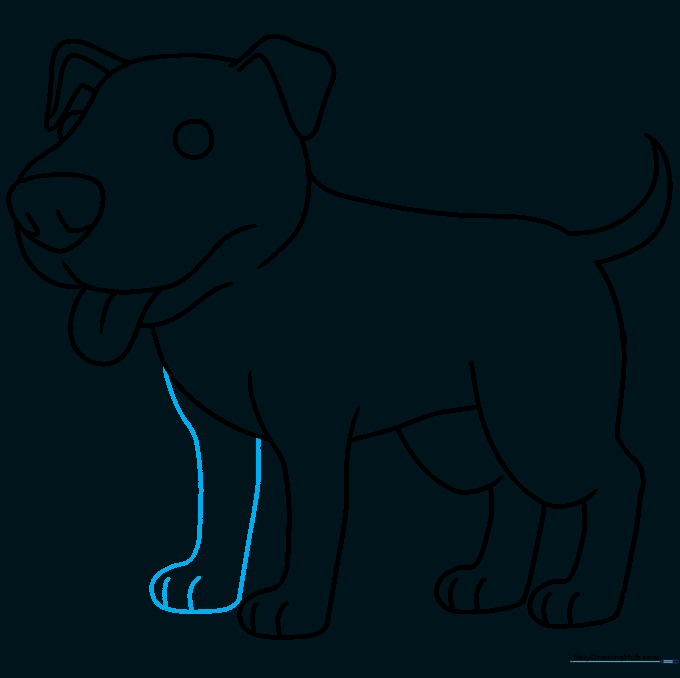
Step 8: The First Front Leg
Draw the front leg by using a long curved line that doubles back on itself. Add small lines for the toes. Teacher's Tip: Front legs are usually straighter than back legs on a standing dog.
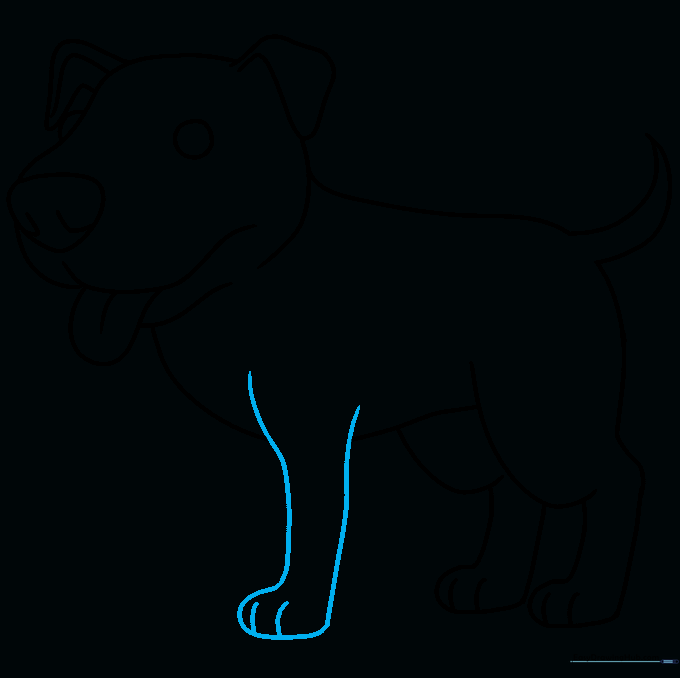
Step 9: The Final Leg
Draw the last front leg, mirroring the previous one. Add the toe details. Teacher's Tip: Now that the outline is complete, take a moment to erase any stray guidelines.
Step 10: Adding Color
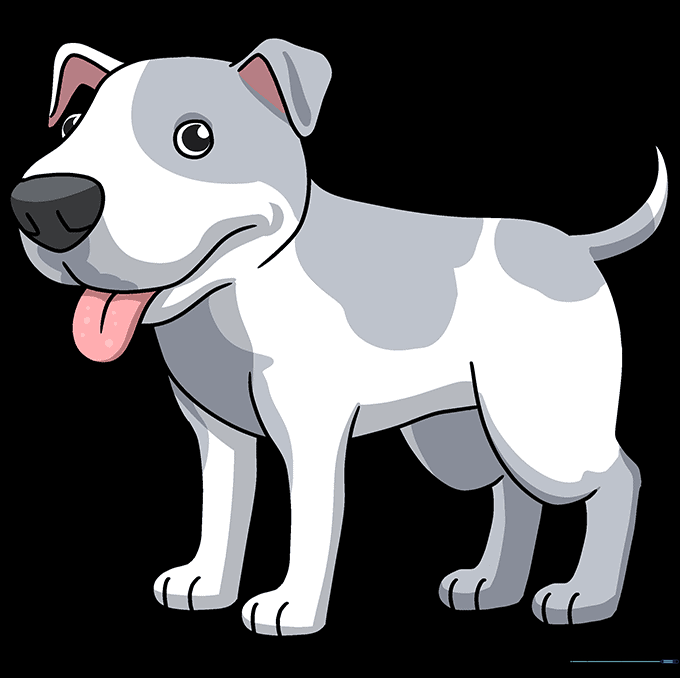
Bring your Pitbull to life with color! Use shades of grey, brown, or black. Teacher's Tip: Try adding small spots or patches to give your dog a unique personality.
More Tutorials


