How to Draw a Pitbull Face: Easy 9-Step Guide
Capture the strong, loyal expression of a Pitbull with this beginner-friendly drawing tutorial. Designed for artists ages 6 and up, this activity requires only a pencil, eraser, and paper to build confidence in character sketching. Follow along to master the unique, muscular structure of the Pitbull's muzzle and soulful eyes.
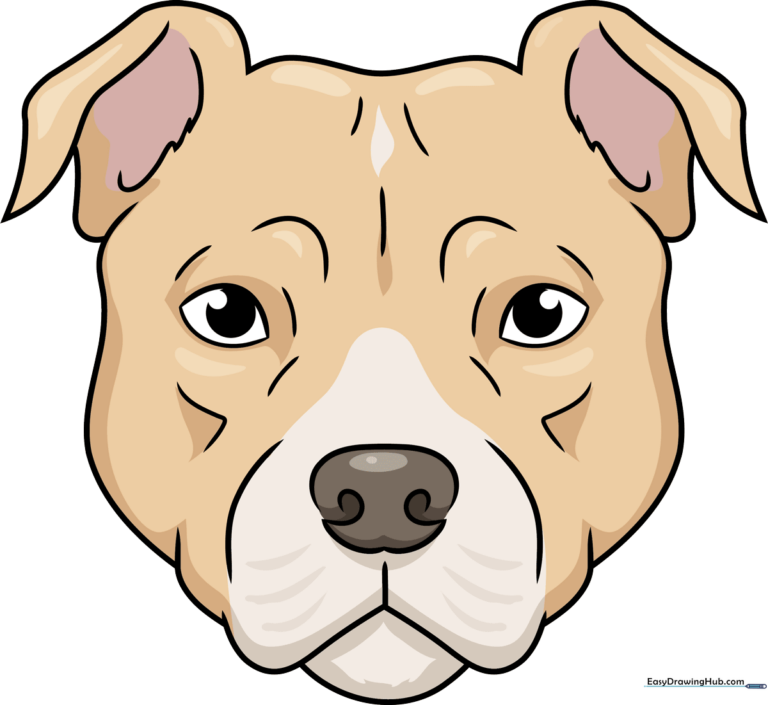
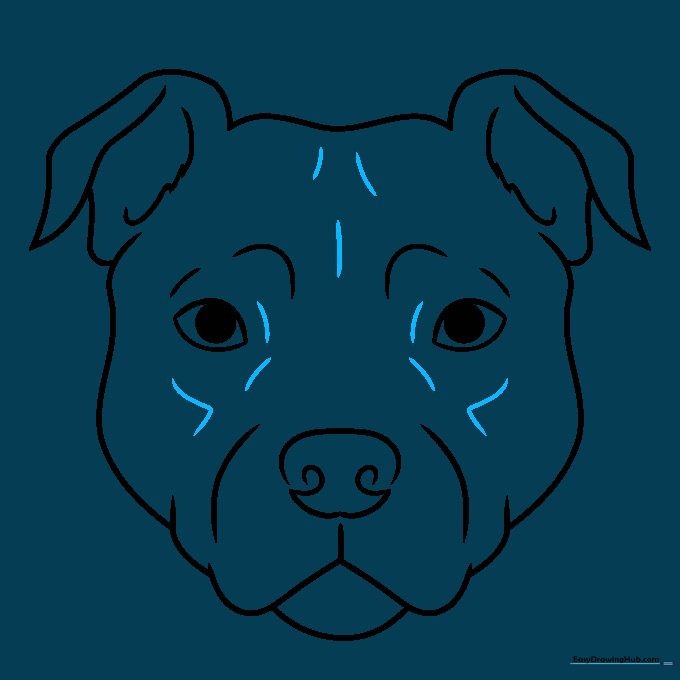
🎯 Final Result
Step-by-Step Instructions
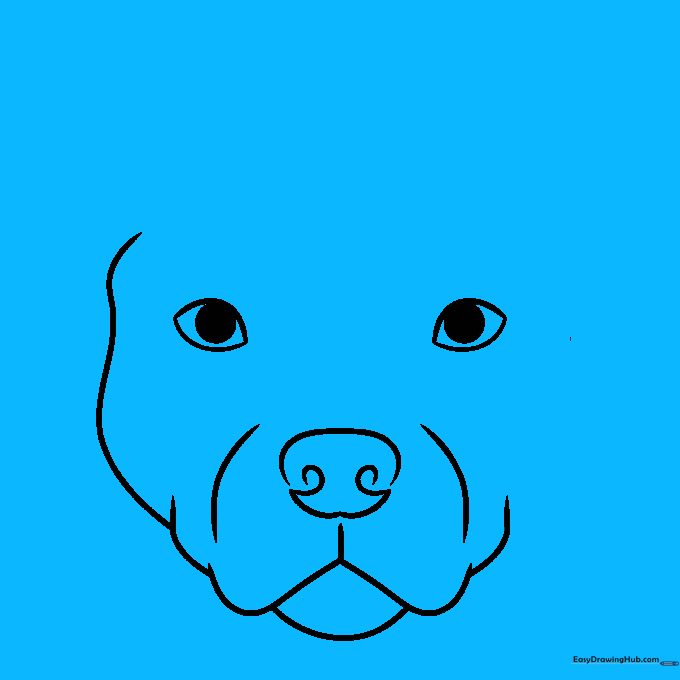
Step 1: Sketching the Almond Eyes

Start by drawing two almond-shaped outlines for the eyes. Add small, dark circles inside for the pupils. Teacher's Tip: Keep your pencil pressure light here so you can easily adjust the symmetry if one eye looks a bit larger than the other.
Step 2: Defining the Nose

Draw a curved line for the top of the nose, then add two spiral-shaped lines for the nostrils. Teacher's Tip: Think of the nostrils as two small 'comma' shapes facing each other to get that classic dog-nose look.
Step 3: Shaping the Muzzle

Create the snout by drawing curved lines down from the nose, connecting to a wide, rounded 'W' shape for the mouth. Teacher's Tip: Pitbulls have broad, strong muzzles, so don't be afraid to make these lines nice and wide.
Step 4: Drawing the Jawline

Add a curved line for the lower mouth and extend lines from the muzzle to form the strong jaw. Start the side of the head with a long, sweeping curve. Teacher's Tip: Use smooth, fluid motions to make the jaw look powerful yet soft.
Step 5: Framing the Head
Complete the other side of the head with a matching curve. Add a slightly squiggly line at the top to suggest the dog's forehead. Teacher's Tip: Leave plenty of empty space at the top—that's where the ears will go!
Step 6: Adding Ear Bases
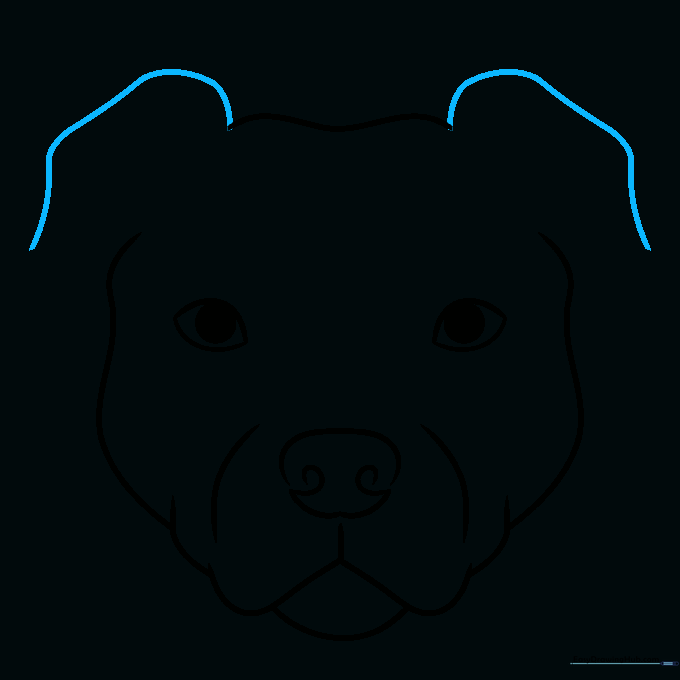
Extend two long, curved lines from the top of the head to create the foundation for the ears. Teacher's Tip: Keep these lines symmetrical to ensure the dog looks balanced.
Step 7: Shaping the Ears

Finish the ears by drawing two curved lines in an inverted 'Y' shape inside each base. Teacher's Tip: This simple shape adds depth and makes the ears look three-dimensional.
Step 8: Adding Fur and Expression
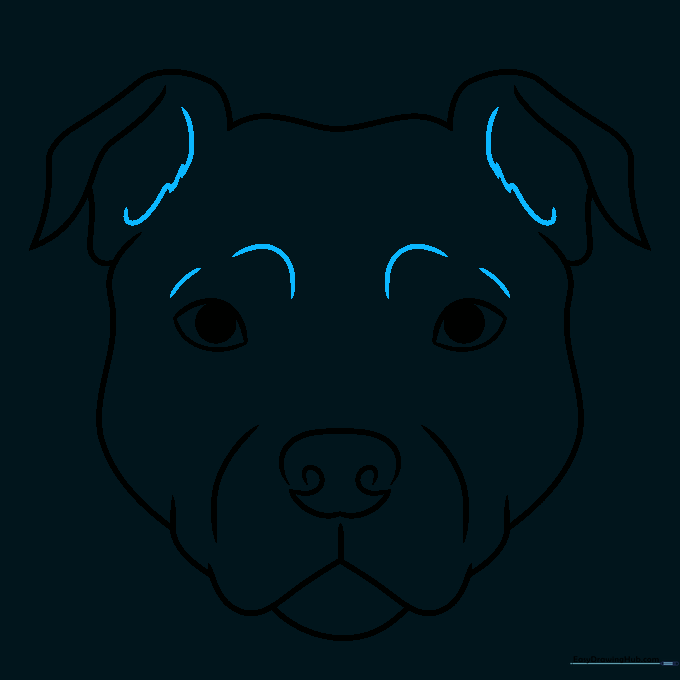
Add short, quick strokes inside the ears for texture. Draw curved lines above the eyes to create eyelids and give your dog a friendly, alert expression. Teacher's Tip: Use short, flicking pencil strokes to mimic the look of soft fur.
Step 9: Final Details
Finish your drawing by adding small contour lines between the brows and around the eyes to give the face character. Teacher's Tip: Less is more! A few well-placed lines add realism without cluttering your drawing.
Step 10: Bring It to Life with Color

Time to color! Pitbulls come in many beautiful shades—fawn, brindle, blue, or classic black and white. Choose your favorite colors and fill in your masterpiece. Teacher's Tip: Use light, circular motions with your colored pencils to create a smooth, even coat.
More Tutorials


