How to Draw a Pirate: Easy 10-Step Cartoon Guide
Ready to set sail on an artistic adventure? This tutorial is perfect for young artists ages 7+ looking to master character design. Grab a pencil, an eraser, and a piece of paper to bring your own swashbuckling captain to life.
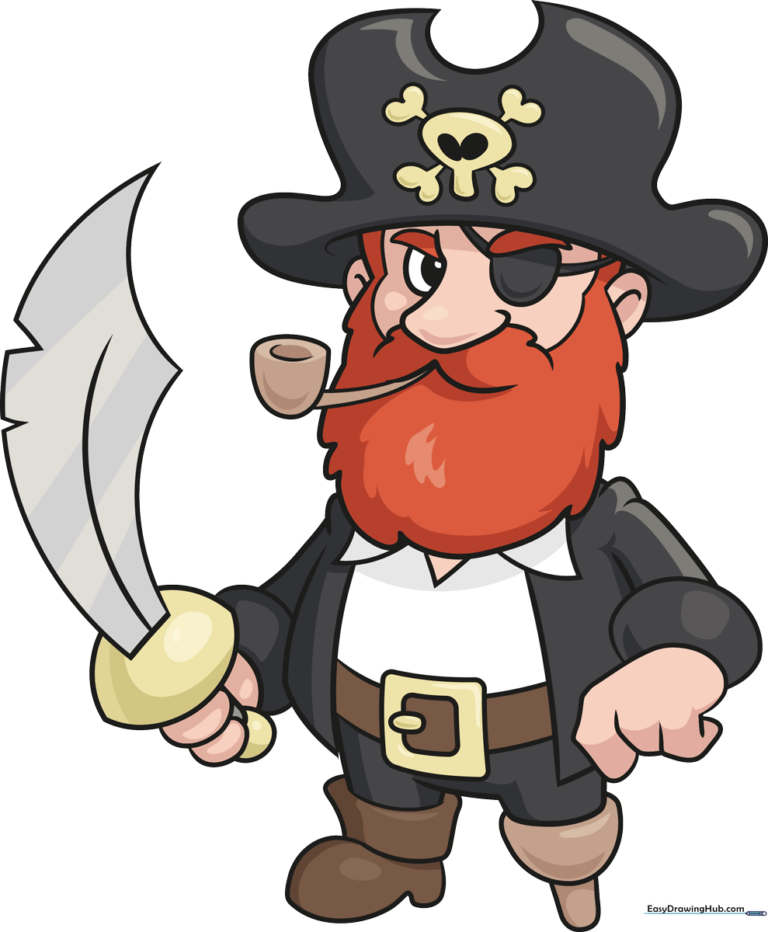
🎯 Final Result
Step-by-Step Instructions
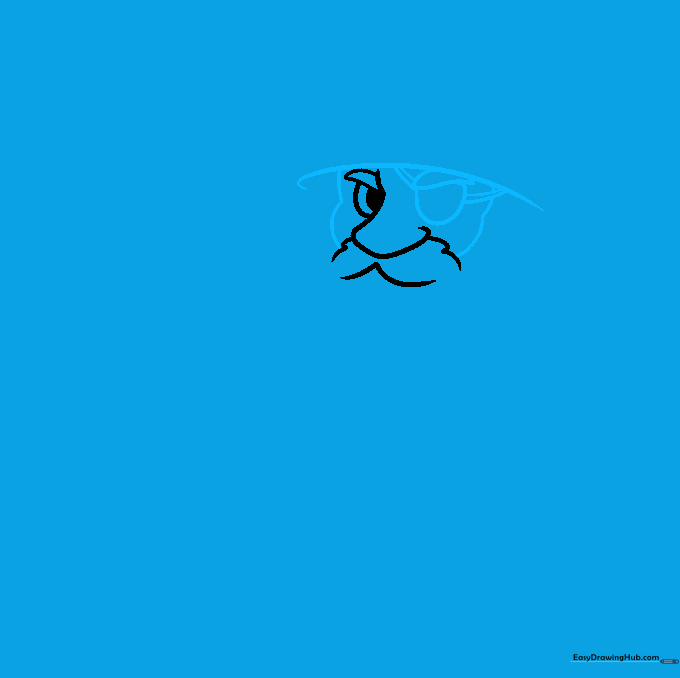
Step 1: Sketching the Face and Features

Start by sketching the pirate's face. Use light, curved lines to outline a large nose, a bushy mustache, a pointed eyebrow, and a round eye. Teacher's Tip: Keep your pencil pressure light so you can easily erase any stray marks later.
Step 2: Adding the Hat and Eyepatch
Draw a curved line above the face to form the hat base. Add the eyepatch and connect it to the hat with small curved lines. Teacher's Tip: Use the 'temple' bulges on the sides of the face to give your pirate a realistic, expressive head shape.
Step 3: Defining the Beard and Hat Brim
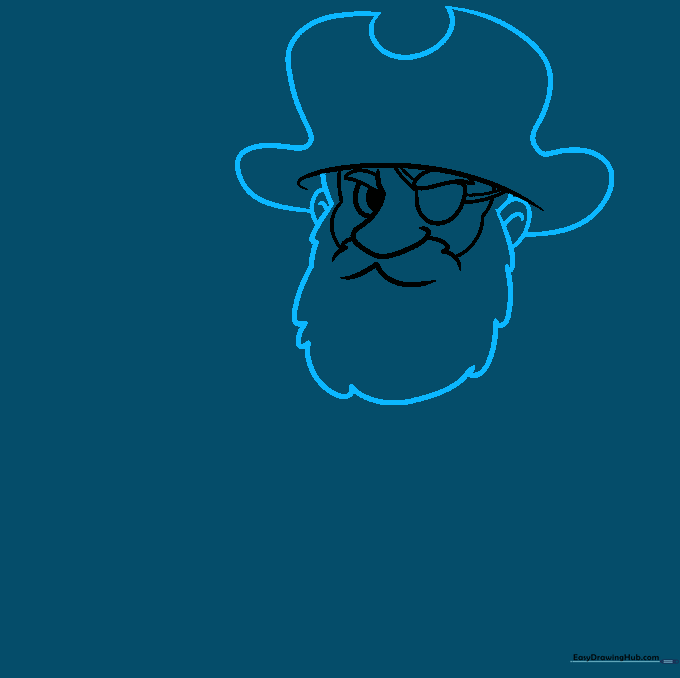
Use connected curved lines to create a voluminous, scruffy beard. Add 'C' shaped lines for the ears, then extend long curves from the ears to finish the hat's brim. Teacher's Tip: Vary the size of your 'C' curves to make the beard look thick and textured.
Step 4: Adding the Pipe and Skull Emblem
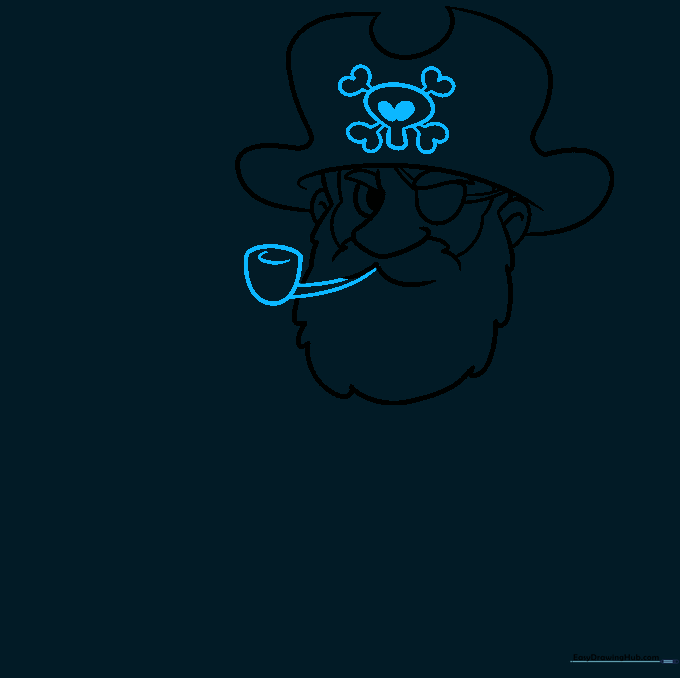
Draw a tobacco pipe in the mouth using a small half-oval. On the hat, sketch a skull and crossbones emblem. Teacher's Tip: When drawing the skull, keep the eye sockets oval-shaped to match the cartoon style.
Step 5: Sketching the Collar and Shoulders
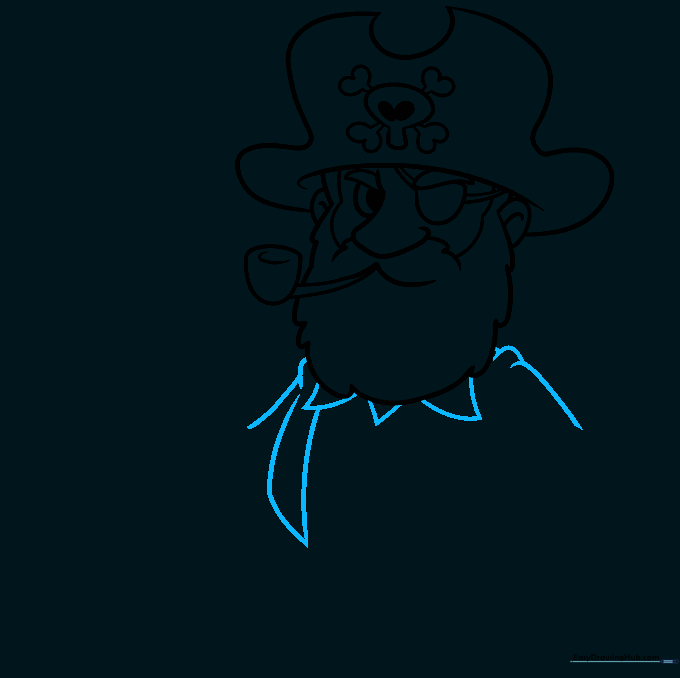
Draw three small triangles below the beard to create the shirt collar. Use overlapping curved lines to build the shoulders. Teacher's Tip: Overlapping lines help create the illusion of fabric folds.
Step 6: Drawing the Sword Arm
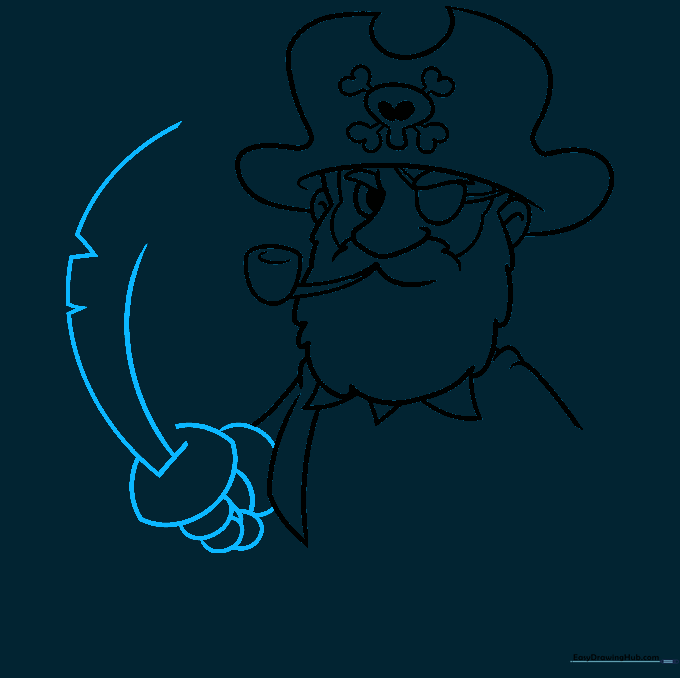
Draw the sleeve cuff, hand, and the crossguard of the sword. Extend two curved lines for the blade, adding small 'V' shapes to show battle damage. Teacher's Tip: Don't worry about making the sword perfectly straight; a slightly curved blade adds character!
Step 7: Completing the Second Arm
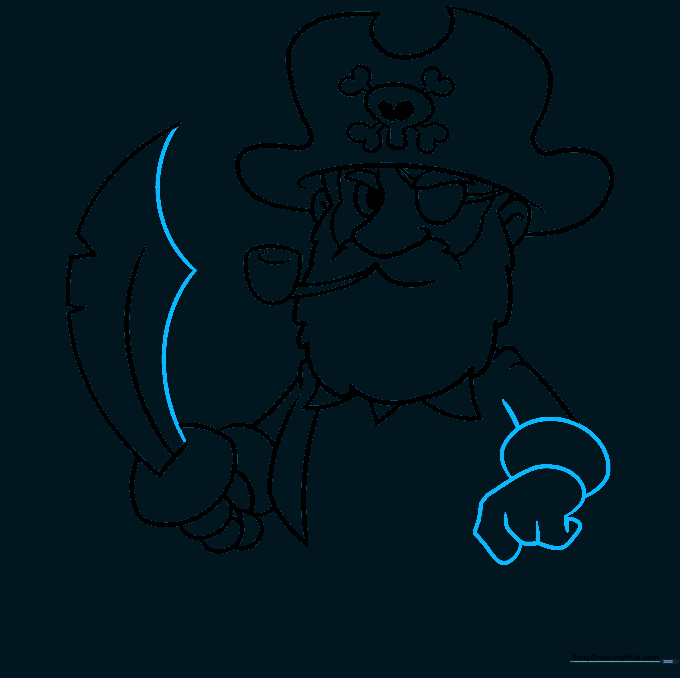
Use curved lines to finish the blade and sketch the remaining sleeve, cuff, and hand. Teacher's Tip: Keep the hand shapes simple—rounded fingers work best for this cartoon style.
Step 8: Adding the Jacket and Belt
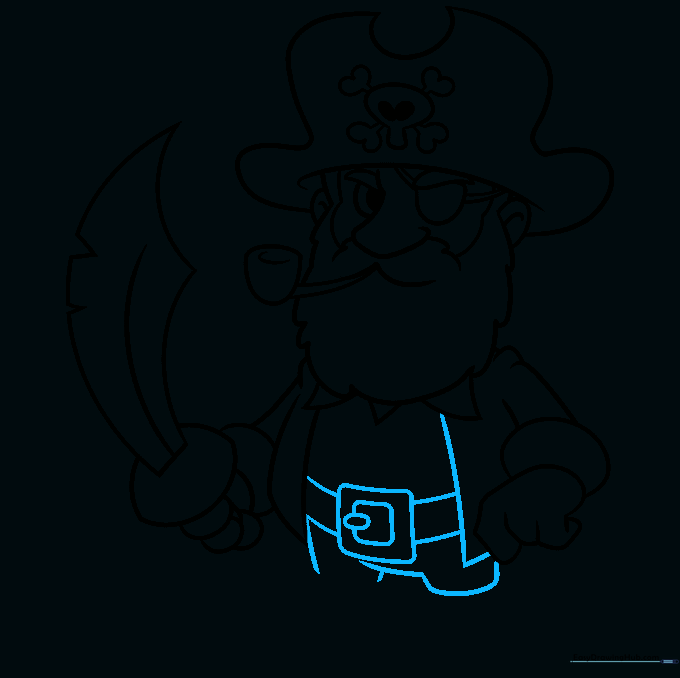
Complete the jacket and add a belt with a square buckle. Teacher's Tip: Draw the buckle slightly off-center to give your pirate a more dynamic, 'lived-in' look.
Step 9: Drawing the Legs
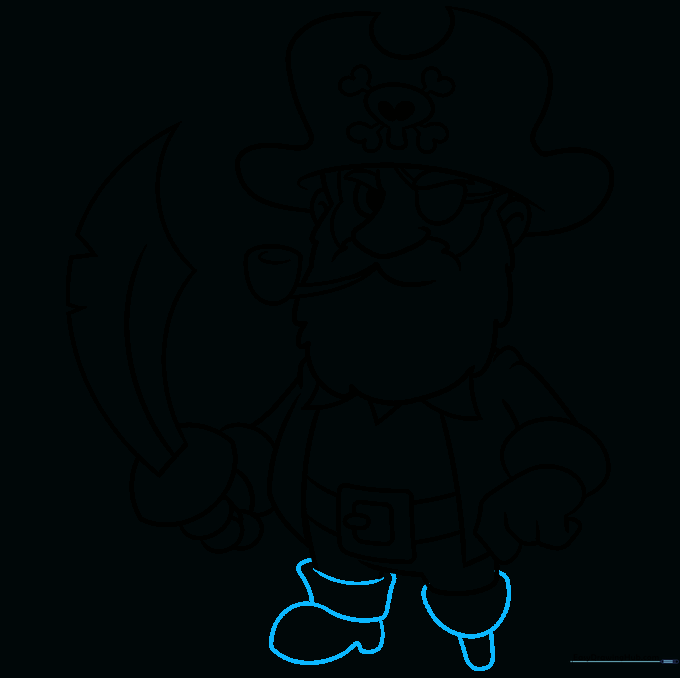
Outline the boot and the classic pegleg using curved lines. Teacher's Tip: Make the pegleg slightly tapered at the bottom to show it's made of wood.
Step 10: Final Touches and Coloring

Your pirate is complete! Now, add some color to bring him to life. Why not add a parrot on his shoulder to finish the scene? Teacher's Tip: Use bold colors like red and brown to make your pirate stand out.
More Tutorials


