How to Draw a Piranha: Easy 10-Step Guide for Kids
Ready to dive into the Amazon? This piranha drawing tutorial is perfect for young artists ages 6+ looking to practice their line work and character design. You only need a pencil, an eraser, and a piece of paper to bring this toothy fish to life.
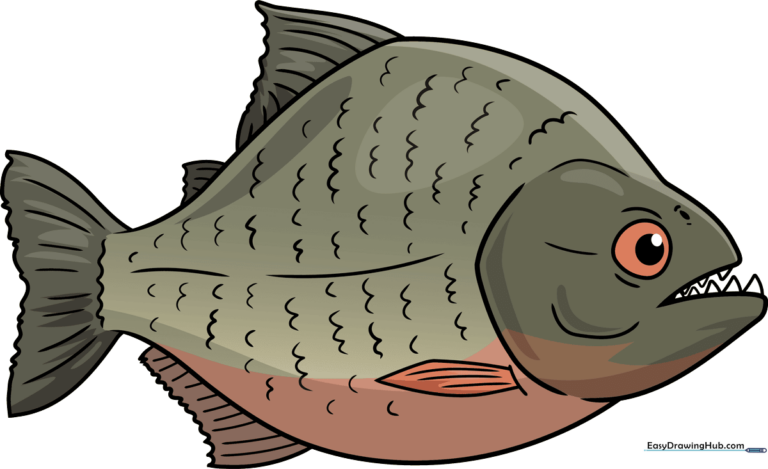
🎯 Final Result
Step-by-Step Instructions
Step 1: Sketching the Face
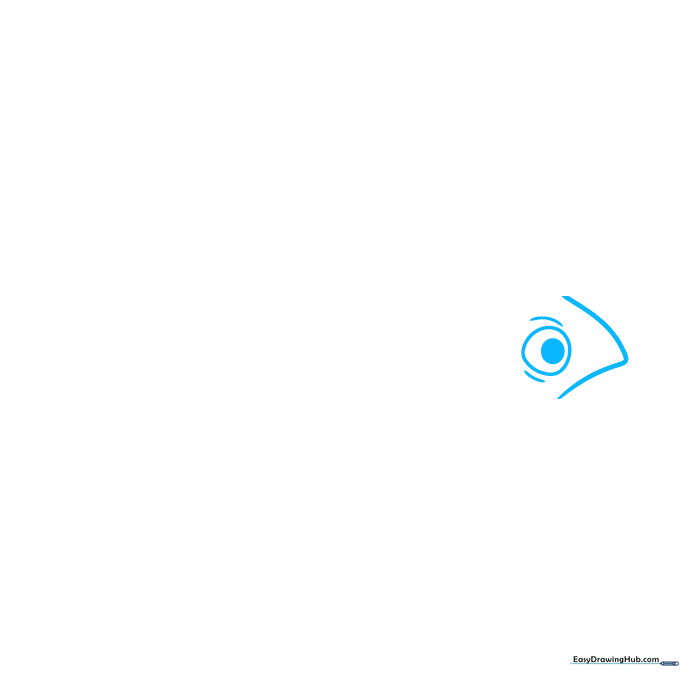
Draw a curved 'V' shape to outline the front of the fish's face. Inside, add a circle for the eye with a smaller shaded pupil. Teacher's Tip: Keep your pencil lines light so you can easily erase any overlapping marks later.
Step 2: Defining the Jaw
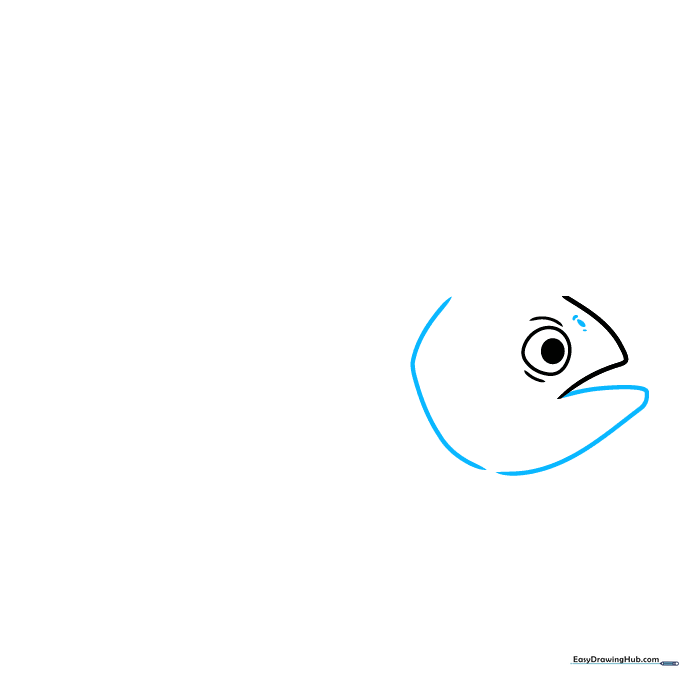
Extend a curved line from the bottom of the 'V' and loop it back to form the lower jaw. Add a small shaded oval for the nostril. Tip: Use short, quick strokes to give the nostril a realistic, textured look.
Step 3: Adding Sharp Teeth
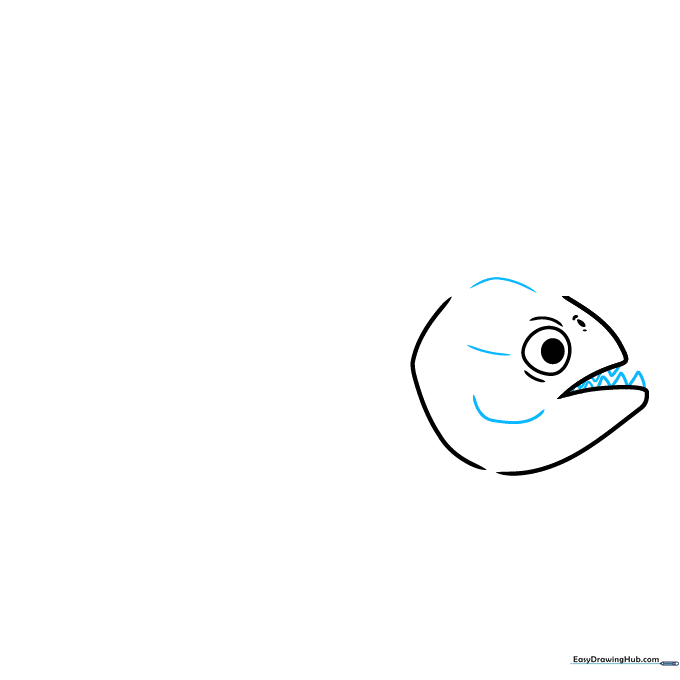
Use 'V' shaped lines to create the piranha's signature sharp teeth inside the mouth. Contour the head with a smooth curved line. Tip: Make the teeth different sizes to give your piranha a more natural, expressive look.
Step 4: Outlining the Body
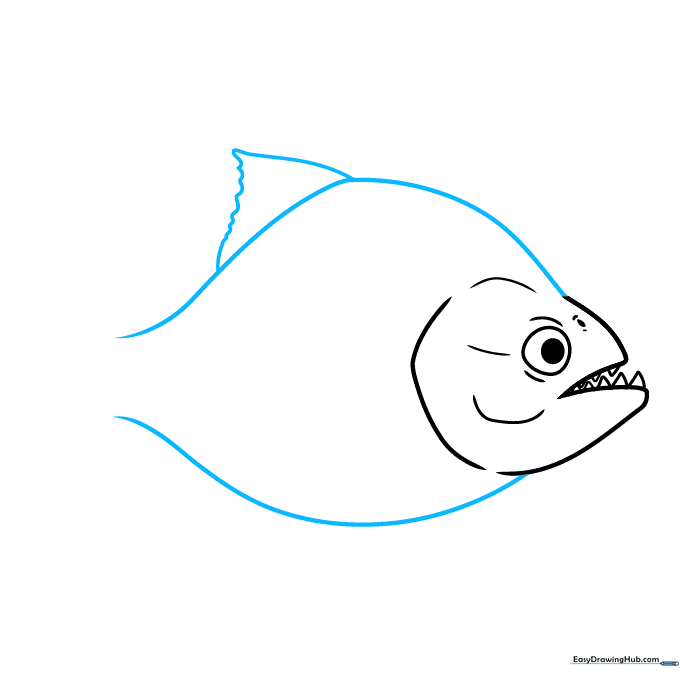
Extend long, sweeping curved lines from the head to form the rounded body. Connect the back with a scalloped line to start the dorsal fin. Tip: Keep your wrist loose to create smooth, flowing curves for the body.
Step 5: Drawing the Fins and Tail
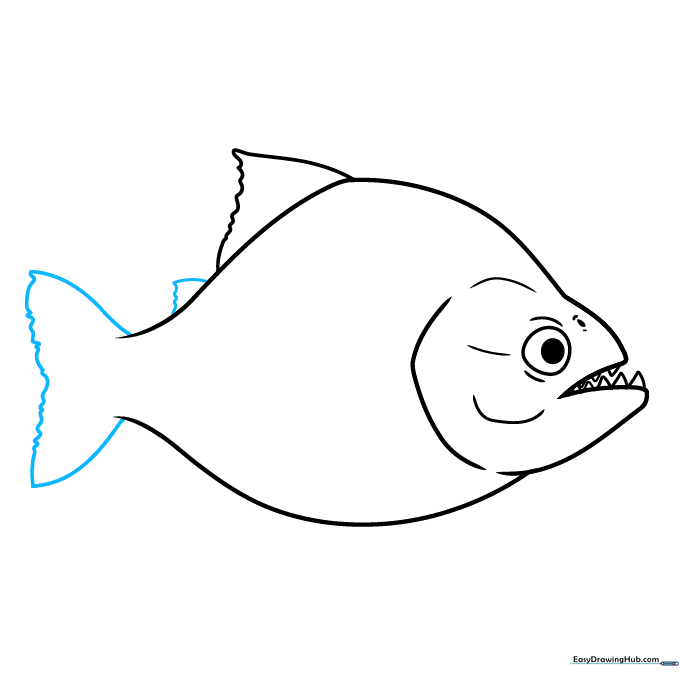
Add a second, smaller fin on the back and outline the tail using two curved lines connected by a scalloped edge. Tip: Scalloped lines are perfect for creating the look of soft, flexible fins.
Step 6: Adding Pectoral and Anal Fins
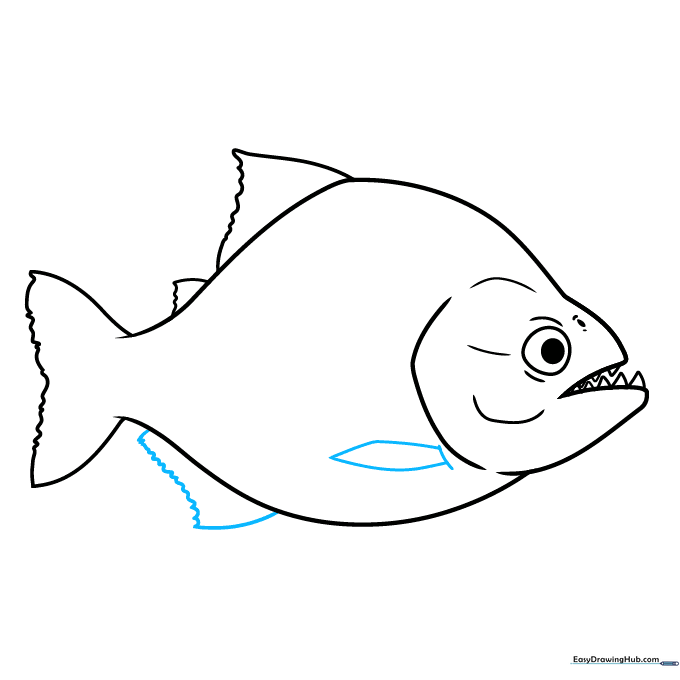
Draw the pectoral fin near the head by meeting two curved lines at a point. Add the anal fin below the tail using a combination of curved and scalloped lines.
Step 7: Adding Body Texture
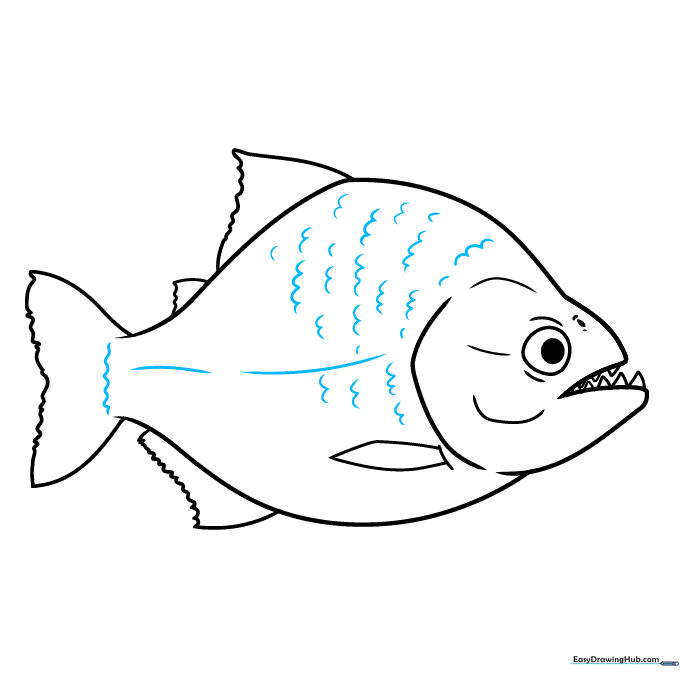
Draw curved lines down the center of the body and add 'U' shaped scales along the sides. Tip: Vary the size of your 'U' shapes to make the scales look more realistic.
Step 8: Refining the Scales
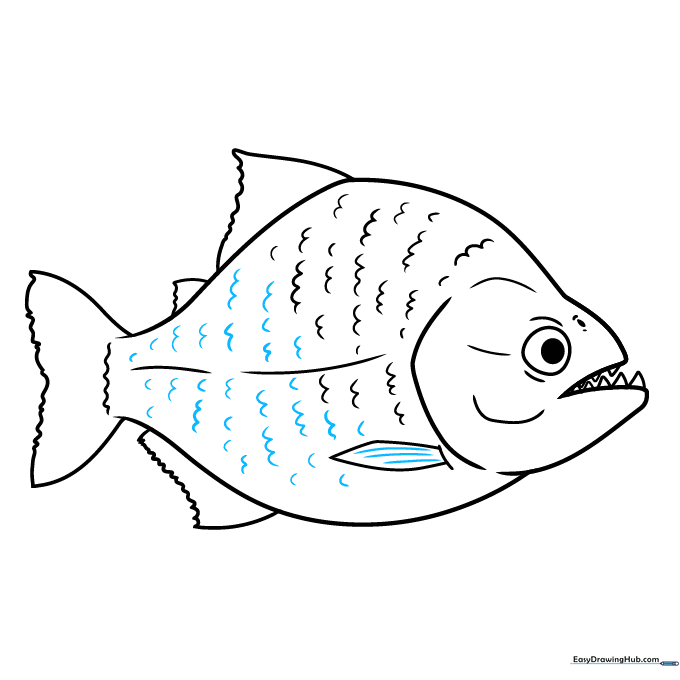
Continue adding 'U' shaped scales across the entire body and add fine lines to the pectoral fin for texture. Tip: Don't worry about making every scale perfect; nature is rarely uniform!
Step 9: Final Touches
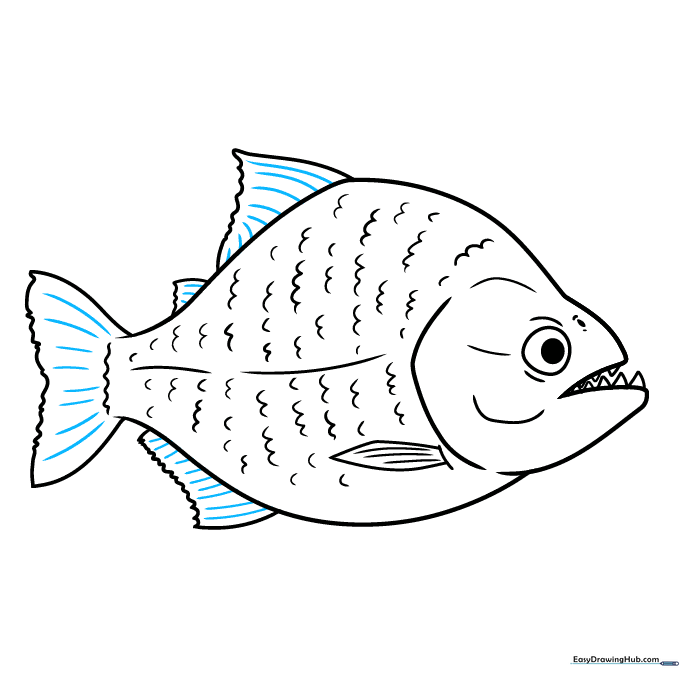
Add final texture lines to all the fins to give them a finished look. Review your drawing and darken the main outline with a firmer pencil stroke.
Step 10: Color Your Piranha
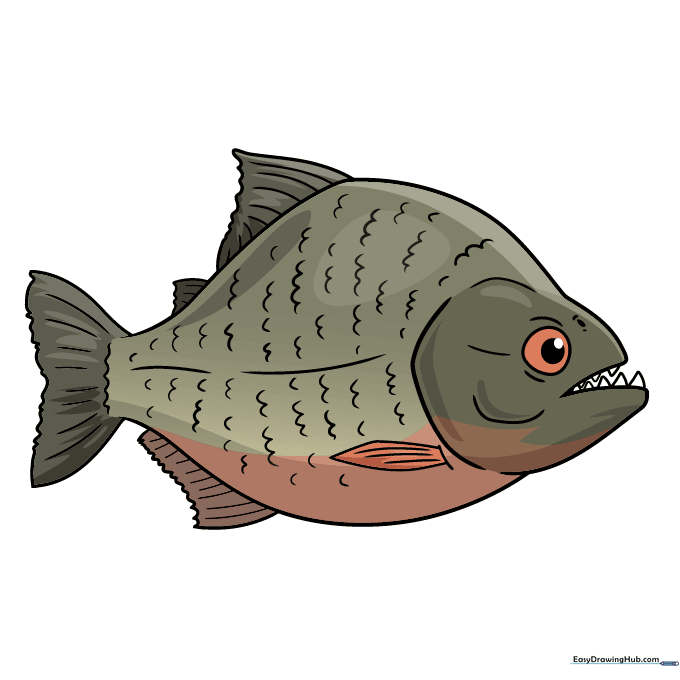
Bring your piranha to life with color! Use vibrant reds or oranges for the belly and deep greens or blacks for the back to mimic a real red-bellied piranha.
More Tutorials


