How to Draw a Pinky Promise: Easy Step-by-Step Guide
Capture the symbol of friendship with this simple drawing tutorial, perfect for artists ages 5 and up. All you need is a pencil, an eraser, and a piece of paper to get started. By following these steps, you will master the anatomy of two hands interlocking, a great exercise for understanding overlapping shapes.
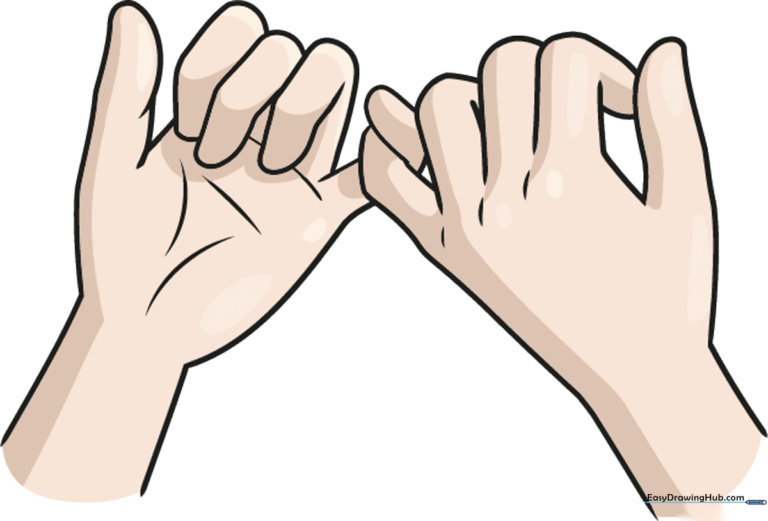
🎯 Final Result
Step-by-Step Instructions
Step 1: Sketching the First Thumb
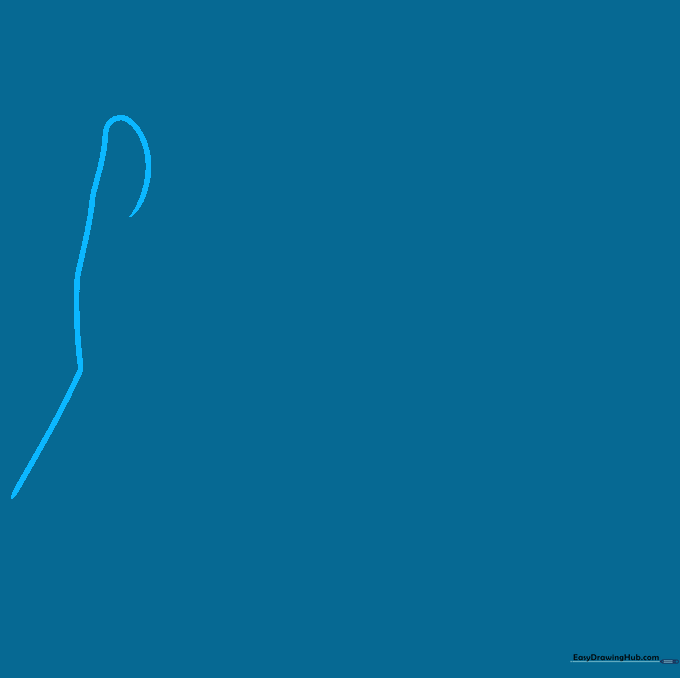
Start by drawing a series of curved lines to form the arm and the side of the first hand. Create the thumb by doubling a curved line back on itself. Tip: Keep your pencil pressure light; this is just the foundation of your hand structure.
Step 2: Defining the Hand Shape
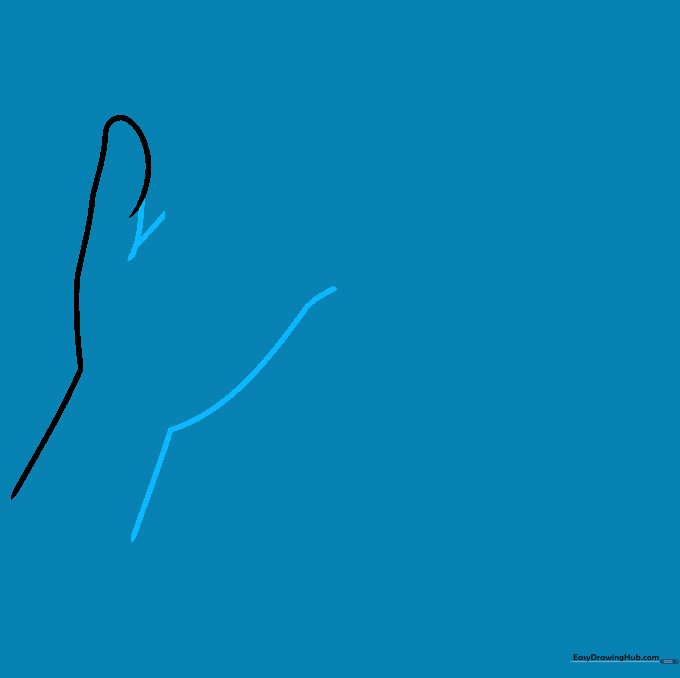
Draw a small 'V' shape to define the space between the thumb and pointer finger. Continue the outline of the arm with a long, smooth curve. Tip: Imagine the hand is a mitten shape before we add the individual fingers.
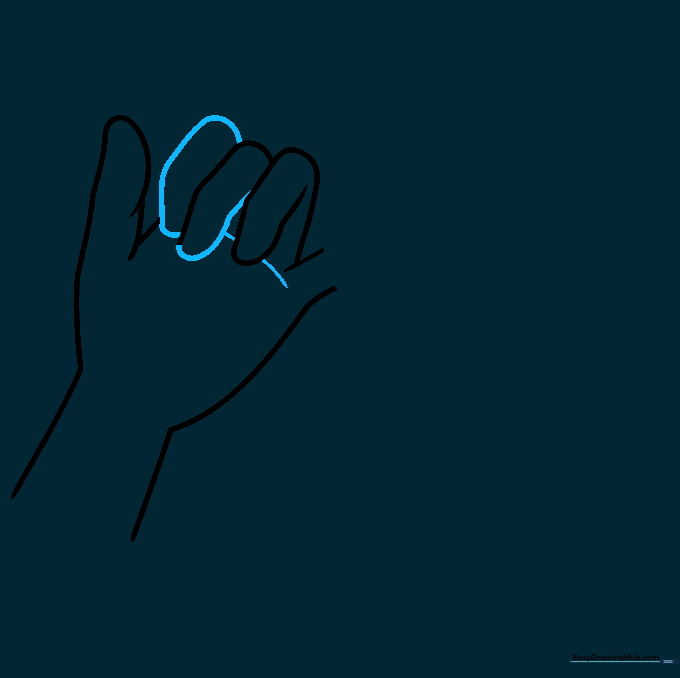
Step 3: Starting the Curled Fingers
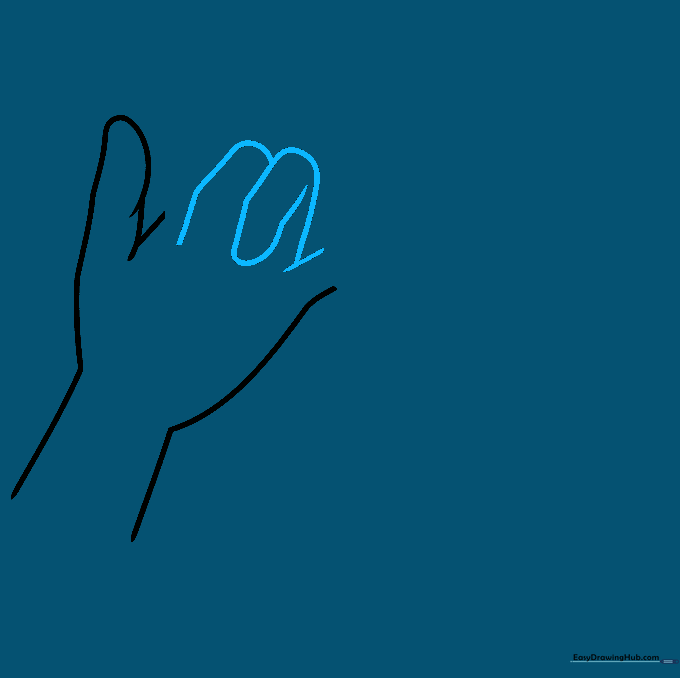
Begin sketching the fingers curled toward the palm. Use a curved line for the first finger and double it back for the second. Add a small overlapping line at the base to show where the pinky finger begins. Tip: Keep these lines rounded to make the hand look natural and soft.
Step 4: Adding the Palm Detail
Draw the pointer and middle fingers using smooth, curved lines. Add a line behind the fingertips to represent the top of the palm. Tip: Think of this as the 'bridge' that connects the fingers to the rest of the hand.
Step 5: Contouring the Palm
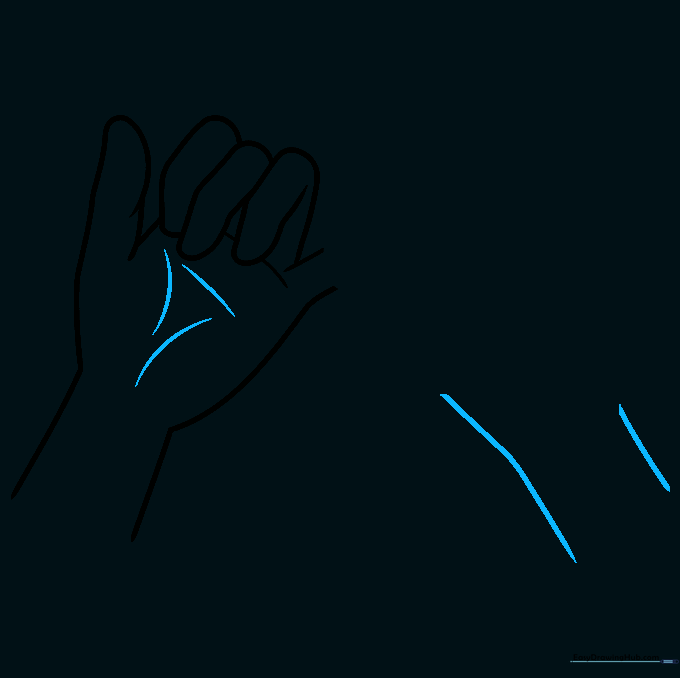
Add three curved lines on the palm area, arranged like an inverted triangle. Then, draw two lines to start the arm of the second hand. Tip: These lines add 'weight' to the hand, making it look three-dimensional rather than flat.
Step 6: Outlining the Second Hand
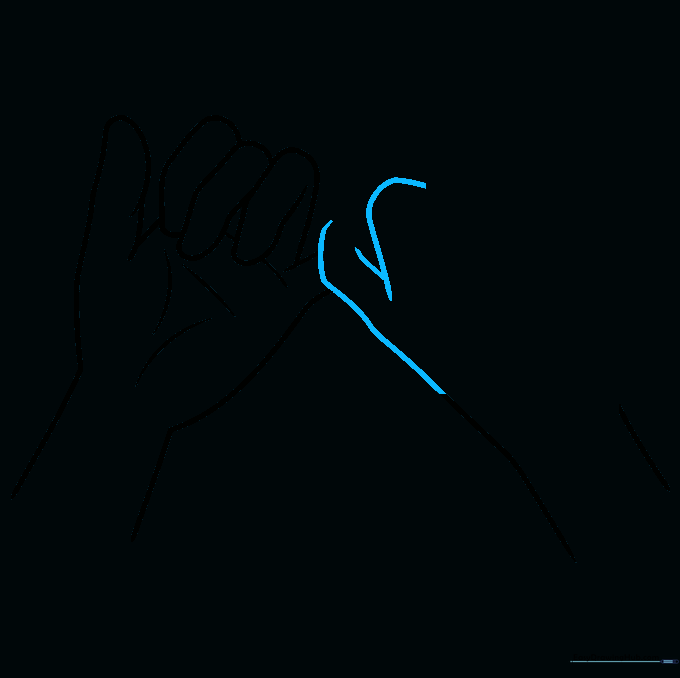
Outline the back of the second hand and the pinky finger. Use a 'Y' shaped line to show the base of the pinky and the start of the next finger. Tip: Take your time here; this is where the two hands start to connect.
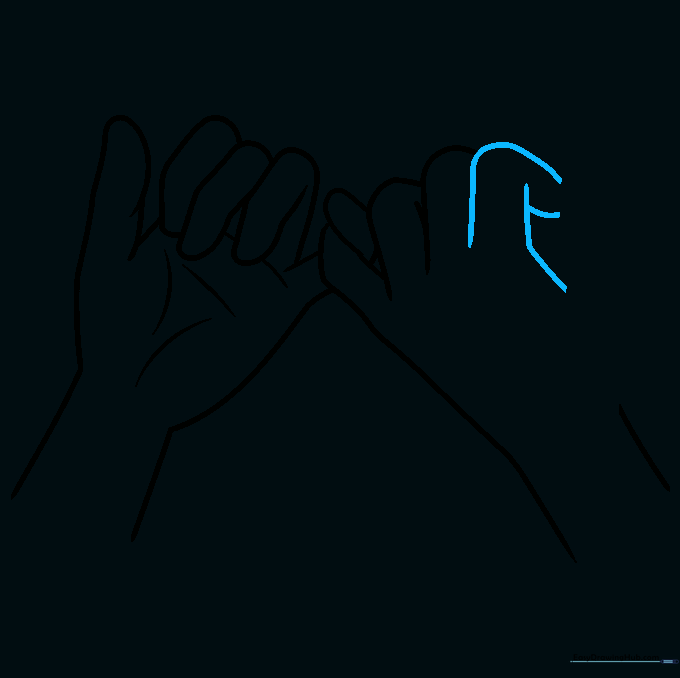
Step 7: Interlocking the Pinkies
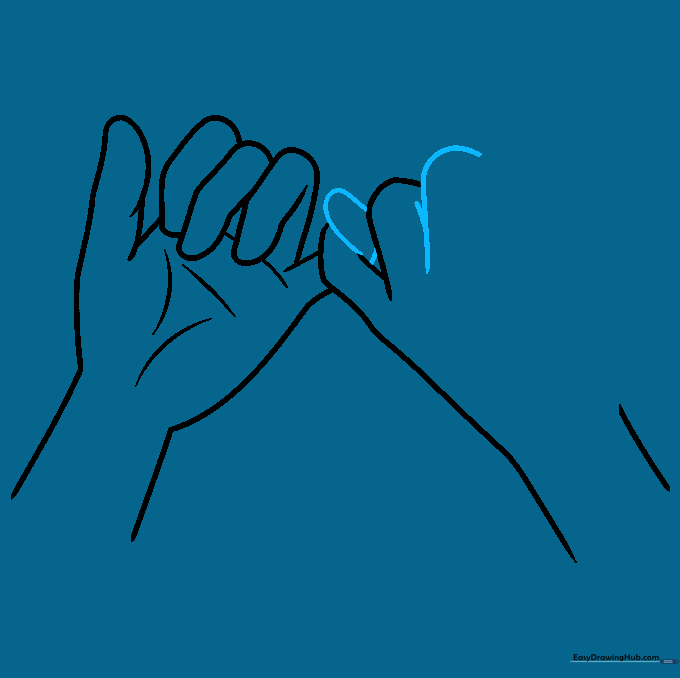
Enclose the tip of the first pinky between the pinky and ring fingers of the second hand. Draw another 'Y' shape to form the front of the ring finger. Tip: This 'hooking' action is the most important part of the drawing—ensure the lines overlap clearly.
Step 8: Refining the Fingers
Use curved lines to outline the pointer finger and the side of the hand between the finger and thumb. Tip: Keep your strokes fluid to mimic the natural curve of human fingers.
Step 9: Finalizing the Outline
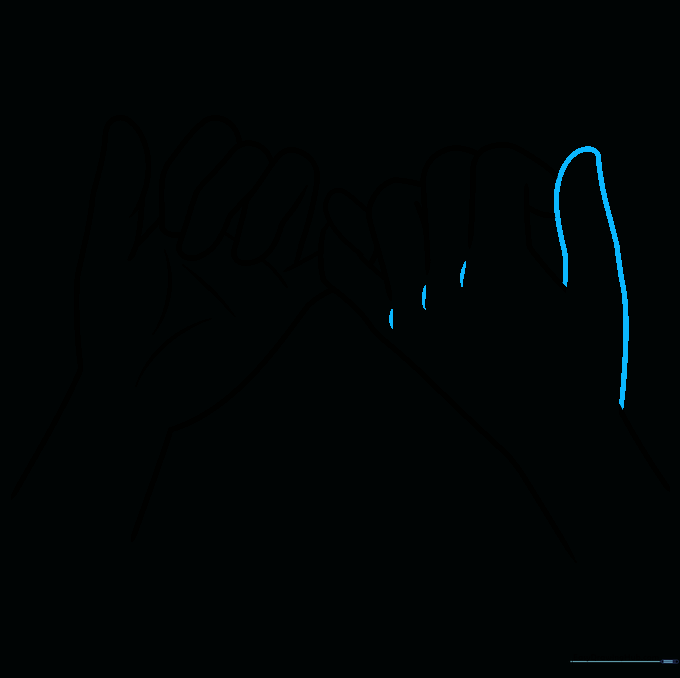
Trace the side of the hand and the back of the thumb, doubling the line back to enclose the hand. Add small curved lines to suggest knuckles. Tip: Adding knuckle lines makes the drawing look much more realistic and professional.
Step 10: Adding Color
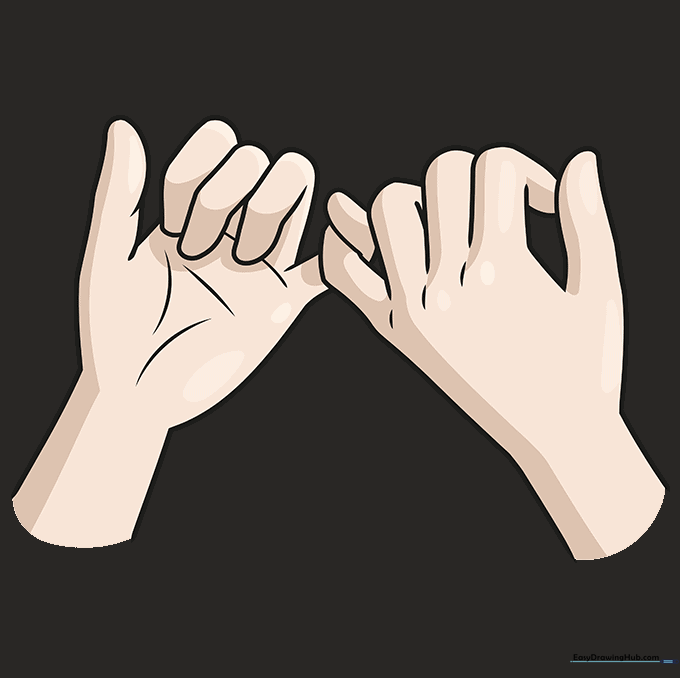
Bring your drawing to life with color! Use different skin tones to represent the unique bond between two people. Tip: Try using a slightly darker shade for the shadows where the fingers overlap to create a sense of depth.
More Tutorials


