How to Draw a Pineapple: Easy 10-Step Guide for Kids
Bring a tropical vibe to your sketchbook with this simple pineapple drawing tutorial. Designed for ages 5 and up, this activity helps young artists practice symmetry and pattern-making. Grab a pencil, an eraser, and your favorite markers to get started!
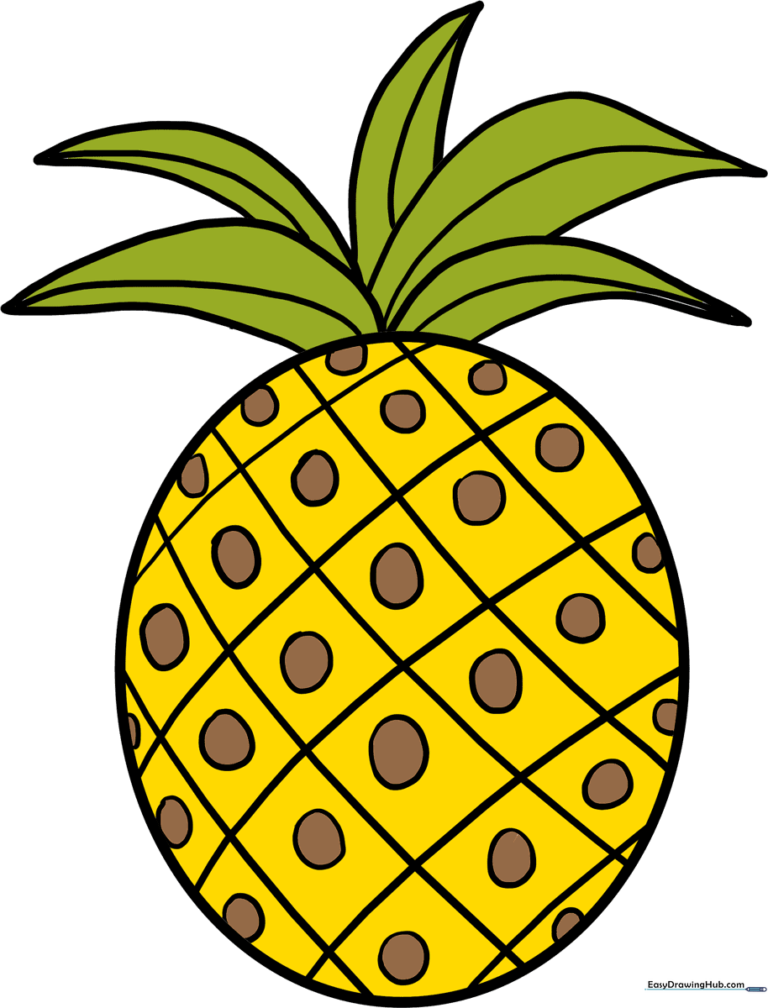
🎯 Final Result
Step-by-Step Instructions
Sketching the Main Body

Draw a large, slightly rounded oval to serve as the base of the pineapple. Teacher's Tip: Keep your pencil grip loose to ensure the shape stays light and adjustable.
Adding Vertical Texture

Draw a series of parallel curved lines running diagonally across the oval. Tip: Space them evenly to create a balanced grid effect.
Creating the Checkerboard Pattern

Draw a second set of diagonal lines crossing the first ones in the opposite direction. This creates the classic diamond-shaped texture of a pineapple skin.
Starting the Leaf Crown
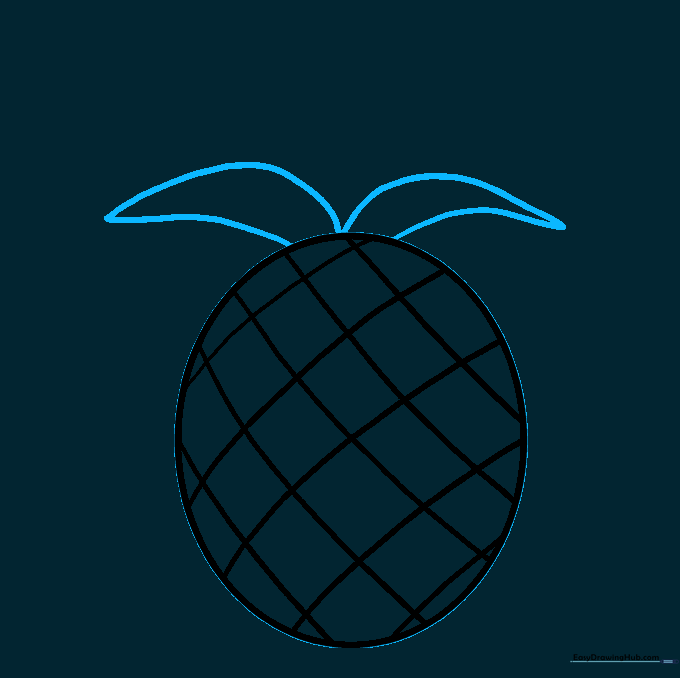
Draw two curved lines meeting at a point at the top of the oval to form your first leaf. Tip: Make the leaves look natural by varying their height.
Layering the Leaves
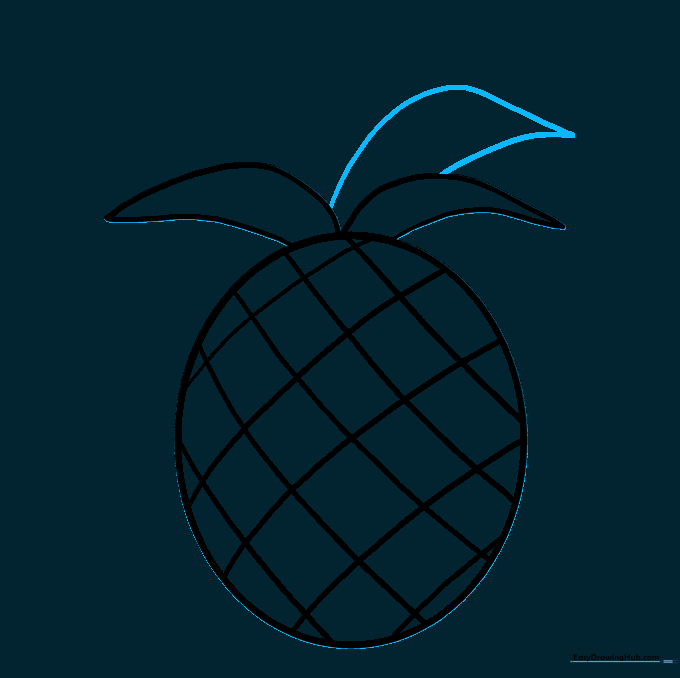
Add another leaf next to the first one, slightly overlapping it. This creates depth and makes the crown look fuller.
Completing the Crown
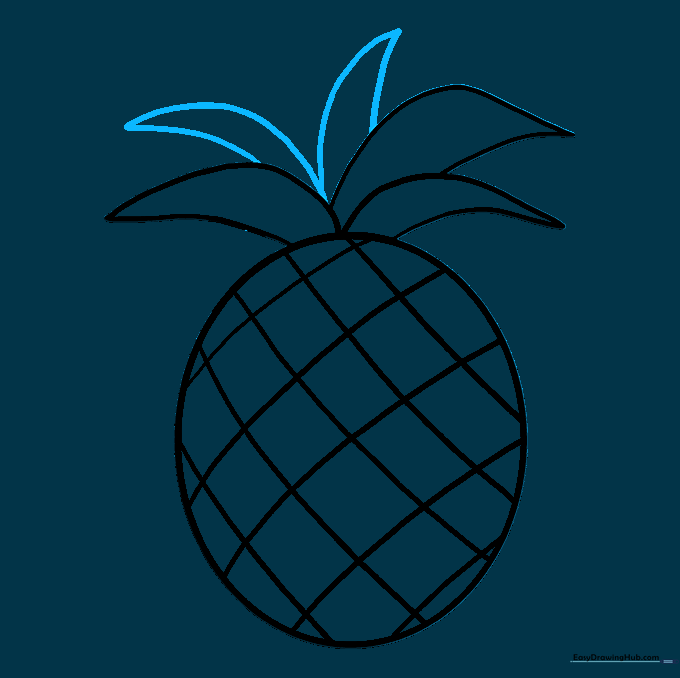
Continue adding more leaves around the center until you have a full, spiky crown. Don't worry about them being perfect—nature is irregular!
Adding Leaf Detail
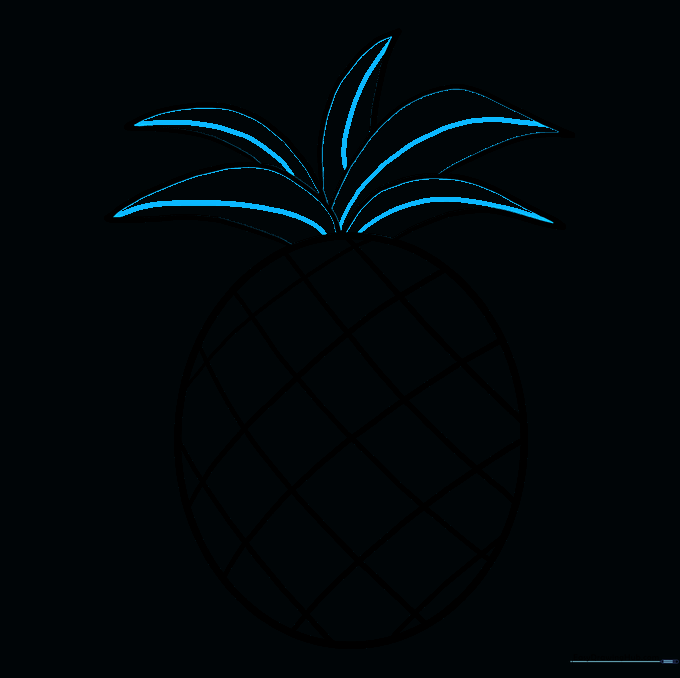
Draw a single curved line down the center of each leaf to give them a realistic vein-like appearance.
Adding Texture to the Skin
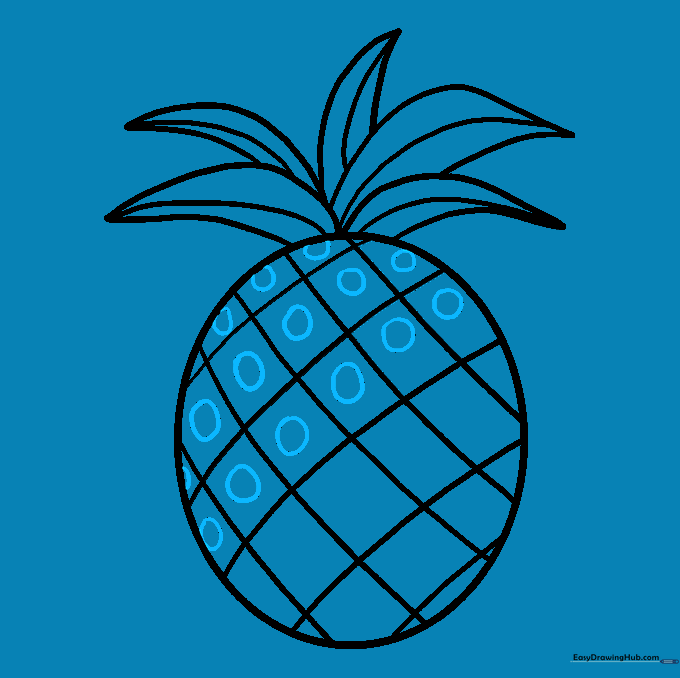
Draw a small circle or dot in the center of each diamond section. This adds the characteristic 'spiky' look of the pineapple skin.
Finalizing the Pattern

Fill in the remaining diamond sections with circles. Take your time—this is great practice for steady hand control!
Bringing it to Life with Color
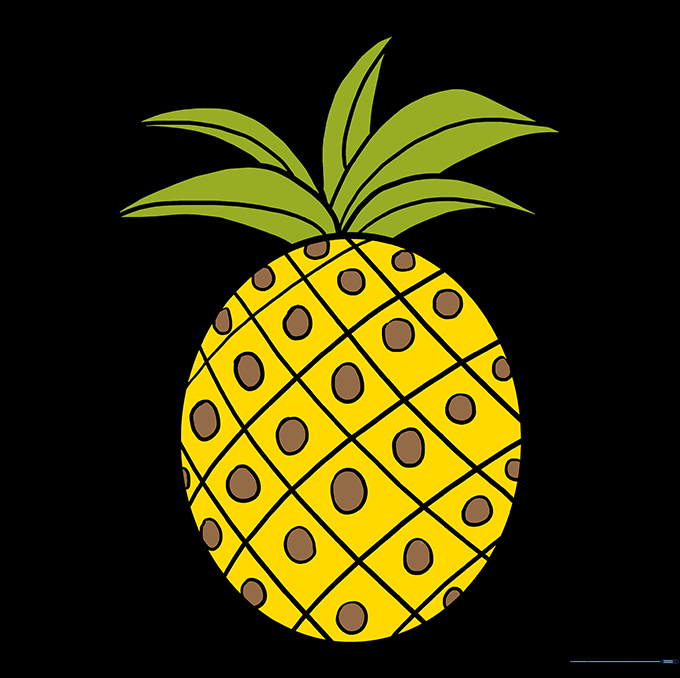
Use vibrant greens for the leaves and golden yellows or browns for the fruit. Tip: Use light pressure for a soft look or heavy pressure for a bold, cartoon style.
More Tutorials


