How to Draw a Pig Face: Easy 10-Step Guide for Kids
Ready to draw a friendly pig? This tutorial is perfect for young artists ages 5 and up. All you need is a pencil, an eraser, and a piece of paper to bring this cheerful character to life while practicing your basic shapes and symmetry.
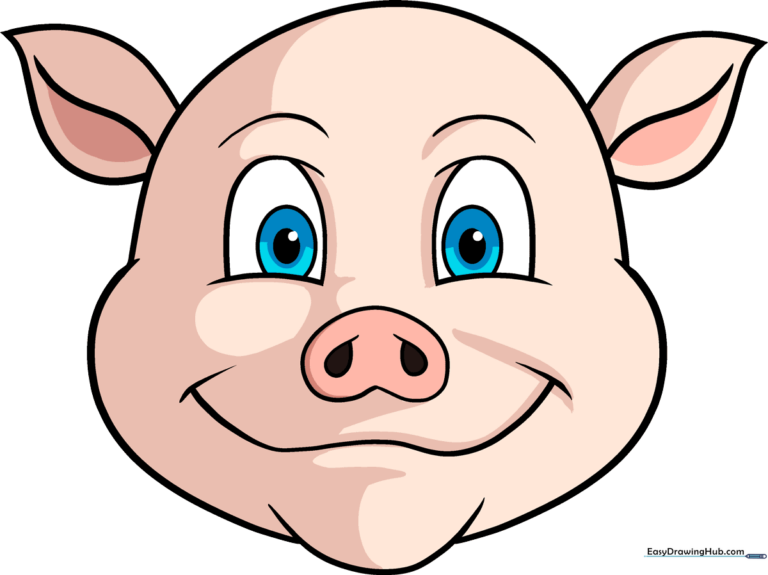
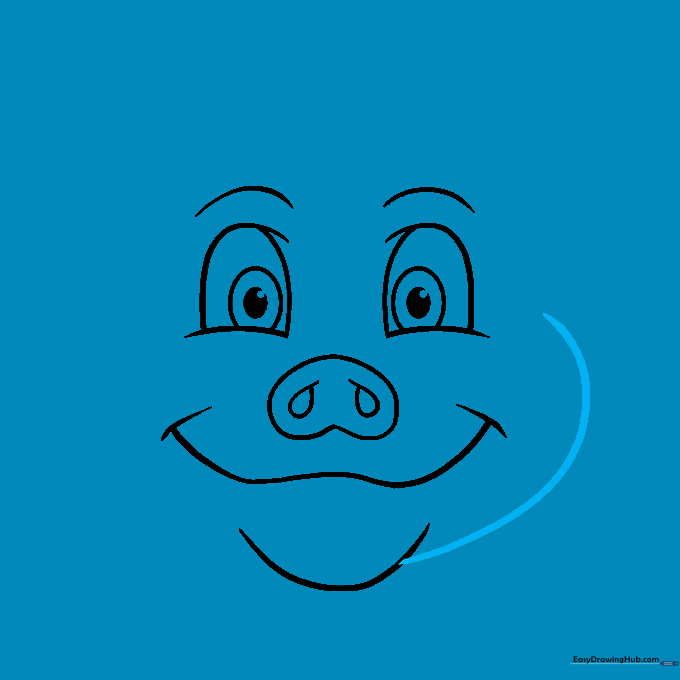
🎯 Final Result
Step-by-Step Instructions
Step 1: Sketching the First Eye

Draw a small hill shape with a curve underneath to create the eye. Add a smaller oval inside for the pupil, leaving a tiny white circle for a 'glint' to make the pig look alive. Teacher's Tip: Keep your pencil pressure light so you can easily adjust the size if needed.
Step 2: Adding the Second Eye
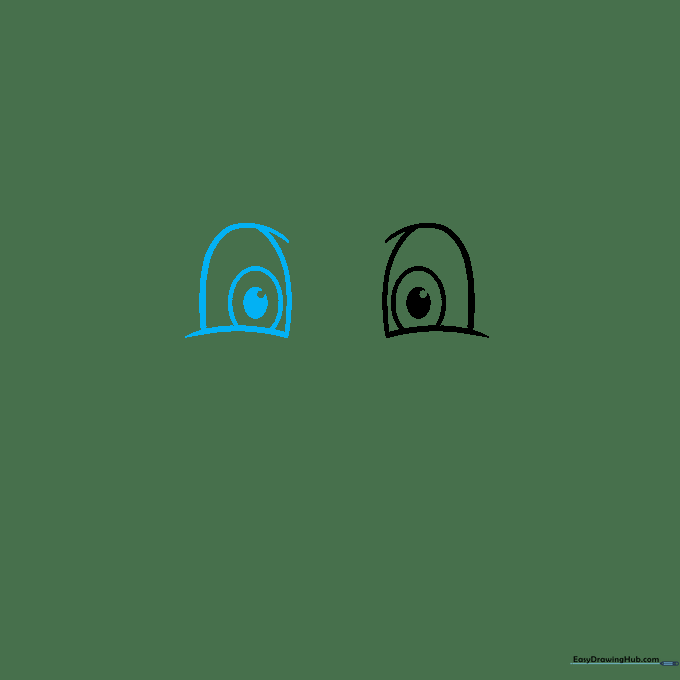
Repeat the process to draw the second eye, mirroring the first one. Tip: Try to keep the eyes level with each other to give your pig a balanced, friendly expression.
Step 3: The Snout and Brows
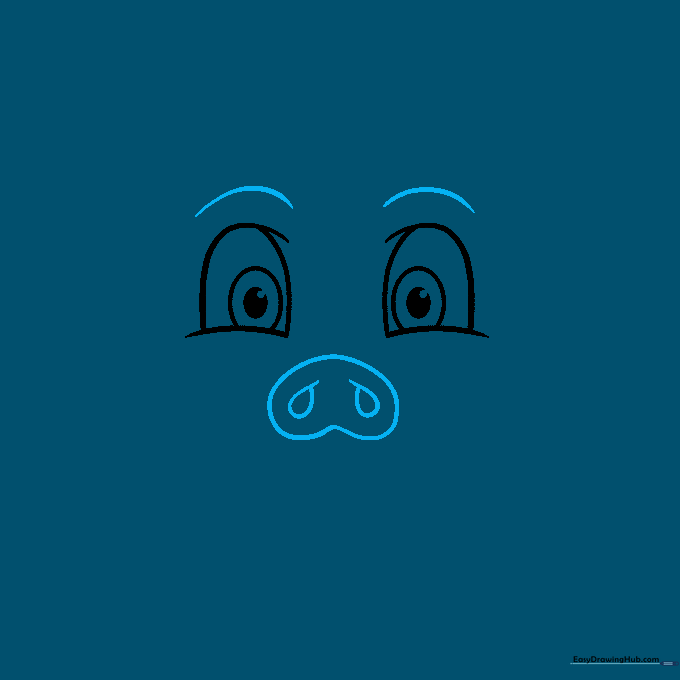
Sketch an upside-down heart shape between the eyes for the snout. Add two teardrop shapes inside for nostrils, and a small dash above each eye for eyebrows. Tip: The heart shape doesn't have to be perfect—a slightly rounded heart looks even cuter!
Step 4: Drawing the Mouth
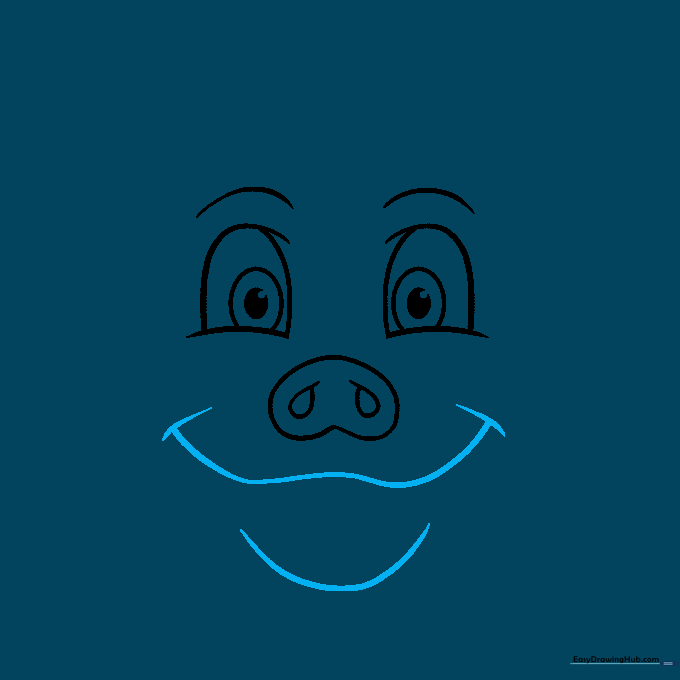
Draw a flat 'W' shape below the snout for the mouth, adding small dashes at the ends. Add a soft curve underneath to define the chin. Tip: Keep the mouth small to maintain the pig's sweet, shy look.
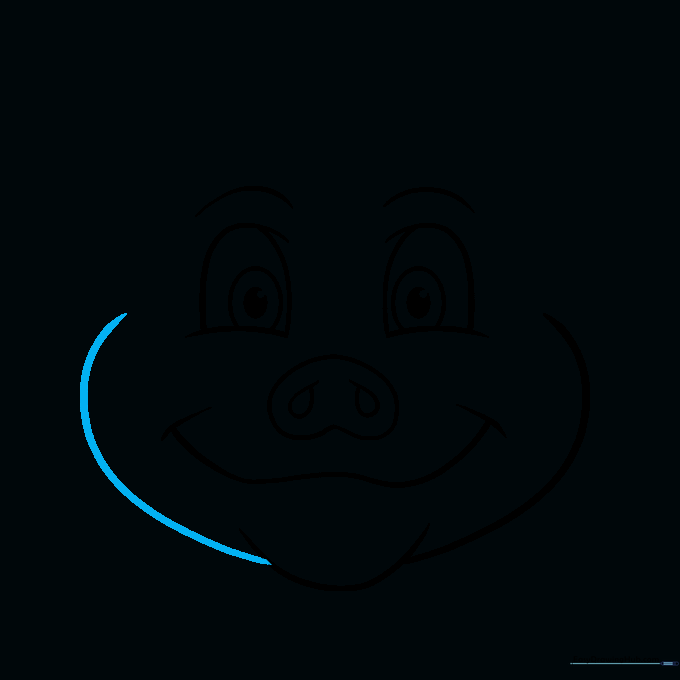
Step 5: Shaping the Right Cheek
Use a long, smooth curve to outline the right side of the pig's face. Tip: Imagine you are drawing the letter 'C' to get the right amount of roundness.
Step 6: Shaping the Left Cheek
Mirror the curve on the left side to complete the face shape. Tip: Don't worry if it's not perfectly symmetrical; pigs have personality!
Step 7: Adding the Head Top
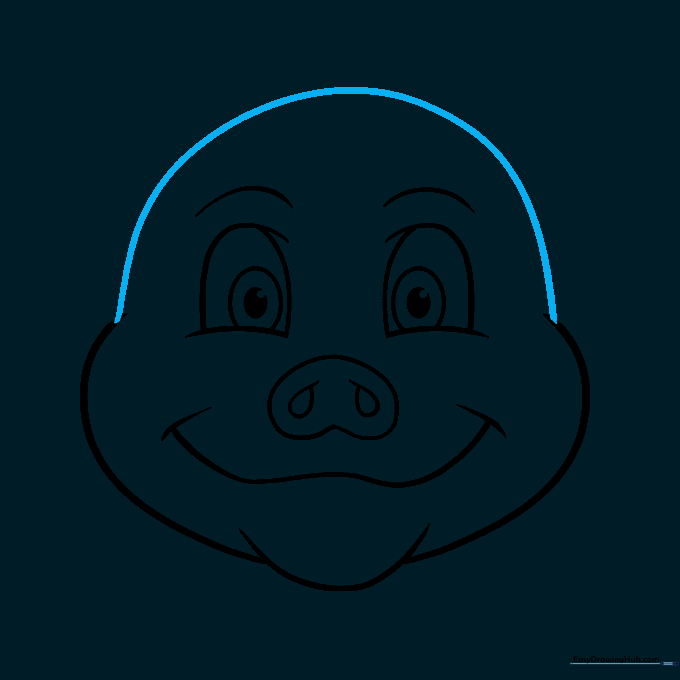
Connect the two sides with a gentle dome shape at the top. This creates the forehead area. Tip: Keep this line smooth so the pig looks soft and friendly.
Step 8: Drawing the Right Ear
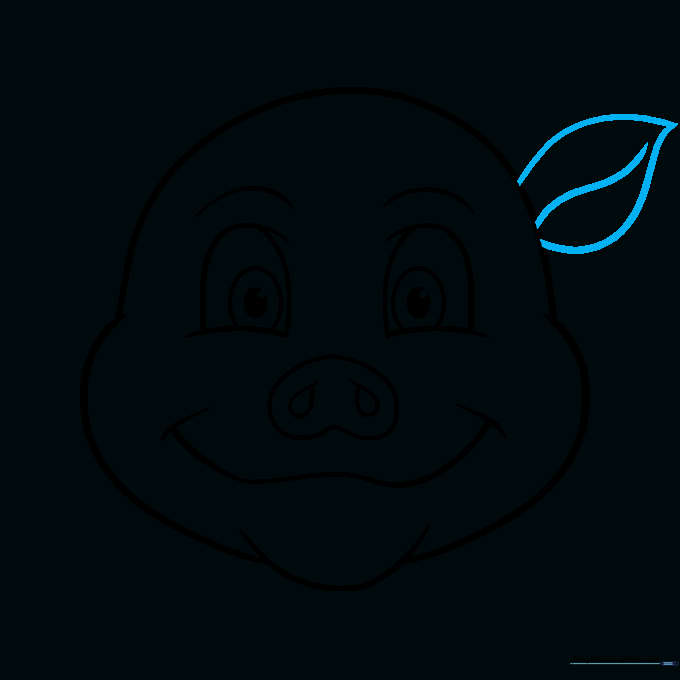
Sketch a leaf-shaped curve for the right ear, adding a small line inside to show the fold. Tip: Drawing the ear at an angle makes the pig look like it's listening to you!
Step 9: Drawing the Left Ear
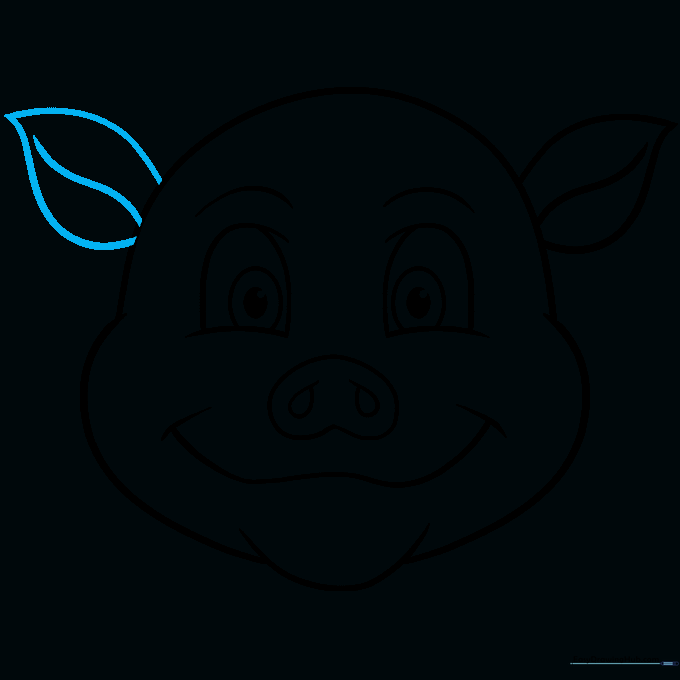
Repeat the ear shape on the left side, flipping it to match the right. Now your pig has a complete face! Tip: Check that both ears are roughly the same size.
Step 10: Adding Color
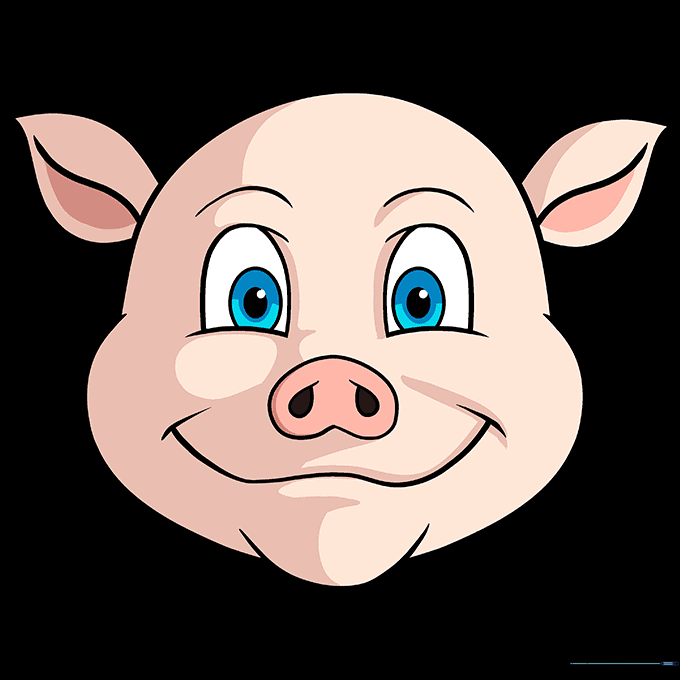
Time to bring your pig to life! Use a soft pink for the main face, a darker pink for the ears and snout, and a touch of blue for the eyes. Tip: Use light, circular motions with your colored pencils to get an even, smooth look.
More Tutorials


