How to Draw a Phone: Easy 10-Step Guide for Kids
Ready to bring a modern gadget to life on paper? This tutorial is perfect for young artists ages 5 and up who want to practice drawing clean, geometric shapes. All you need is a pencil, an eraser, and your favorite markers to create a custom smartphone design.
🎯 Final Result

Step-by-Step Instructions
Step 1: Sketching the Main Body

Use three straight lines to outline the rectangular body of the phone. Teacher's Tip: Keep your corners rounded to give it a modern, sleek look. Use light pressure so you can easily erase any stray marks later.
Step 2: Adding the Side Buttons
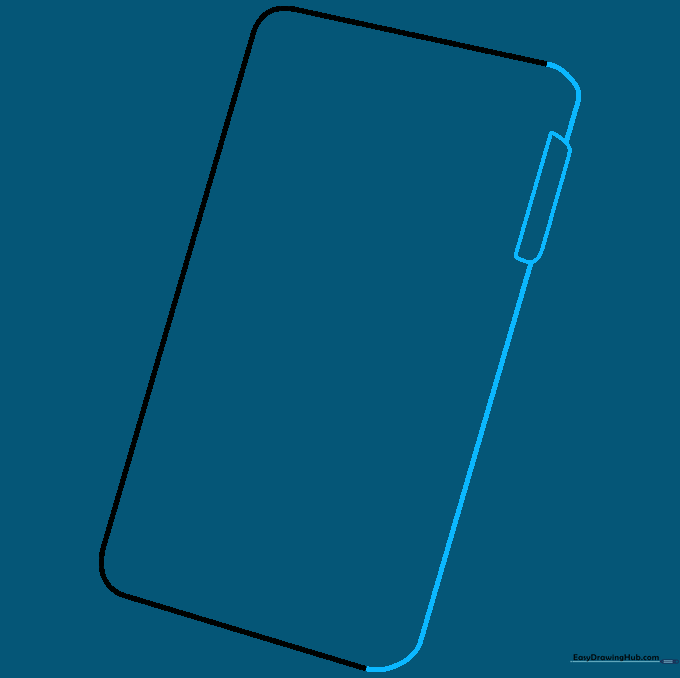
Close the shape by drawing the remaining side, then add a small rectangle on the edge to represent the power or volume button. Tip: Keep the button small so it doesn't overpower the screen area.
Step 3: Creating Depth
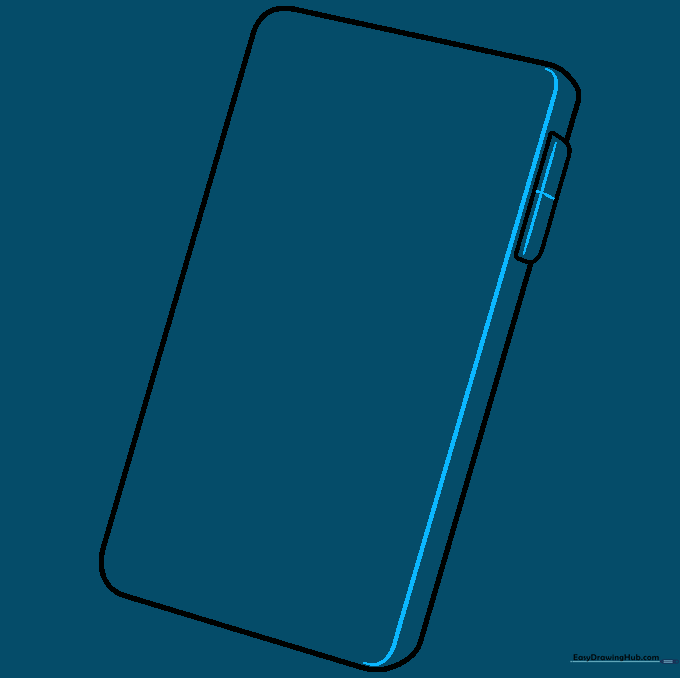
Draw a line parallel to the side of the phone to create a 3D effect. This represents the thickness of the device. Tip: Ensure your lines follow the curve of the corners for a professional finish.
Step 4: Drawing the Screen and Home Button
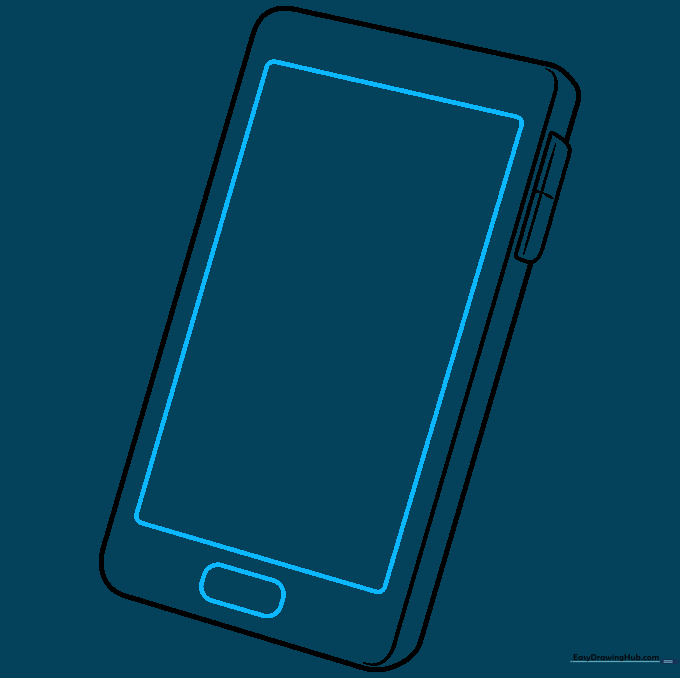
Draw a large rectangle inside the phone for the screen, and a smaller rounded rectangle at the bottom for the home button. Tip: Use a ruler if you struggle with straight lines, but freehand is great for practice!
Step 5: Adding Camera and Speaker
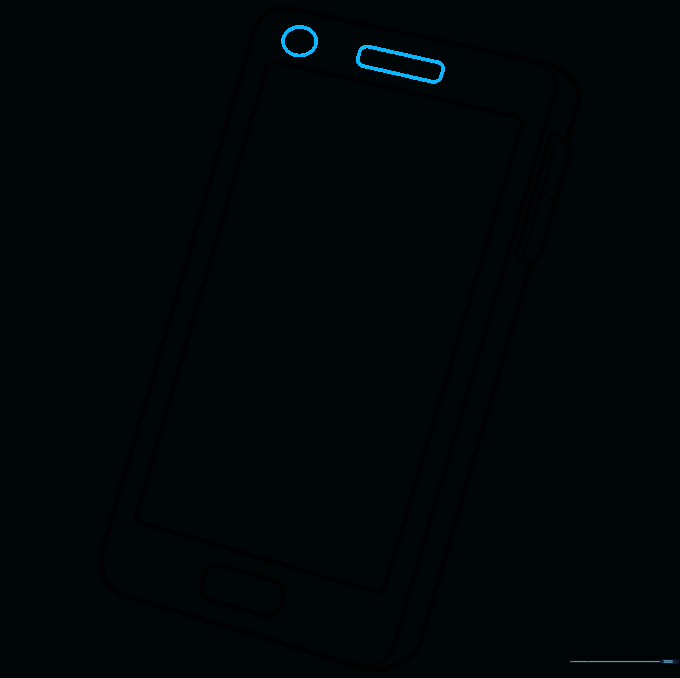
Add a small circle for the camera lens and a narrow rectangle for the speaker at the top of the screen. Tip: Keep these details centered to make your phone look balanced.
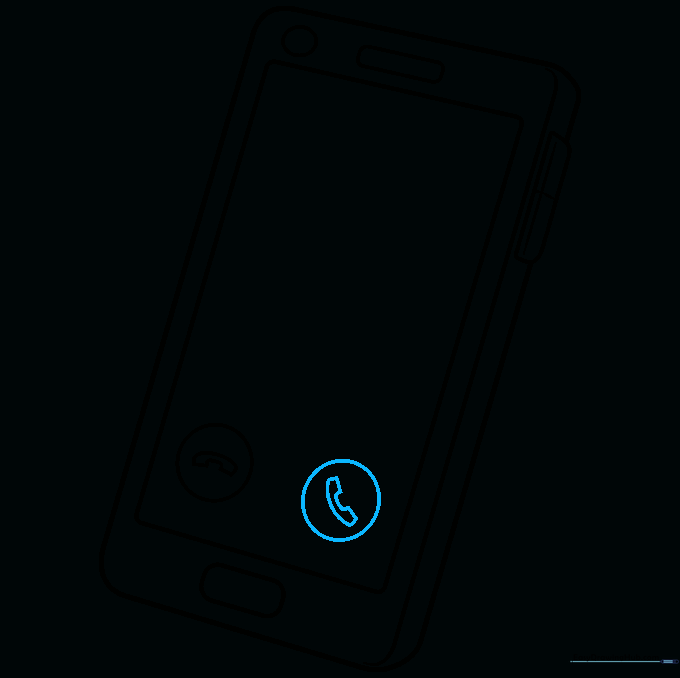
Step 6: Drawing the Call Icon

Draw a small circle in the corner of the screen. Inside, create a telephone receiver shape using two 'C' curves connected by straight lines. Tip: This is a fun way to show the phone is 'in use'!
Step 7: Adding More Icons
Draw another circle in the opposite corner for a second icon. Tip: You can draw any symbol you like here—maybe a music note or a message bubble!
Step 8: Sketching the Caller ID
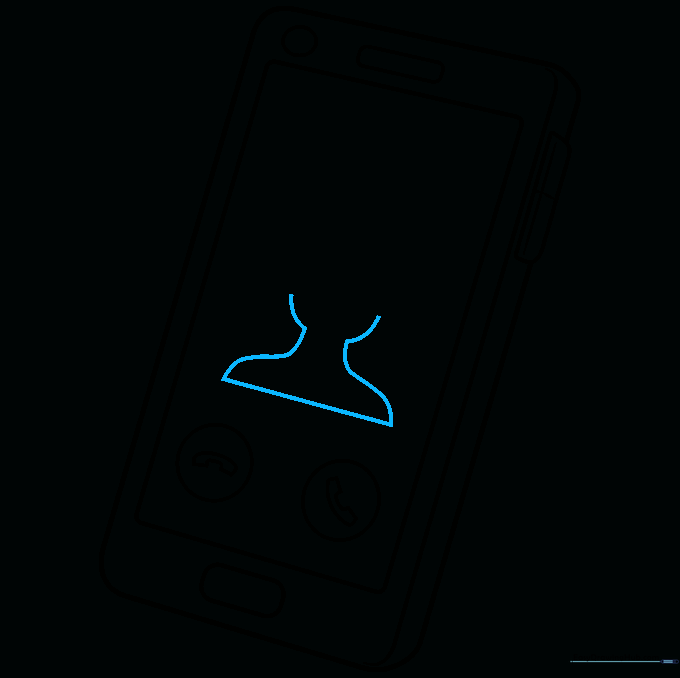
Draw a horizontal line across the center of the screen, then add curved lines for the shoulders and head of a person. Tip: Keep the head shape simple, like an oval, to make it easier to draw.
Step 9: Refining the Portrait

Add details like ears and hair using curved lines to finish the caller ID portrait. Tip: Don't worry about perfect facial features; a simple outline is enough for a cartoon style.
Step 10: Color Your Design

Time to bring your phone to life! Use silver, black, or your favorite bright colors. Tip: Add a protective case design or stickers to make the phone uniquely yours.
More Tutorials


