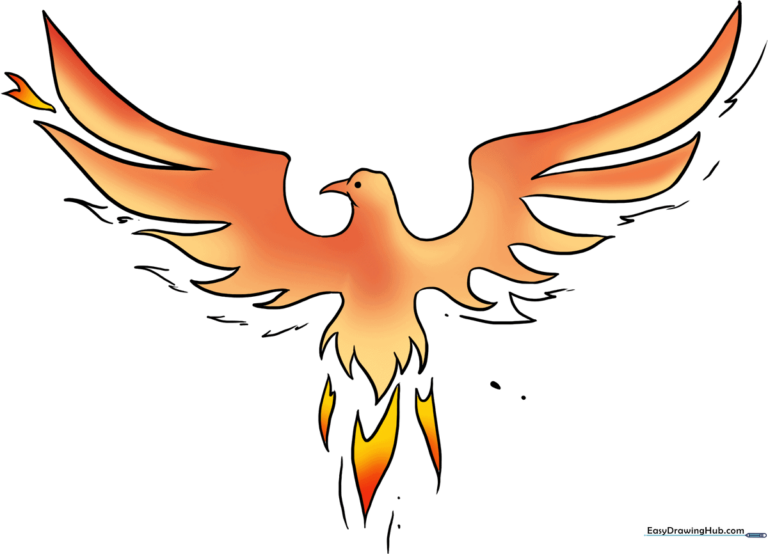
How to Draw a Phoenix: Easy 10-Step Guide for Kids
Bring the legendary phoenix to life with this beginner-friendly drawing guide. Designed for young artists, this tutorial uses simple shapes to build confidence and artistic skill. Grab your pencil and eraser to start creating your own mythical bird today.
🎯 Final Result
Step-by-Step Instructions
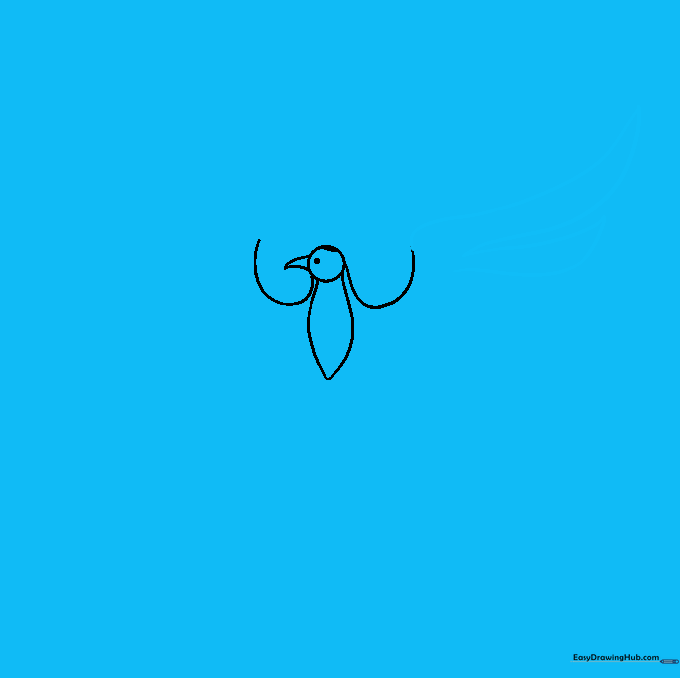
Step 1: Sketching the Head and Body

Start by drawing a light circle for the head. Below it, add two curved lines that meet in a rounded point to form the body. Teacher's Tip: Keep your pencil strokes very light so you can easily erase these guide shapes later.
Step 2: Adding Beak and Eye Details

Draw an upturned 'C' shape on each shoulder area for the wings. Add a small, sharp beak using two short curved lines and place a dot for the eye. Teacher's Tip: A smaller eye often makes the character look cuter and more approachable.
Step 3: Drawing the Primary Feathers
Start the flight feathers by drawing long, curved lines extending from the shoulder 'C' shapes. Notice how the feathers are narrow at the base and widen toward the tip. Teacher's Tip: Vary the length of your lines to make the wings look more natural.
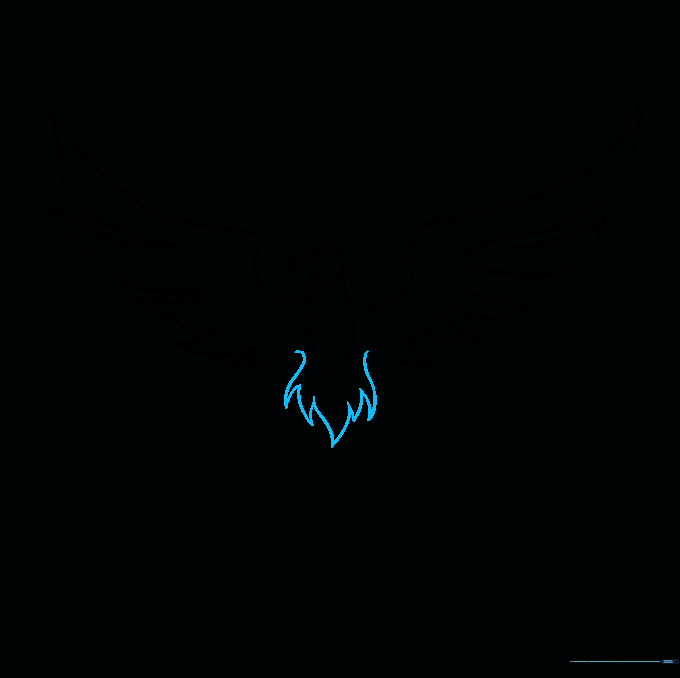
Step 4: Creating Flame-Like Lower Feathers
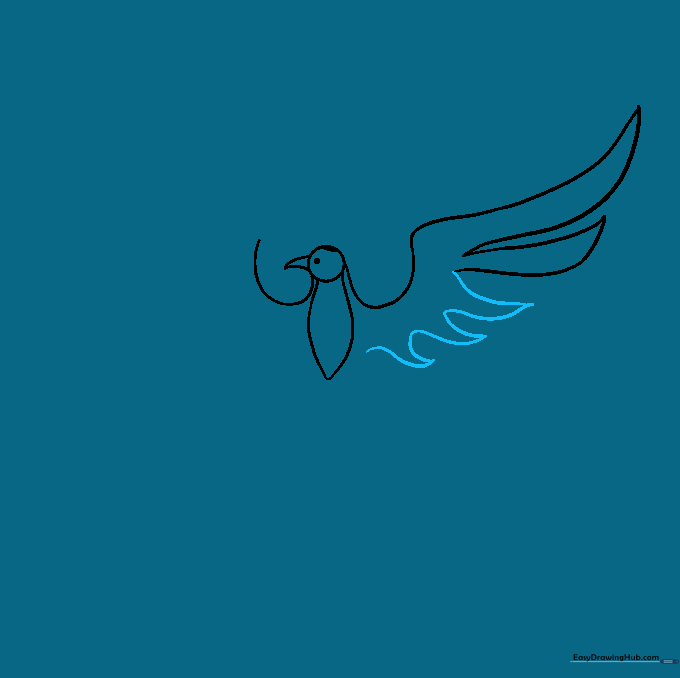
Add wispy, flame-like feathers below the wings using connected, curved lines. These should end in sharp points. Teacher's Tip: Don't worry about making them perfect; flames are naturally irregular and flowy!
Step 5: Balancing the Wings

Mirror the wing you drew on the first side to create the opposite wing. Use long, curved lines that meet in sharp points. Teacher's Tip: Try to keep the wings symmetrical to give your phoenix a balanced, soaring look.
Step 6: Adding Lower Wing Detail
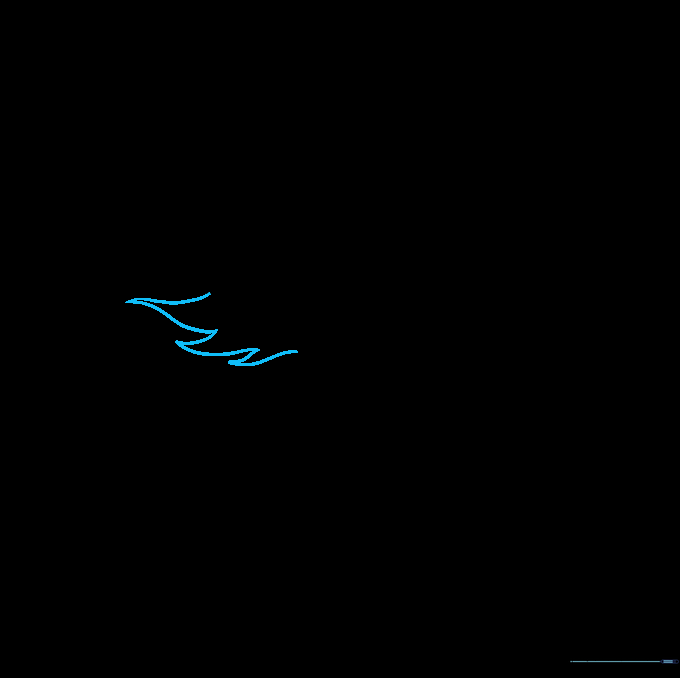
Add more wispy, flame-like feathers to the second wing to match the first. Teacher's Tip: Use quick, flicking motions with your pencil to get that energetic, fiery texture.
Step 7: Sketching the Tail
Draw the tail using long, flowing curved lines of various lengths. Let them meet in downward-facing points to mimic a flickering flame. Teacher's Tip: The tail is the perfect place to make your phoenix look like it's in motion.
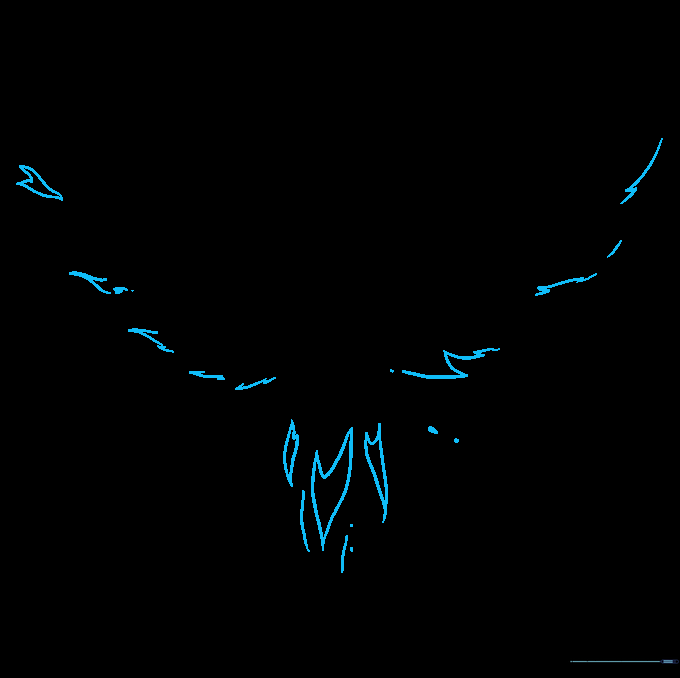
Step 8: Cleaning Up Your Sketch

Carefully erase the internal guide lines from the head and body. Teacher's Tip: Use a kneaded eraser if you have one; it's gentle on the paper and won't smudge your hard work.
Step 9: Adding Final Fiery Details
Draw extra flame shapes emanating from the wings and tail. Leave some open-ended to show movement. Teacher's Tip: Overlapping your flame shapes adds depth and makes the phoenix look truly magical.
Step 10: Bringing Your Phoenix to Life with Color

Time to color! Try a gradient effect by blending yellow, orange, and red to mimic fire. Teacher's Tip: Use light pressure with your colored pencils to create smooth transitions between the colors.
More Tutorials


