How to Draw a Petunia: Easy 10-Step Flower Tutorial
Bring a touch of nature to your sketchbook with this beginner-friendly petunia tutorial. Designed for artists ages 5 and up, this activity requires only a pencil, eraser, and paper to create a vibrant floral masterpiece. Follow along to master the trumpet-shaped petals and delicate leaves of this garden favorite.
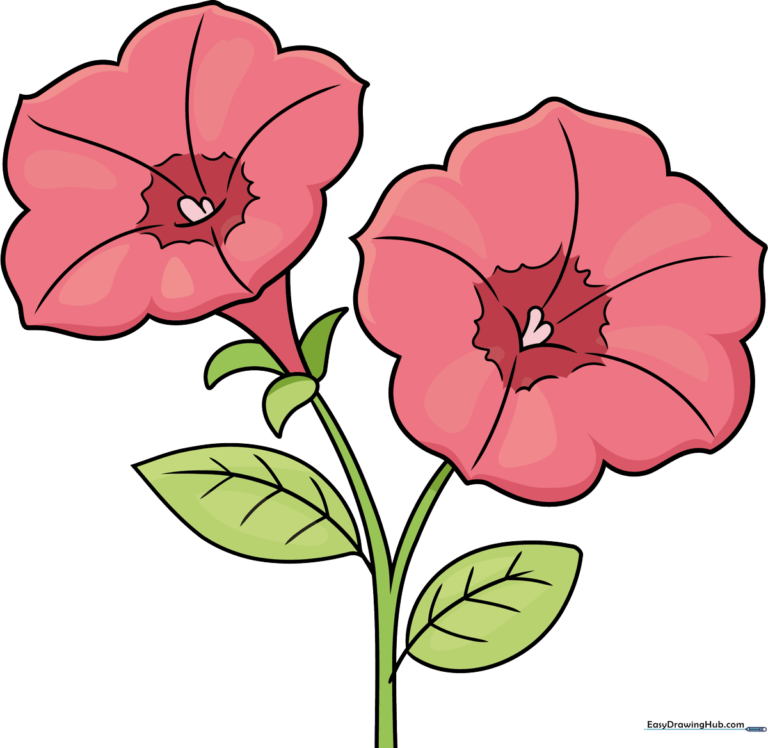
🎯 Final Result
Step-by-Step Instructions
Step 1: Sketching the Petal Edges
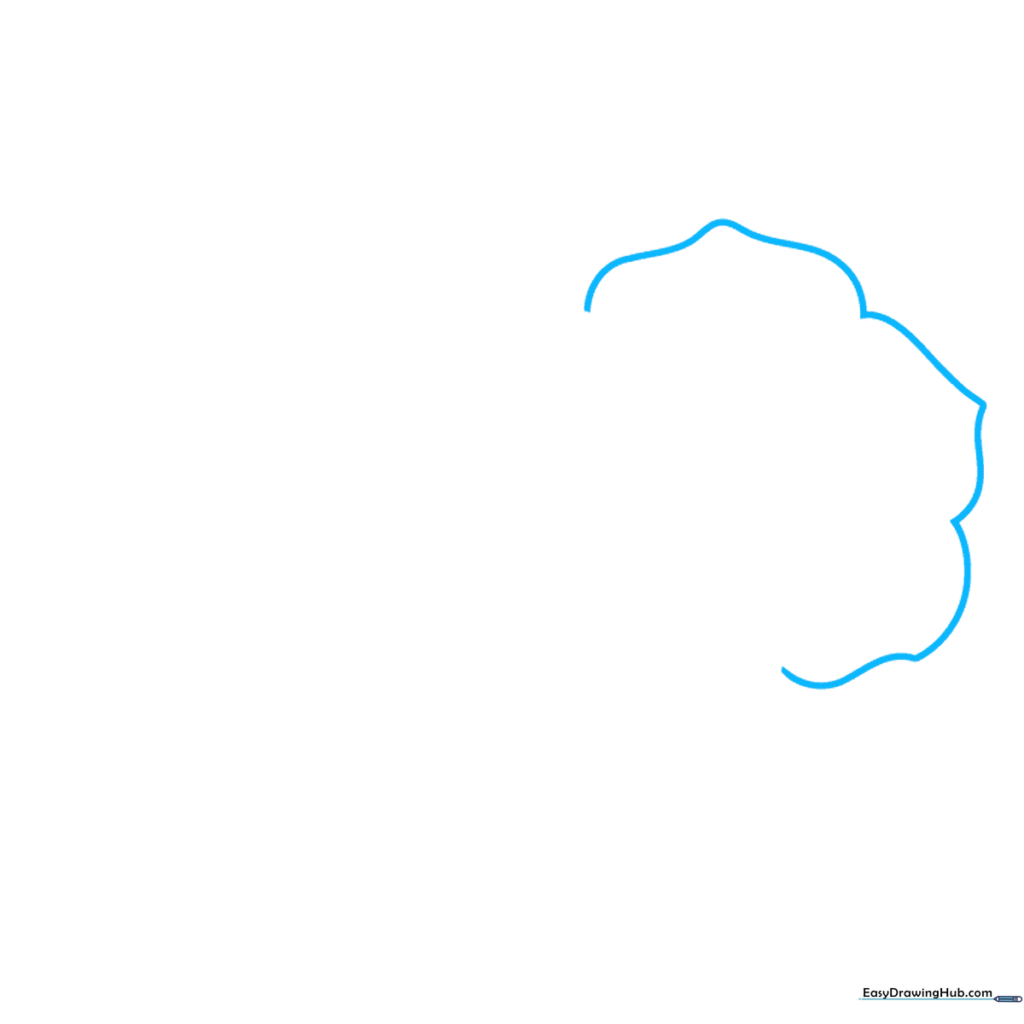
Begin by drawing the outer edges of the petals using soft, curved lines. Tip: Keep your pencil pressure light so you can easily adjust the petal shapes if they don't look quite right on the first try.
Step 2: Defining the Flower Center
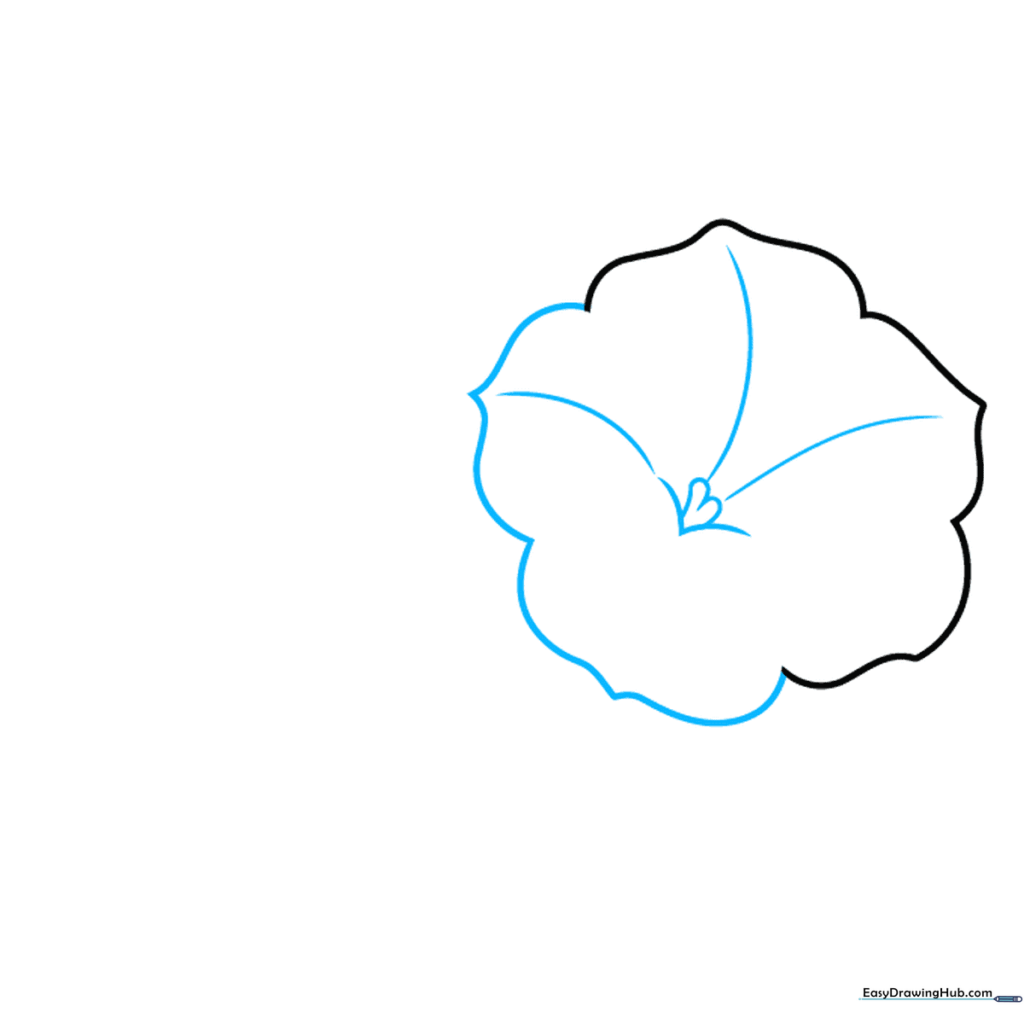
Complete the circular outline of the flower and add a small 'V' shape in the center. Tip: Use two small curved lines to suggest the stamens; this adds a realistic touch to your cartoon flower.
Step 3: Adding Petal Texture
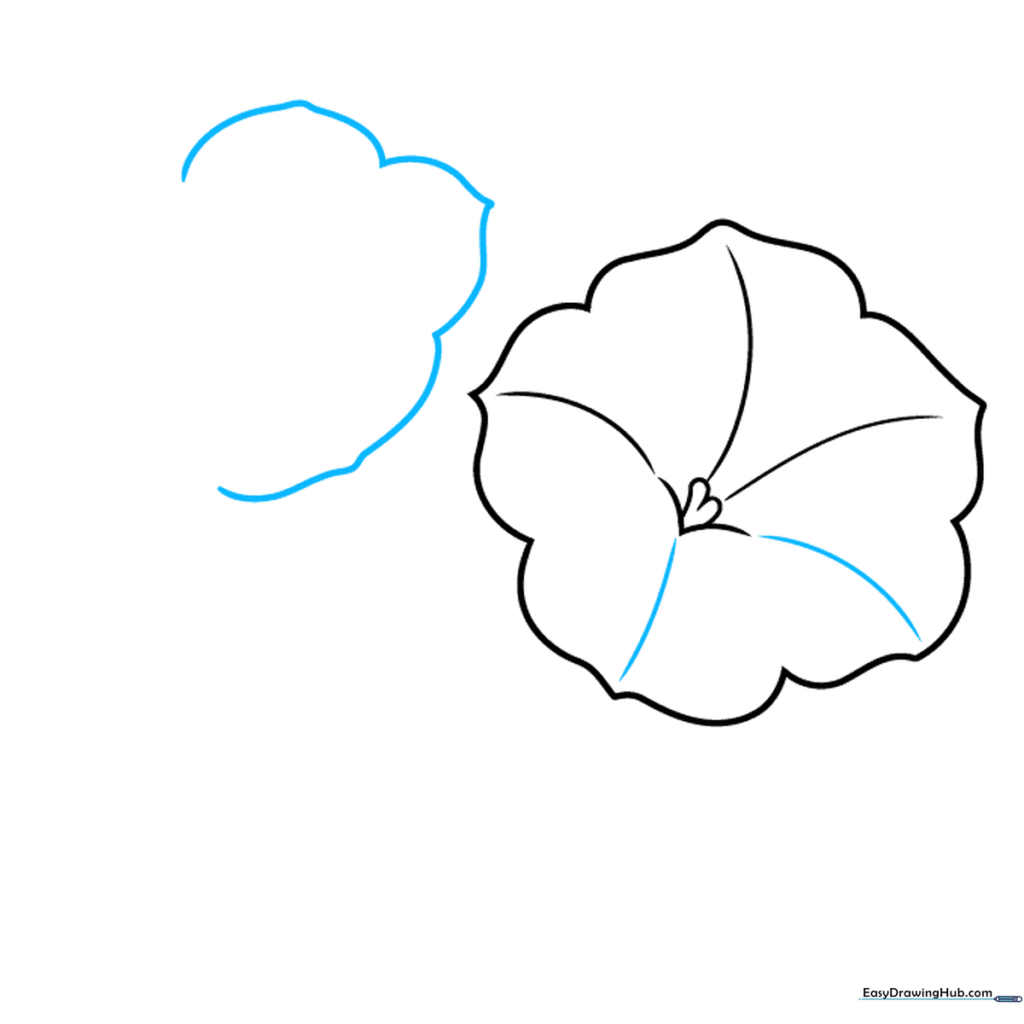
Draw light, curved lines radiating from the center of the petals toward the edges. Tip: These lines act as 'veins' and give your flower a natural, organic look.
Step 4: Refining the Flower Shape

Add more detail to the center by refining the stamen area with small, doubled-back curved lines. Tip: Don't worry about making these lines perfect; nature is full of unique, irregular shapes!
Step 5: Drawing the Trumpet Base
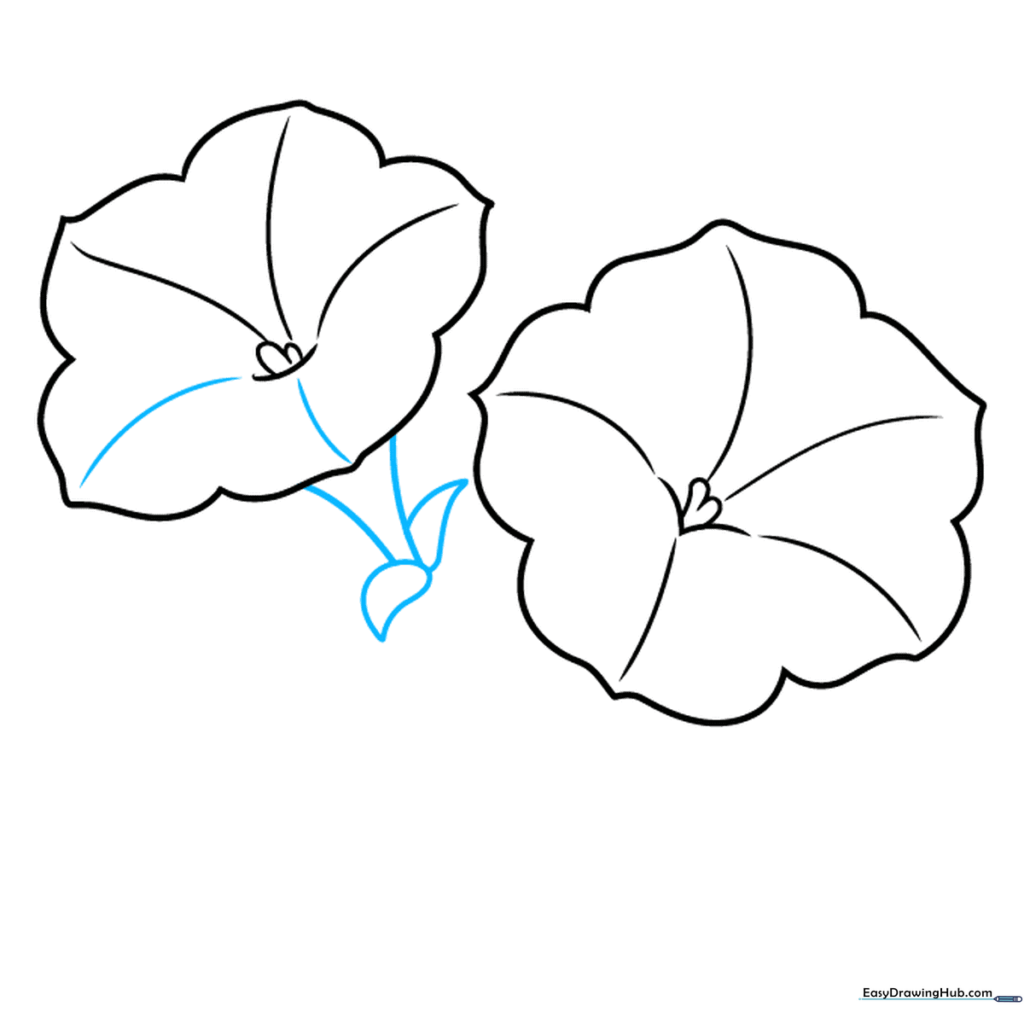
Extend two curved lines downward from the flower to create the trumpet-shaped base. Add two small, teardrop-shaped sepals at the bottom. Tip: Think of the sepals as little green 'hugs' for the base of the flower.
Step 6: Creating the Stem
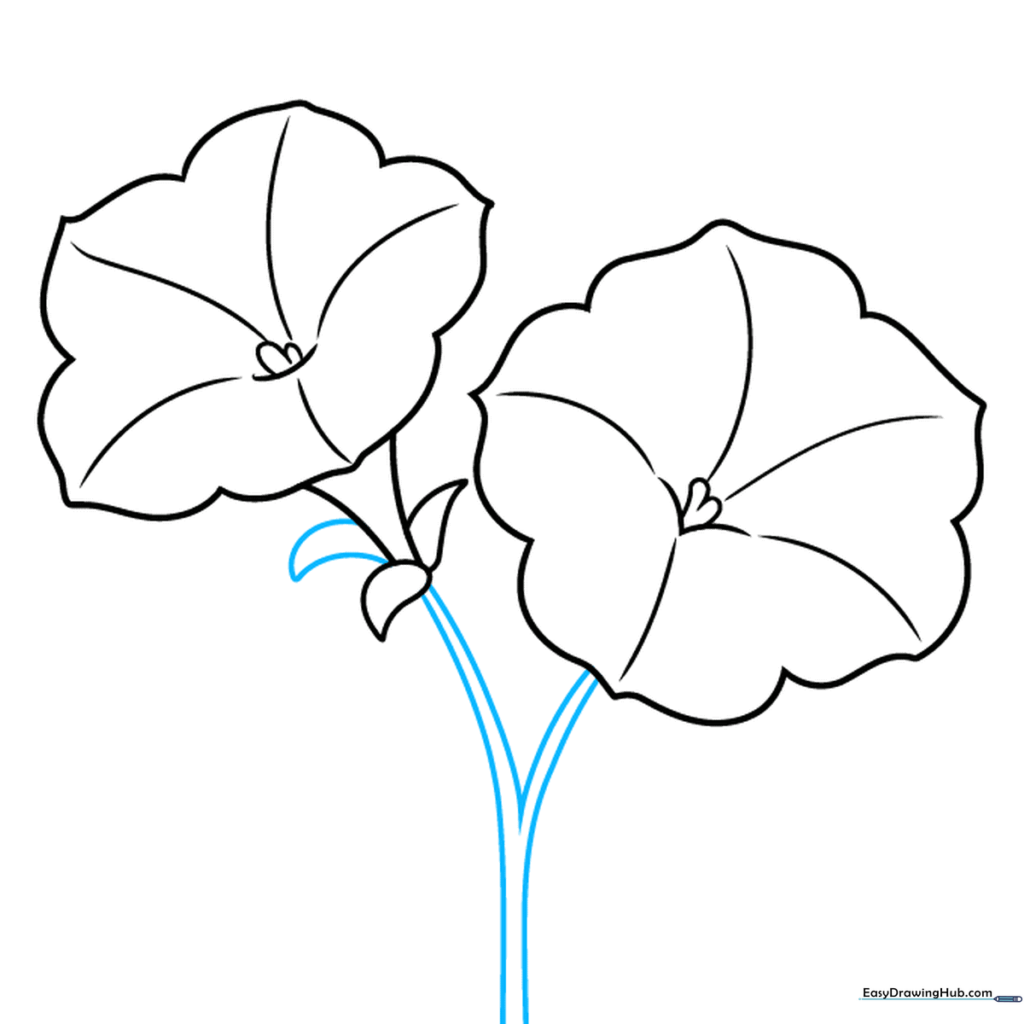
Draw a 'Y' shaped stem connecting your flowers. Tip: Use a pair of parallel lines for the stem to give it thickness and stability.
Step 7: Sketching Leaf Veins
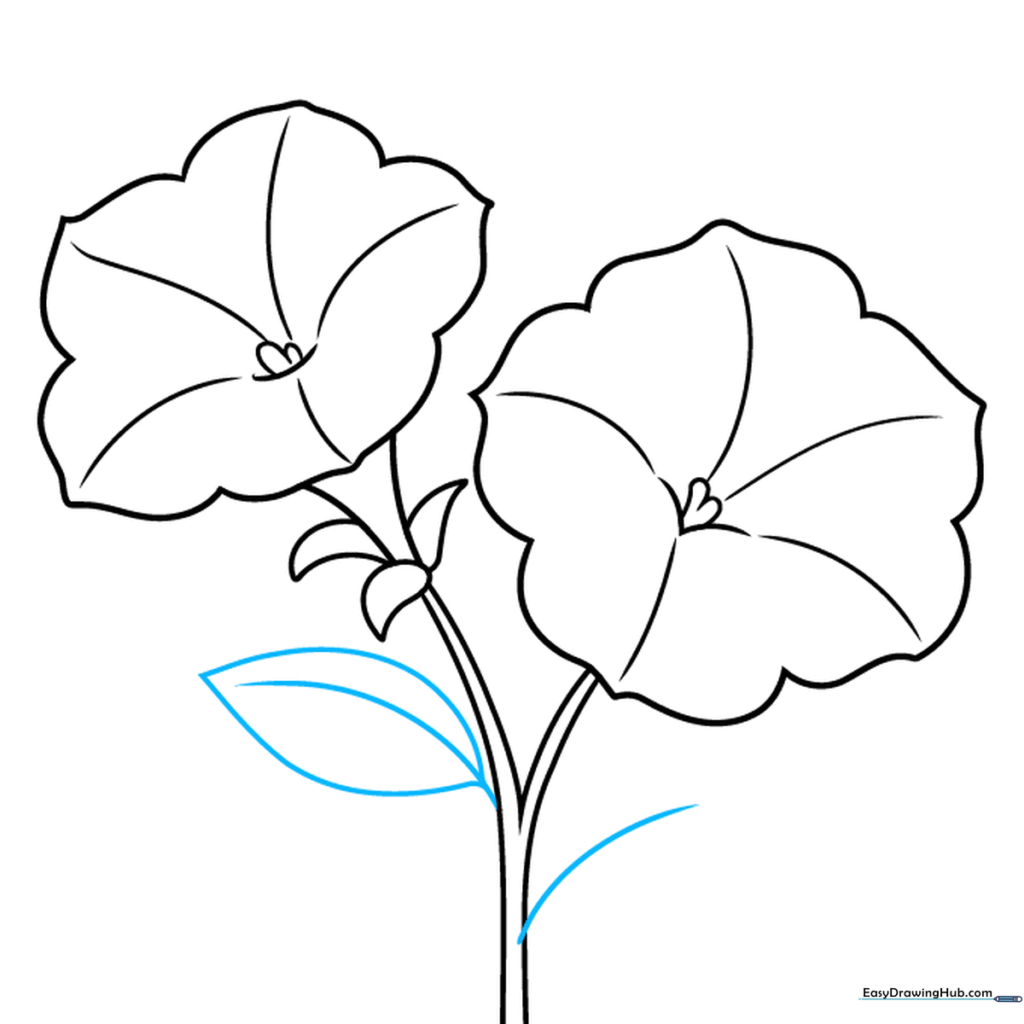
Extend curved lines from the stem to serve as the central veins for your leaves. Tip: Draw these lines with a gentle sweep to mimic the natural growth of a plant.
Step 8: Adding Leaf Details
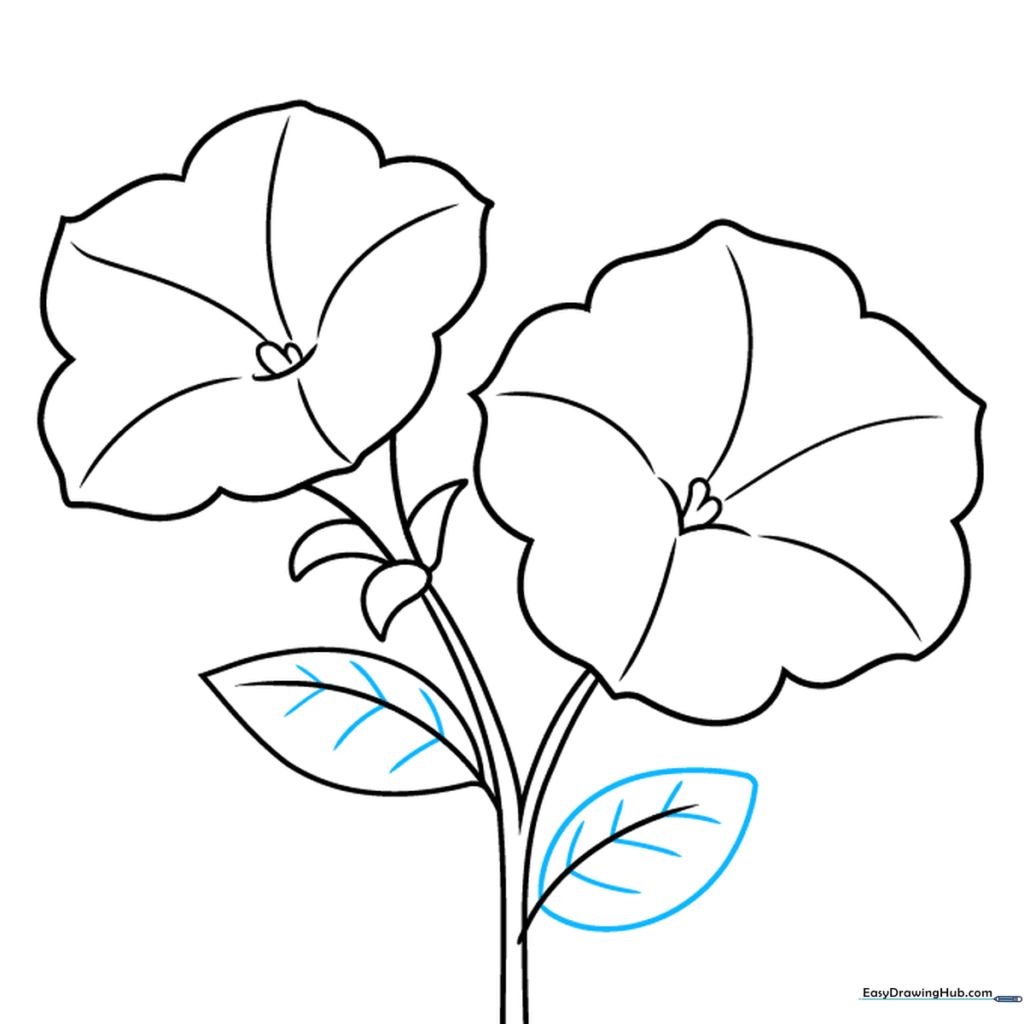
Outline the leaves around your central veins and add smaller, secondary veins. Tip: Keep the leaf edges slightly rounded for a softer, more realistic look.
Step 9: Final Touches
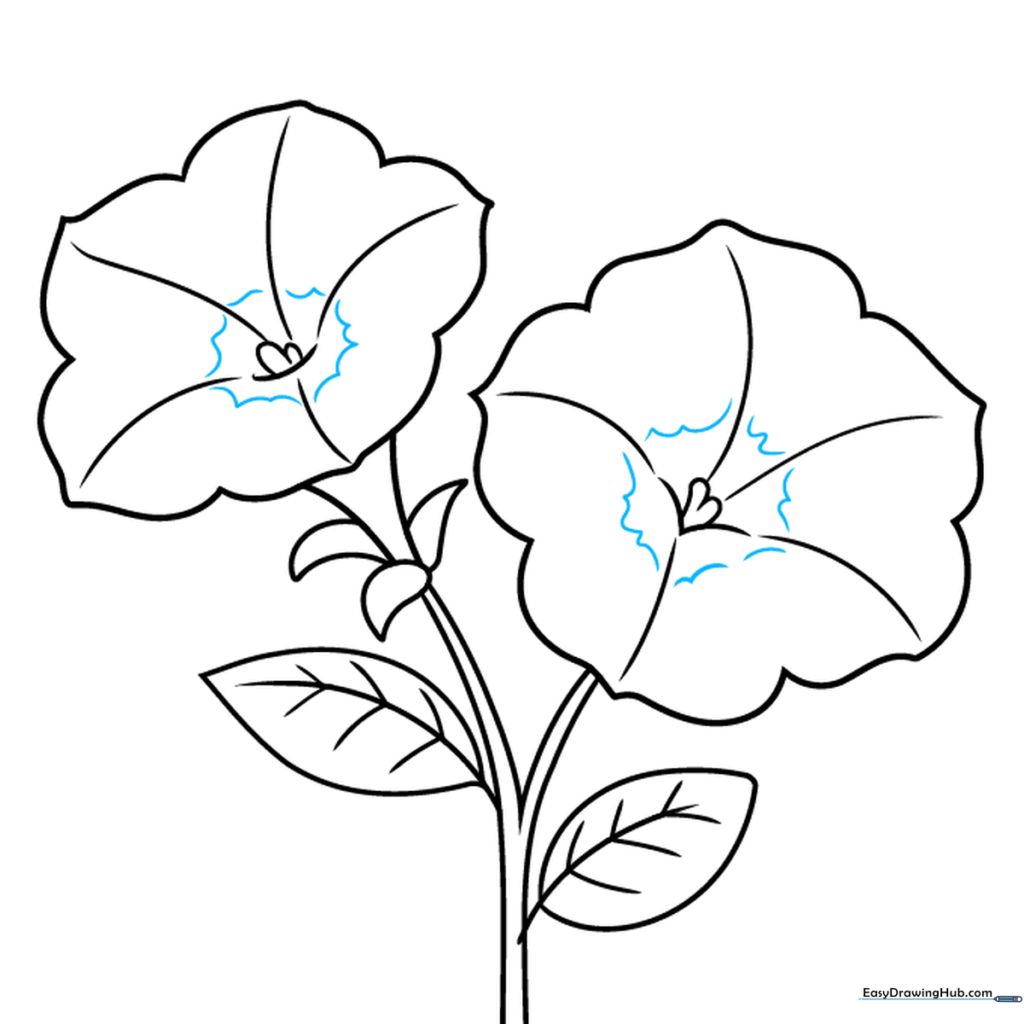
Add a wavy line on each petal near the center. Tip: This creates a beautiful depth effect, making the flower look like it's opening up toward the sun.
Step 10: Bringing Your Petunia to Life with Color
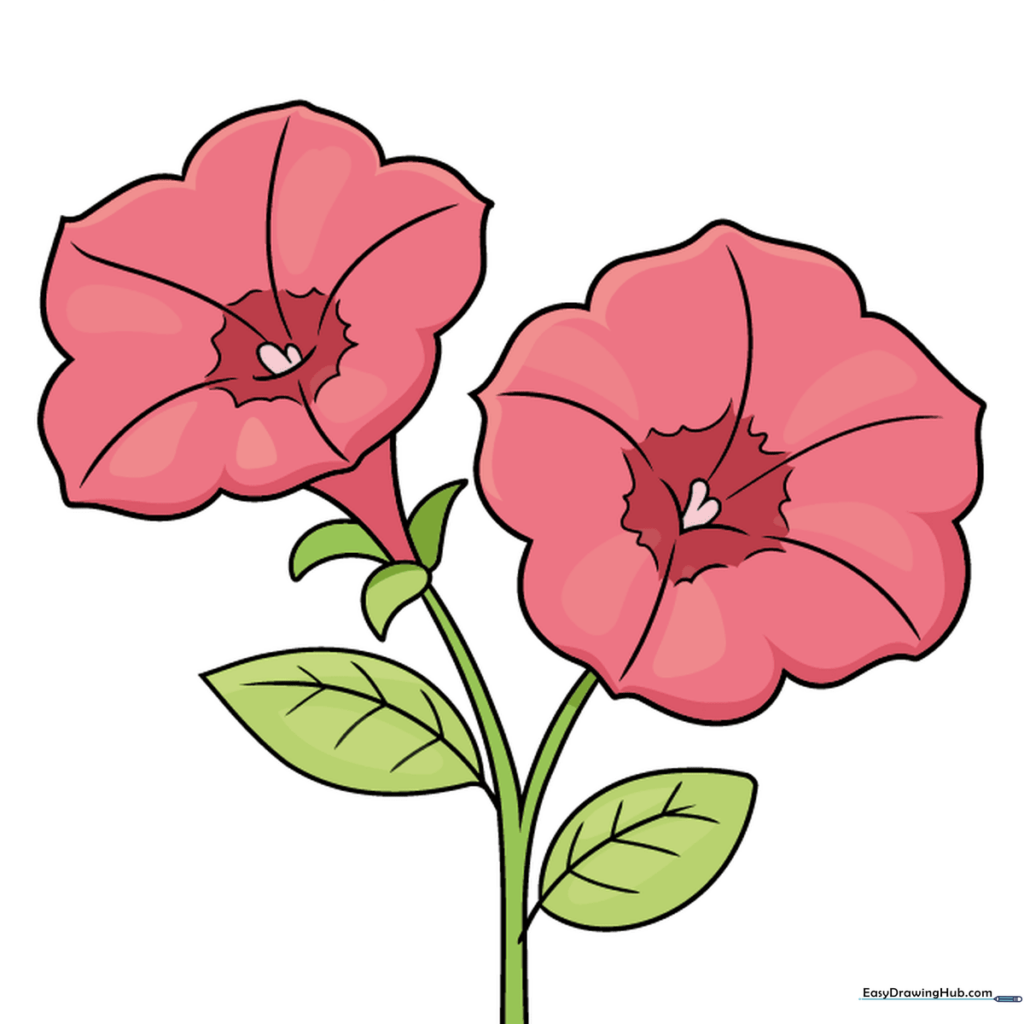
Your outline is complete! Now, choose your favorite colors. Petunias come in vibrant purples, pinks, reds, and even striped patterns. Tip: Use a darker shade of your chosen color near the center to create a sense of shadow and depth.
More Tutorials


