How to Draw a Person Running: Easy 10-Step Guide
Ready to bring movement to your paper? This tutorial is perfect for artists ages 6 and up who want to master drawing a figure in motion. You only need a pencil, an eraser, and a piece of paper to start building this dynamic character.
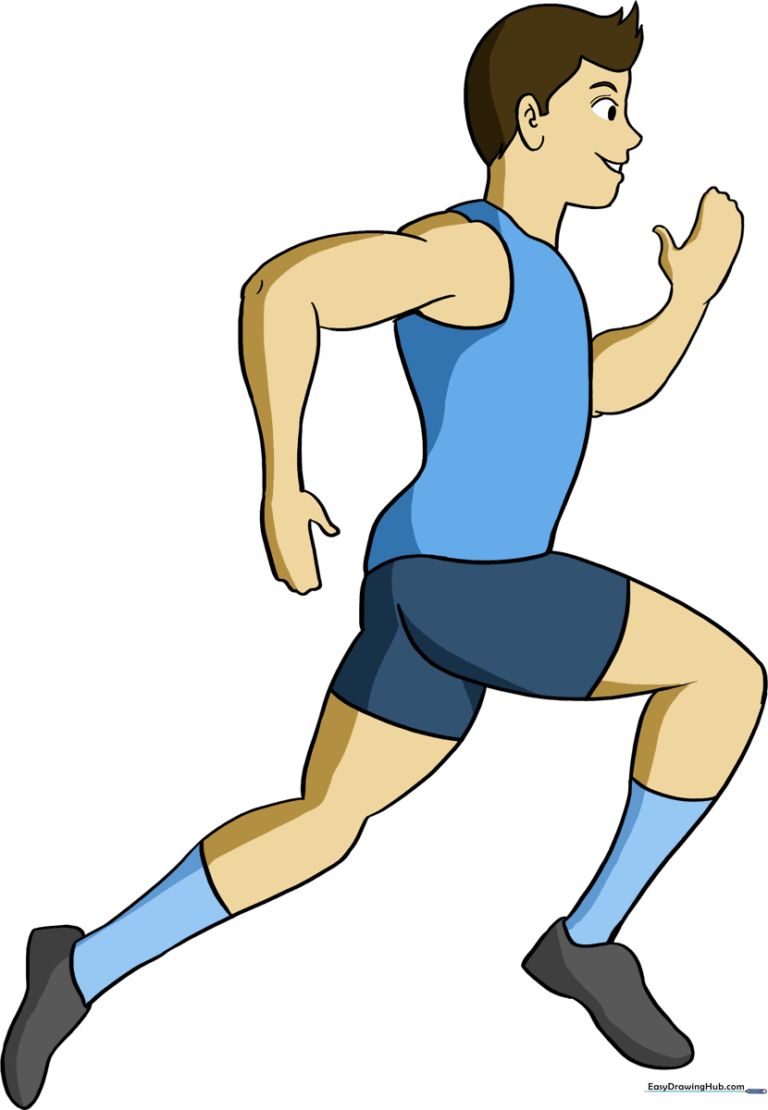
🎯 Final Result
Step-by-Step Instructions
Step 1: Sketching the Head

Draw a light, rounded shape that looks like an upside-down teardrop. Teacher's Tip: Keep your pencil pressure very light here; this is just a guide for the head and we will refine the shape in the next step.
Step 2: Defining the Profile
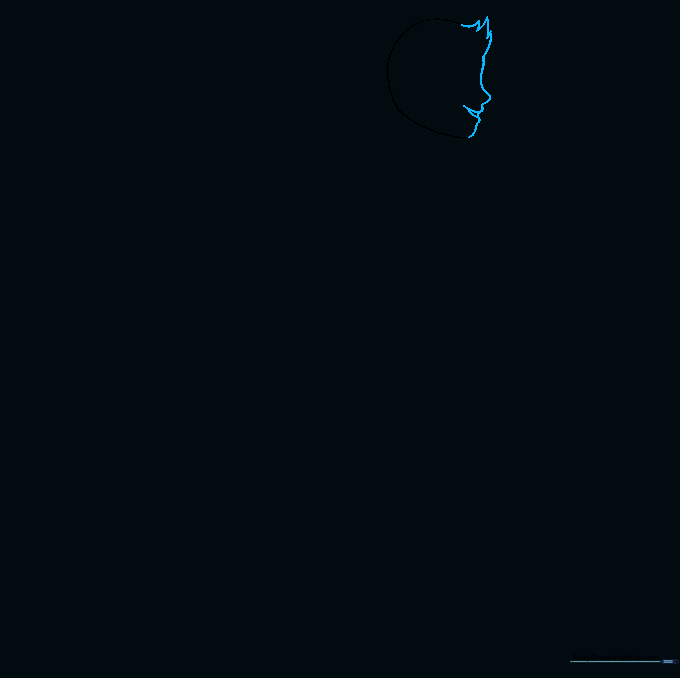
Erase the front edge of your teardrop and replace it with a profile. Draw the forehead, nose, and chin using smooth, curved lines. Tip: Use small, jagged lines for the hair to give it a bit of texture and movement.
Step 3: Adding Facial Features
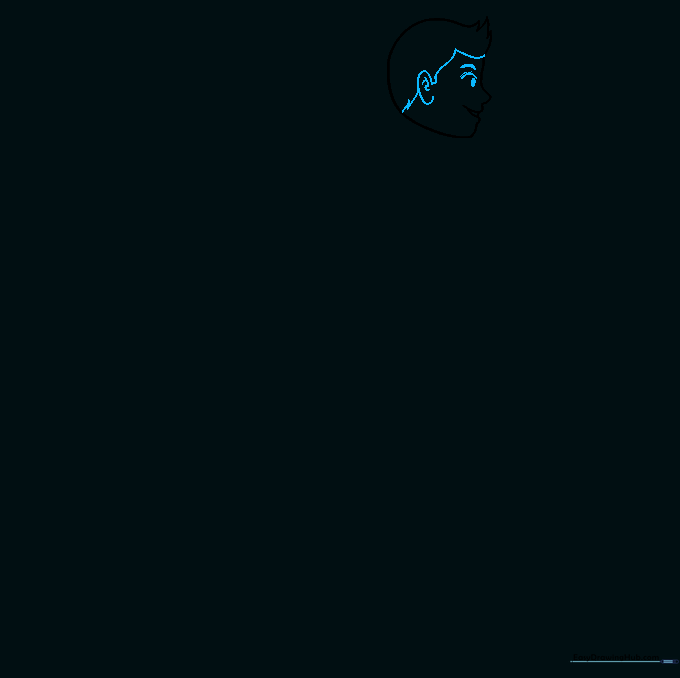
Add a 'C' shape for the ear and draw a small oval for the eye. Add a curved line above the eye for the eyebrow. Tip: Keep the eye simple; a small, filled-in oval creates a classic cartoon look.
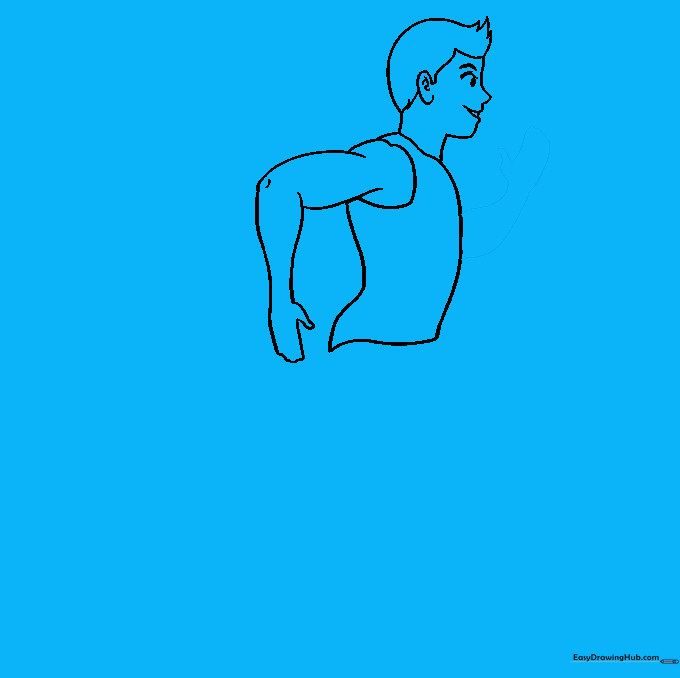
Step 4: Drawing the Torso
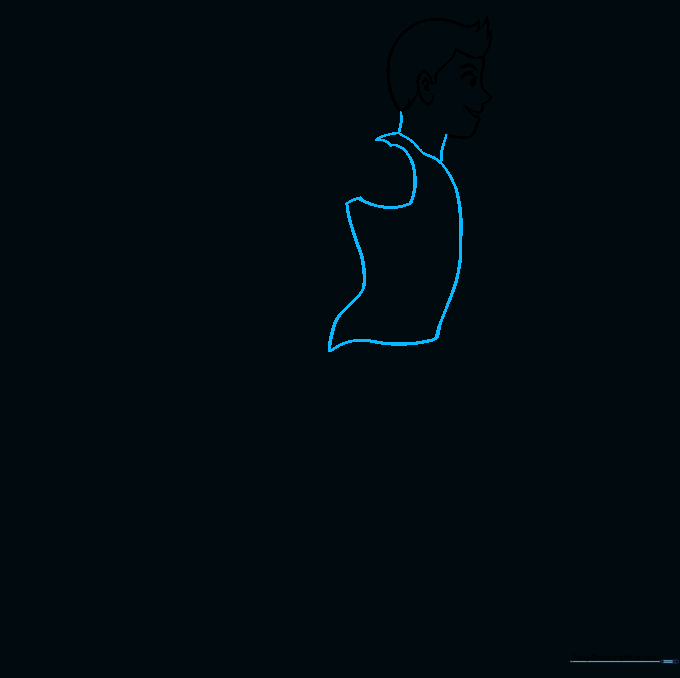
Erase the bottom of the head to connect the neck. Draw two curved lines for the neck and outline the torso. Tip: Make the arm opening a 'C' shape to show where the arm will attach later.
Step 5: Sketching the First Arm
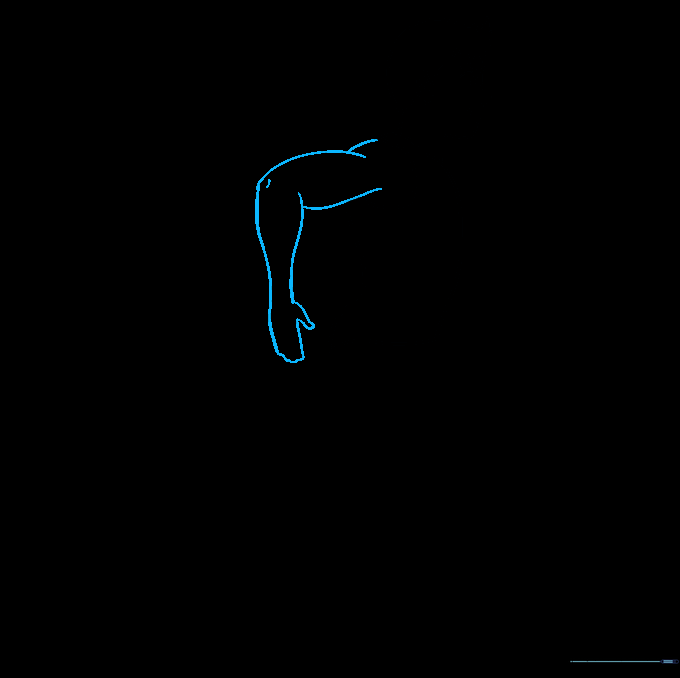
Draw the arm bent at the elbow. Use curved lines to show the muscles of the shoulder and bicep. Tip: Don't worry about perfect fingers; simple rounded shapes work great for a cartoon style.
Step 6: Adding the Second Arm
Draw the second arm swinging behind the body. Use a long, curved line that doubles back to show the position of the hand. Tip: Keep this arm slightly smaller to show it is further away (perspective).
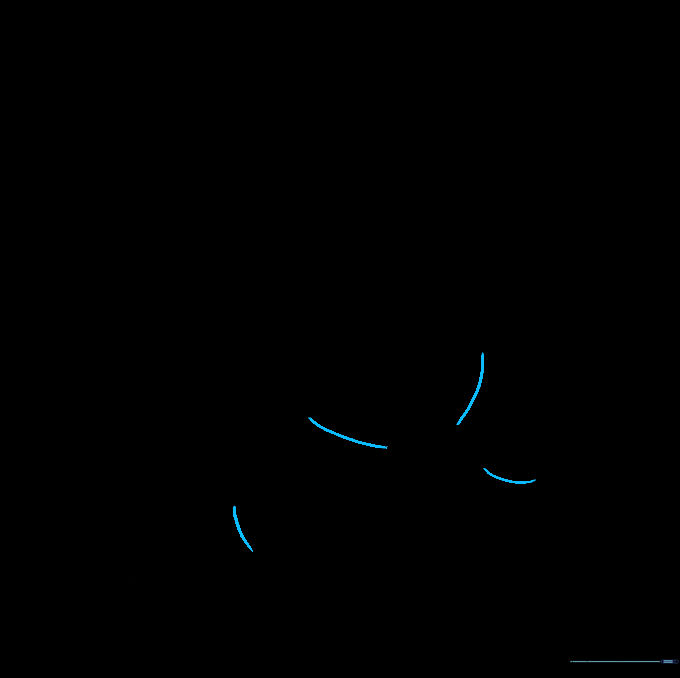
Step 7: Drawing the First Leg
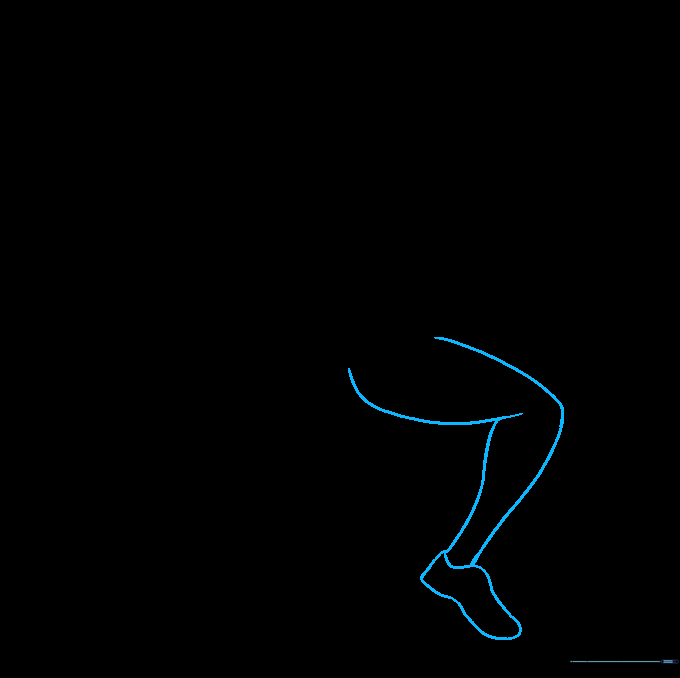
Sketch the thigh and calf using pairs of curved lines. Finish the foot with a shoe shape. Tip: Make the shoe slightly rounded at the toe to look like a real running sneaker.
Step 8: Adding the Second Leg
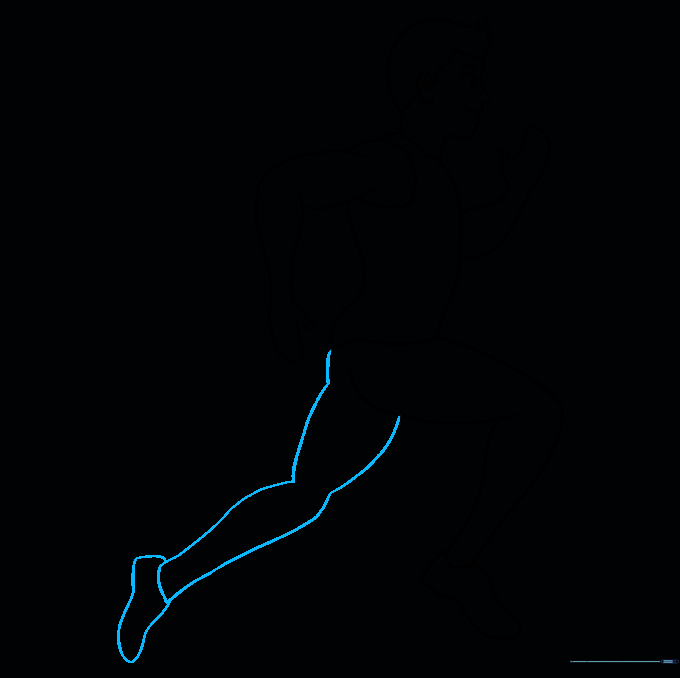
Draw the second leg bent behind the first. Use similar curved lines for the thigh and calf. Tip: Ensure the leg looks like it is mid-stride by keeping the knee bent.
Step 9: Adding Clothing Details
Add the hem of the shorts and the top of the socks. Tip: Use simple horizontal lines to define these boundaries, making the character look like he's wearing athletic gear.
Step 10: Bring Your Runner to Life with Color

Add your favorite colors! Use bright colors for the shirt to make him look fast. Tip: Try coloring the background with motion lines to emphasize that he is running quickly.
More Tutorials


