How to Draw a Perfect Circle: Easy 5-Minute Guide
Drawing a perfect circle freehand is a foundational skill that builds confidence for young artists. Perfect for ages 5 and up, this screen-free activity requires only a pencil, paper, and an eraser. By using simple geometric guidelines, you will learn to control your hand movements to create a smooth, symmetrical shape.
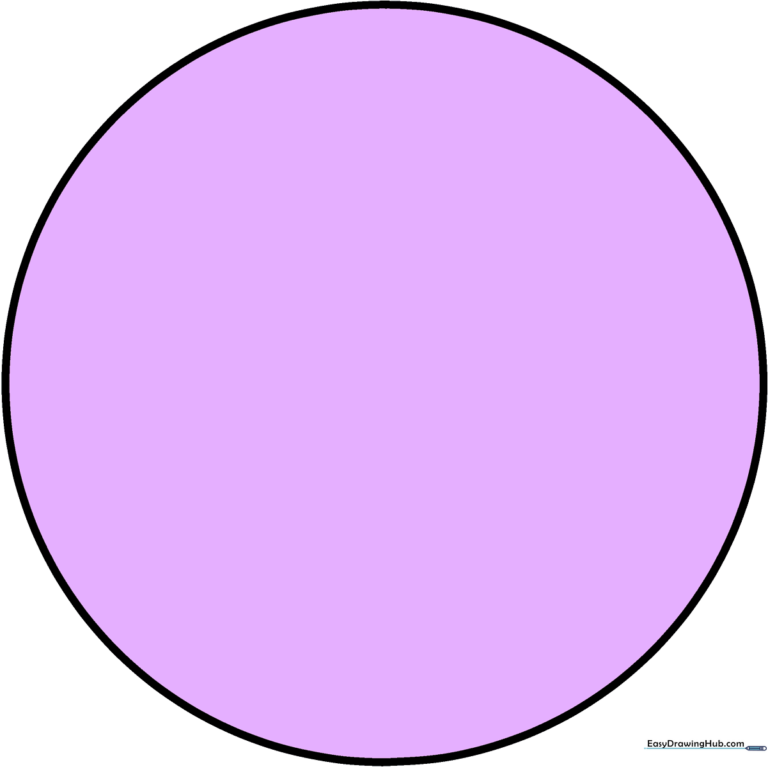
🎯 Final Result
Step-by-Step Instructions
Step 1: Establishing the Horizontal Axis

Draw a light, straight horizontal line in the center of your paper. Teacher's Tip: Keep your pencil grip loose and use very light pressure so these guidelines can be easily erased later.
Step 2: Creating the Vertical Axis
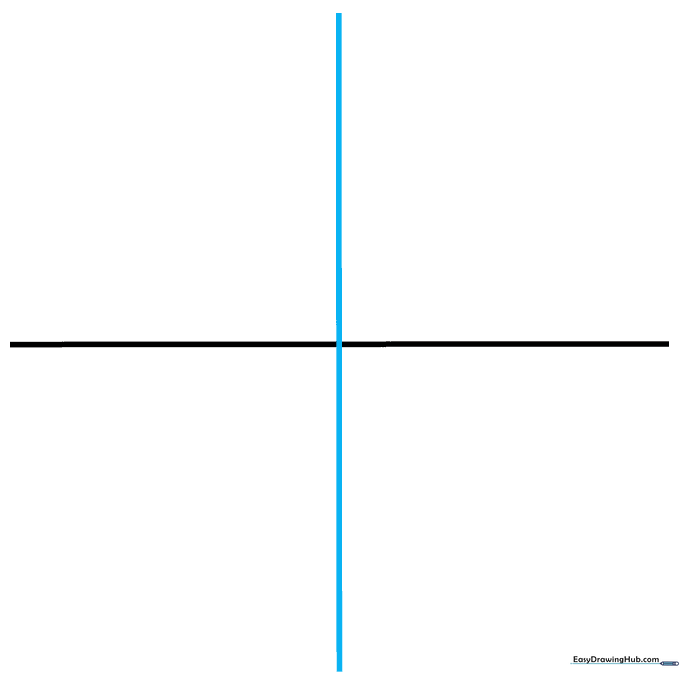
Draw a vertical line that crosses through the center of your horizontal line to form a plus sign. This intersection marks the exact center of your circle.
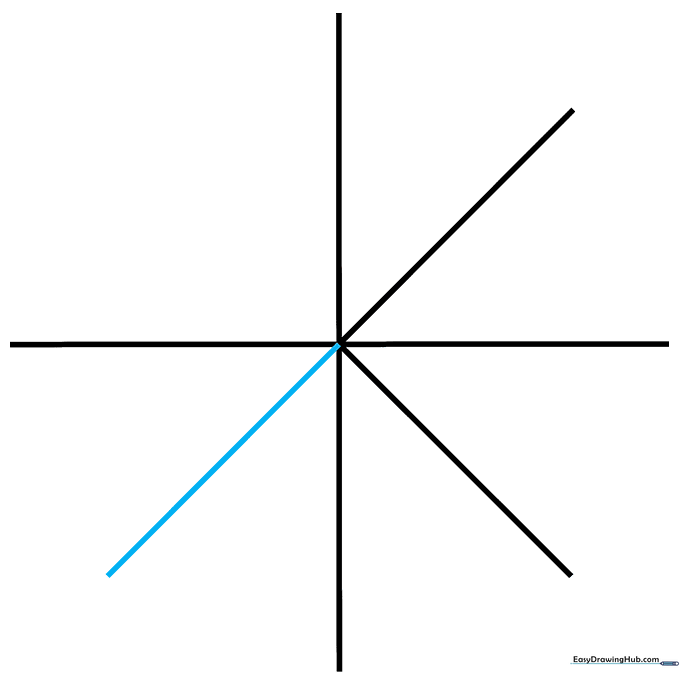
Step 3: Adding Diagonal Guides
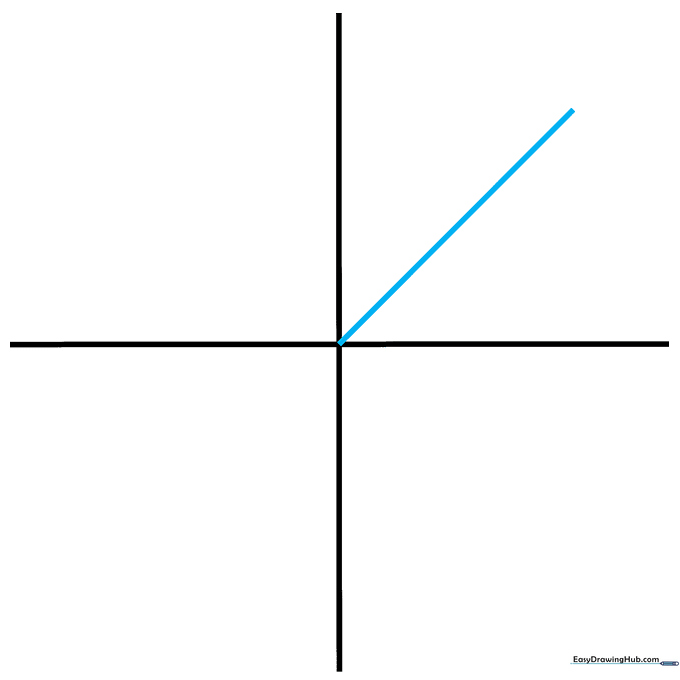
Draw a diagonal line at a 45-degree angle through the center point. Tip: If you are struggling with the angle, imagine the face of a clock and draw from 1:30 to 7:30.
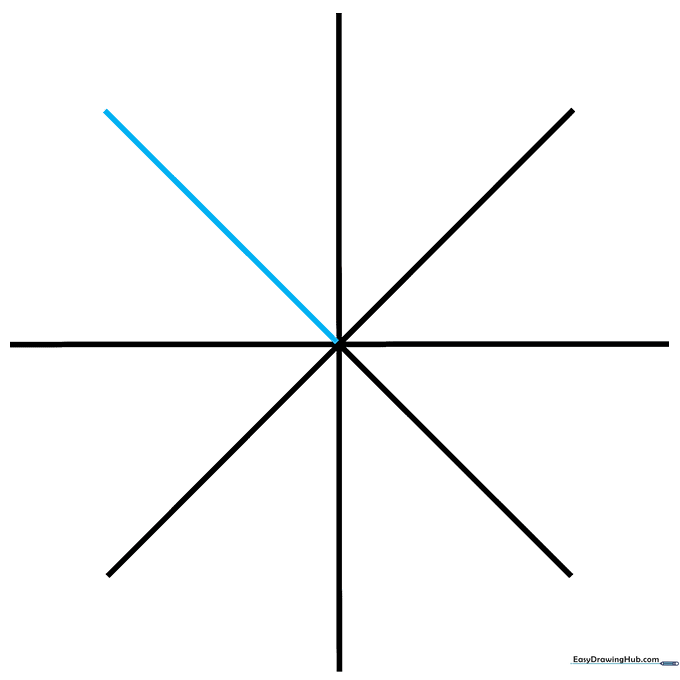
Step 4: Completing the X-Guide
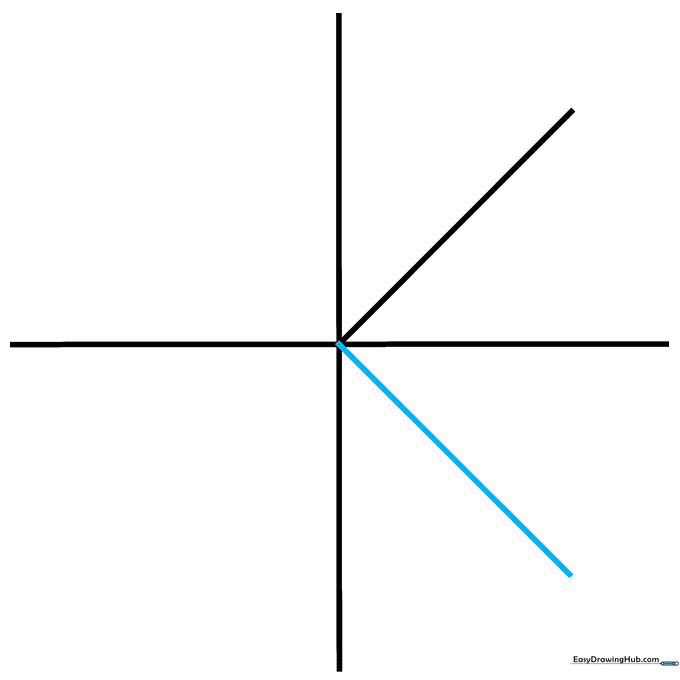
Add the final diagonal line to complete an 'X' shape over your plus sign. Ensure all eight radiating lines are roughly the same length to keep your circle symmetrical.
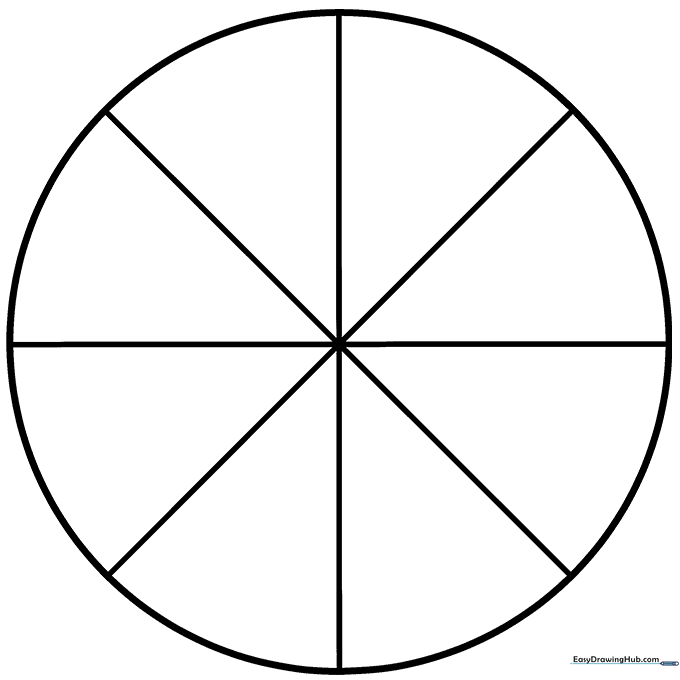
Step 5: Marking the Radius
Double-check that your lines are even. This 'star' structure acts as a scaffold for your circle, ensuring it doesn't look lopsided.
Step 6: Preparing the Perimeter
Check your spacing one last time. If one line is significantly longer than the others, gently erase and adjust it now before we start the outline.
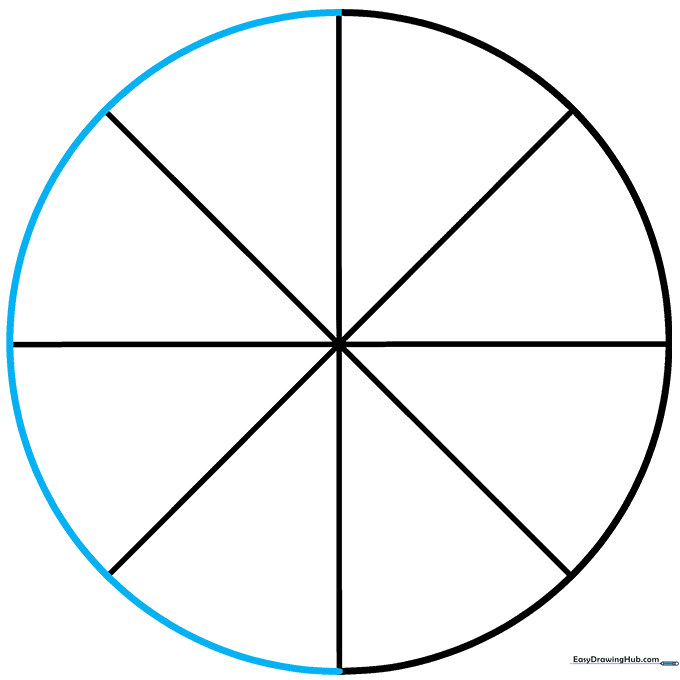
Step 7: Connecting the Points

Begin connecting the tips of your guide lines with small, light, curved strokes. Don't try to draw the whole circle in one motion; short, controlled strokes are much more accurate.
Step 8: Smoothing the Outline
Continue connecting the dots until you have a complete circle. Once the shape is closed, go over the outline with a slightly firmer, darker line to define the final shape.
Step 9: Cleaning Up
Carefully erase the internal guide lines. Teacher's Tip: Use a clean eraser and hold the paper down firmly so it doesn't crinkle while you clean up the center.
Step 10: Adding Color and Detail
Your circle is ready! Use it as a base for a planet, a sun, or a delicious cookie. Experiment with shading to give your circle a 3D look.
More Tutorials


