How to Draw a Penguin Chick: Easy 9-Step Guide
Bring a fluffy penguin chick to life with this simple, screen-free art activity designed for young artists ages 5 and up. You will need a pencil, an eraser, and your favorite coloring markers or crayons. Follow these steps to master basic shapes and create a charming winter friend.
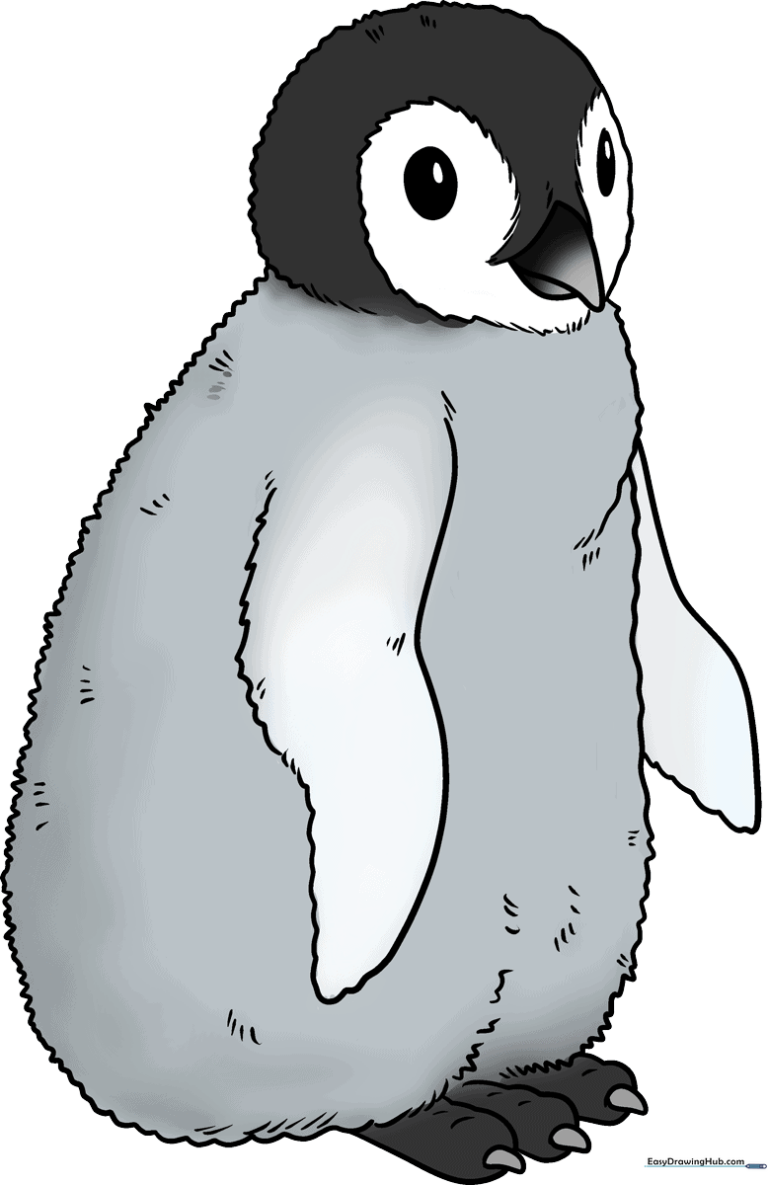
🎯 Final Result
Step-by-Step Instructions
Step 1: Sketching the Eyes

Draw two ovals for the eyes, with smaller circles inside for pupils. Shade the pupils in completely. Teacher's Tip: Make one eye slightly narrower to give your penguin a curious, tilted expression.
Step 2: Shaping the Fuzzy Head
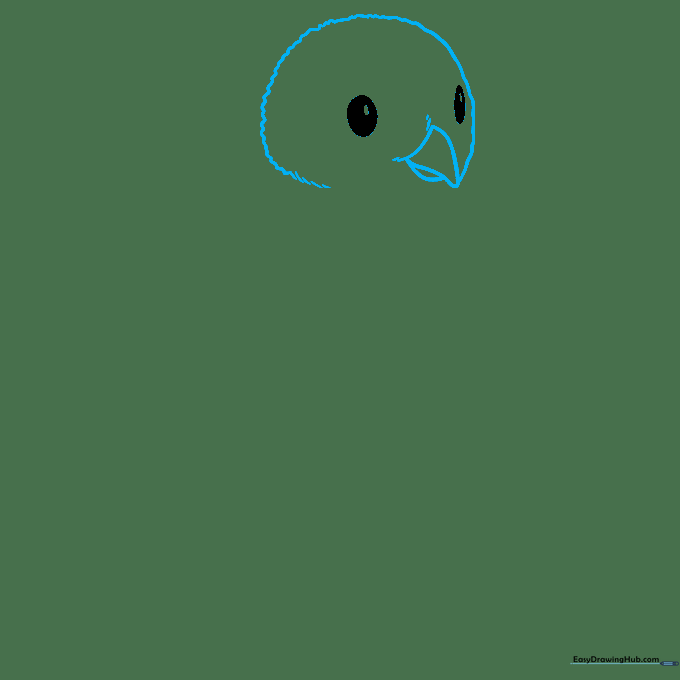
Use a series of short, quick strokes to create a 'fuzzy' outline for the head. Add a small, rounded triangle for the beak. Teacher's Tip: Use short, jagged lines to mimic the look of soft baby feathers.
Step 3: Detailing the Face
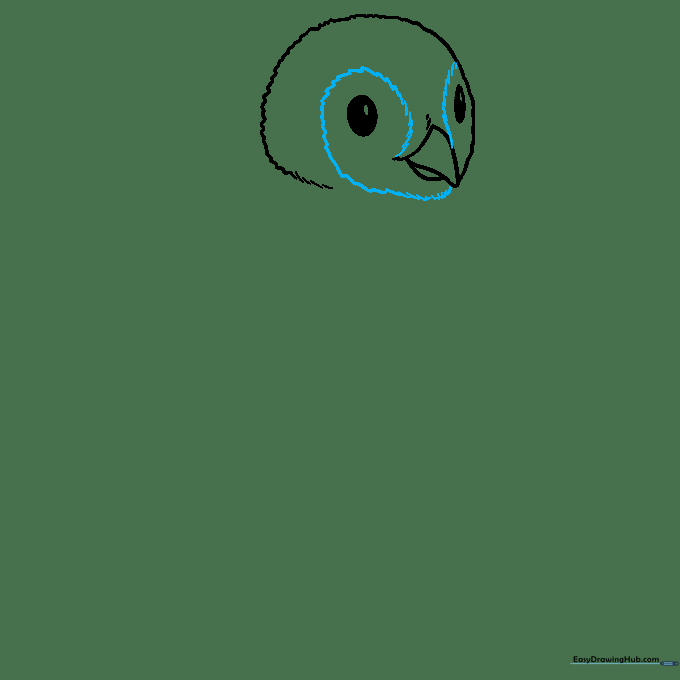
Add more zigzag lines around the eyes and beak to create a mask-like pattern. Teacher's Tip: Don't worry about making these lines perfect; irregular lines look more like natural, fluffy down.
Step 4: Drawing the Chest
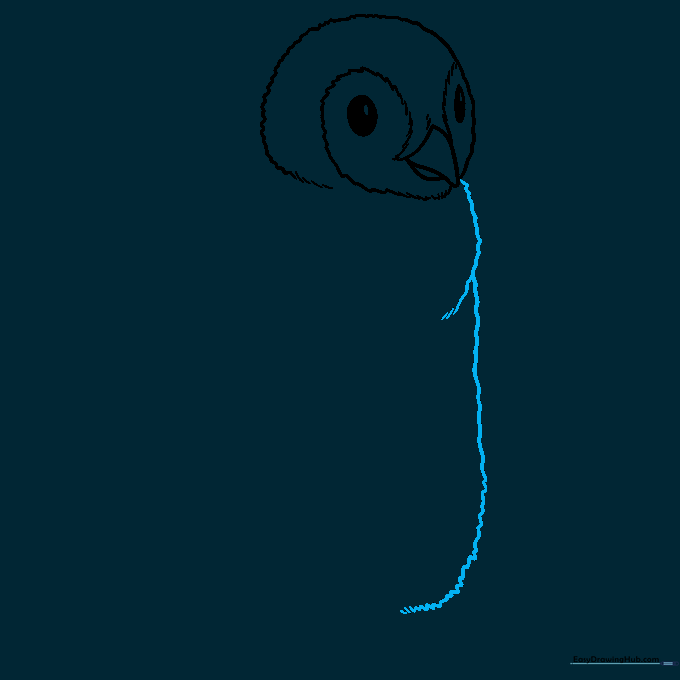
Draw a long, soft, squiggly line extending down from the head to form the chest and belly. Teacher's Tip: Keep your pencil pressure light so you can easily adjust the shape of the tummy.
Step 5: Defining the Back
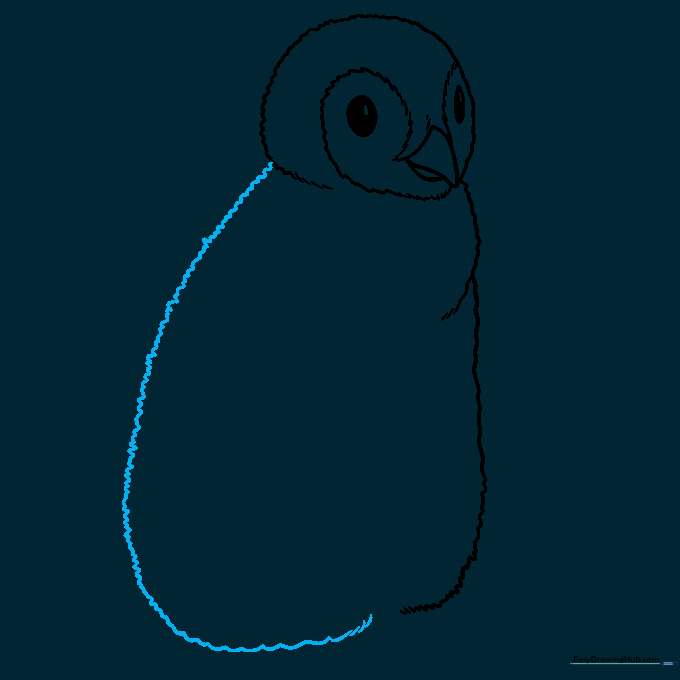
Draw a matching squiggly line on the opposite side to create the penguin's back. Teacher's Tip: Imagine the shape of a pear to help you get the proportions of the body right.
Step 6: Adding the First Wing
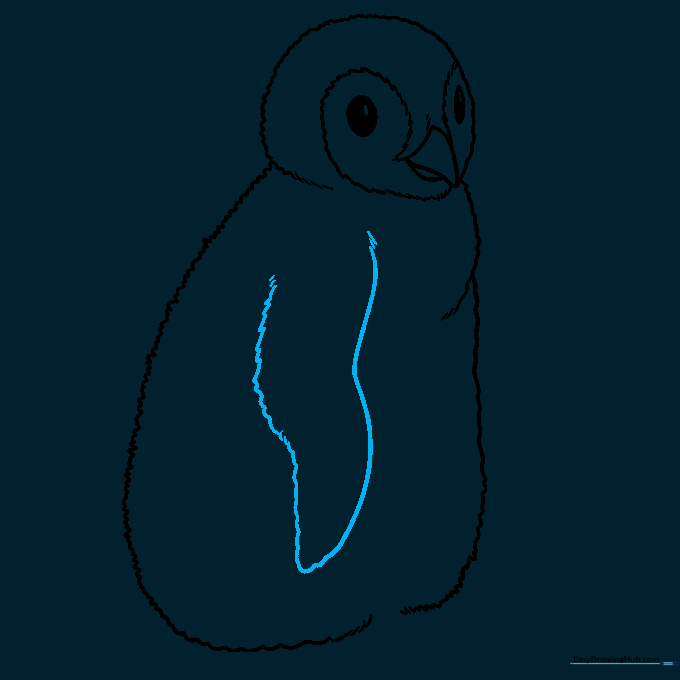
Sketch a small, rounded wing on the side of the body using a curved line. Teacher's Tip: Keep the wing close to the body to make the chick look snug and warm.
Step 7: Adding the Second Wing
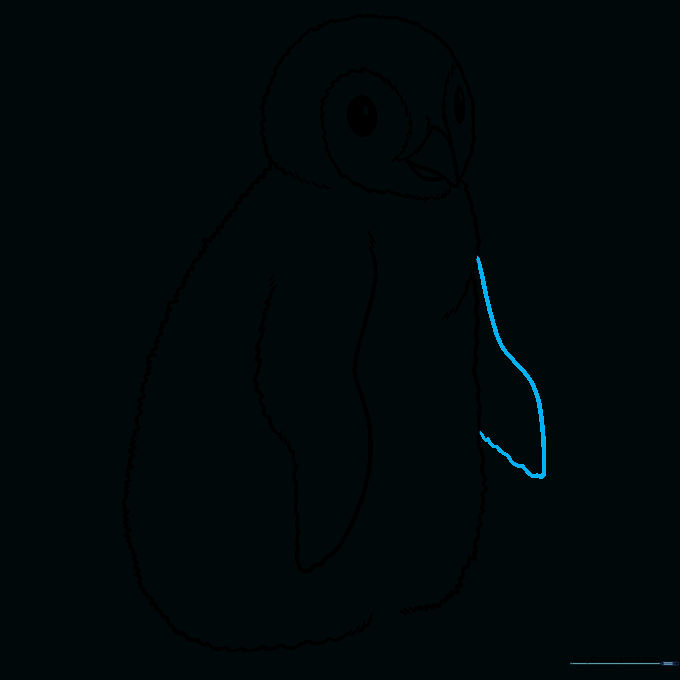
Draw the second wing behind the body, slightly visible to show depth. Teacher's Tip: Use a slightly different angle to show the penguin is standing at a slight turn.
Step 8: Sketching the Feet
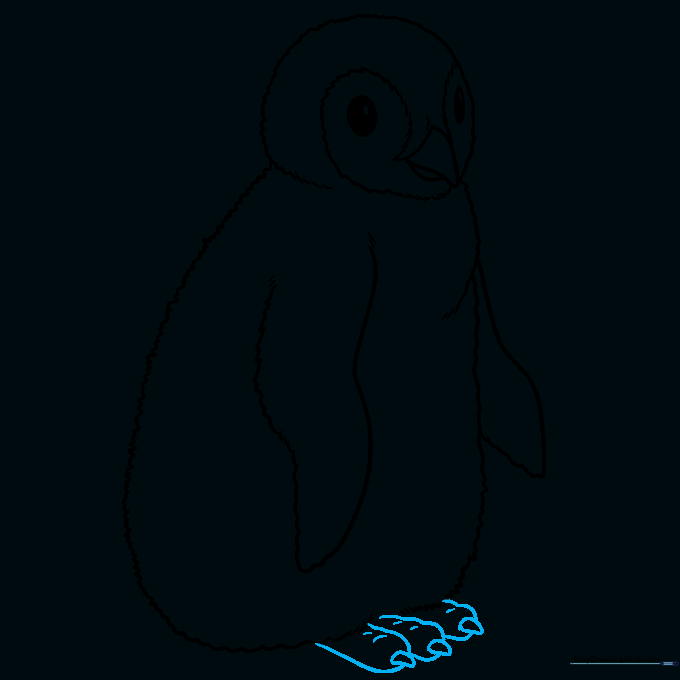
Draw two small, webbed feet at the base of the body. Add tiny triangles for claws. Teacher's Tip: Make the feet slightly wider than the body to help your penguin look like it's standing firmly on the ice.
Step 9: Final Texture Details
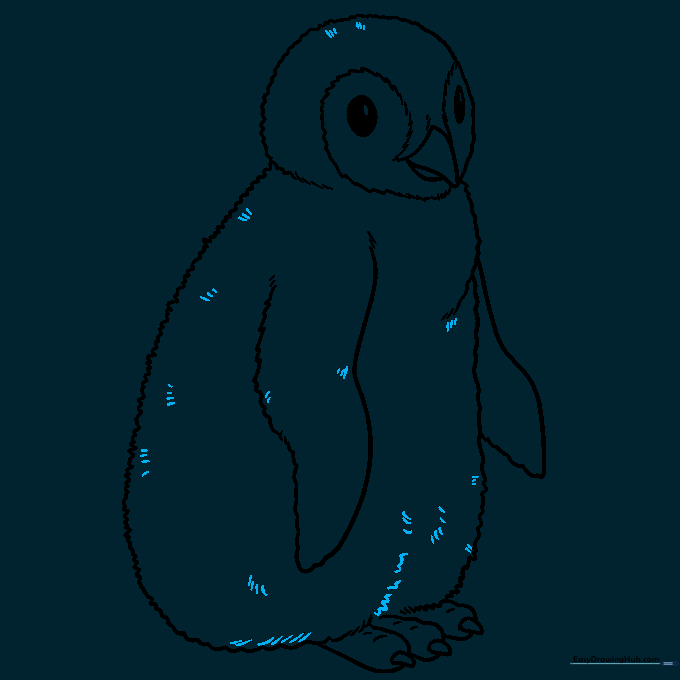
Add a few extra short, scattered lines across the body to emphasize the fluffy, downy texture of the chick's feathers. Teacher's Tip: Less is more! A few well-placed lines are better than too many.
Step 10: Color Your Masterpiece
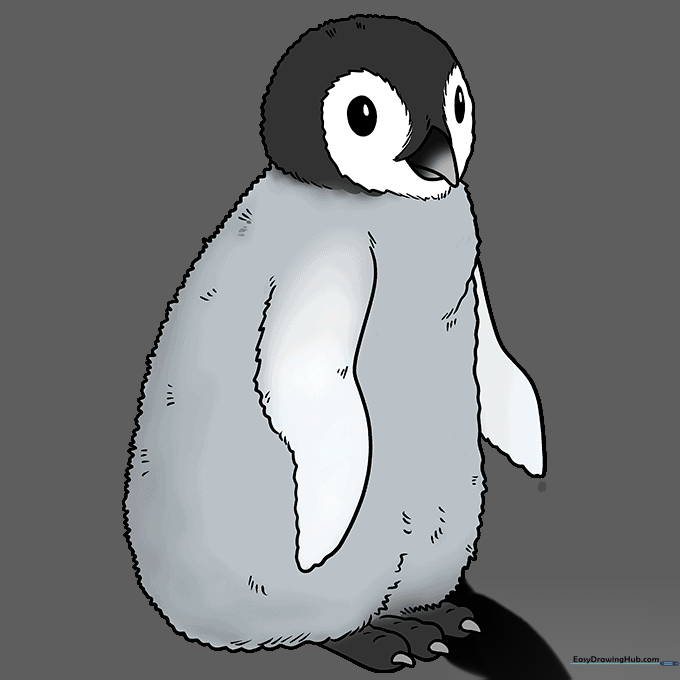
Fill in your drawing using shades of gray, black, and white. Use orange for the beak and feet. Teacher's Tip: Use light pressure with your gray pencil to create a soft, blended look for the downy feathers.
More Tutorials


