How to Draw a Pencil: Easy 9-Step Guide for Beginners
Ready to draw your favorite school supply? This tutorial is perfect for ages 5 and up, requiring only a pencil, paper, and an eraser. Follow these steps to master basic geometric shapes and perspective while creating a classic, sharpened pencil.
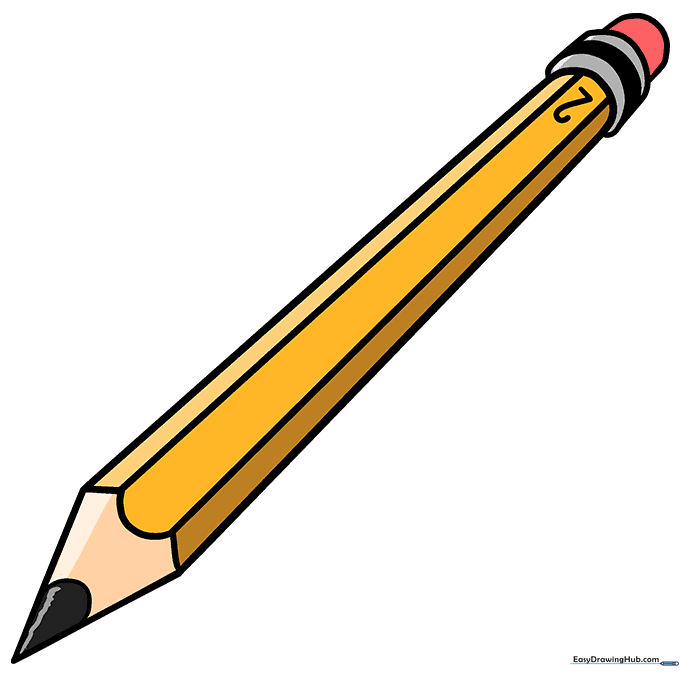
🎯 Final Result
Step-by-Step Instructions
Sketching the First Side
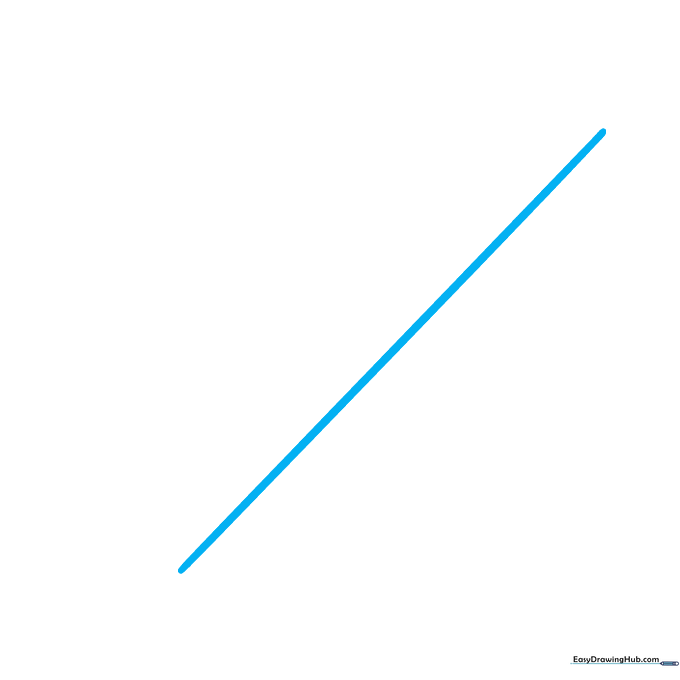
Draw a long, straight diagonal line to represent the side of the pencil. Teacher's Tip: Keep your pencil pressure light so you can easily adjust the angle if it feels too steep.
Creating the Pencil Shaft
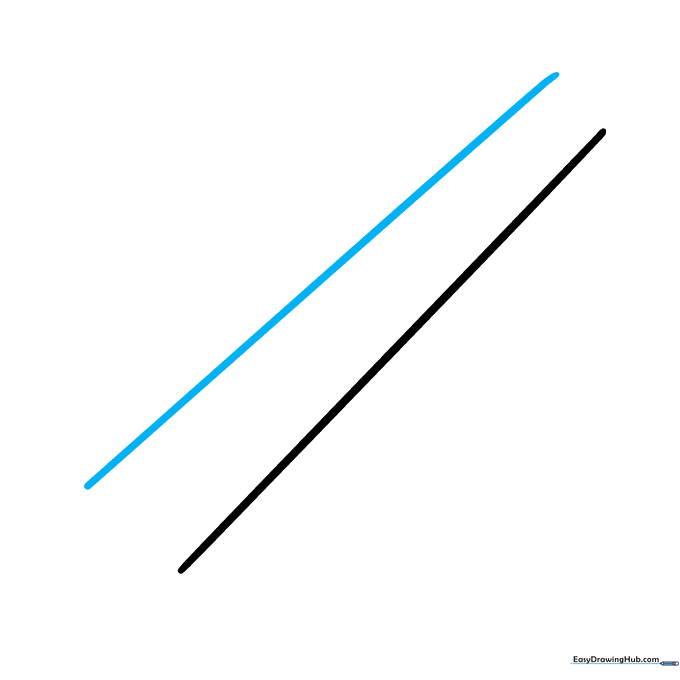
Draw a second diagonal line nearly parallel to the first. Tip: Make the lines slightly closer together at the top to create a sense of depth and perspective.
Forming the Sharpened Tip
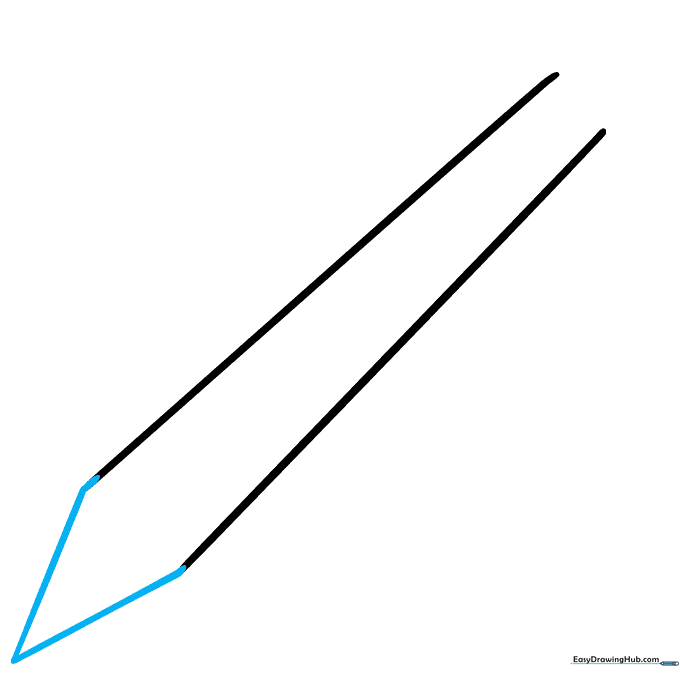
Connect the two lines with two shorter lines that meet at a sharp point. Tip: Imagine you are drawing a tall, thin triangle sitting on top of the rectangle body.
Adding the Wood Texture
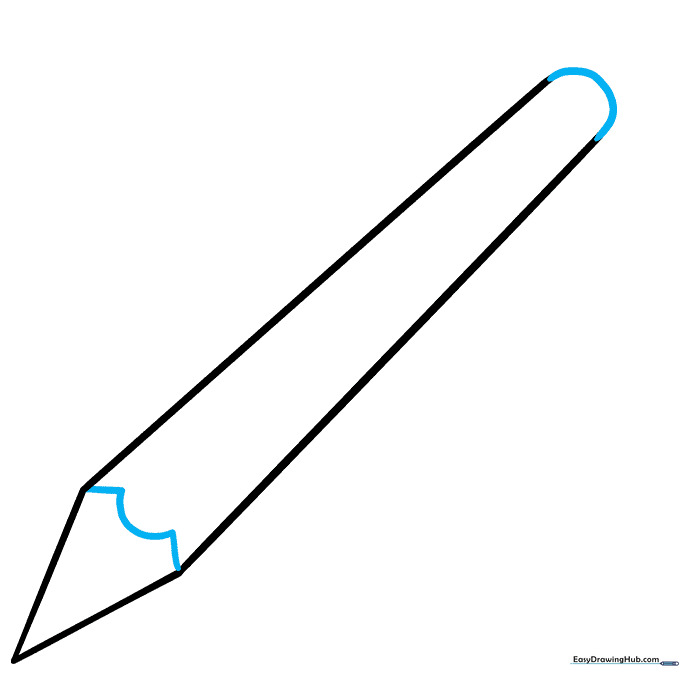
Draw small, jagged lines where the wood meets the paint. Close the bottom of the pencil with a curved line. Tip: Use short, quick strokes for the jagged edge to make it look like shaved wood.
Defining the Facets
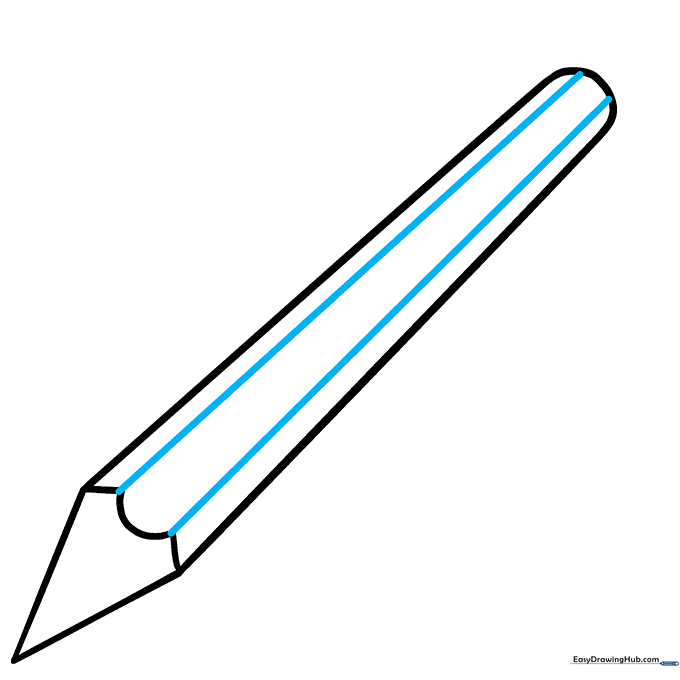
Extend two straight lines down the length of the shaft to show the pencil's flat sides. Tip: Keep these lines perfectly straight to give the pencil a professional, structured look.
Drawing the Lead Tip
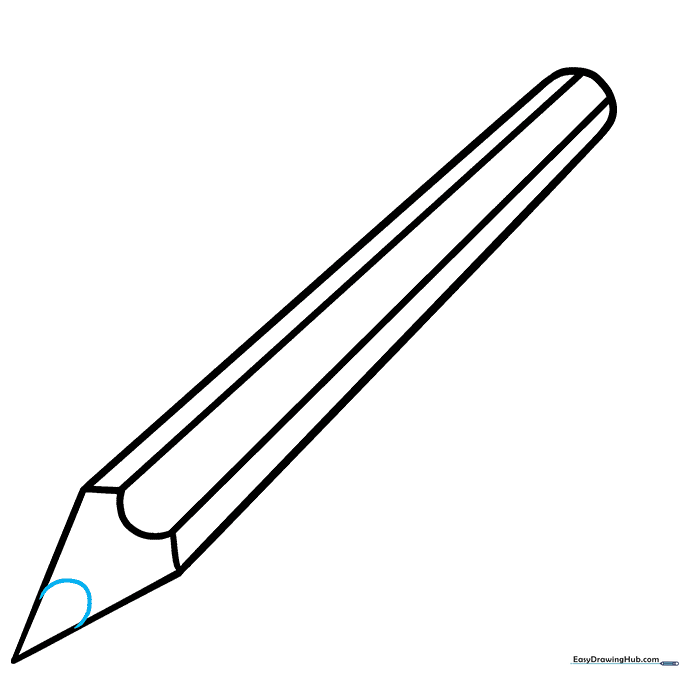
Add a small curved line across the very tip of the pencil. Tip: This small detail distinguishes the graphite lead from the wood.
Sketching the Ferrule
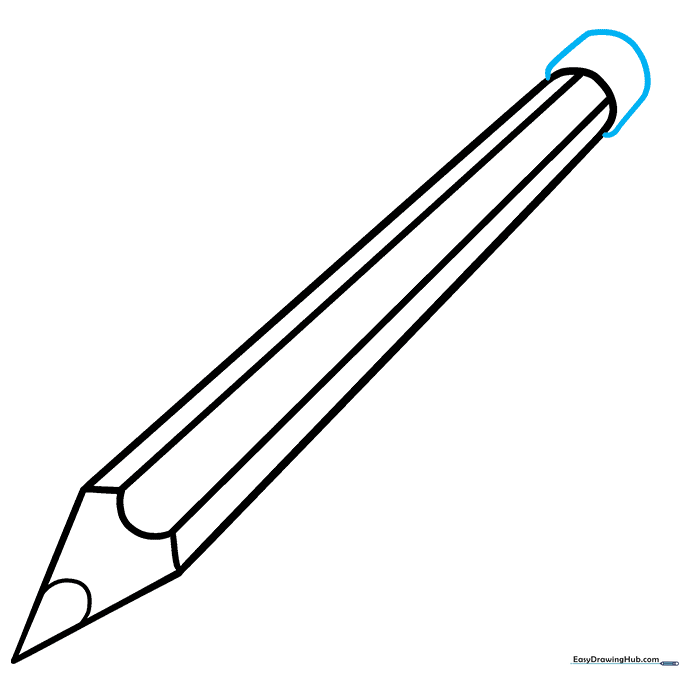
Draw a curved rectangle at the bottom of the pencil to represent the metal band. Tip: Make the curves match the angle of the pencil's base for consistency.
Adding the Eraser
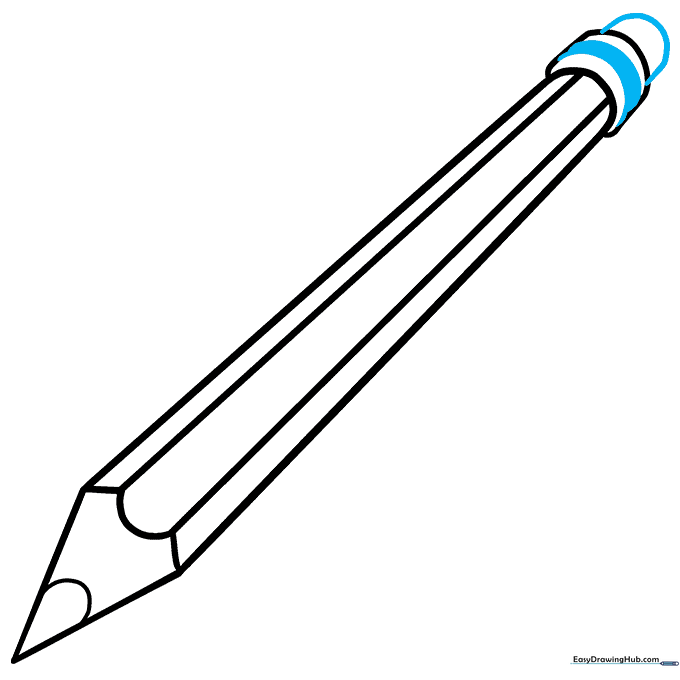
Add two curved lines inside the ferrule for texture, then draw a rounded shape on top for the eraser. Tip: Keep the eraser shape soft and rounded to contrast with the sharp pencil point.
Final Details
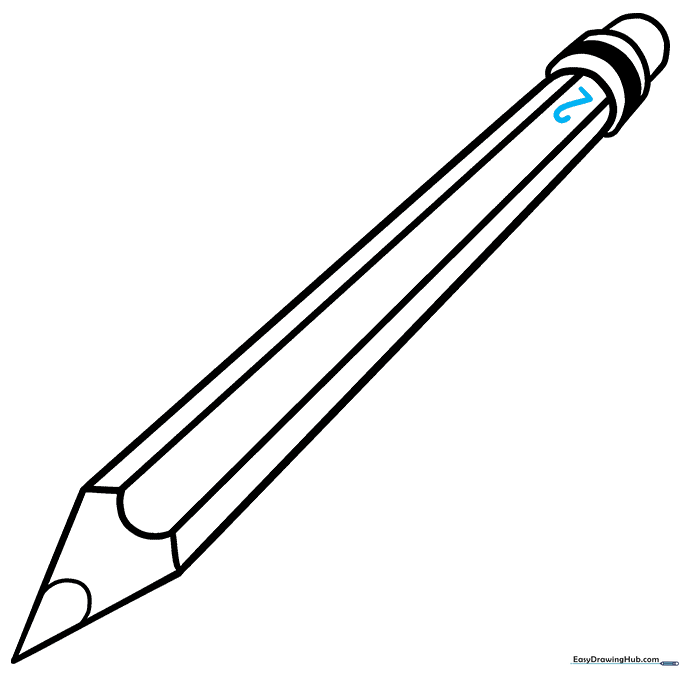
Draw a small '2' on the side of the pencil. Tip: This represents the lead hardness—a fun detail that makes your drawing look like a real school pencil!
Coloring Your Work

Bring your pencil to life with color! Use bright yellow for the body, pink for the eraser, and metallic silver or green for the ferrule. Tip: Use light pressure with your colored pencils to create smooth, even shading.
More Tutorials


