How to Draw a Pelican: Easy 10-Step Guide for Kids
Bring this coastal bird to life with our simple, kid-friendly drawing guide. Designed for ages 5 and up, this activity requires only a pencil, paper, and an eraser. Follow along to master basic shapes while creating a fun, expressive pelican character.
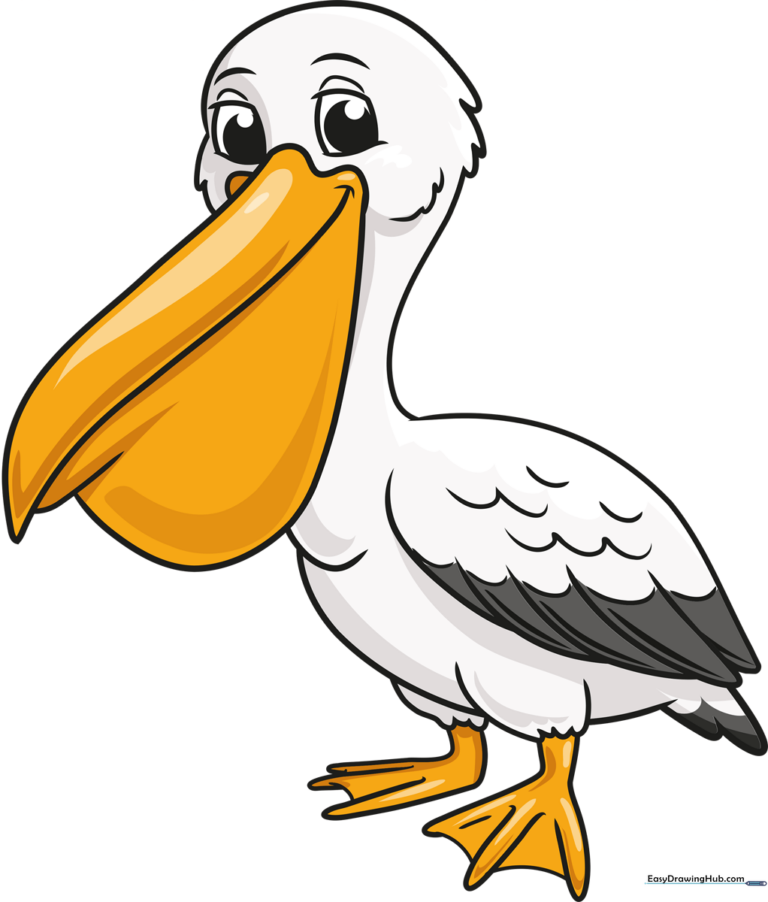
🎯 Final Result
Step-by-Step Instructions
Sketching the Head and Neck

Start by sketching the pelican's head and neck using long, flowing curves. Tip: Use short 'U' shaped strokes along the back of the neck to give the bird a soft, feathery texture.
Drawing the Expressive Eyes

Draw two irregular circles for the eyes, adding a curved line above each for the eyelid. Add a smaller circle inside for the pupil and shade it in. Tip: Add a tiny 'eyebrow' curve above each eye to give your pelican a friendly, curious expression.
Forming the Upper Beak

Draw a wavy line across the face to start the beak. Extend two long, curved lines that meet at a sharp point. Tip: Keep the beak slightly open at the corner with a small curved line to add character.
Adding the Iconic Throat Pouch
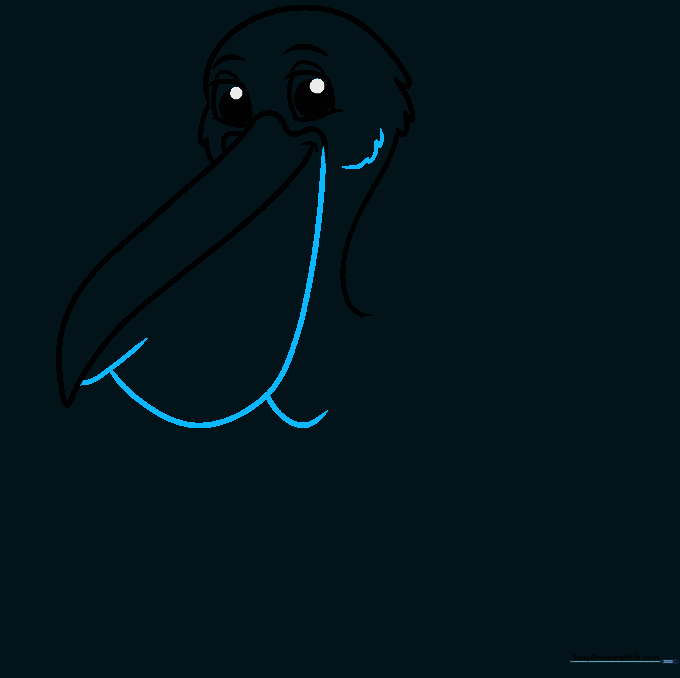
Use overlapping curved lines to draw the large, drooping pouch under the beak. Add a few more curved lines near the cheek to suggest soft feathers. Tip: Make the pouch look heavy and rounded to capture the pelican's unique look.
Sketching the Wing

Draw a long, sweeping curve for the top of the wing, then use overlapping 'U' shapes along the bottom to represent flight feathers. Tip: Vary the size of your 'U' shapes to make the wing look more natural.
Outlining the Body and Tail

Draw a long, smooth curve for the belly, connecting it to the neck. Use a series of 'U' shaped lines to create the tail feathers. Tip: Ensure the belly curve is nice and round to give your pelican a sturdy, cartoon-like shape.
Drawing the First Leg
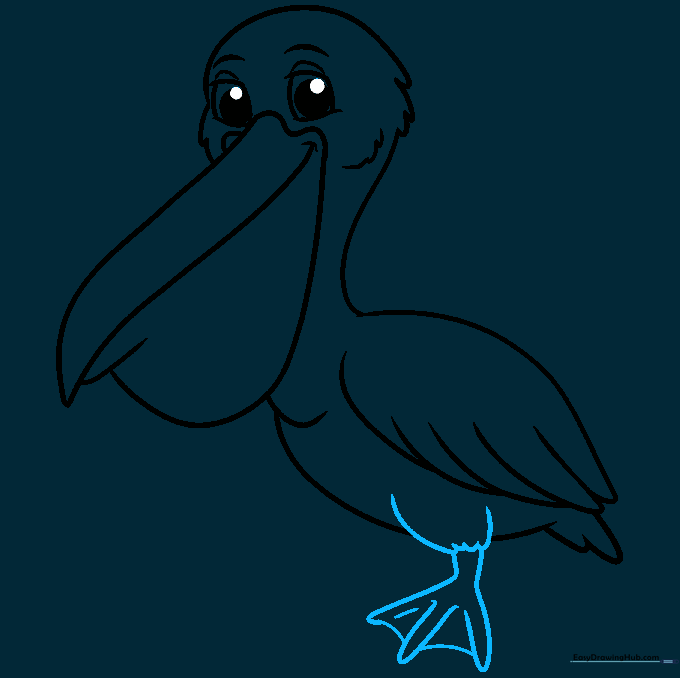
Sketch the feathered upper leg, then extend two lines down to form the foot. Use 'W' shapes for the toes and connect them with curves to show webbing. Tip: Webbed feet are a key feature of water birds, so make sure those curves between the toes are visible!
Adding the Second Leg
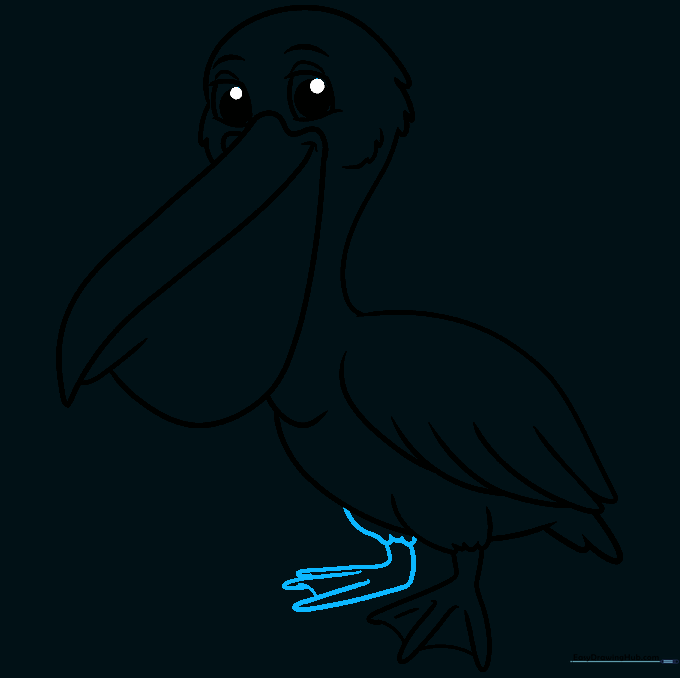
Draw the second leg slightly behind the first to show depth. Use simple curved lines for the upper leg and a profile view for the foot. Tip: Keeping the second leg smaller helps create a sense of perspective.
Finalizing Details

Add extra 'U' shaped lines to the wing to define the feathers. Tip: Use these lines sparingly to avoid cluttering the drawing; focus on the main wing structure.
Coloring Your Pelican

Bring your drawing to life with color! Use white for the body, and shades of grey or brown for the wings. Don't forget a bright yellow or orange for the beak. Tip: Use light pressure with your colored pencils to create smooth, even layers.
More Tutorials


