How to Draw a Peacock Feather: Easy 10-Step Art Guide
Bring the elegance of nature to your sketchbook with this simple peacock feather tutorial. Designed for artists ages 5 and up, this project uses basic shapes to build confidence and fine motor control. Grab a pencil, an eraser, and your favorite colored pencils to get started.
🎯 Final Result

Step-by-Step Instructions
Step 1: Sketching the Central Shaft
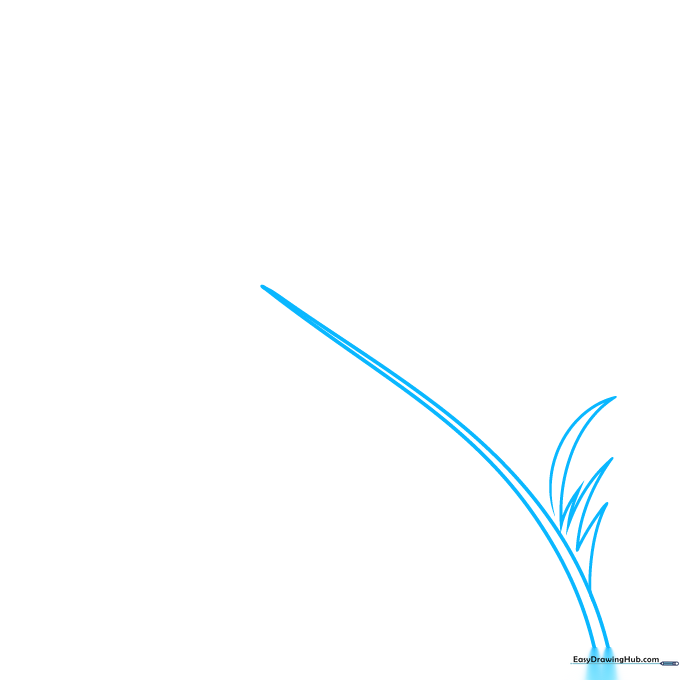
Start by drawing the central shaft, or rachis. Sketch two long, slightly curved lines that meet at a sharp point at the top. Tip: Keep your pencil pressure light so you can easily adjust the curve if needed.
Step 2: Adding the First Barbs

Begin adding the barbs along one side of the shaft. Use quick, curved strokes that meet at sharp points. Tip: Vary the length of these lines to make the feather look natural rather than perfectly symmetrical.
Step 3: Balancing the Barbs

Now, add matching barbs to the opposite side of the shaft. Tip: Try to alternate the placement of your lines so they don't look like a stiff ladder; think of them as soft, flowing hair.
Step 4: Filling the Feather

Continue adding pairs of curved lines down the shaft. Tip: Don't worry if they aren't perfect! Real feathers are messy and organic, so slight variations make your drawing look more authentic.
Step 5: Detailing the Tip

Focus on the very top of the shaft. Add smaller, tighter barbs that converge at the tip. Tip: Use shorter, quicker pencil strokes here to create a delicate, feathery texture.
Step 6: Refining the Shape

Add a few more lines to fill in any gaps. Tip: Look at your drawing from a distance; adding a few extra 'stray' lines can make the feather look fluffier and more realistic.
Step 7: Drawing the Eyespot
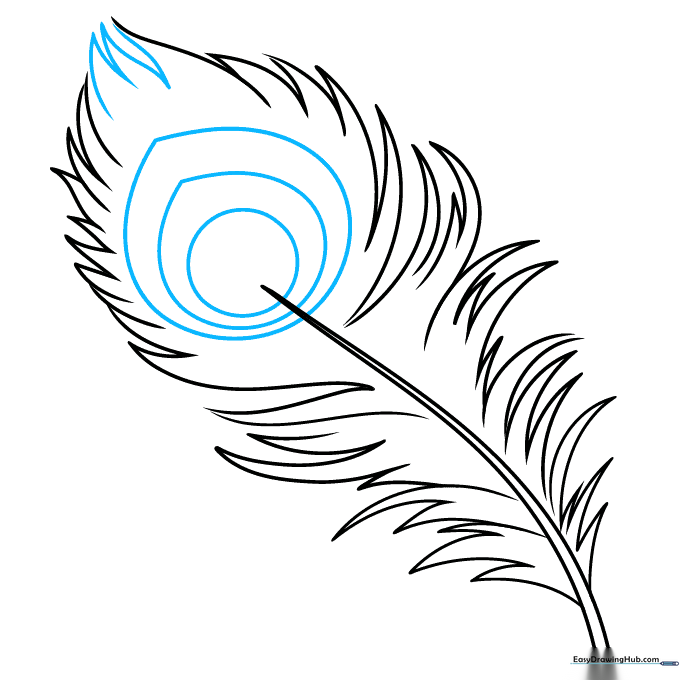
Draw a circle near the end of the shaft, then surround it with two larger teardrop shapes. Tip: The eyespot is the star of the show, so take your time making these shapes smooth and rounded.
Step 8: Adding Eyespot Texture

Add a partial circle inside the eyespot and use jagged, pointed lines to create texture. Tip: This texture is what gives the feather its 'shimmer'—don't be afraid to make the lines a bit irregular.
Step 9: Final Touches
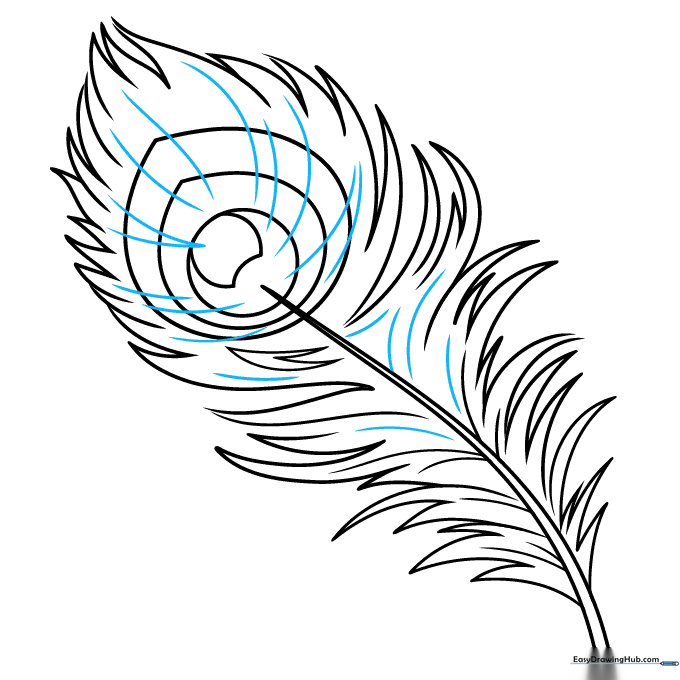
Add curved lines radiating from the center of the eyespot to the outer barbs. Tip: These lines connect the eye to the rest of the feather, creating a cohesive, professional look.
Step 10: Bring It to Life with Color

Now for the fun part! Use vibrant greens, blues, and purples for the eyespot, and earthy browns for the shaft. Tip: Try layering your colors—start with a light blue base and add dark blue on top to create depth.
More Tutorials


