How to Draw a Peach: Simple 10-Step Guide for Kids
This step-by-step tutorial is perfect for young artists ages 5 and up looking to practice their organic shapes. All you need is a pencil, an eraser, and some paper to get started. By the end of this lesson, you will have a beautiful, hand-drawn peach complete with leaves and a stem.
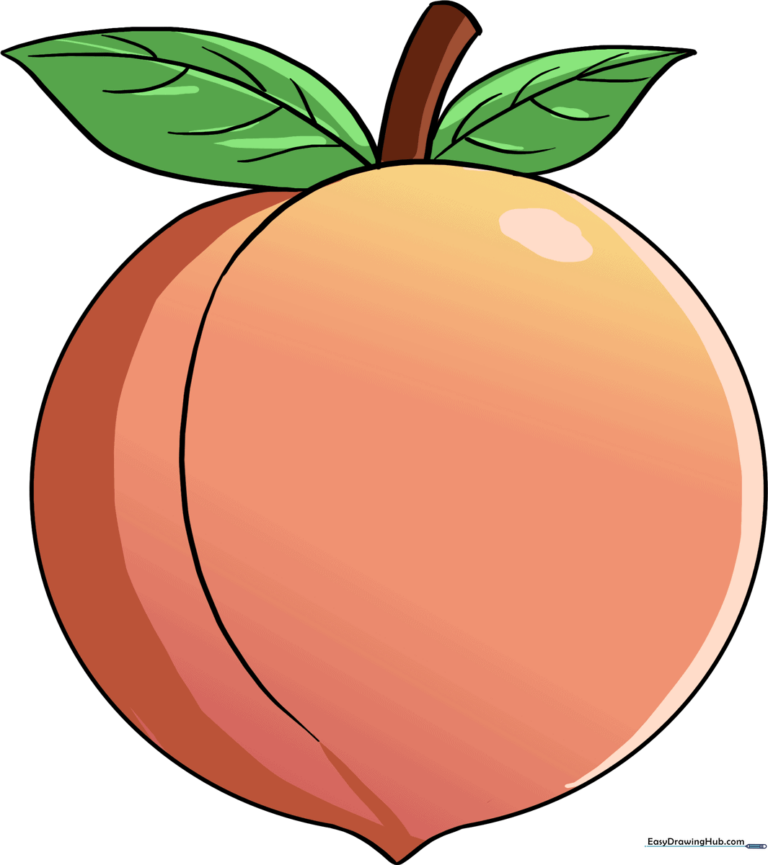
🎯 Final Result
Step-by-Step Instructions
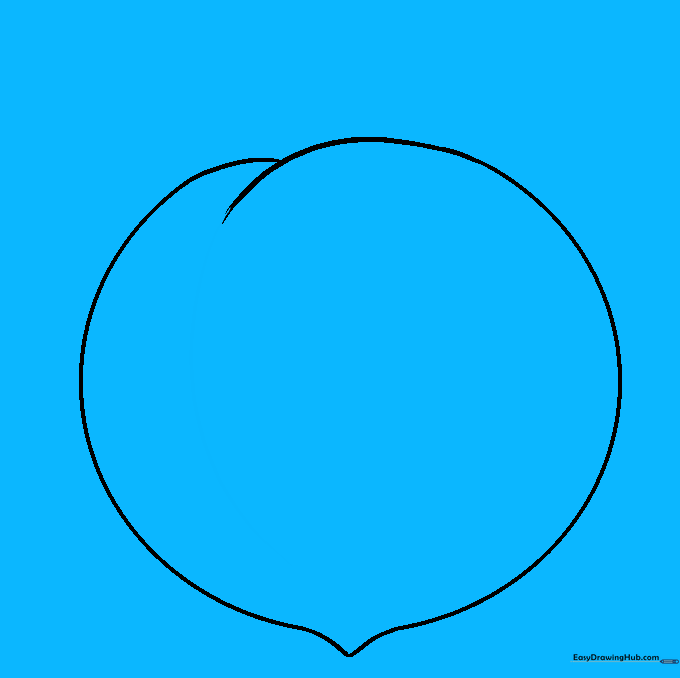
Step 1: Sketching the Base Shape

Draw a large, light circle to serve as the main body of your peach. Teacher's Tip: Keep your pencil grip loose and draw lightly so you can easily erase these guidelines later.
Step 2: Defining the Blossom End

Extend two curved lines from the bottom of the circle, meeting at a soft point. Erase the circle line between them. Teacher's Tip: This creates the natural, slightly pointed bottom of the fruit.
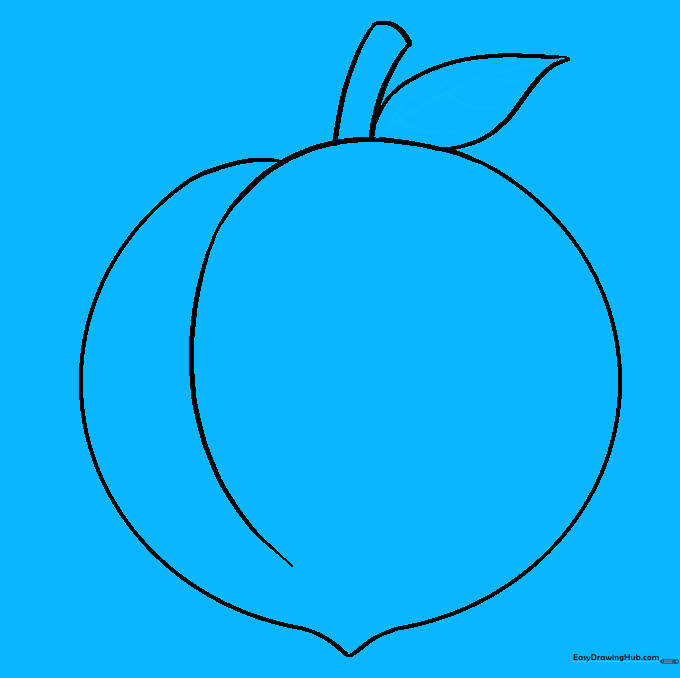
Step 3: Creating the Shoulders

Erase a small section at the top of your circle and replace it with two overlapping curved lines. Teacher's Tip: These 'shoulders' give the peach its distinct, rounded top shape.
Step 4: Adding the Suture Line
Draw a curved line from the top shoulder down toward the bottom of the peach. Teacher's Tip: This line represents the 'suture' or the natural crease found on most peaches.
Step 5: Drawing the Stem
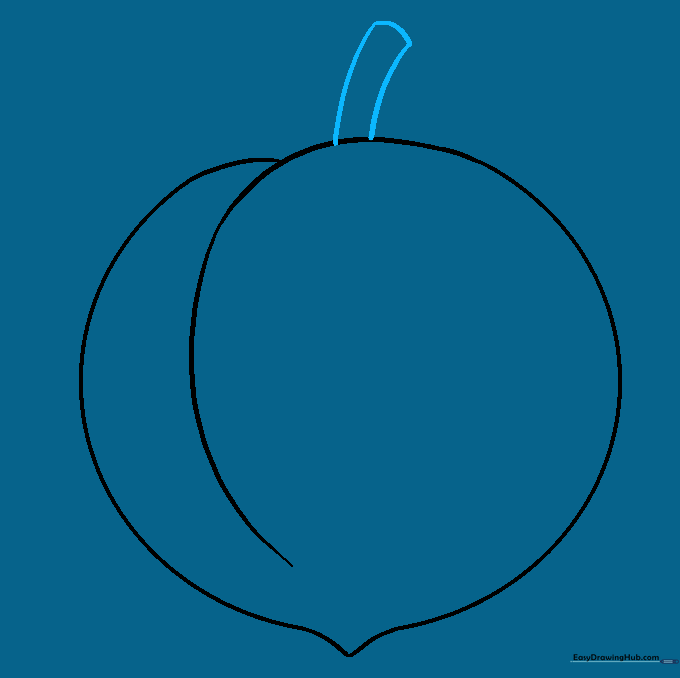
Add a small, narrow rectangle shape at the top using three curved lines. Teacher's Tip: Keep the stem slightly tilted to make your drawing look more natural and less stiff.
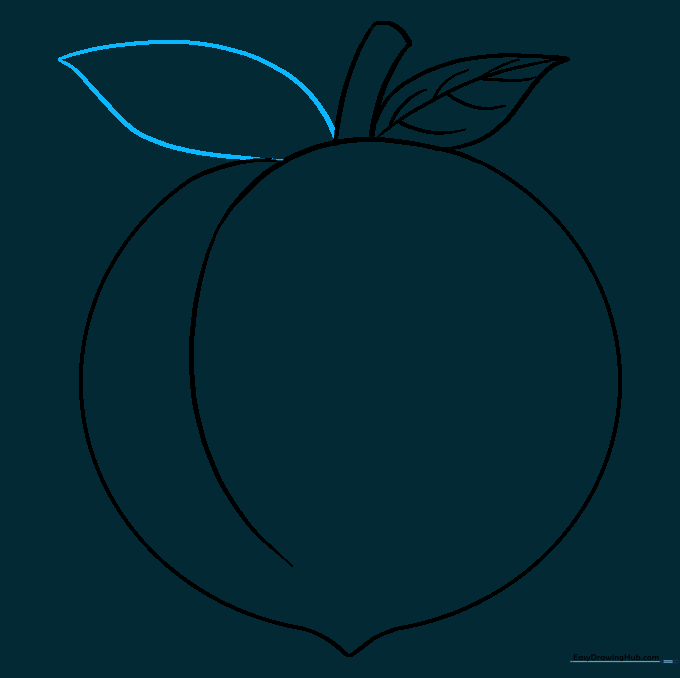
Step 6: Adding the First Leaf
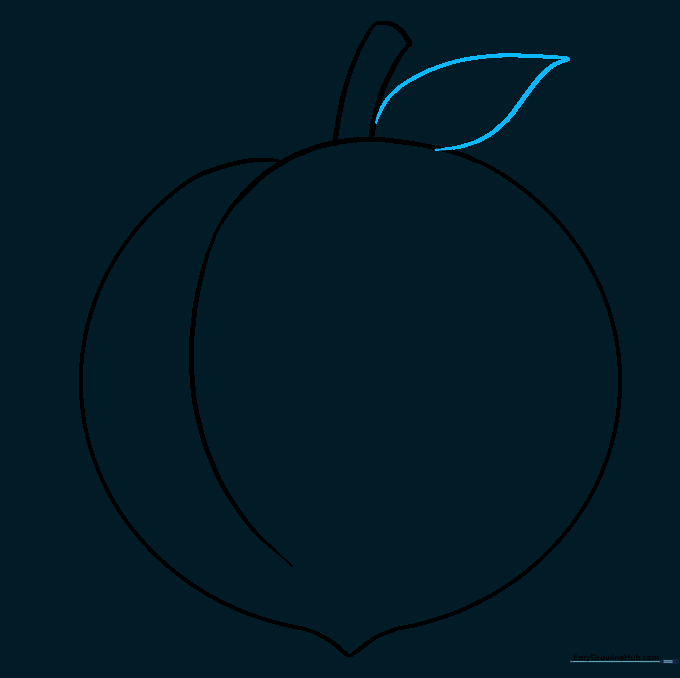
Draw a leaf extending from the stem using two curved lines that meet at a sharp point. Teacher's Tip: Leaves are rarely perfectly straight, so add a slight bend to yours.
Step 7: Detailing the Leaf
Draw a central vein down the middle of the leaf, then add smaller, diagonal lines for the side veins. Teacher's Tip: Use short, light strokes for the side veins to keep them looking delicate.
Step 8: Adding a Second Leaf
Repeat the process to add a second, slightly larger leaf on the opposite side of the stem. Teacher's Tip: Varying the size of the leaves adds visual interest to your drawing.
Step 9: Detailing the Second Leaf
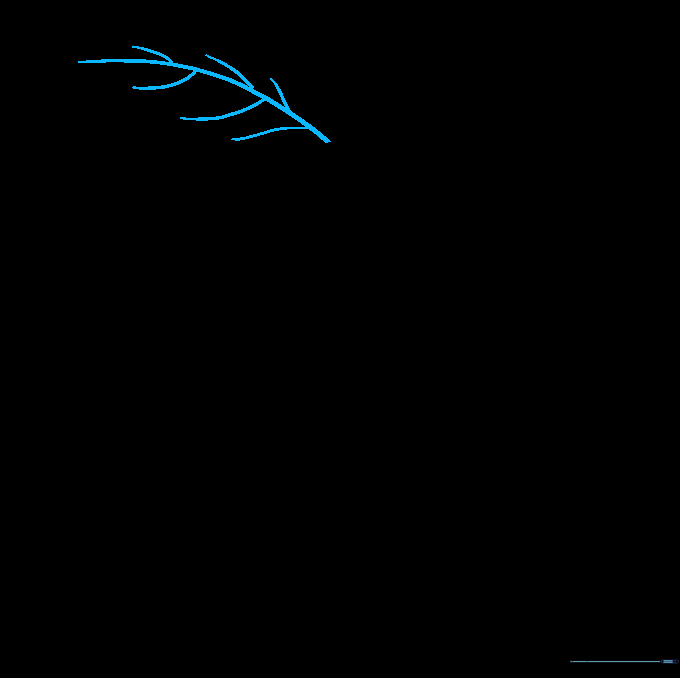
Add the vein details to your second leaf just like you did for the first. Teacher's Tip: Ensure the veins follow the curve of the leaf to make it look three-dimensional.
Step 10: Bringing Your Peach to Life with Color
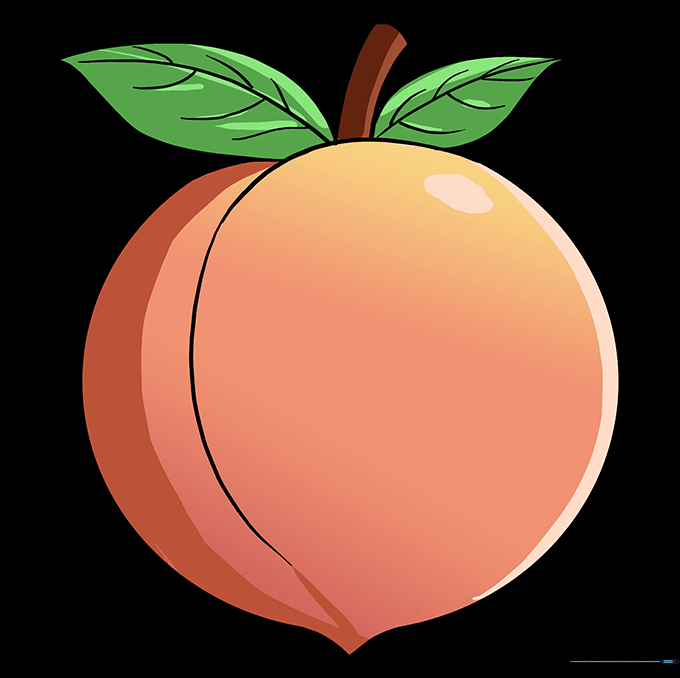
Color your peach using shades of orange, yellow, and soft pink. Teacher's Tip: Use a circular coloring motion to mimic the fuzzy texture of a real peach skin.
More Tutorials


