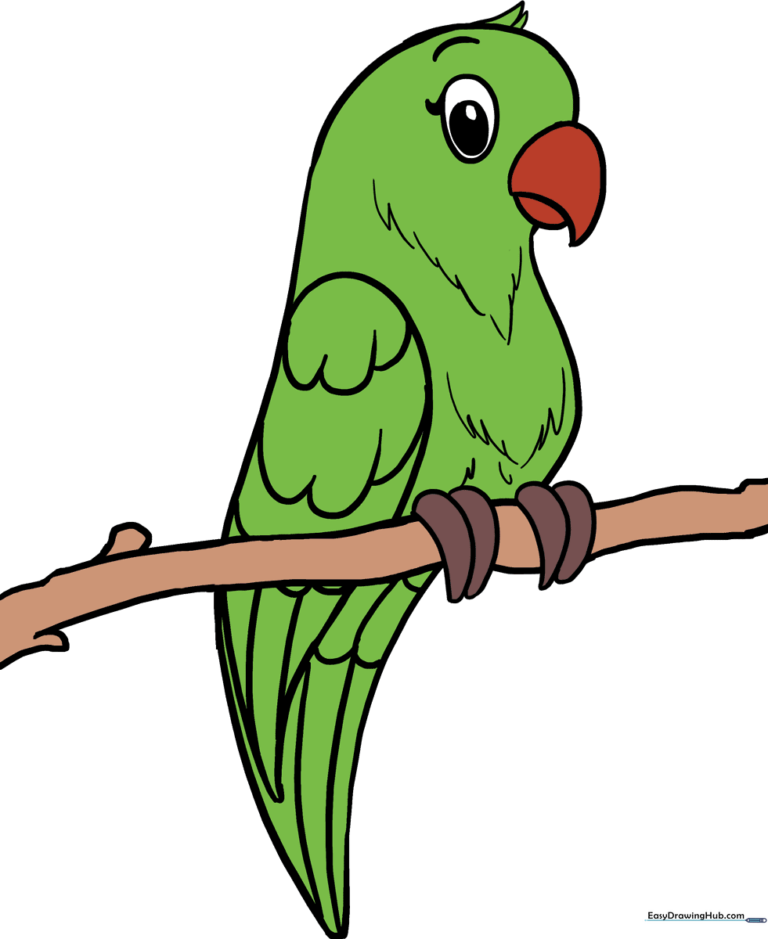
How to Draw a Parrot: Easy 10-Step Guide for Kids
Bring the jungle to life with this easy parrot drawing guide, perfect for young artists ages 5 and up. You only need a pencil, eraser, and paper to get started. Follow these simple steps to build confidence and master basic bird anatomy through fun, guided practice.
🎯 Final Result
Step-by-Step Instructions
Step 1: Sketching the Head

Draw a light circle to serve as the parrot's head. Teacher's Tip: Keep your pencil strokes very light so you can easily erase them later; this helps keep your drawing clean as we add more details.
Step 2: Outlining the Body
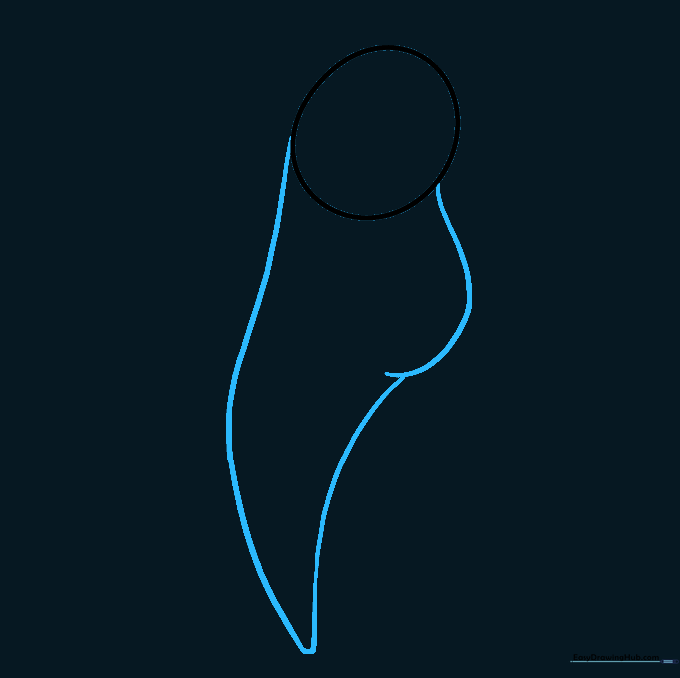
Extend a curved line downward from the head to create the belly, then draw a long, sweeping line from the back of the head to form the tail. Teacher's Tip: Think of the belly as a large, rounded 'C' shape to give your parrot a friendly, plump look.
Step 3: Cleaning the Guide Lines
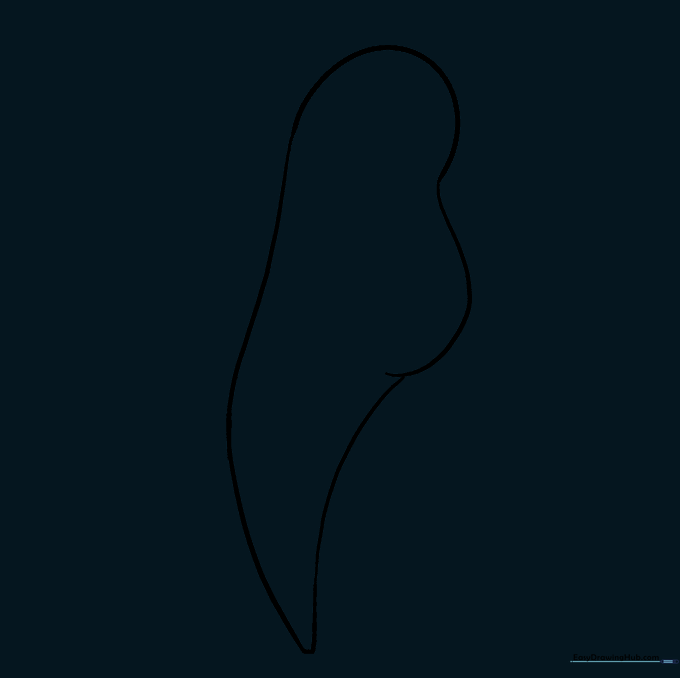
Carefully erase the lines where the head meets the body to create a smooth, continuous silhouette. Teacher's Tip: Use a soft eraser and gentle pressure to avoid smudging your paper.
Step 4: Defining the Wing
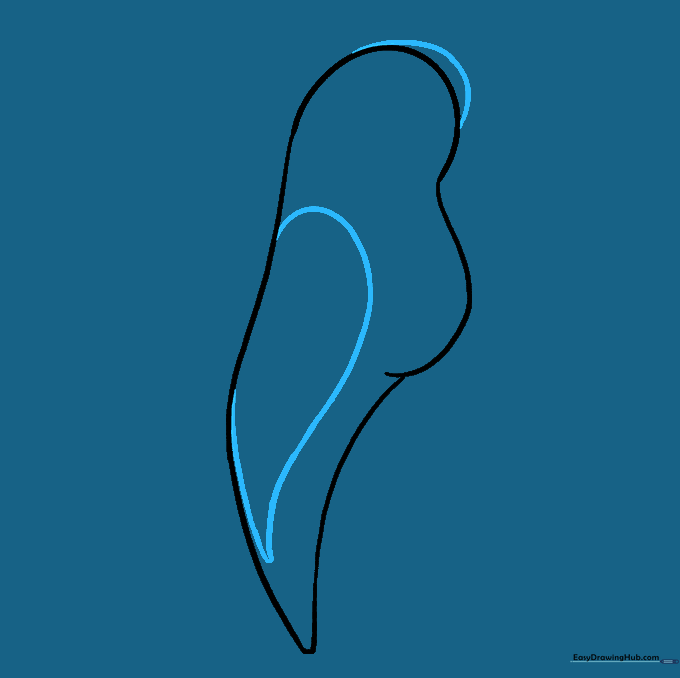
Add a rounded shape to the front of the head to complete the face, then draw a large, upside-down teardrop on the back for the wing. Teacher's Tip: Make the teardrop shape nice and large to give your parrot plenty of room for colorful feathers later.
Step 5: Drawing the Beak
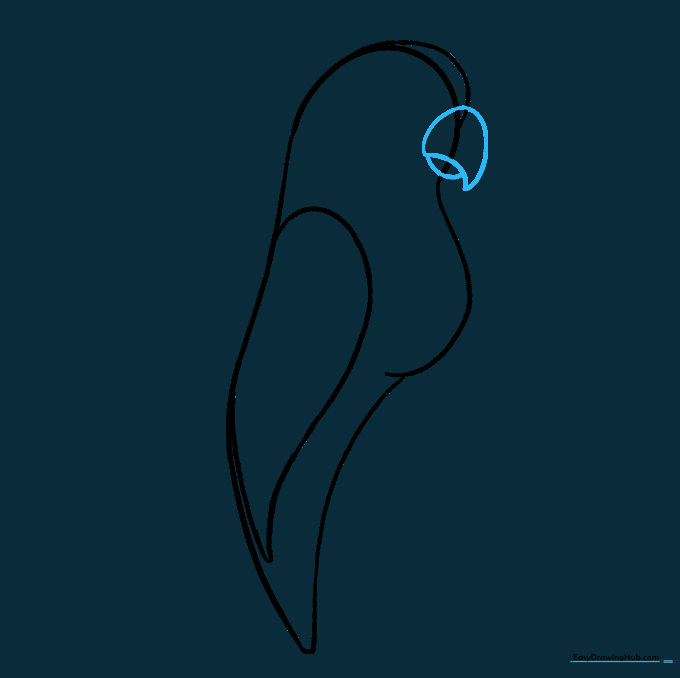
Draw a curved triangle on the front of the face for the upper beak, and a small half-circle underneath for the lower jaw. Teacher's Tip: Parrots have strong, hooked beaks—don't worry if it looks a bit sharp; that's exactly what makes it look like a real parrot!
Step 6: Adding Feather Texture
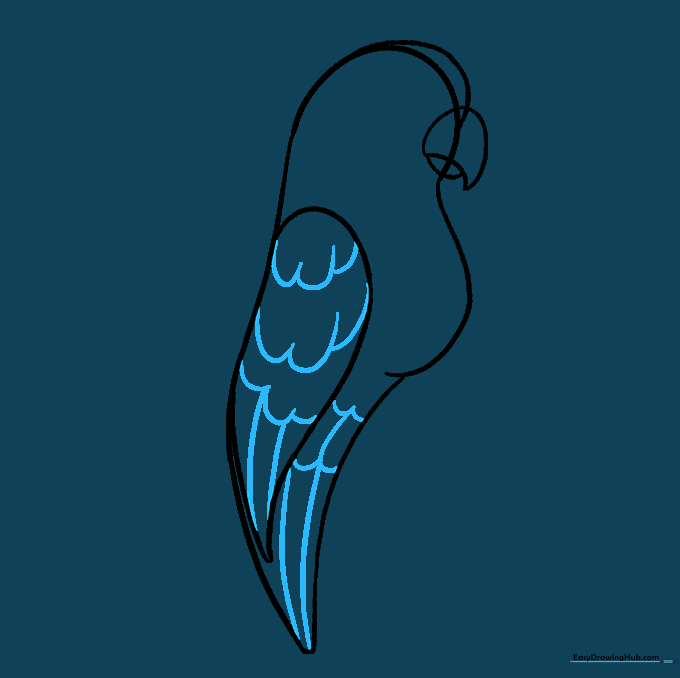
Use wavy 'U' shaped lines across the wing and tail to represent layers of feathers. Teacher's Tip: Vary the size of your 'U' shapes to make the feathers look more natural and layered.
Step 7: Refining the Face
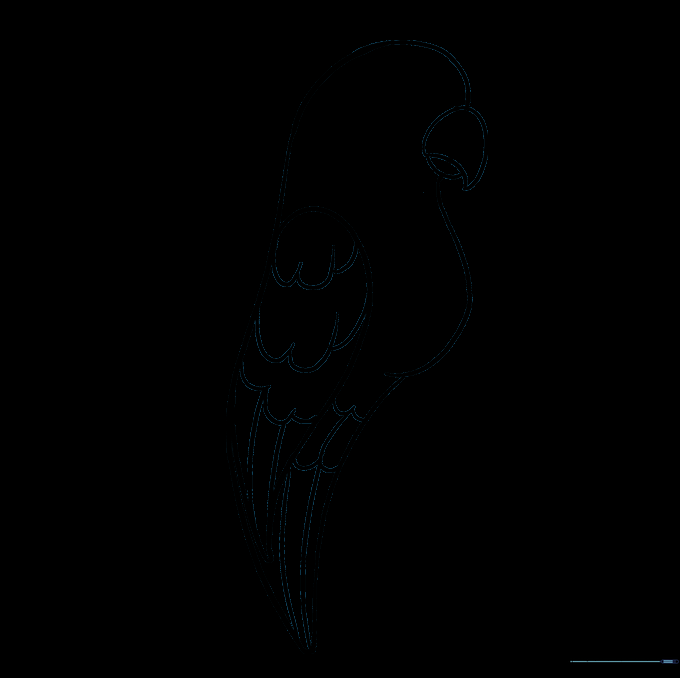
Erase any remaining guide lines on the face to prepare for adding the eye and final details. Teacher's Tip: A clean drawing surface makes it much easier to draw small, precise details like the eye in the next step.
Step 8: Perching on a Branch
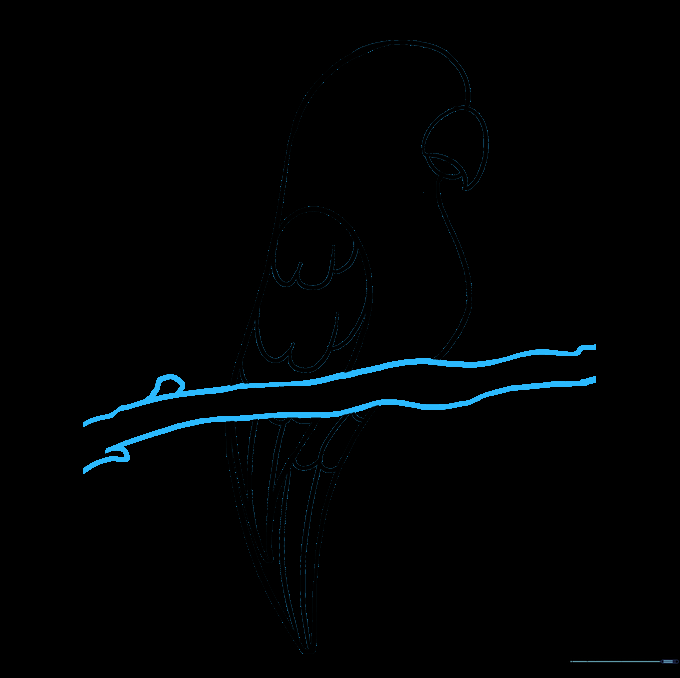
Draw bumpy, parallel lines under the parrot to create a tree branch. Teacher's Tip: Add a few small 'V' shapes on the branch to represent knots in the wood, making your drawing look more realistic.
Step 9: Final Details
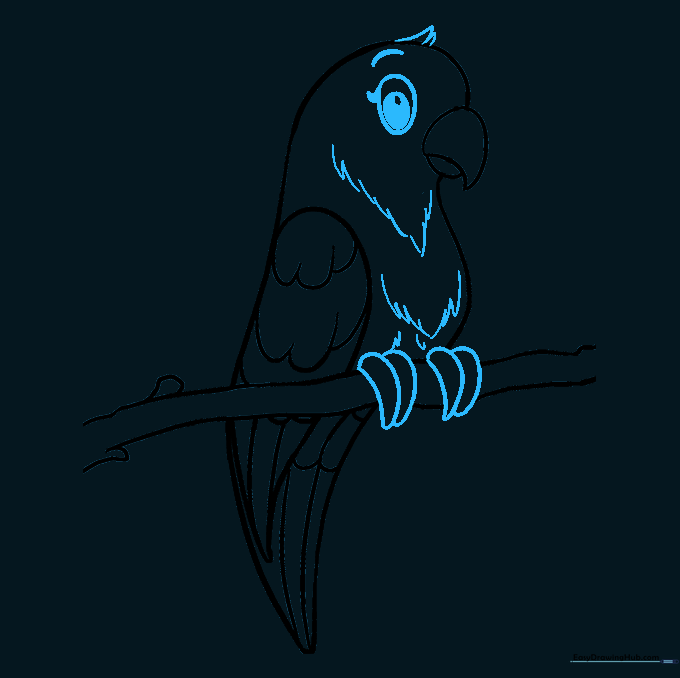
Add an eye, a small tuft of head feathers, and feet gripping the branch. Teacher's Tip: For the eye, draw a small circle inside a larger one and shade the center to give your parrot a bright, alert expression.
Step 10: Bringing it to Life with Color
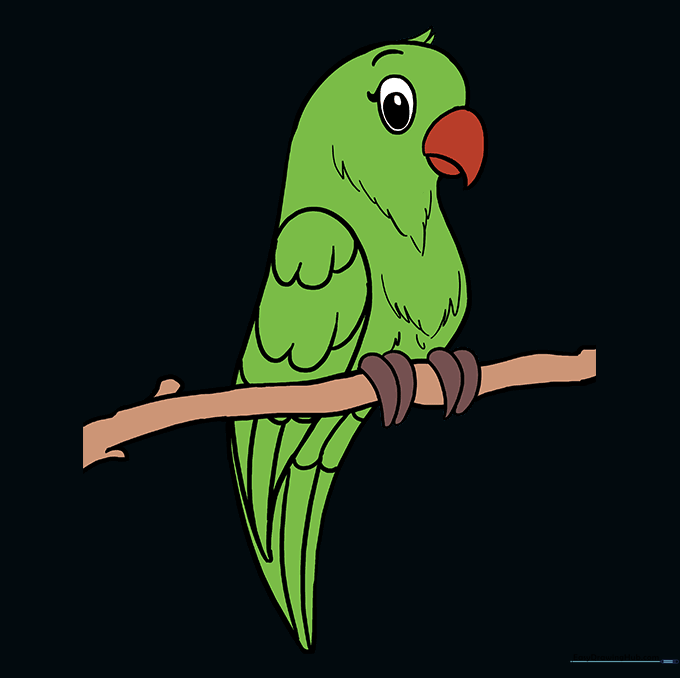
Time to color! Use bright greens, reds, or blues to make your parrot pop. Teacher's Tip: Try using two shades of the same color on the wings to create depth and make your parrot look like it's ready to fly!
More Tutorials


